Gaming notebooks are brilliant.
Unfortunately, they don't always work – at least not as well as they should.
Sometimes you'll get a game that won't play ball, or the performance will be woeful (and it really shouldn't be). Worry not, though, there's a solution – wrestling back control of your graphics drivers.
You see, while Nvidia and AMD update their drivers on a regular basis, laptop manufacturers don't, and they make their machines in a way that these generic graphics drivers don't work, either. The reason, in a word, is heat.
As far as notebook designers are concerned, if you were left to your own devices, you'd unsettle the fine balancing act that the system integrator had spent so long getting right – the balance between speed, temperature, aesthetics and battery life. In fact, if you were to examine the actual clockspeeds of your graphics hardware, you'd discover that most of the time it's actually running far slower than the specification allows for.
Actually unlocking the true potential of your graphics is easier than you think. Essentially, it simply means updating an INF file then taking a few precautions before overclocking the graphics engine. Actually doing this is pretty much identical to overclocking a desktop graphics card, but with the added fun that your graphics cooling is probably shared with your processor.
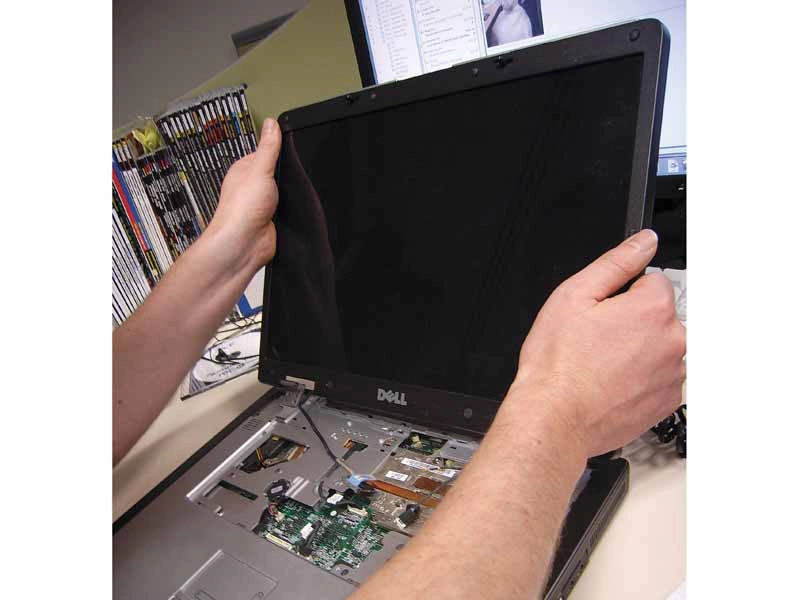
A good place to start with sorting out laptop cooling is to give your machine a good clean. It's amazing what a difference dust makes to performance. We'd also recommend grabbing a laptop cooling stand. Replacing the default fans with more powerful ones is worth considering, too. Alternatively, you can grab your drill, and start making your laptop chassis a lot friendlier to airflow. We'd go for the laptop stand for starters, though.
Improve your laptop's graphics
We've started here by benchmarking our laptop using the latest available drivers from Dell, which in the case of the XPS Gen 2 date back to the heady days of 2005 – when the world was a much simpler place.
To be fair, these are fairly stable drivers, and most games do work, although the performance on newer games is a little unpredictable. You obviously don't need to benchmark your own mobile wonder at this point, but it does give you something to compare your overclocks against later on.
Once you've done that you should download the latest drivers for your particular graphics core along with the modified INF file from the appropriate site.
Once you've got them on your hard drive, unpack the drivers to a cunningly titled directory and then overwrite the original INF file that's included in the reference drivers with the modified file you retrieved separately, before running the driver setup utility.
Instead of getting the usual message that there are no compatible drivers for your particular mobile hardware, you should just fly through the whole process without a problem and be rewarded with up-to-date drivers. This alone should sort out any incompatibility problems you've been experiencing, and may even reward you with more frames per second. This is just the beginning, though. The real tinkering is just around the corner.
Turning it up a notch
You could start overclocking your laptop graphics straight away, but your chances of being successful are low. There is some good news, though – installing the default drivers will enable you to run temperature-sensing software, such as the wonderful HWMonitor (free to download from www.cpuid.com).
To check how hot your graphics chip gets, leave this on in the background and run a game for 15 minutes or so – hey, it's work. Once you've finished, pop back out to the desktop and take a look at the Max value for your graphics card. Unless you regularly clean your machine, you'll probably be surprised at how hot the graphics core gets.