Using multiple Windows desktops with Dexpot
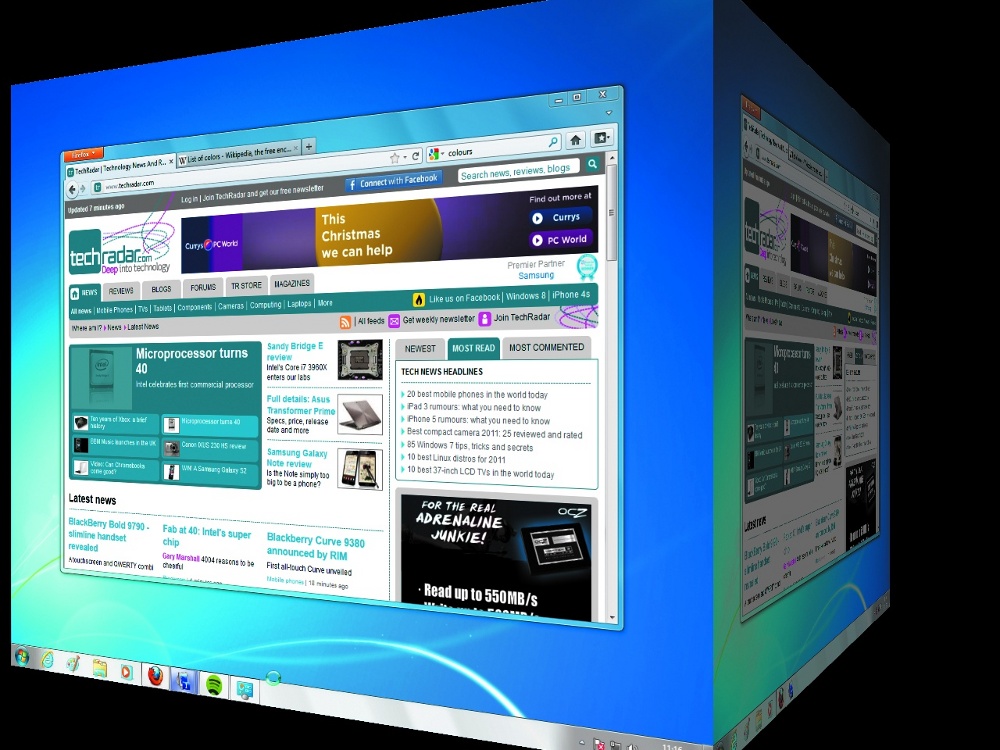
Multiple Windows desktops don't have to mean multiple computers. Dexpot emulates features built in to Linux operating systems and OS X, and splits your machine up into a number of distinct workspaces.
You might do your accounts on one, your art on another, your filing on a third. However you choose to use them, you'll be more efficient than before.
This method keeps all your windows and applications separate and neat, but doesn't restrict you. Just as with real desks, you're free to take work from one and put it on another, or move one out of the room if you find you don't really need that much space.
Using multiple Windows desktops with Dexpot will make your life so much easier, you'll wonder why you didn't give it a try sooner.
1. Run the installer
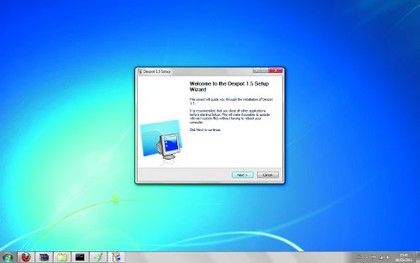
First, double-click the Dexpot install package to get things started, and click 'Yes' if the User Account Control window appears. Click 'OK' to select English as your language, then the installation wizard will start. Remember to close any other programs you have open to make sure the installation process goes smoothly.
2. Complete the wizard
Sign up for breaking news, reviews, opinion, top tech deals, and more.
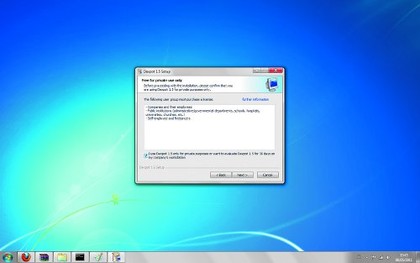
The wizard makes installation a breeze. Click 'Next', click 'I accept' on the licence agreement page, then click the check box to confirm that you'll be using Dexpot for private purposes. Click 'Next' twice, select 'Do not install Internet Explorer 9' (unless you want to for some masochistic reason) then click 'Install'.
3. Your first run
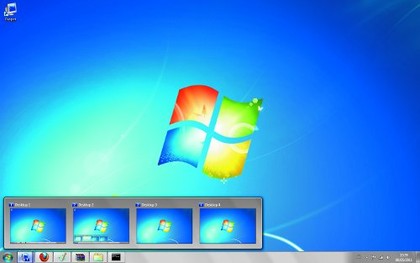
Once the files have been installed, click 'Finish' and Dexpot will run automatically. It might look like nothing has happened, but on Windows 7 you should be able to see a blue Dexpot icon with a number 1 on it – click it once and you'll see the set of four independent desktops that are installed by default.
4. Activate SevenDex
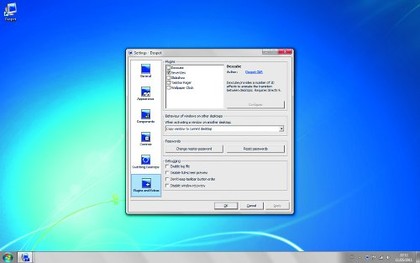
During our tests, we discovered that restarting made that fancy icon disappear. So restart your PC, run Dexpot, and see if it comes back. If not, check the system tray, right-click the blue 'Dexpot' icon, click 'Settings', select 'Plugins and extras', and then check the box next to 'SevenDex' to switch it back on.
5. Alternative switcher
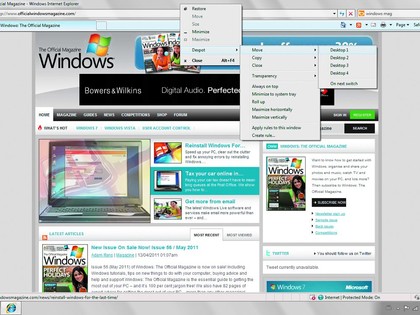
You don't have to use SevenDex to flit between your litany of desktops – indeed, you can't if you're running Windows XP or Windows Vista. The alternative is nestling in that tray icon we used earlier – right-click it, then click Desktop Manager to bring up a custom overlaid desktop switcher. You'll need to use this in the following steps if you can't access SevenDex.
6. Switching desktops
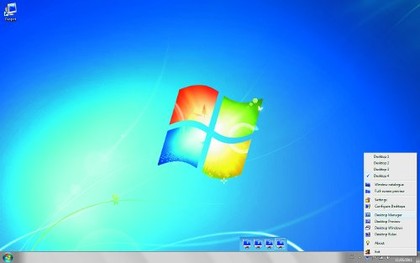
It's time for a quick test of Dexpot's functionality: click on the taskbar icon, then the second desktop in the set. You'll see the number on the Dexpot icon change to '2' to indicate you're now on Desktop 2. Run any program – your web browser, for example – then click the Dexpot icon and switch back to the first desktop. The browser, and its taskbar icon, has disappeared.
7. Moving programs
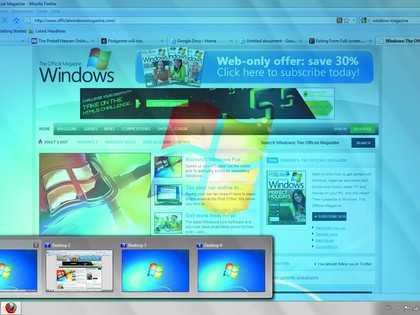
Only it hasn't really disappeared. That's sort of the point of multiple desktops. Click the icon, then click desktop 2 andyou'll see that your browser is still open, it's just filed on the second screen. To quickly move it to the first desktop, just hold down [Alt]and [Shift], and press the number key that corresponds to the desktop you want the window to go to.
8. Quick switching
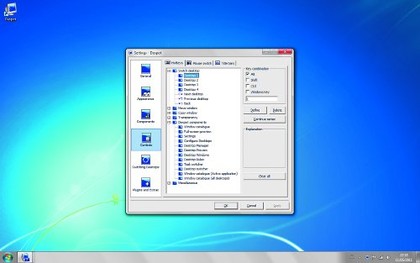
Clicking icons to jump between desktops can be a bit clumsy. The default keyboard shortcut for quick movement is [Alt] and [x], where x is the number of the desktop you wish to switch to. You can hit [Windows]+[W] to bring up a handy visual desktop switcher, or [Windows]+[Q] to hunt down a particular application among all of your active desktops. We find the latter shortcut particularly handy.
- 1
- 2
Current page: Using multiple Windows desktops: Steps 1-8
Next Page Using multiple Windows desktops: Steps 9-16