
 Become a TechRadar Insider


Viruses, malware, accidental deletion or corrupted data can all put your valuable files at risk. The best insurance is to make regular backups, but what if you run into trouble in between backups, or you let your routine slide, or a friend has a crisis with their PC?
That's where an emergency USB toolkit of portable apps comes in, giving you everything you need to fix the damage and save the day.
When you install a program, not only are the files it needs to run saved on your hard drive, it also makes its own changes to the rest of your system – such as adding entries to the Windows registry. Portable apps don't do this, meaning you can save them to a USB stick and use them on any PC by double-clicking the program's EXE file.
We've put together a collection of the best ones for use in emergencies.
1. Prepare your USB stick

First, you'll need a USB memory stick – 1GB will be fine. Plug it into your PC and open Windows Explorer, then right-click it in the menu on the left, select 'Rename' and name it 'Emergency'.
If you've used the memory stick before, you can wipe it by right-clicking it and selecting 'Format > Restore device defaults > OK'. Make sure there isn't anything you want to keep on the stick first.
2. Prepare for accidents

Now to build our toolkit. A common disaster is accidentally deleting a file – from your hard drive, an SD card or other storage.
Piriform Recuva can help you get it back, but installing this after you've lost files can result in them being overwritten. It's far better to have it ready to run from your USB stick.
3. Recover deleted files

Click the downloaded ZIP file in your browser, and select 'Extract > Extract all'. Click 'Browse' and select your USB stick.
Right-click and create a folder called 'Recuva' (to make it easier to find in future). Open this folder and click 'Select folder > Extract'. Now if you ever need to restore a deleted file, just plug in your USB stick, double-click Recuva.exe and follow the instructions.
4. Download a virus-zapper

If you suspect your PC has a virus, McAfee Labs Stinger can help stop it in its tracks. This program doesn't come in a ZIP archive, so once it's downloaded you can drag the EXE file straight to your USB stick using Windows Explorer. When you want to run it, just double-click the file and click 'Scan'.
5. Get ready for a deep clean

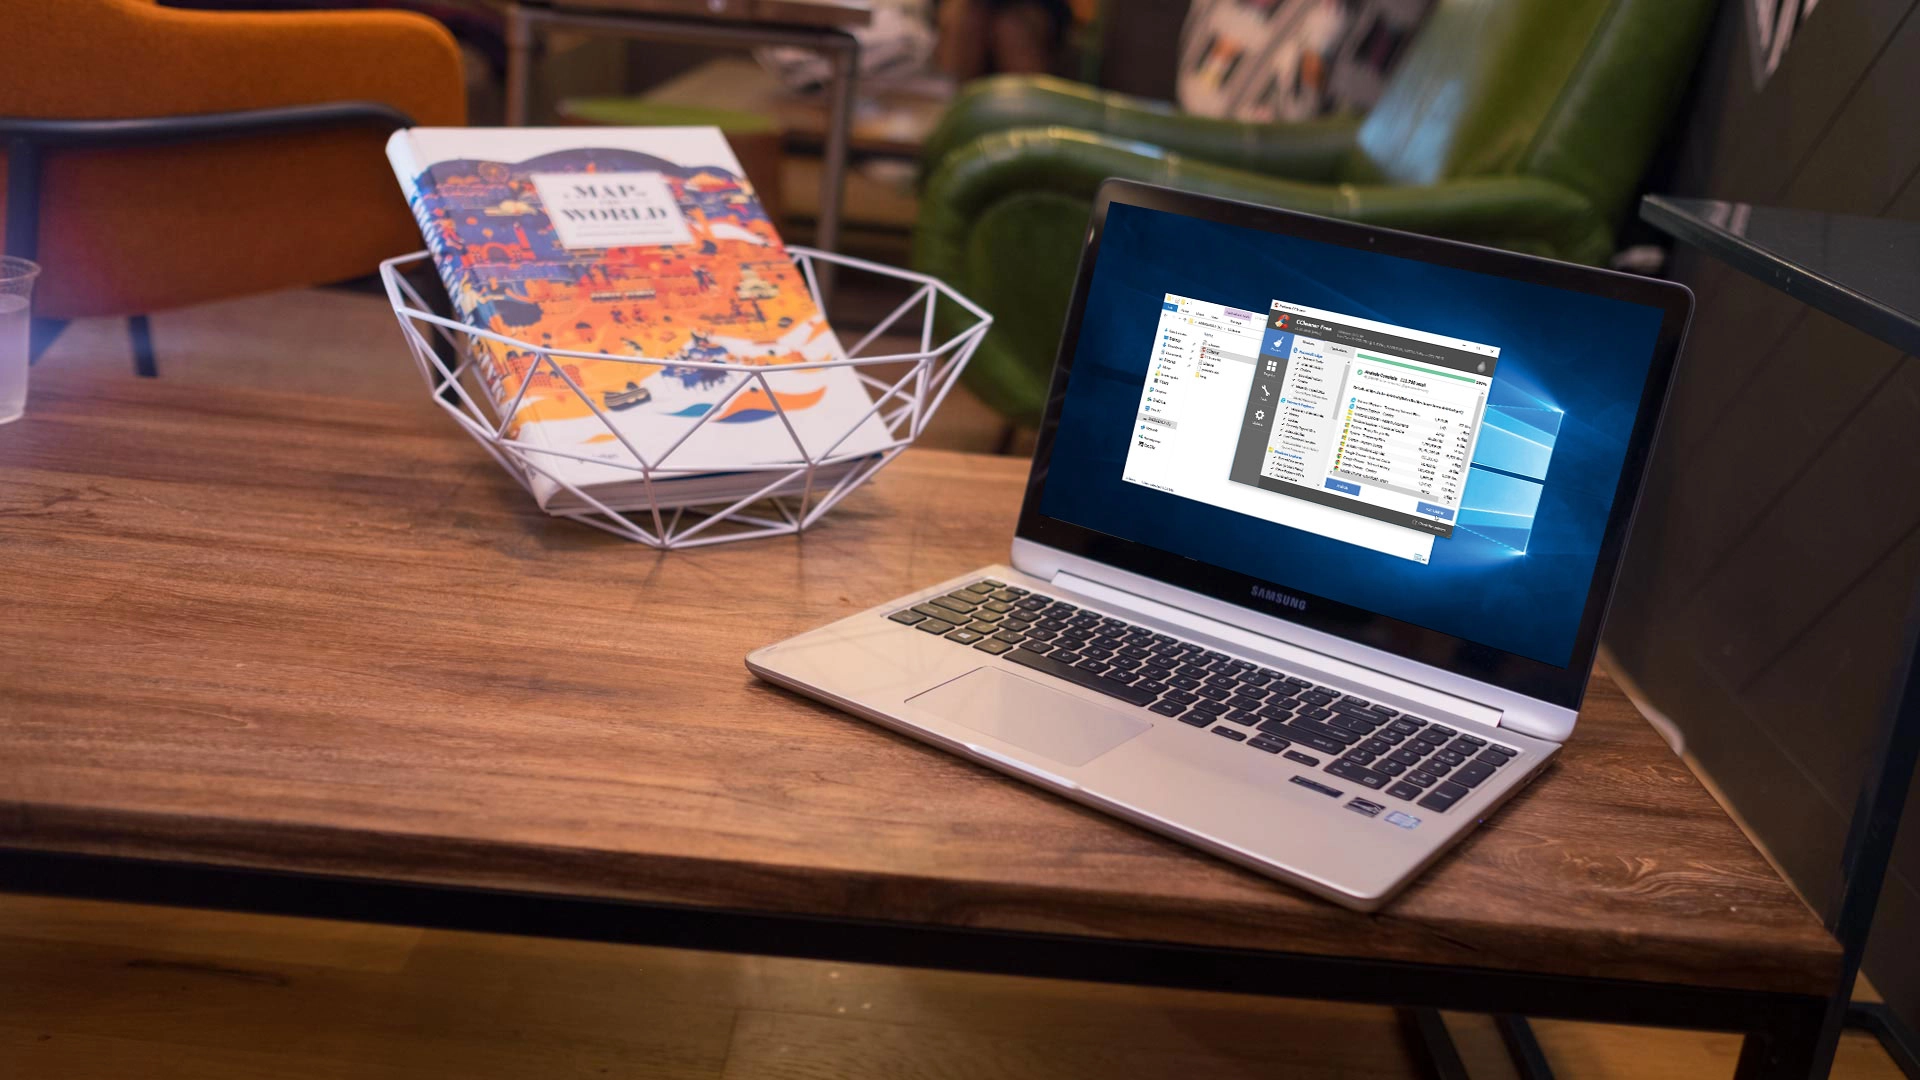
If your PC is running slow, or you're getting error messages about corrupted files, CCleaner portable can save the day. Download it from the second link on the web page, for the portable version, then extract the downloaded file to your USB stick just as you did for Recuva, saving it in a new folder called 'CCleaner'.
To run it, double-click the file CCleaner.exe.
6. Sweep away junk and fix errors

To free up extra space and improve performance, click 'Analyze' and CCleaner will search your hard drive for unnecessary files. Once it's finished, look through the list, uncheck the boxes next to anything you want to keep, then click 'Run Cleaner'.
To solve errors with the Windows registry, select 'Registry' from the menu on the left and select 'Scan for issues > Fix selected issues'.
7. Get set to blast malware

Emsisoft Emergency Kit will check your PC for programs that aren't strictly viruses but are still malicious. Double-click the downloaded file and it will run an installer, which automates the process of extracting the files from a ZIP archive.
Select your USB stick as the destination, make a folder called Emsisoft and click 'OK'.
8. Ready for anything

Double-click 'Start Emergency Kit Scanner' and let Emsisoft update itself. Now, whenever you think your PC has a malware infection (you notice unexpected changes to your web browser, for example), insert your USB stick, launch Emsisoft, click 'Scan' and follow the instructions to deal with the issue.
Label the USB stick and keep it handy – you never know when you'll need it.
- Enjoyed this article? Discover how to get the most from your PC and new things to do in Windows Help & Advice. Take advantage of an exclusive offer in our sampler today.
