How to enable/disable the NordVPN kill switch
Keep your sensitive data protected

With over 5,000 servers across more than 60 countries, it’s no wonder that Panama-based NordVPN is a hugely popular VPN service.
One of NordVPN’s most useful features is its kill switch. A kill switch helps protect your sensitive data in case your VPN connection goes down. When enabled, the kill switch safeguards your IP address and online activity from being exposed and this helps preserve your anonymity and security online.
It’s also worth noting that a few different kill switch versions are used in NordVPN’s applications.
The kill switch in both its Windows and Mac apps terminates specific applications if the VPN connection suddenly disconnects to prevent these applications from sending unprotected traffic to the internet. The Windows app also features an internet kill switch that disables system-wide internet access if the VPN connection suddenly disconnects or a user manually disconnects from the VPN.
On mobile, NordVPN’s iOS app disables system-wide internet access if the VPN connection suddenly disconnects while its Android app works just like a system-wide kill switch on Android version 8.0 or higher. Older versions of Android though have “Always-on VPN” functionality which prevents leaks in case of a sudden VPN connection drop.
NordVPN’s Linux client disables system-wide internet access if the VPN connection suddenly disconnects or if a user manually disconnects the VPN. The Linux kill switch can be enabled by typing the nordvpn set killswitch on command and can be disabled by typing the nordvpn set killswitch off command. In order to see the current stats of the kill switch, users will need to type the nordvpn settings command.
This step-by-step guide will show you exactly how to activate both types of kill switch in the NordVPN Windows app. If you happen to be using the Mac app, don’t worry as the menus may look a bit different but the process is essentially the same.
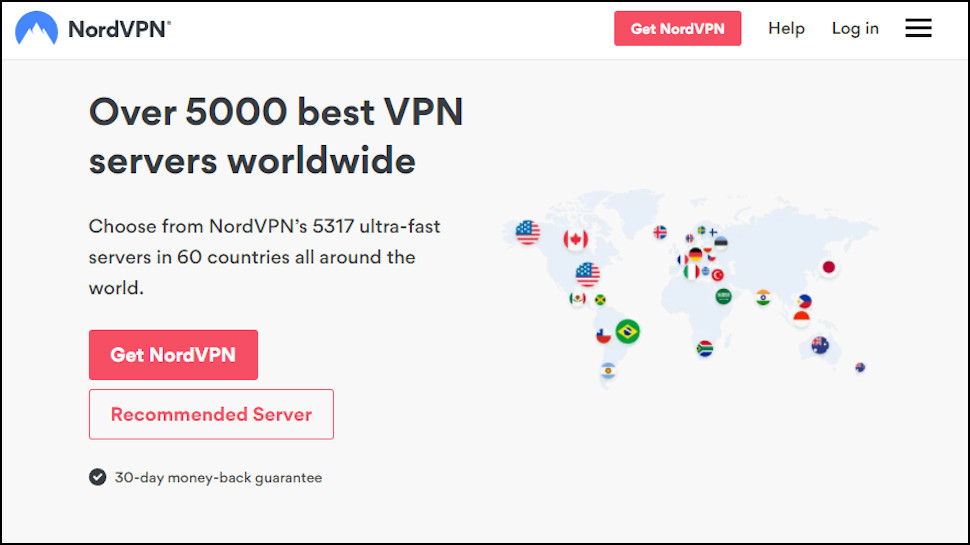
1. Go to the NordVPN website
Open your web browser of choice, navigate to the NordVPN website and click the Download VPN link at the top middle of the page. If you don't see this, click the hamburger menu icon top right, or scroll down and choose the Download link for your platform.
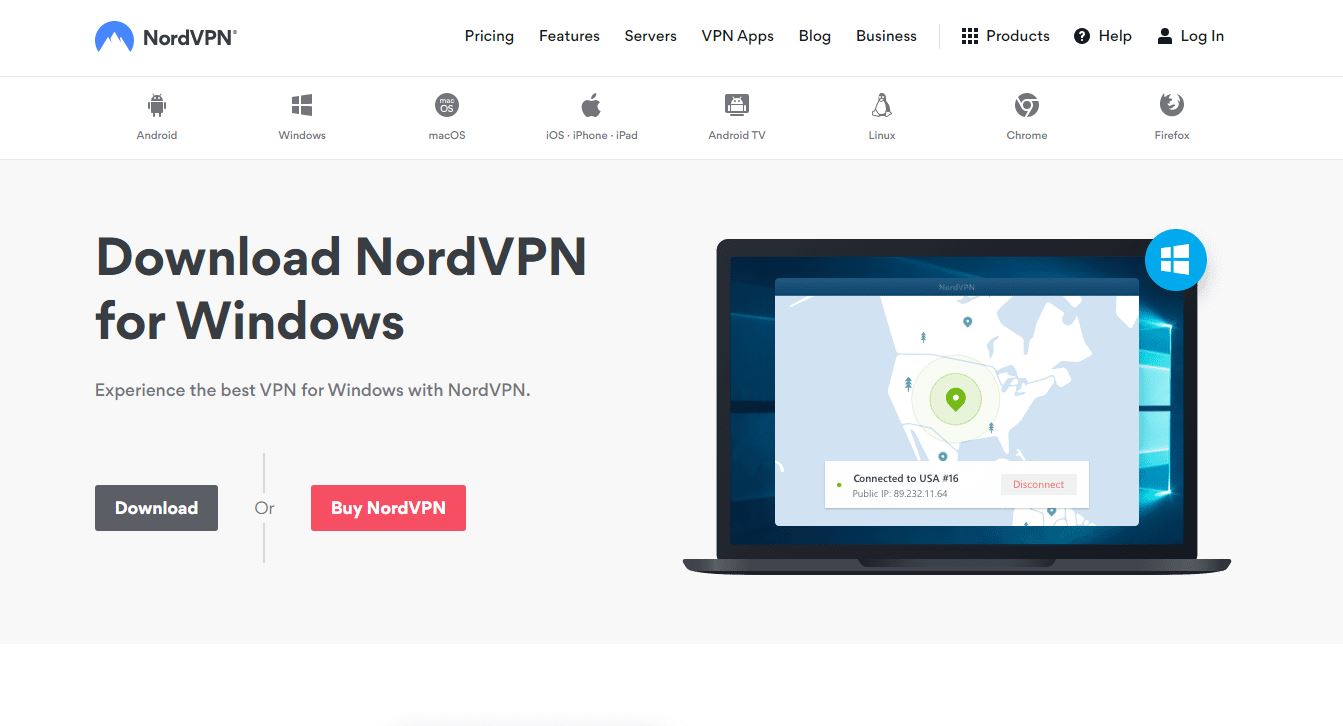
2. Download the app
At the top of the page click on the Download button to begin downloading NordVPN’s Windows app.
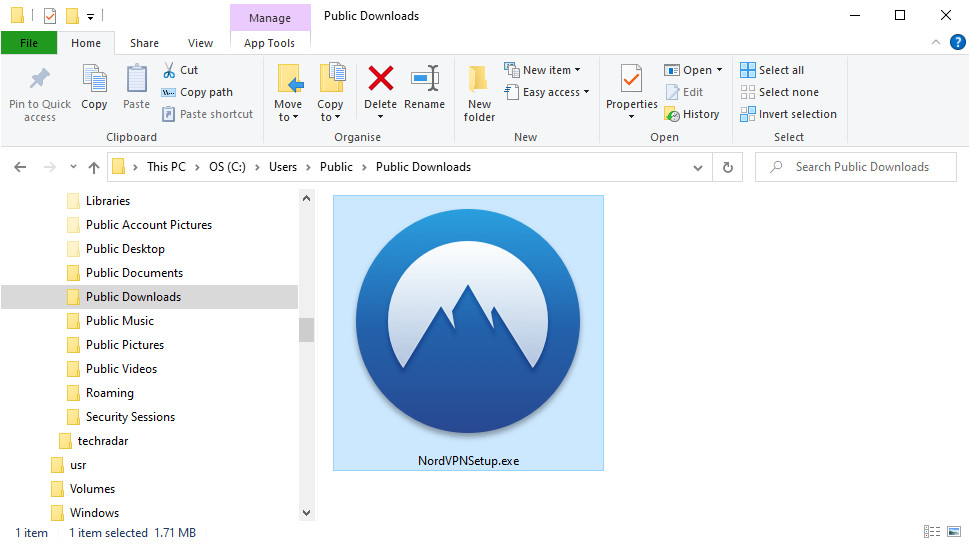
3. Open the installation file
Once NordVPN’s setup file (NordVPNSetup.exe) has finished downloading, head to the downloads folder on your Windows PC and double click on the executable to begin the installation process.
- How good is this service? Check out our NordVPN review
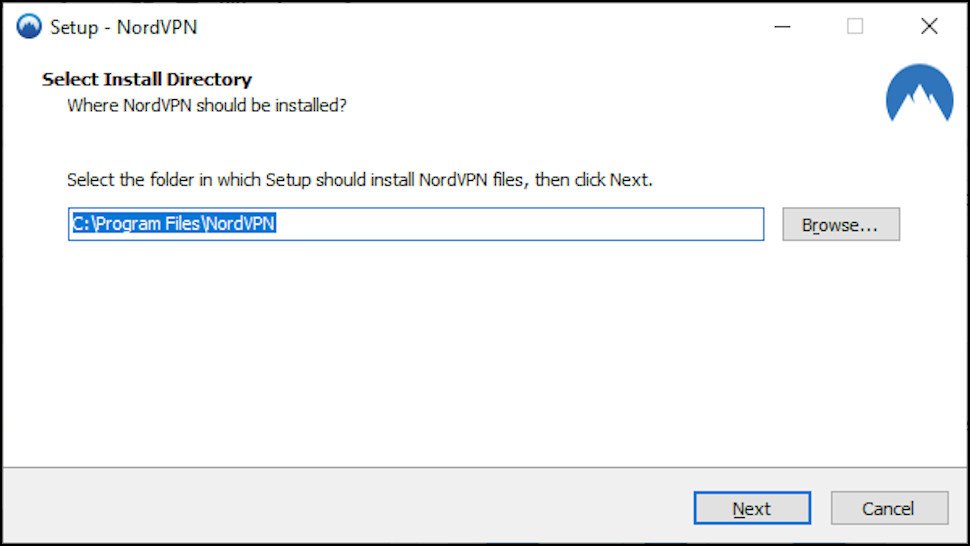
4. Install the app
A prompt from Windows will appear on your screen asking you if you want NordVPN to make changes to your computer, click yes to begin the installation. Choose where you want the app to install on your device and then you have the option to have a shortcut for NordVPN created on your desktop or in your Start menu. Once the installation is complete, NordVPN will launch.
5. Login to your account
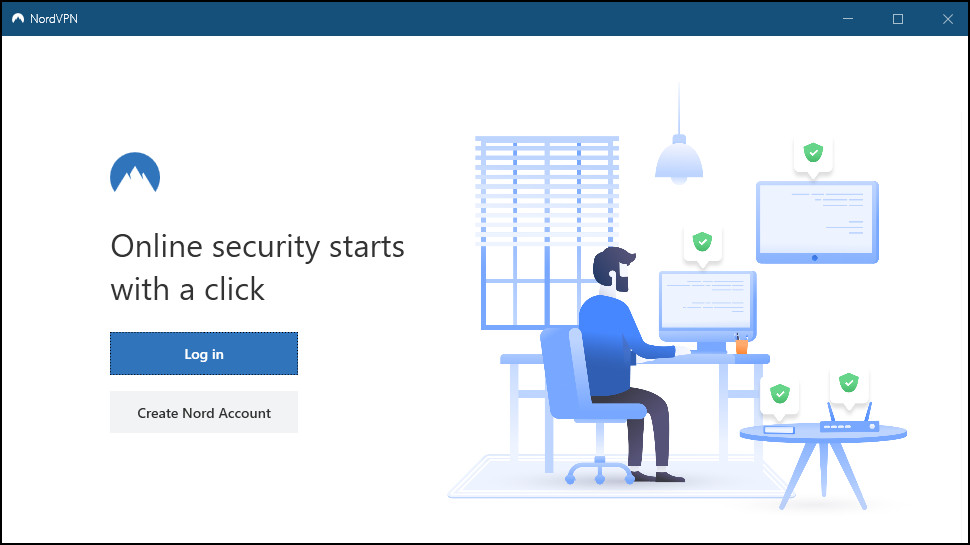
When you open NordVPN’s Windows app for the first time, the app will ask you to login into your account. You'll do this in your browser. Type in your email and password and choose the option to launch the app. You'll switch back to the app, ready to begin using the service.
6. Go to settings
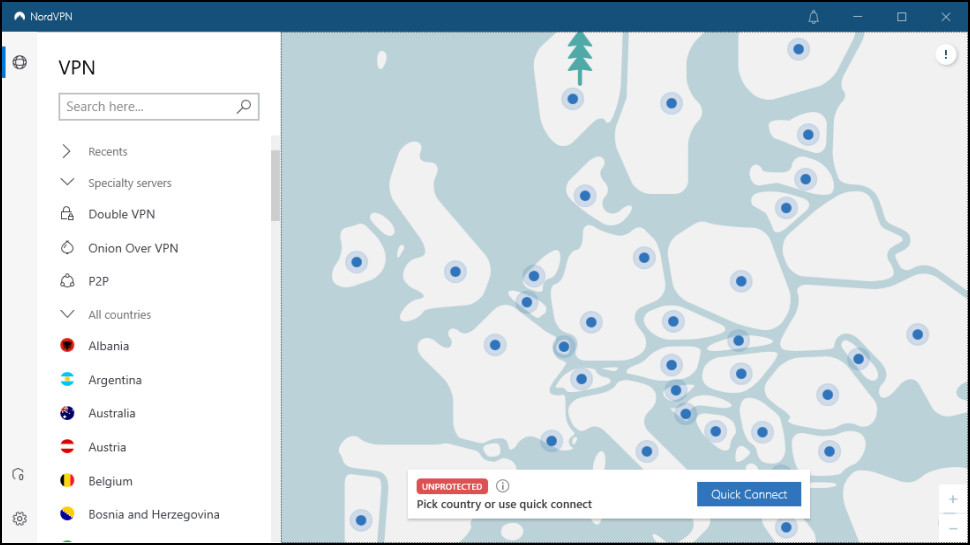
In the bottom left corner of NordVPN’s Windows app next to the minimize button, you’ll find a gear icon representing the settings button. Click on it to open the app’s settings.
7. Enable the Internet Kill Switch
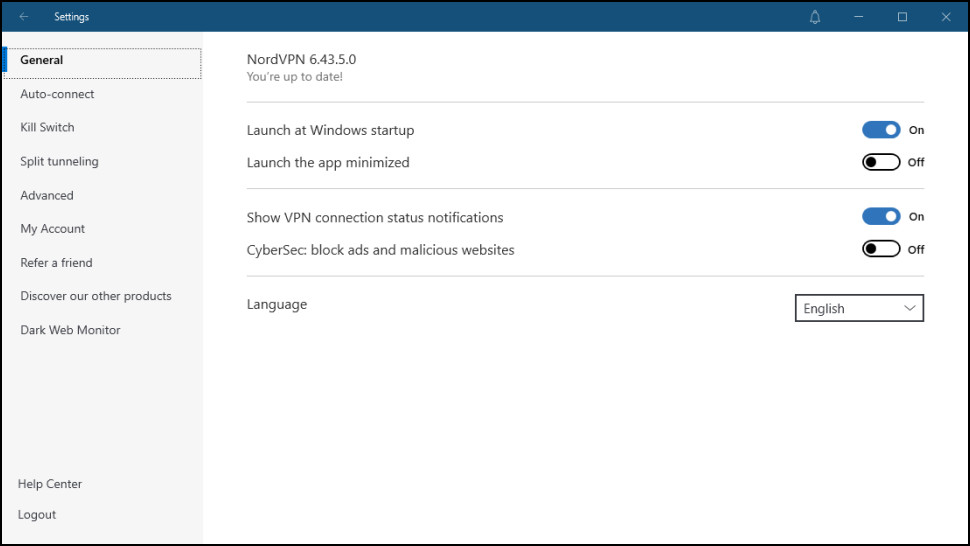
Once you’re in NordVPN’s settings, on the left side of the app you’ll see the Kill Switch option.
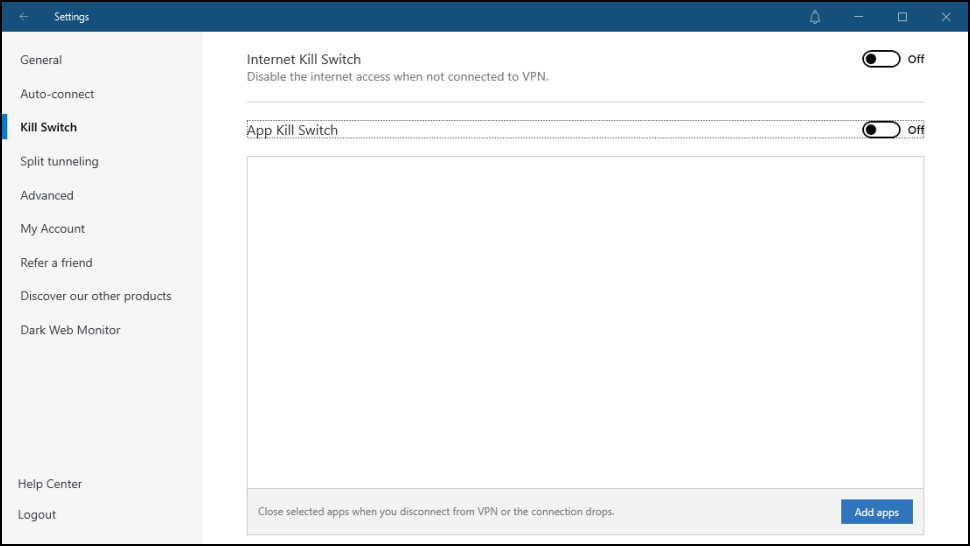
Click on it and you’ll be able to enable or disable the app’s Internet Kill Switch and App Kill Switch.
8. Confirm your choice
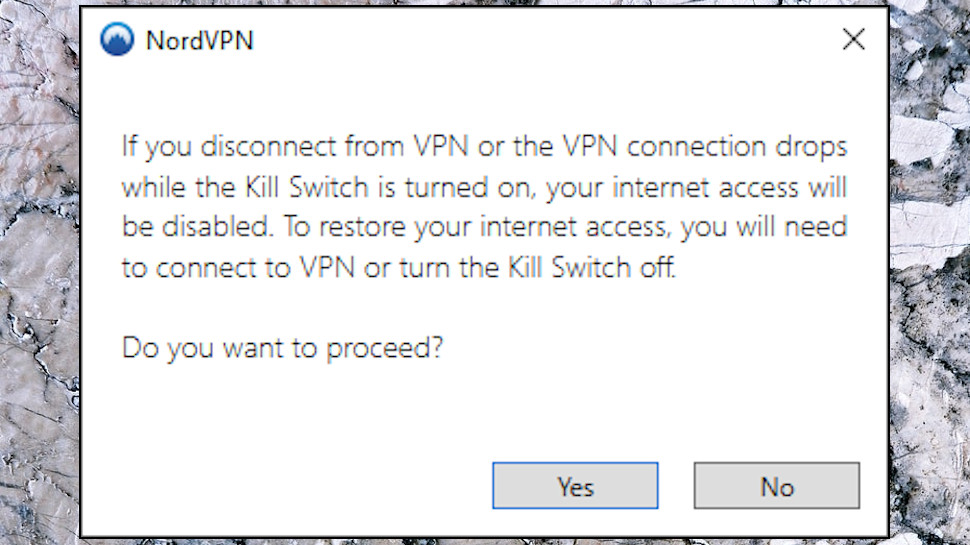
When you toggle on NordVPN’s Internet Kill Switch, a warning will pop up that explains what will happen if you enable it and ask if you’re sure you want to turn it on. Click Yes.

8. Enable the App Kill Switch
Back in NordVPN’s kill switch settings under Internet Kill Switch, you’ll see the option to toggle the App Kill Switch on or off. However, to enable this feature, you will first have to pick which apps will be closed when you disconnect from the VPN or your connection drops.

Click on Add apps and a list of the software running right now will pop up. If you can't find the program you're looking for, you can also click on Browse apps to manually search for it. Choose which applications you want to enable the App Kill Switch for by clicking the checkbox to their right. Click on Add selected to confirm your selection and the apps you’ve picked will now appear under the App Kill Switch option. You can remove these apps at any time by clicking on the small ‘x’ next to the app’s name.
9. Connect to a server
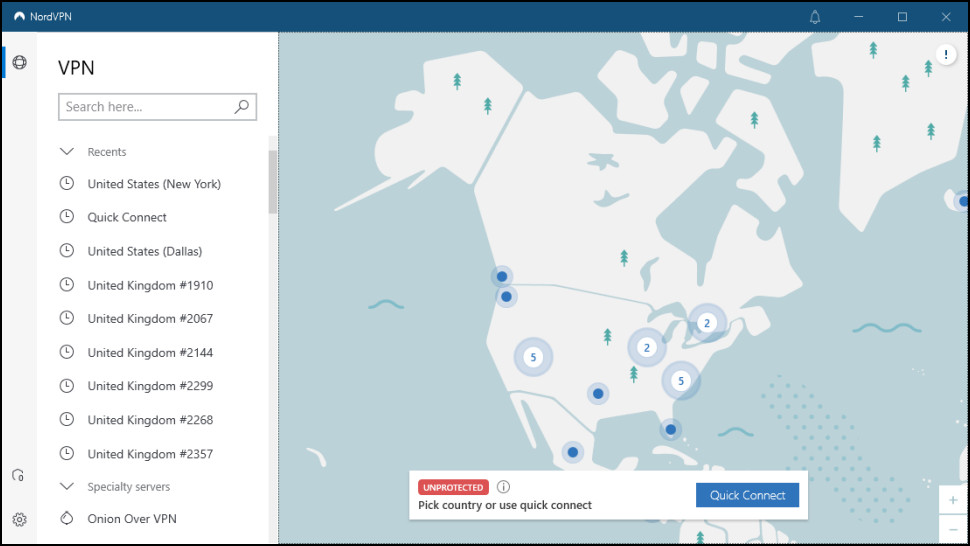
Now that you’ve set up NordVPN’s kill switch, you’ll need to pick a server to connect to. If you’re in a hurry, you can click Quick connect at the bottom of the app and NordVPN will automatically connect you to a server. However, if you want to connect to a particular country, you’ll need to scroll down the column on the left side of the app and choose one. Alternatively, you can also find the country you want to connect to on the map in the middle of the app and click on the blue marker to connect.
Sign up for breaking news, reviews, opinion, top tech deals, and more.

After working with the TechRadar Pro team for the last several years, Anthony is now the security and networking editor at Tom’s Guide where he covers everything from data breaches and ransomware gangs to the best way to cover your whole home or business with Wi-Fi. When not writing, you can find him tinkering with PCs and game consoles, managing cables and upgrading his smart home.