
 Become a TechRadar Insider


Anyone who's been on the receiving end of a PC disaster can testify to the pain that they can cause, and recovering from a major crash can be a long and difficult process.
The beauty of Windows is that it can be fixed with an installation disc, which can work all kind of wonders with your PC - just stick it in your optical drive and reboot your machine.
There's a problem, though - PC manufacturers don't generally like giving away copies of Windows with their machines, so if a shop-fresh system goes wrong, you're not only stuck up a proverbial creek without a paddle, but you're going to have to spend an enormous amount of effort getting out of it.
Rescue discs
Windows has a function that lets you make a rescue disc, which performs the wonders of the installation CD when things go wrong.
The default way to do this is to use a blank CD, which is all well and good, but copied CDs are pretty open to getting scratched and not reading properly, and you'll need to fork out for a spindle for them, which will clutter up your home or office.
Fortunately, as with most parts of Windows, there's a workaround. You can use a USB flash drive to act as a system restore disc in Windows 7, making part of an armoury of tools that you can call upon in times of need.
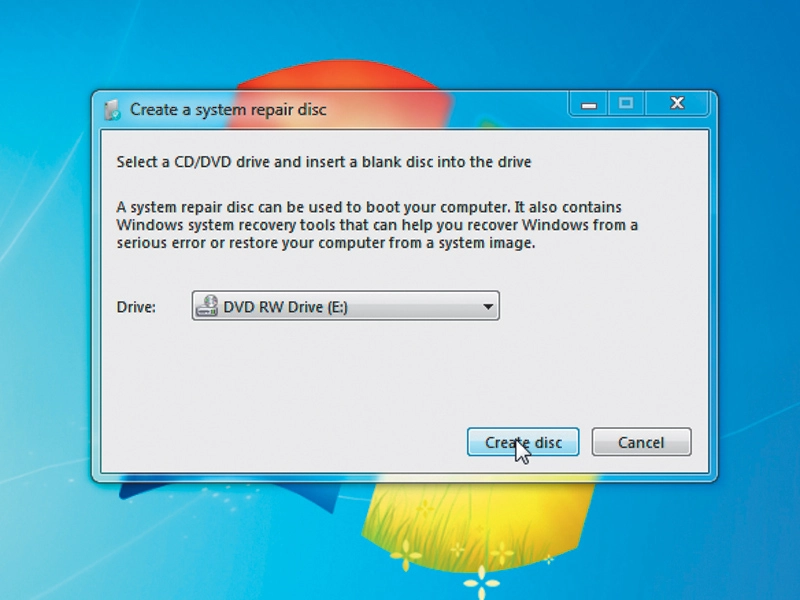
To start making your recovery USB tool, you first need to create a recovery disc. You can go about this in two ways. The first is to actually burn a disc using the tool in Windows. Click 'Start', type create a system repair disk in the Search box and insert a blank disc. When you start the process, your disc will be burned, which can take a few minutes. This isn't ideal, though - CDs are slow and sometimes fiddly to make. With this in mind, we'd always opt for making a USB recovery key instead.
Download ISO image

Whichever method you choose, you'll need to download an ISO disc image. To begin, go to here and download the appropriate image for your system. You'll need to use a torrent program to download the ISO, but it's fast and legal.
It's now time to start turning your CD image into a USB repair tool. First, you need a USB flash drive that you're prepared to format. The ISO file is only 100MB, so an ordinary 512MB stick will be fine.
Connect it to your PC, then click 'Start' and type cmd into the Search box. Right-click on the icon and select 'Run as administrator'. Once the command prompt has opened, you can use its partitioning tool to turn your bog standard USB drive into a powerful rescue disk.
First, type diskpart into the prompt and press [Enter], which will enable the process.
Next, type list disk to get a list of all available disks. They will be listed in numerical order, showing every partition, CD, USB connection and eSATA currently connected.
Being DOS, it will neglect to call these partitions by their assigned name, so put your detective cap on and choose the disk that's the right size.
Next, select the USB key by typing select disk #, where the hash is the appropriate number for your USB drive. The next step is to format the USB key so that Windows will recognise it as a bootable recovery disc.
To do this, first type clean into the command prompt, then press [Enter] and your USB stick will be prepared for use. Next, type create partition primary, hit [Enter] and type select partition 1, followed by active. This process slowly readies your USB stick for action, but there's a little way to go yet.