Why you can trust TechRadar
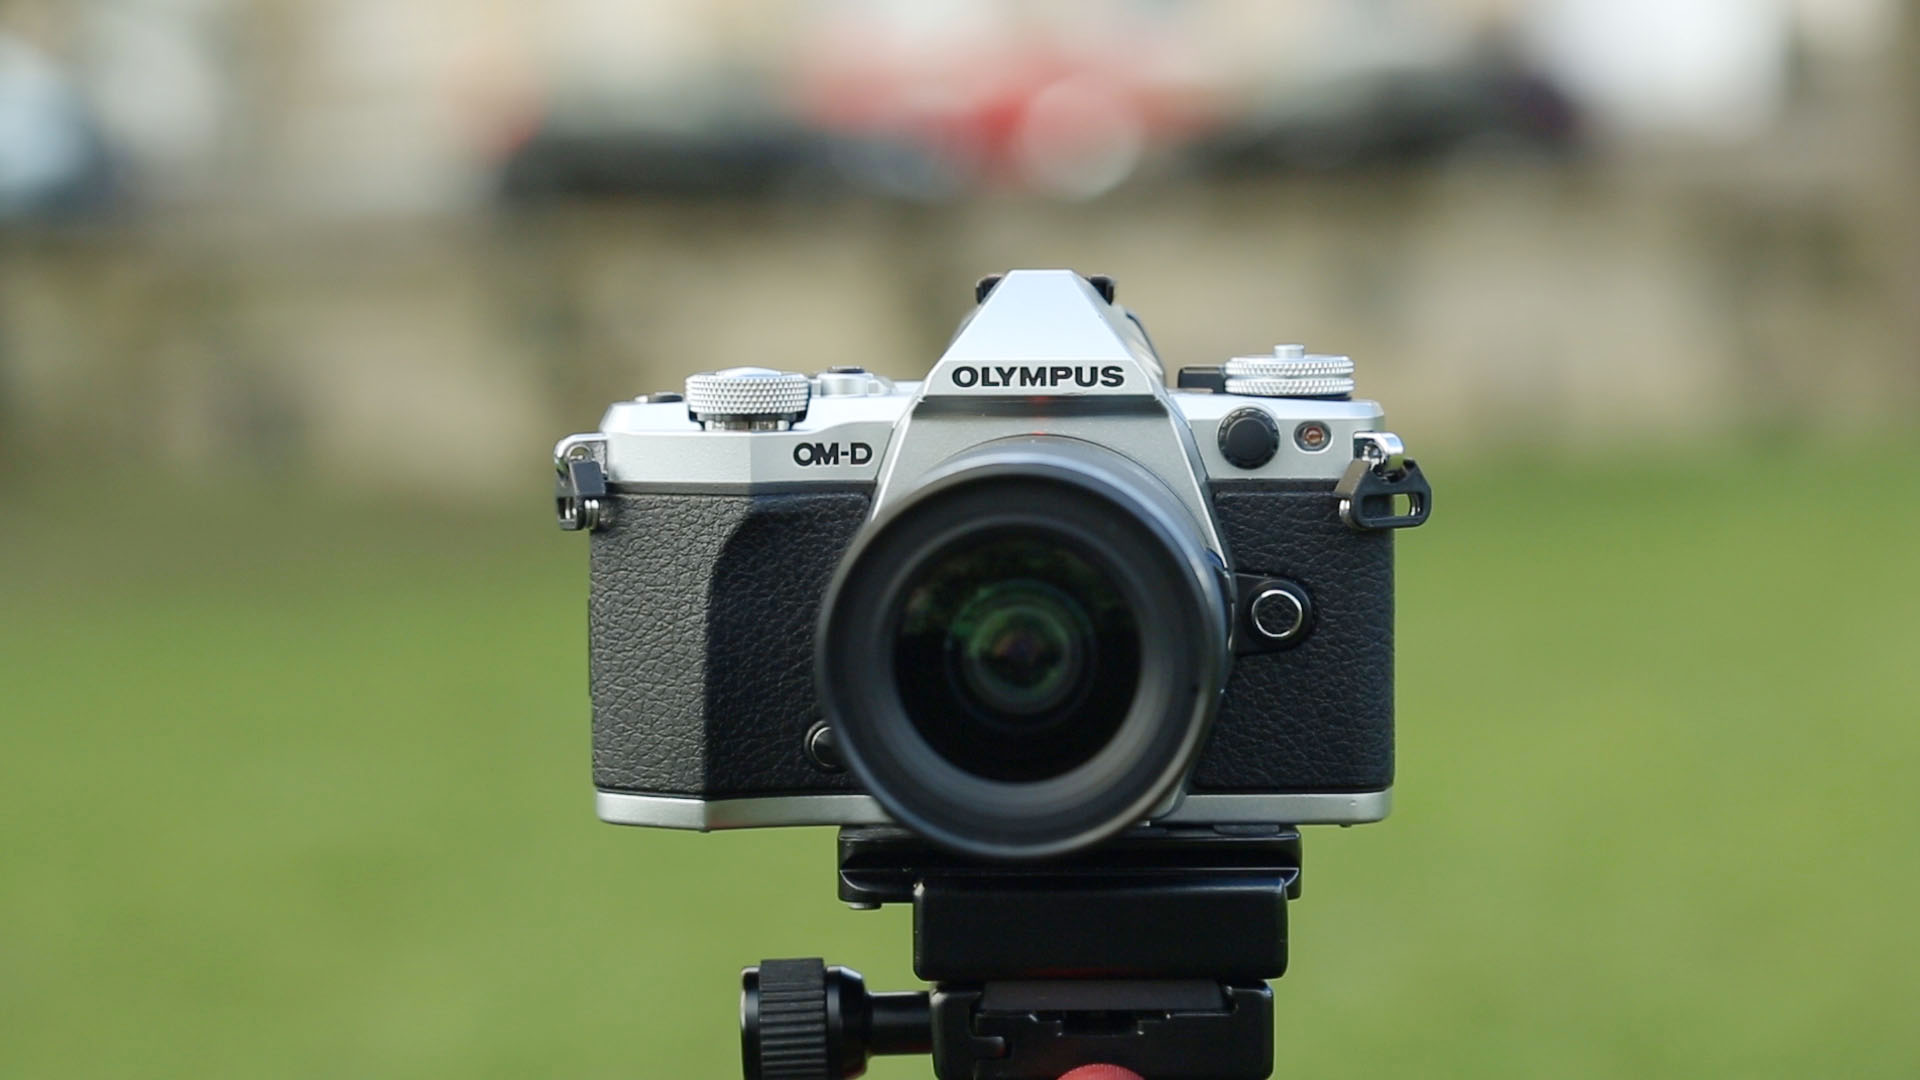
The controls are all within easy reach, but some people may find the small buttons a little fiddly. A couple of photographers that I showed the camera to accidentally pressed the button on the front of the camera near the lens mount when they held the camera to their eye. Traditionally this would activate the depth-of-field view, but as I had set it to reach 'One-touch white balance' (to set a custom white balance value) this option appeared in the viewfinder, causing them some confusion.


I also found that a couple of buttons didn't behave as I would expect on a few occasions. The Info button, which I used to toggle between the on-screen displays, for example, occasionally wouldn't bring up the electronic level display. And there was a short period of time when I couldn't review images in the viewfinder. I was unable to find any explanation for this within the menu and the ability to review spontaneously recovered without me making any settings changes.
In addition, it seems that the viewfinder sensor, which activates the electronic viewfinder (EVF) and turns off the main screen becomes unreliable when the battery level is low.
On the subject of the EVF, this provides a very good view of the subject. There's no sign of any texture or flickering and the contrast is a good match for the scene's. With the Natural Picture mode selected, the viewfinder image sometimes look a little more saturated than the scene, but the hues are a good match. There's some noise visible in very low light, but you can still see the subject clearly.
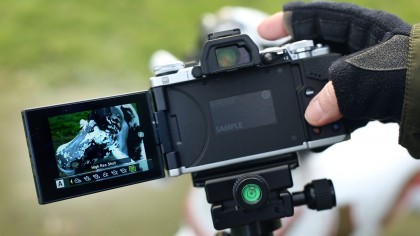
The main screen is also nice and clear with plenty of detail visible in all but very bright light. The fact that it's on a vari-angle hinge means it's very useful when you want to shoot from awkward angles in either format.
When you're composing images on the main screen the autofocus point can be selected with a tap of the finger, but when the EVF is in use, the navigation controls are employed. Both approaches work well, but some might wish to be able to set the point using the screen's touch controls while looking into the viewfinder like you can with some Panasonic G-series cameras.

Like Olympus's other OM-D cameras, the E-M5 Mark II has a huge array of features and it can take some time to track down their controls. Live Time mode, for example, is selected by setting the camera to manual exposure mode and increasing the exposure time beyond the last selectable value. The controls that set aspects such as the maximum exposure time and the frequency at which the on-screen image refreshes are located in the second page of Custom Menu E.
Sign up for breaking news, reviews, opinion, top tech deals, and more.
Similarly, High Res Shot mode is selected via the Drive Mode in Shooting Menu 1 (or Super Control Panel), but the option to set the exposure delay after pressing the shutter release is located in Shooting Menu 2. Also, if you want to shoot raw files you need to set this once the camera is in High Res Shot mode even if you already have the camera set to record raw standard images.
