Why you can trust TechRadar
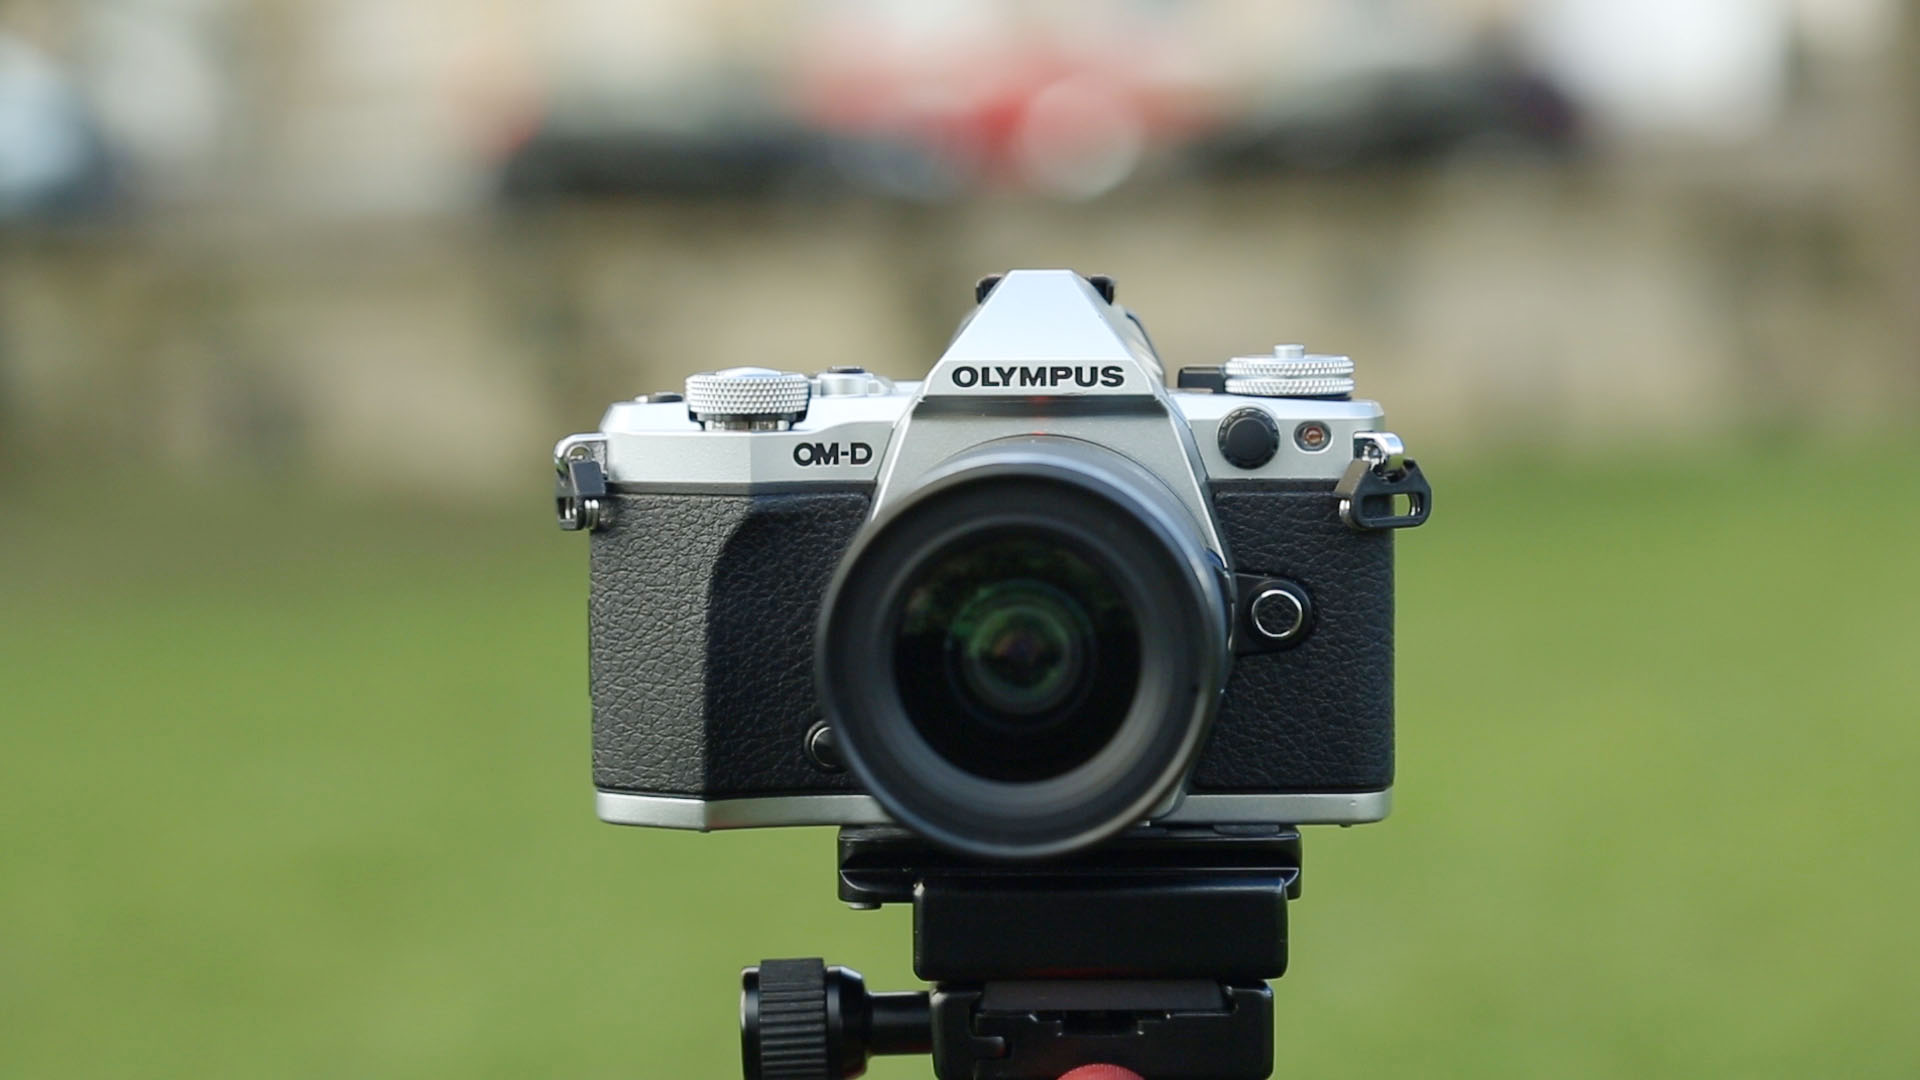
It may be small, but the OM-D E-M5 Mark II feels very nicely constructed and its magnesium body is pleasantly solid in the hand. It's also dust- and water-proof as well as freeze-proof down to -10 degrees C.
The front fingergrip provides good purchase, but as is often the case, it only offers sufficient room for two fingers. So while your index finger sits on the shutter release, your little finger is likely to be curled under the camera. However, there are a couple of optional grips available which extend the camera a little if you need to. The HLD-8G gives the camera a more pronounced front grip, a more prominent shutter release and control dial as well as a microphone port. Meanwhile HLF-6P, which connects via the HLD-8G, creates a second grip for use in portrait orientation with another shutter release button and dial along with a couple of extra custom buttons. This grip can also house a battery to extend shooting times.

On the back of the camera there's a small but effective thumbrest that combines with the front grip to make the camera feel safe in your hand during and between shots. I find the camera more comfortable to use and carry without the rather stiff neckstrap that is supplied. This attaches via lugs in the top front corners of the camera and I found it often got in my way when reaching for the shutter release.
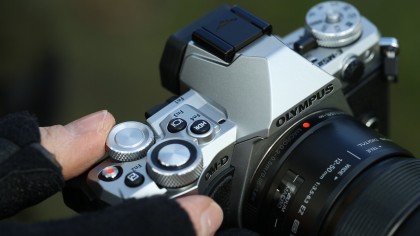
As mentioned earlier, the E-M5 II sits between the E-M1 and E-M10 in the Olympus OM-D range and its control arrangement is halfway between the two. In comparison with the original E-M5, the Mark II has a couple of extra buttons on the top-plate. There's also been a rejig to the dial arrangement with two fairly large dials on the right for making settings adjustments and the mode dial, as before, on the left. The power switch is now alongside/under the mode dial.

Taking a few cues from the E-M1, the mode dial has a lock which can be used or not as you like and there's a switch on the back of the camera that is used to change the options adjusted by the dials. This switch is a mixed blessing. On the one hand it doubles the number of options that can be adjusted quickly via the dials, but on the other, you need to remember which setting the switch needs to be on to access the controls that you want. Once you've been using the camera for a while you get into the swing of it, but you can expect some frustration in the early days.
One of the great features of the OM-D series that the cameras are extremely customisable, so you can set-them up to suit your preferences. However, it can take quite a while to find and understand all the options, so it's sensible to use the camera in the default arrangement for a while before customising a few controls to see how you get on.
Sign up for breaking news, reviews, opinion, top tech deals, and more.
Current page: Build and handling
Prev Page Video and exposure innovations Next Page Controls and viewing system