You must develop the habit of backing up your Mac, however, you use it. When you've spent hours, days, or months working on your Mac, the last thing you want to do is redo it all because it's been lost. Neither do you want to put your photos at risk, see your music go up in digital smoke, or trash the first draft of a book by accident.
Fortunately, none of these unfortunate scenarios need to happen if you take daily care of your data. Implementing a structured, multi-location backup system isn't difficult - there's also plenty of excellent backup software in the wild to help. And, a few hours spent setting it up can save you days or months in the long run when you neatly sidestep having to recover – or recreate – your lost work. Apart from the practical benefits of a backup routine, putting one in place now will save you the heartache of losing your digital memories later.
In this ultimate guide to backing up your Mac, we'll show you how easy backing up can be with a series of steps for home and business users.
Article continues below 
Backup basics
The first rule of backing up your Mac or building a backup routine is to make sure your original data and backups are not stored in the same place. Picture a scenario in which your house is flooded. How would you recover your photos if your Lightroom library and your backup were on the same drive? You couldn't.
Even the most straightforward setup needs to ensure two sets of data are kept far apart – at least in different parts of your house, but if you can, preferably in separate buildings. You should also make a point of building backup points into your weekly routine. Ideally, you should back up every day, but this isn't always practical, and it's easy to forget.
Add an event to the Calendar or Reminders apps to pop up an alert at least once a week, prompting you to back things up manually. You don't need any specific software to create a backup. Using Finder, you can connect an external drive or an SD card and drag across the folders you want to secure.
Ensure the pointer icon bears a '+' in a green arrow before dropping the copied files onto the destination media to ensure they are duplicated rather than moved. (If this doesn't appear, hold the Options key while dragging.)
If you have space, copy across your whole User folder. If not, at least copy your Documents, Desktop, and media folders. It's good practice to have more than one destination media and to rotate between them. So, if you can afford two or three inexpensive external drives, label them so you can tell them apart - or you could supplement them with cloud backup. Also, use them in sequence, so you aren't ever wiping out your only backup each week when you create a new one.
You will also have incremental backups by working this way, allowing you to reinstate files from different points in time.
How to do a basic backup in Time Machine

1. Sort out your storage
Get a large external hard drive for Mac (the larger, the better) and connect it to your machine. If it's not formatted for the Mac, open Disk Utility and select the drive in the sidebar, click the Erase button, select Mac OS Extended '(Case Sensitive, Journaled)', then click the Erase button.
2. Decide on directories
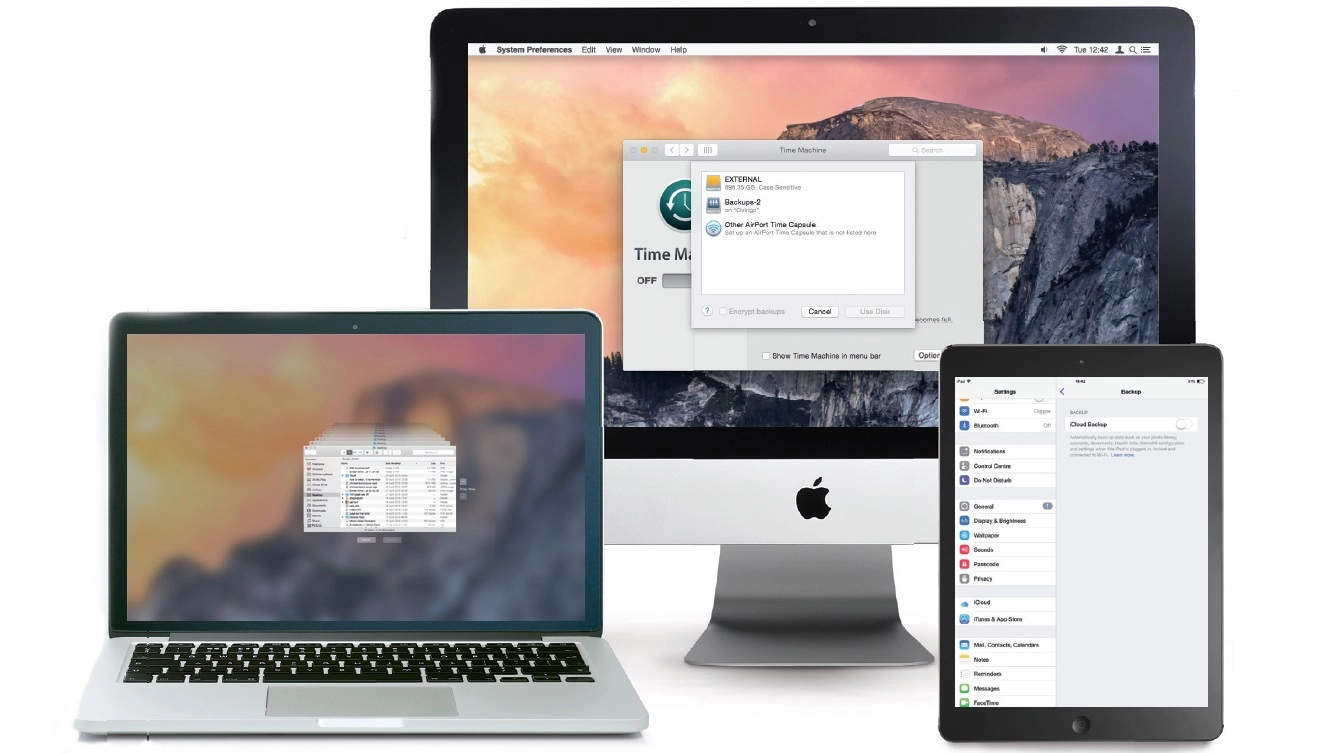
Open System Preferences, click Time Machine, then click Options... Next, click the '+' button to add your internal storage. You can include virtualized operating systems here, which create large files that change frequently. Use the VM's snapshots tool to back these up.

3. Safety vs Battery life
If you're using a notebook, decide whether you want to back up when using the battery or when using the main power, keeping in mind that you need to balance file security with battery performance. Then, click "Save" to store your settings and step back to the main Time Machine preference pane.