What is HDR photography? How to master the effect on cameras and phones
Learn when (and when not) to use HDR photography
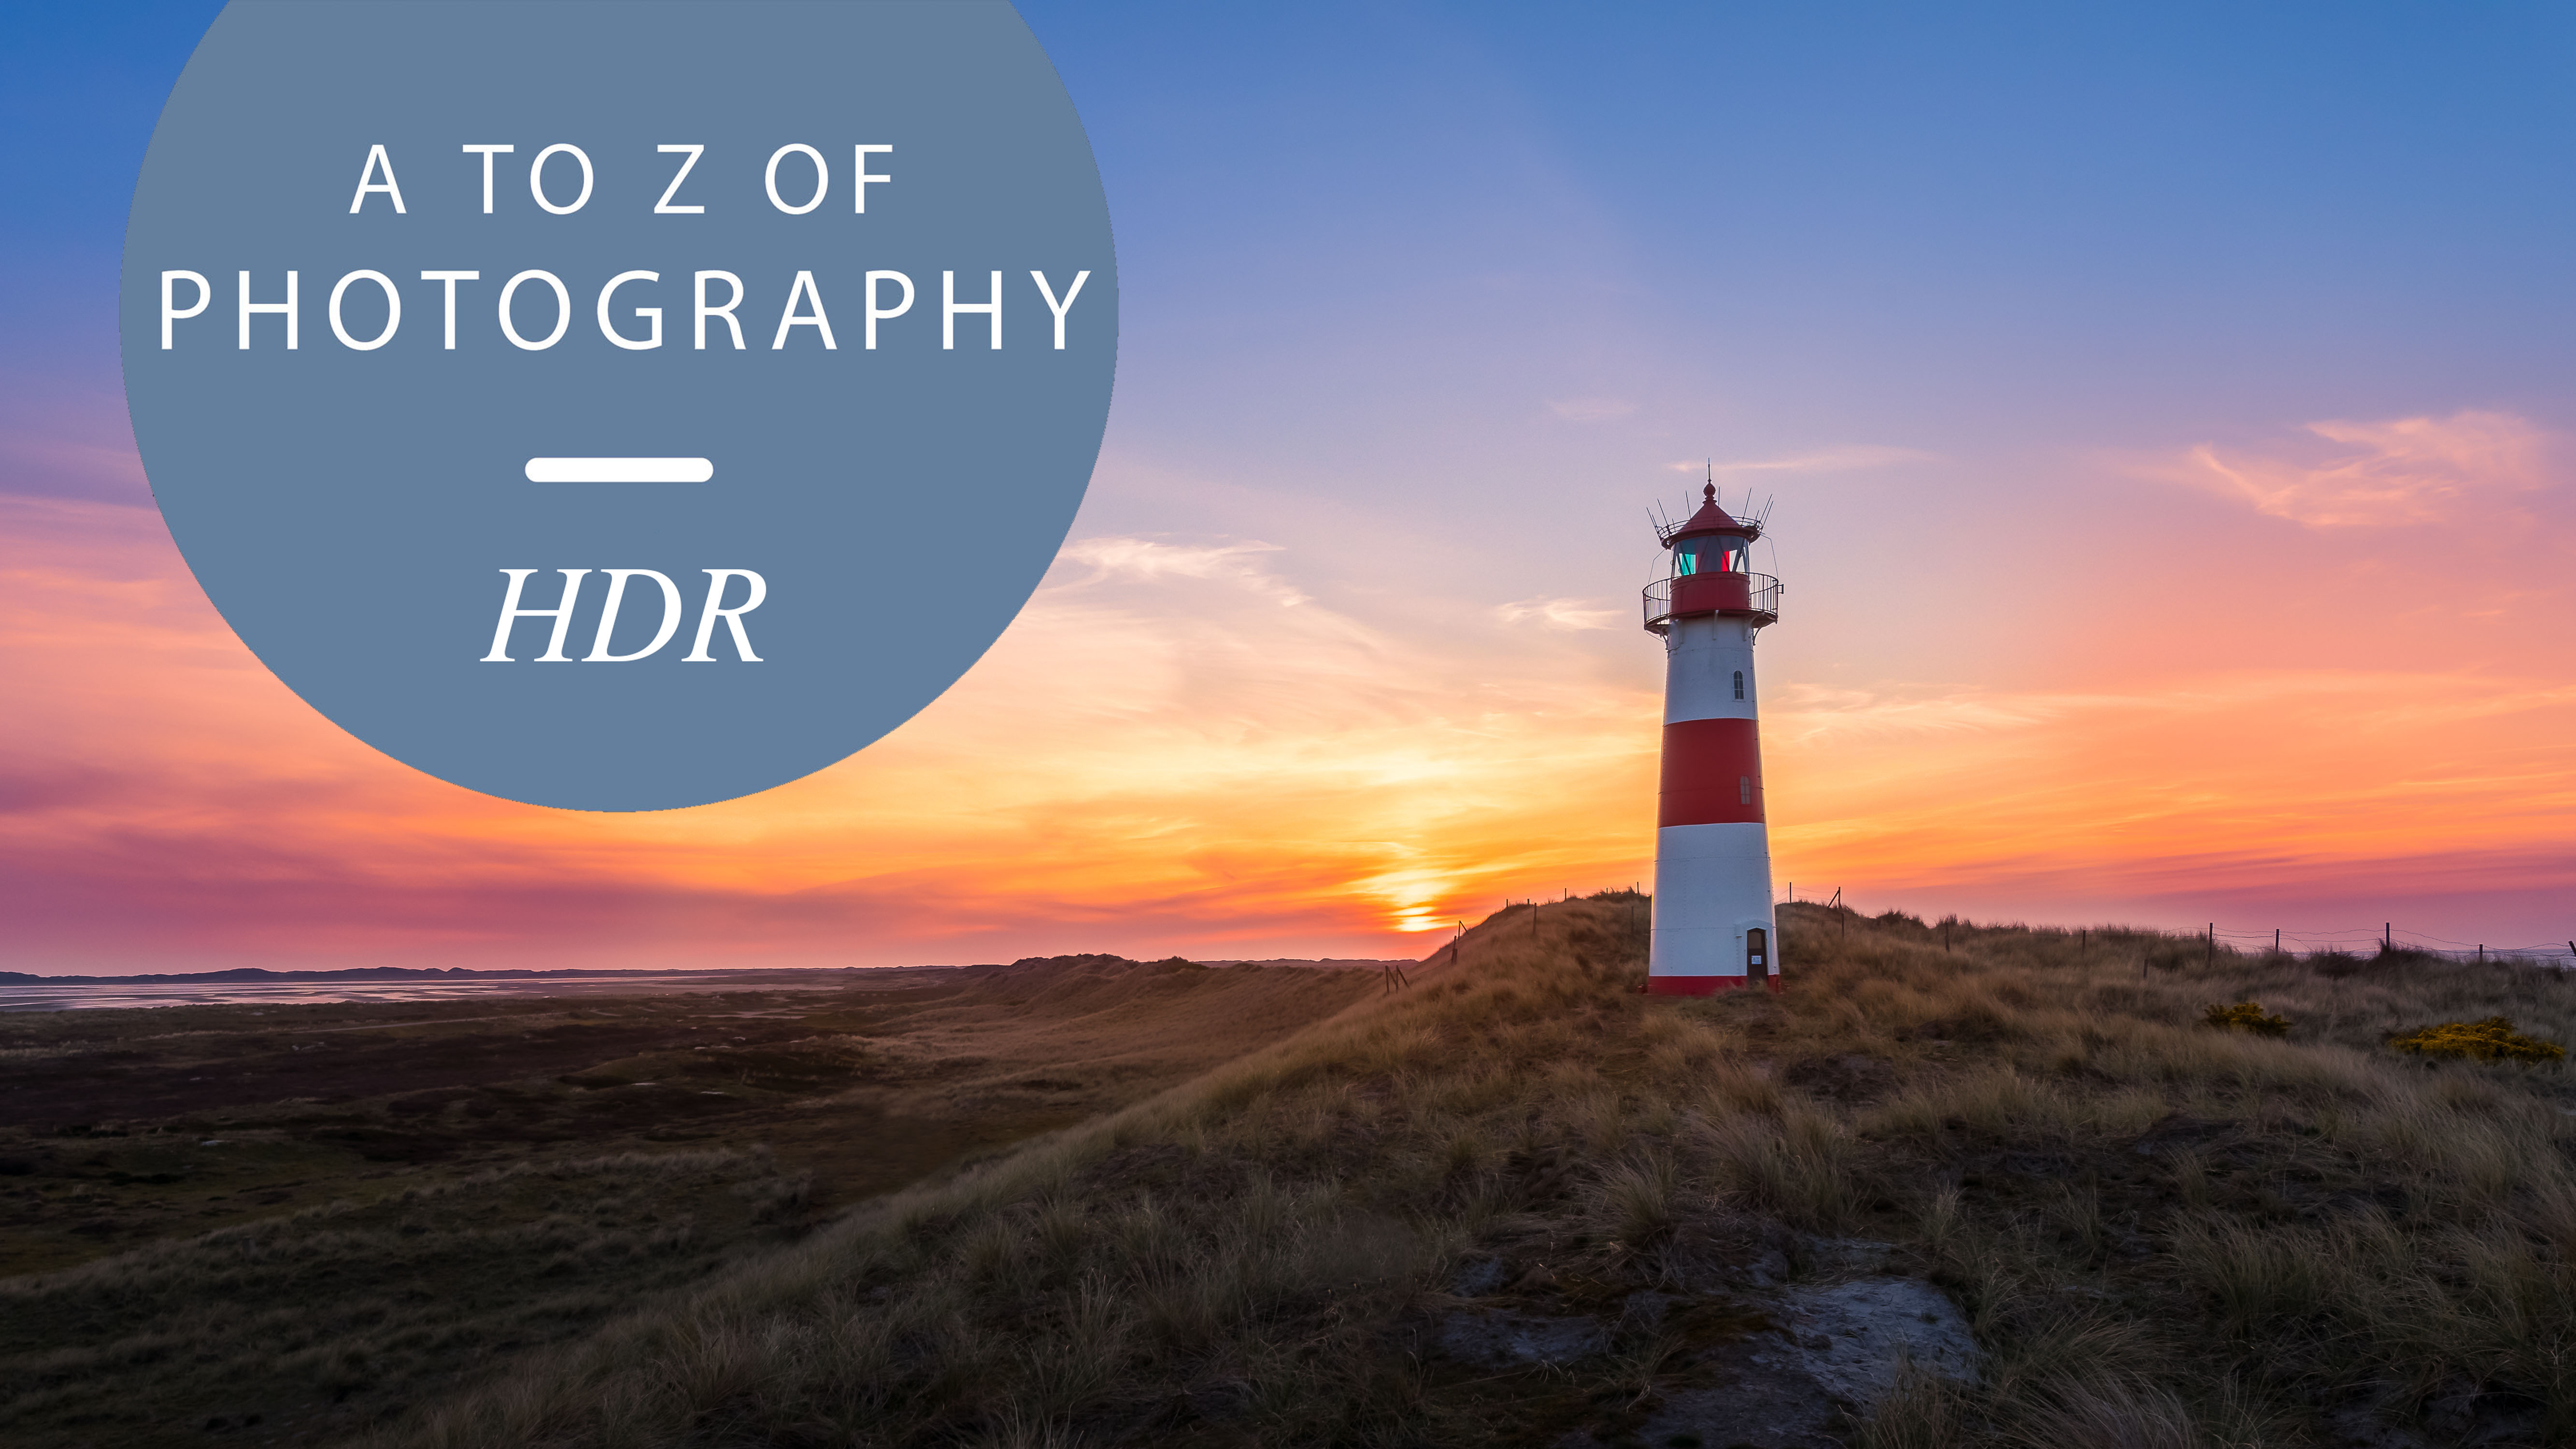
In photography, HDR stands for High Dynamic Range. An often misunderstood term, there are actually two aspects of dynamic range to understand; the dynamic range of the subject and that of your camera.
Regarding the subject, dynamic range is the breadth of tone from lightest part (highlights) to the darkest part (shadows). In a daylight scenario, bright sunlight and reflections such as on water or the shine on skin are your highlights, while dark shaded areas are the shadows.
As for the camera, its dynamic range describes how much of that breadth of tone it can capture in a single image. There is a limit. The human eye is able to perceive a much higher dynamic range than any camera or phone.
While an overcast day shouldn't pose too much of a challenge to your camera, there are scenarios where it's not able to capture the full dynamic range. For example, bright sunlight can appear washed out. There is a solution to this kind of problem though...yes, HDR. HDR was introduced as a way to increase the amount of dynamic range that can be captured into a single image.
How to master HDR with your camera or phone
Different camera systems offer various approaches to HDR. Most DSLR and mirrorless cameras offer exposure bracketing, where you can consecutively capture a number of identical images, each with a different brightness value. You then combine these images using editing software into one final image with high dynamic range.
To understand what is possible by exposure bracketing here's an example: a camera with 12EV (exposure value) dynamic range can offer exposure bracketing ±3EV, thereby increasing the dynamic range by up to 50%. That's huge.
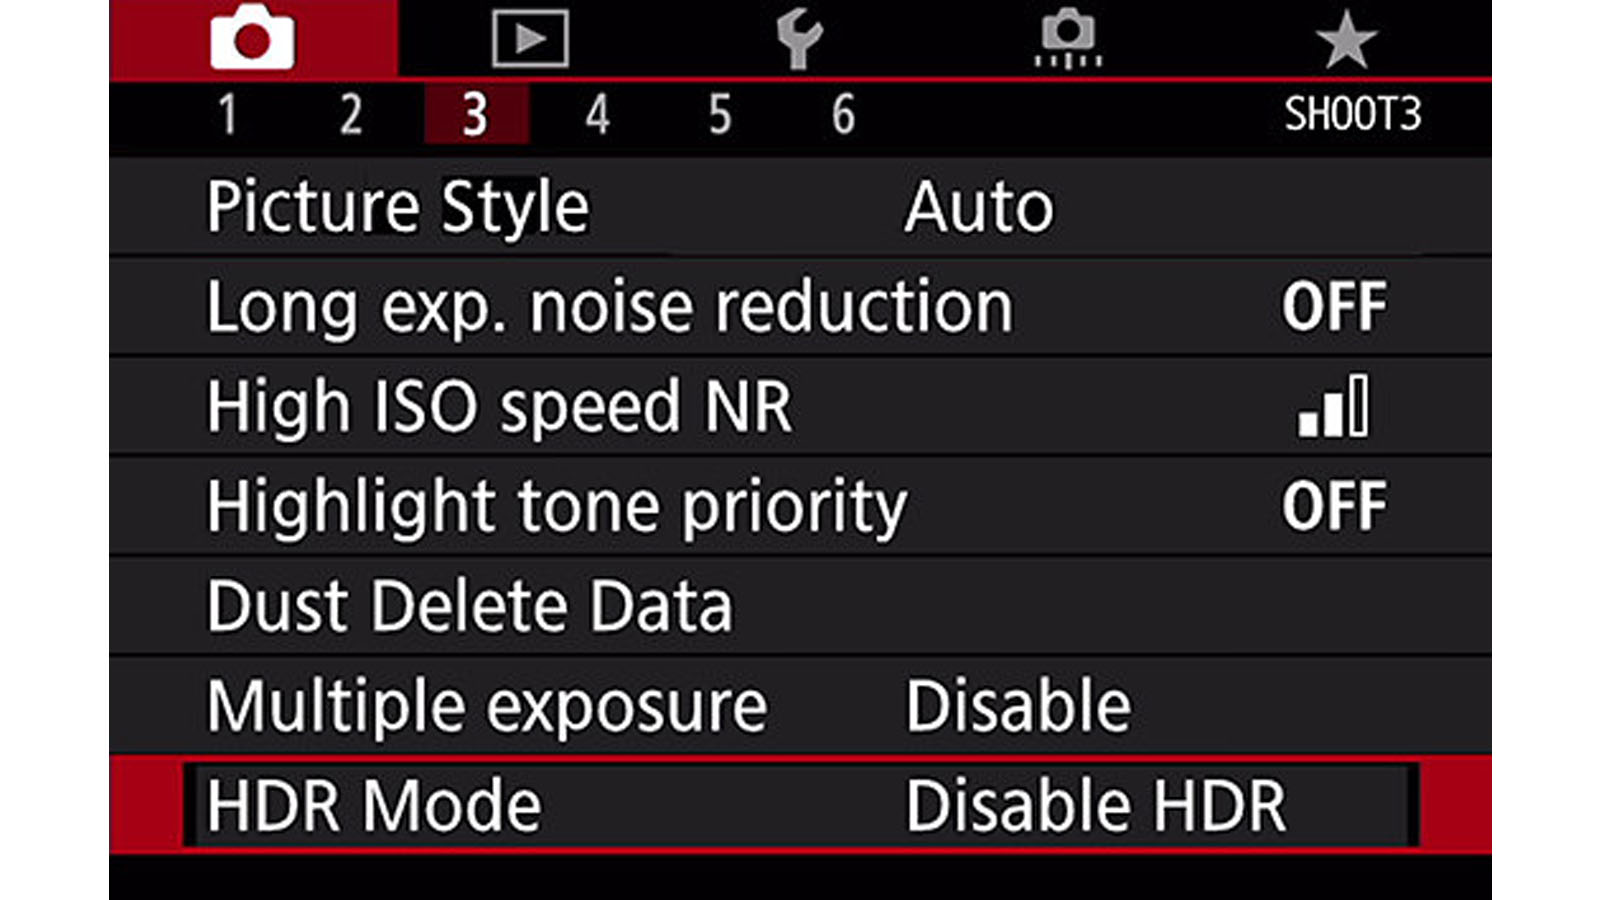
Buy a new camera and chances are it will have an HDR mode. This acts in the same way as exposure bracketing, but automatically takes the images at different brightness values and combines them together for you in-camera, with no need for editing software. It's a quicker process.
Sign up for breaking news, reviews, opinion, top tech deals, and more.
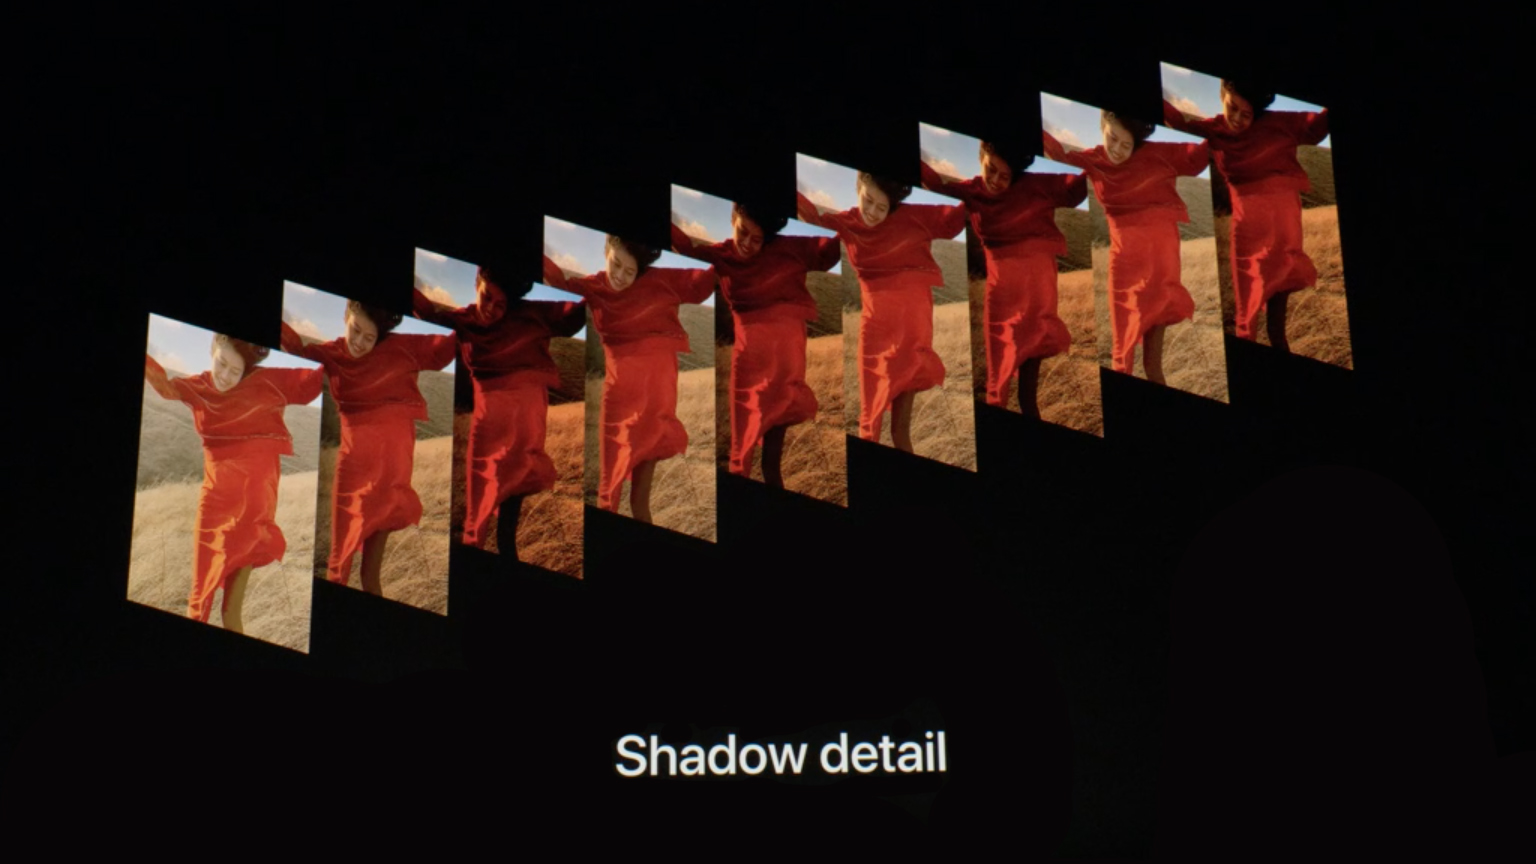
Upping the ante, a number of smartphones apply HDR automatically, with 'Smart HDR' in current iPhones being one example.
HDR should not be confused with highlight and shadow compensation, where seemingly more detail appears in those areas of the image. Technically speaking, this is not creating an image with higher dynamic range, but brightening or darkening the detail that is already there in a single image, that could otherwise be recovered manually through editing.
When should you use HDR?
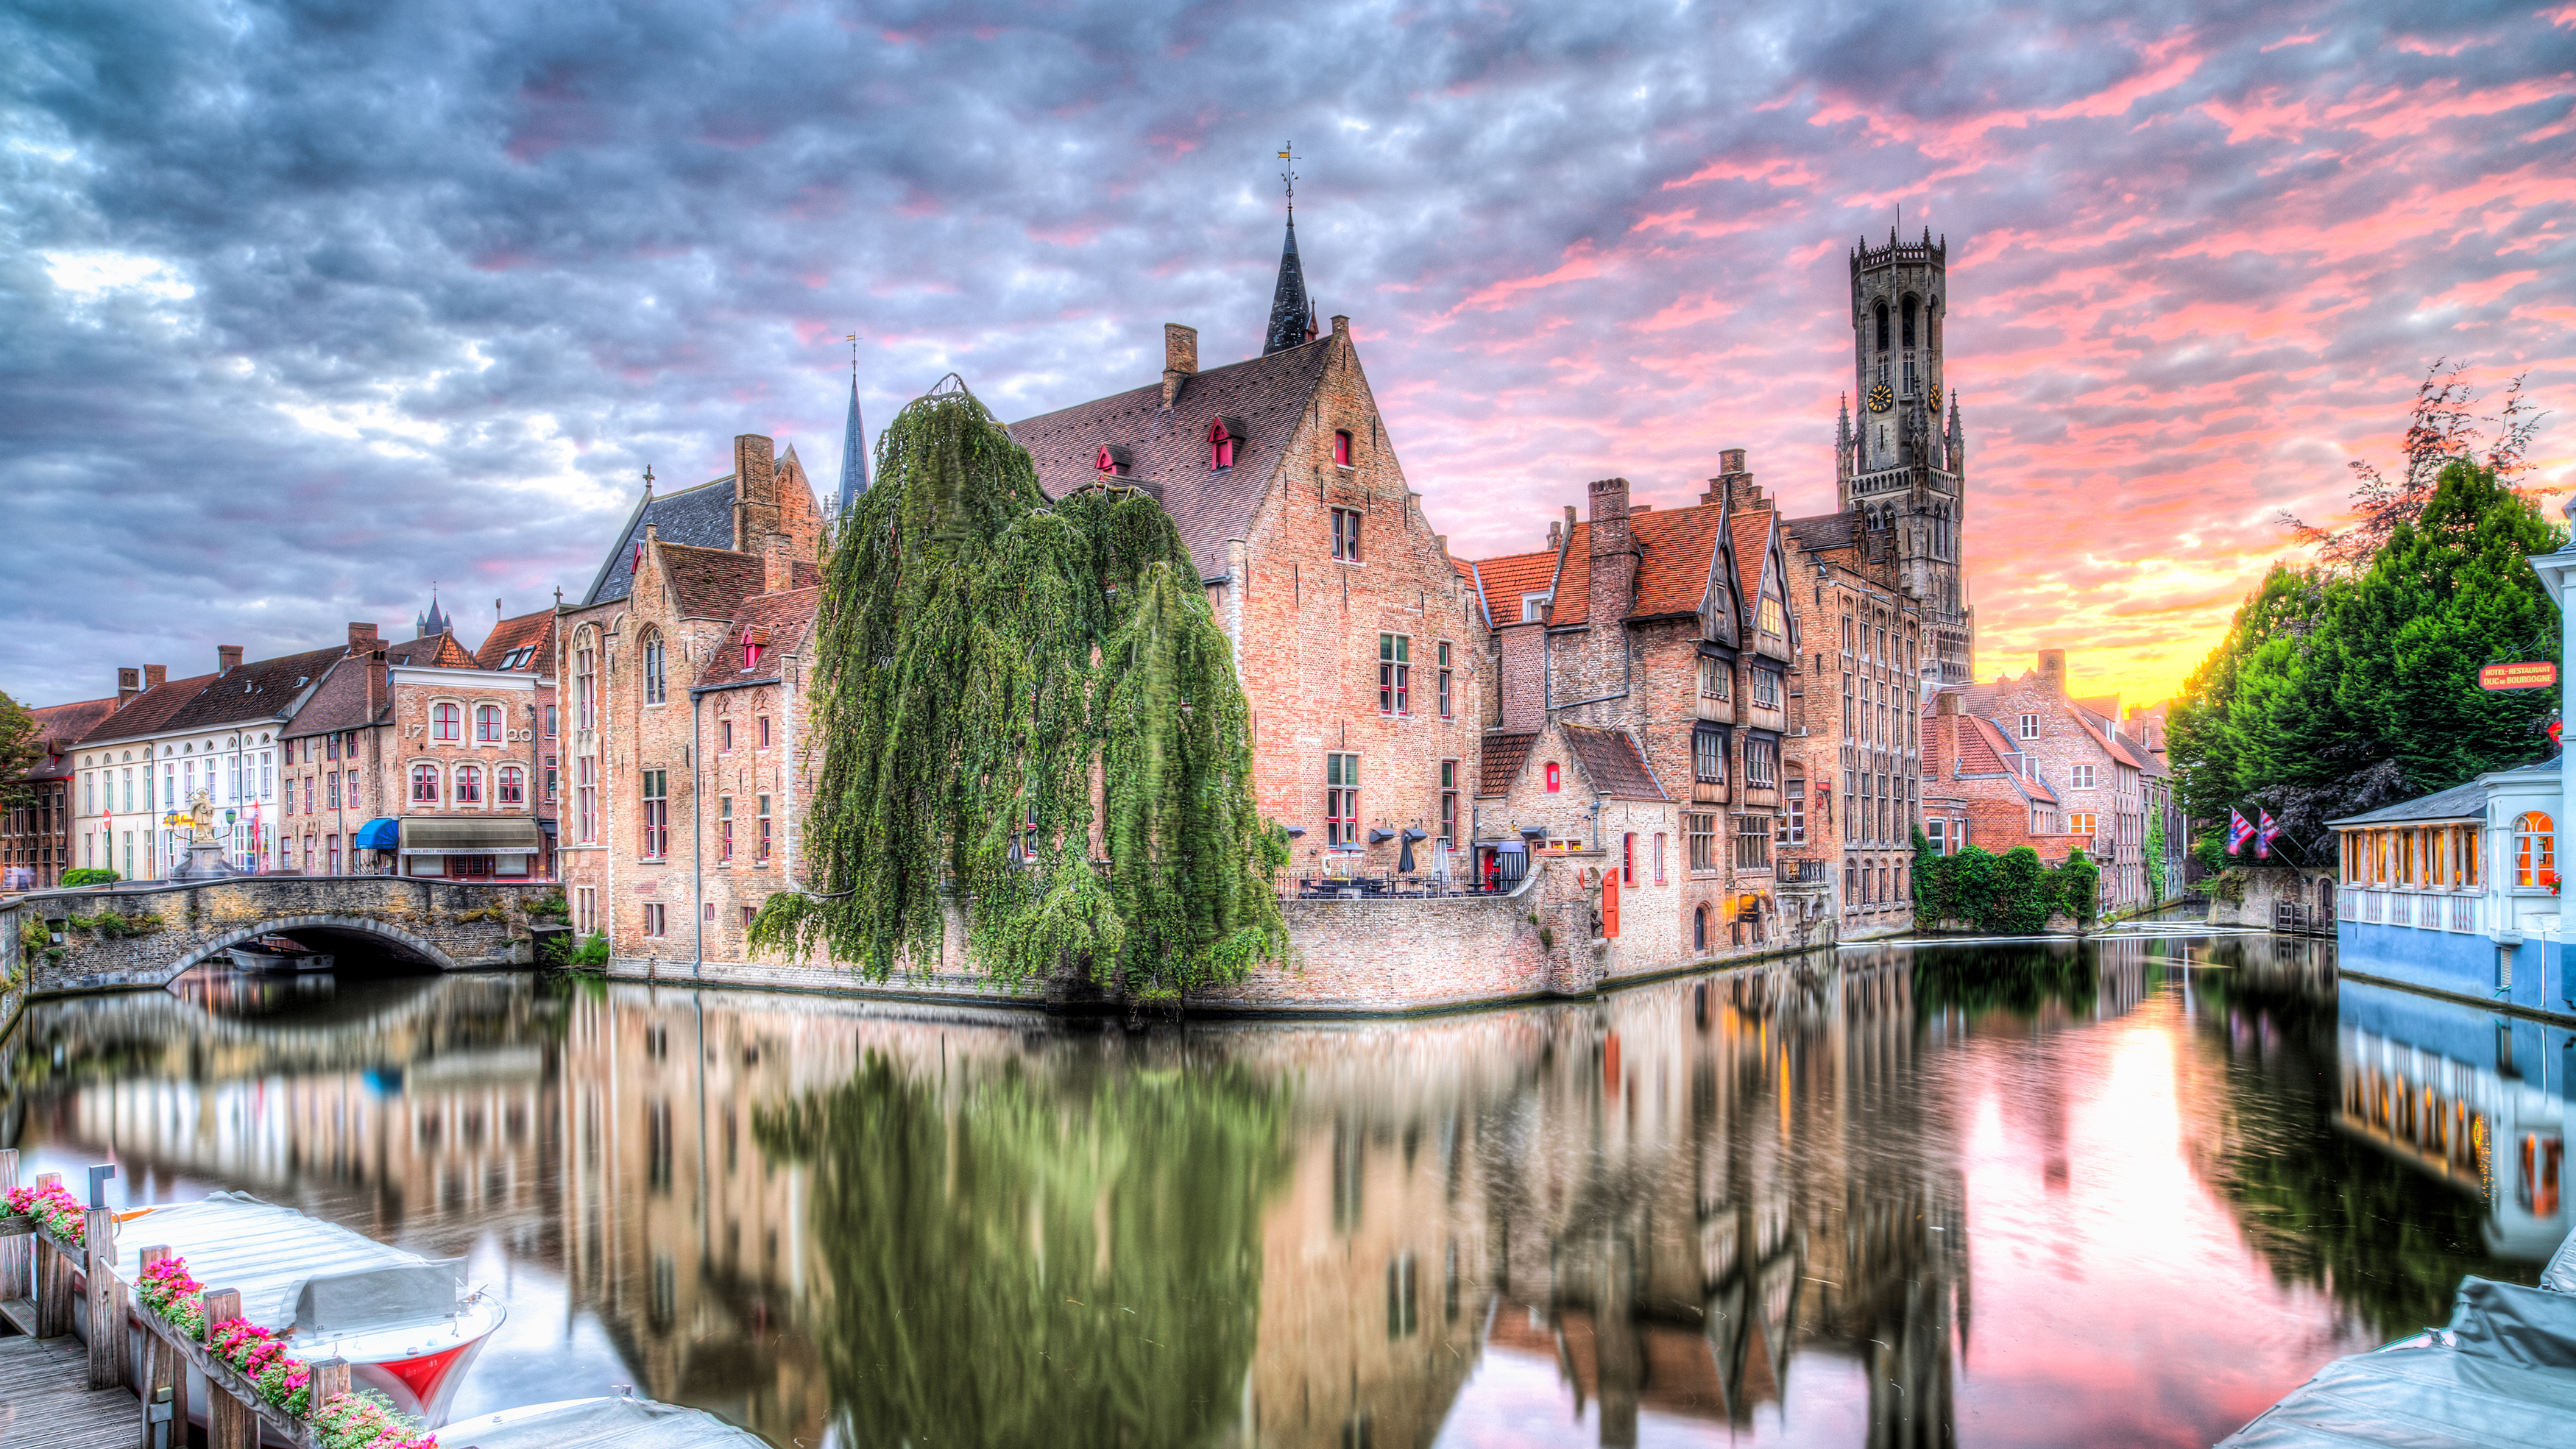
For the most part, we like to use HDR with caution. It certainly has its place, namely subtly adding missing detail and thereby improving image quality. A little lift of the shadows, recovering detail in reflections on skin and from bright sunlight.
On the flipside, HDR can be overcooked and all sense of reality is lost, none more so than when shadows are overly bright and the final image feels flat. In other words, bringing all tones to a midpoint.
There are scenario-based limits to HDR too, with one example being action. Fast moving subjects can have a 'ghosting' effect once merged with a HDR mode, because the subject is in a slightly different position in each image of the HDR sequence.
HDR might also negatively counter creative effects you desire. For example, you might want a backlit silhouette without HDR revealing detail in the shadows of your subject.
How does HDR work on smartphones?
In smartphones there are too many examples to cover, but many include an automated HDR feature. An iPhone's 'Smart HDR' applies HDR by default, created using computational analysis of the scene being captured. Sunny day? Cue HDR.
Just like digital cameras, smartphones capture multiple images one after the other at different brightness levels, to then merge them together into one HDR image. The entire process is usually a breeze, taking a tiny fraction of a second.
You might also have a choice to select (always) on/ off or auto HDR. In general, auto HDR does a great job, taking out the hassle of manually applying the effect. However, it's nice to have the manual option too, should you wish for a creative use of exposure or to avoid ghosting in fast-moving subjects.
Some smartphones are listed as having HDR when in fact it is a highlight and shadow compensation feature, not true HDR. For example, Google Pixel phones use highlight and shadow sliders whereby you can brighten or darken those areas, but not technically extend the dynamic range.
How to make HDR photos
1. Stabilize the camera
Whether using a camera or smartphone, your first step for HDR photography is stabilizing the camera. A shaky camera for HDR photography can result in blurry pictures. (It's a similar principle to why it's best to avoid fast-moving subjects in HDR photography, because of ghosting).
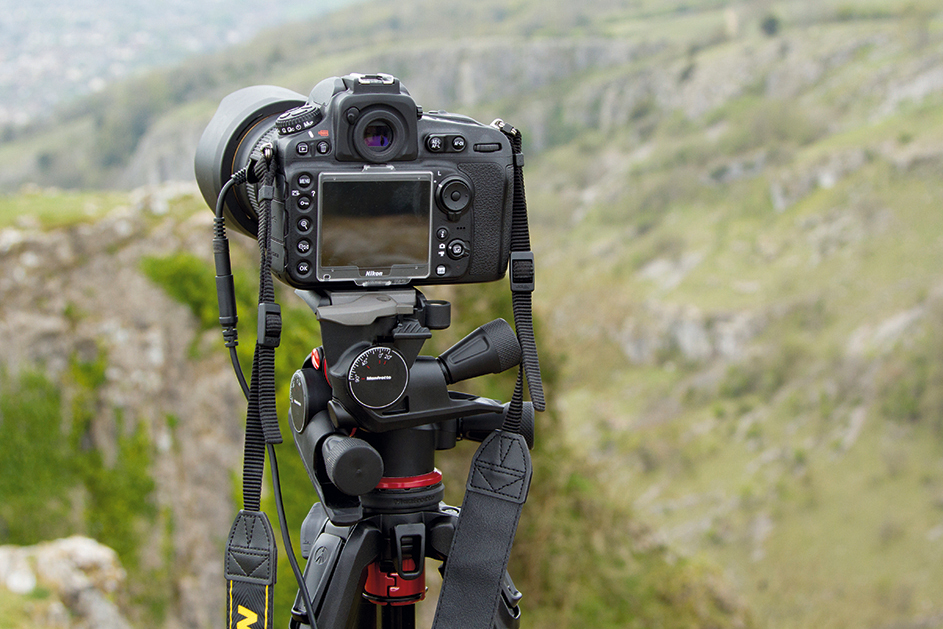
Ideally, fix your camera to a tripod or stable support, at the very least steady your hand. If you're really going to town, remotely trigger or timer delay your camera to avoid shake from pressing the camera's buttons.
2. Select exposure parameters
With a multi-shot HDR or exposure bracketing mode, you can usually select just how much to increase the dynamic range on either or both the highlight and shadow ends.
You don't have to use all the images from the sequence when editing, though, so there's no harm maxing out what's possible. However, it's best to get the mid-point image 'exposed for the highlights' by using your histogram – that's a good general rule of thumb for single-shot images.
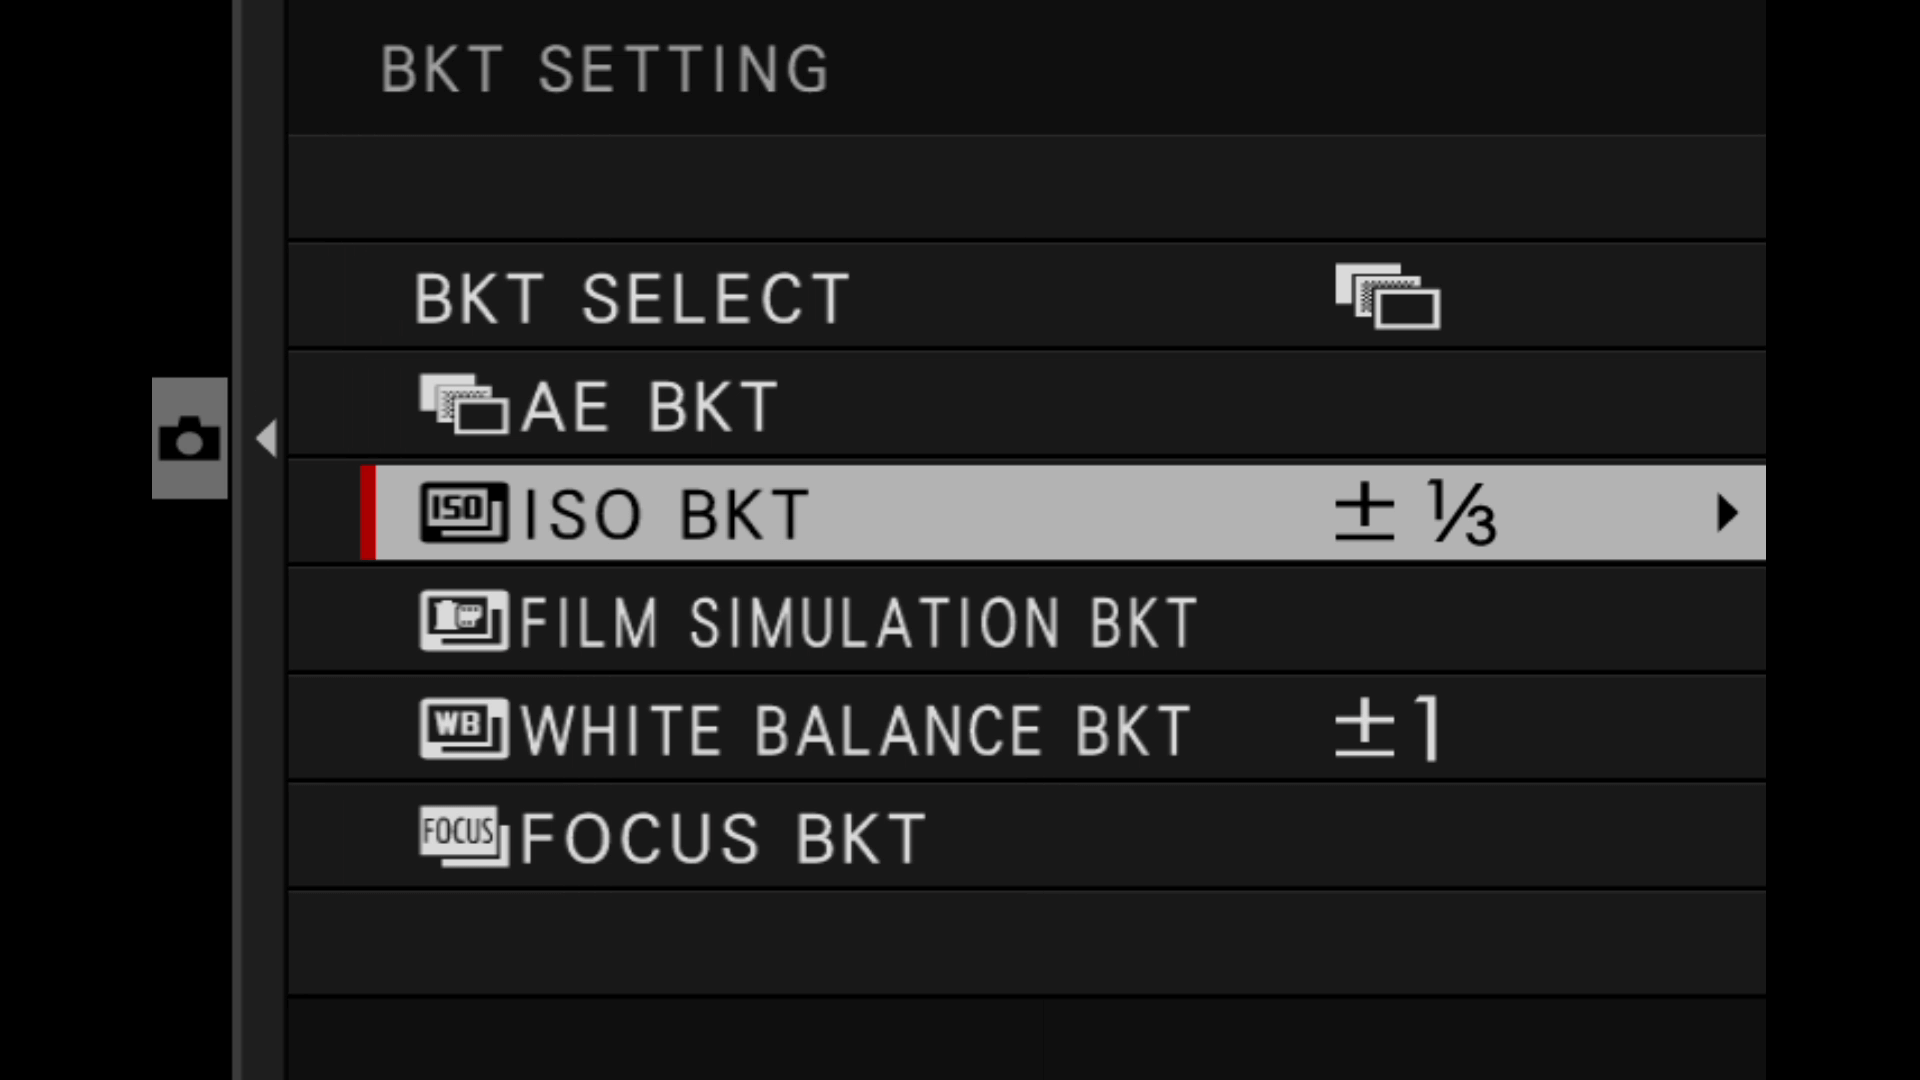
If you're doing manual exposure bracketing, make sure it's the shutter speed rather than the aperture that is changing value. If you go for the latter, then depth of field will be altered and merging the images will be problematic.
3. Merge the images
There are specialist HDR software options for editing those exposure bracketed images, such as Photomatix. But the big boys such as Adobe Photoshop have that option too.
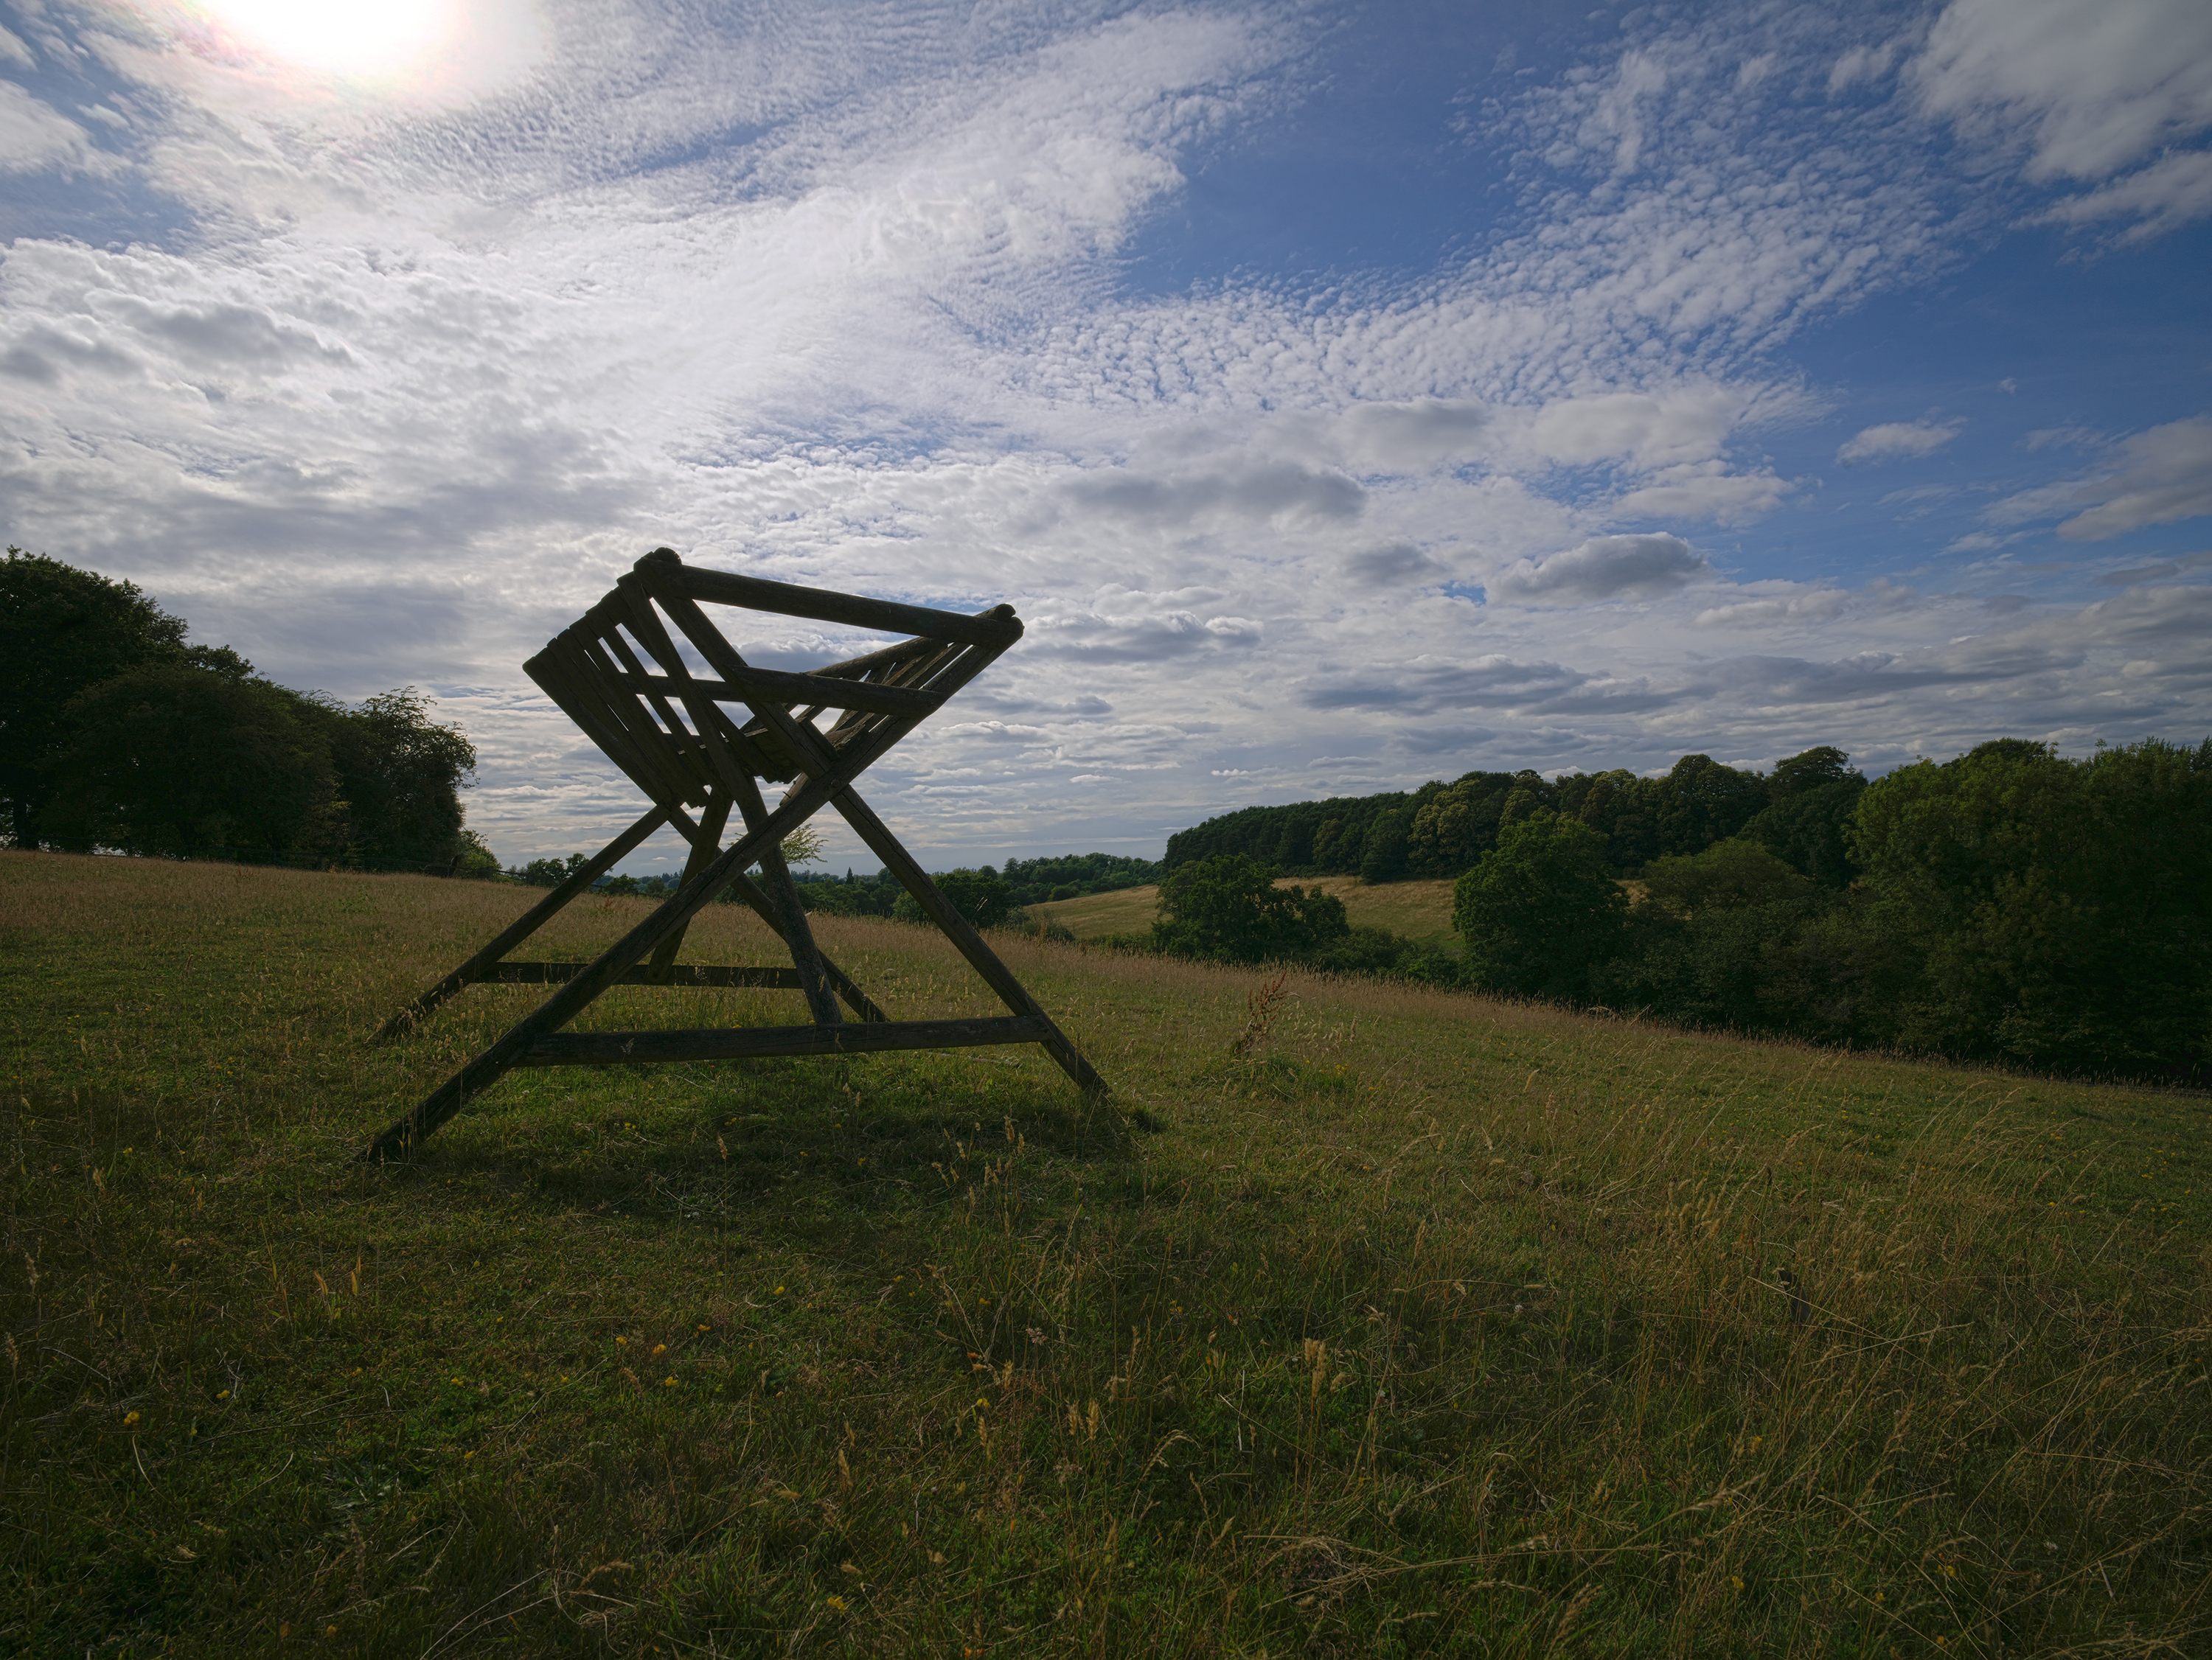
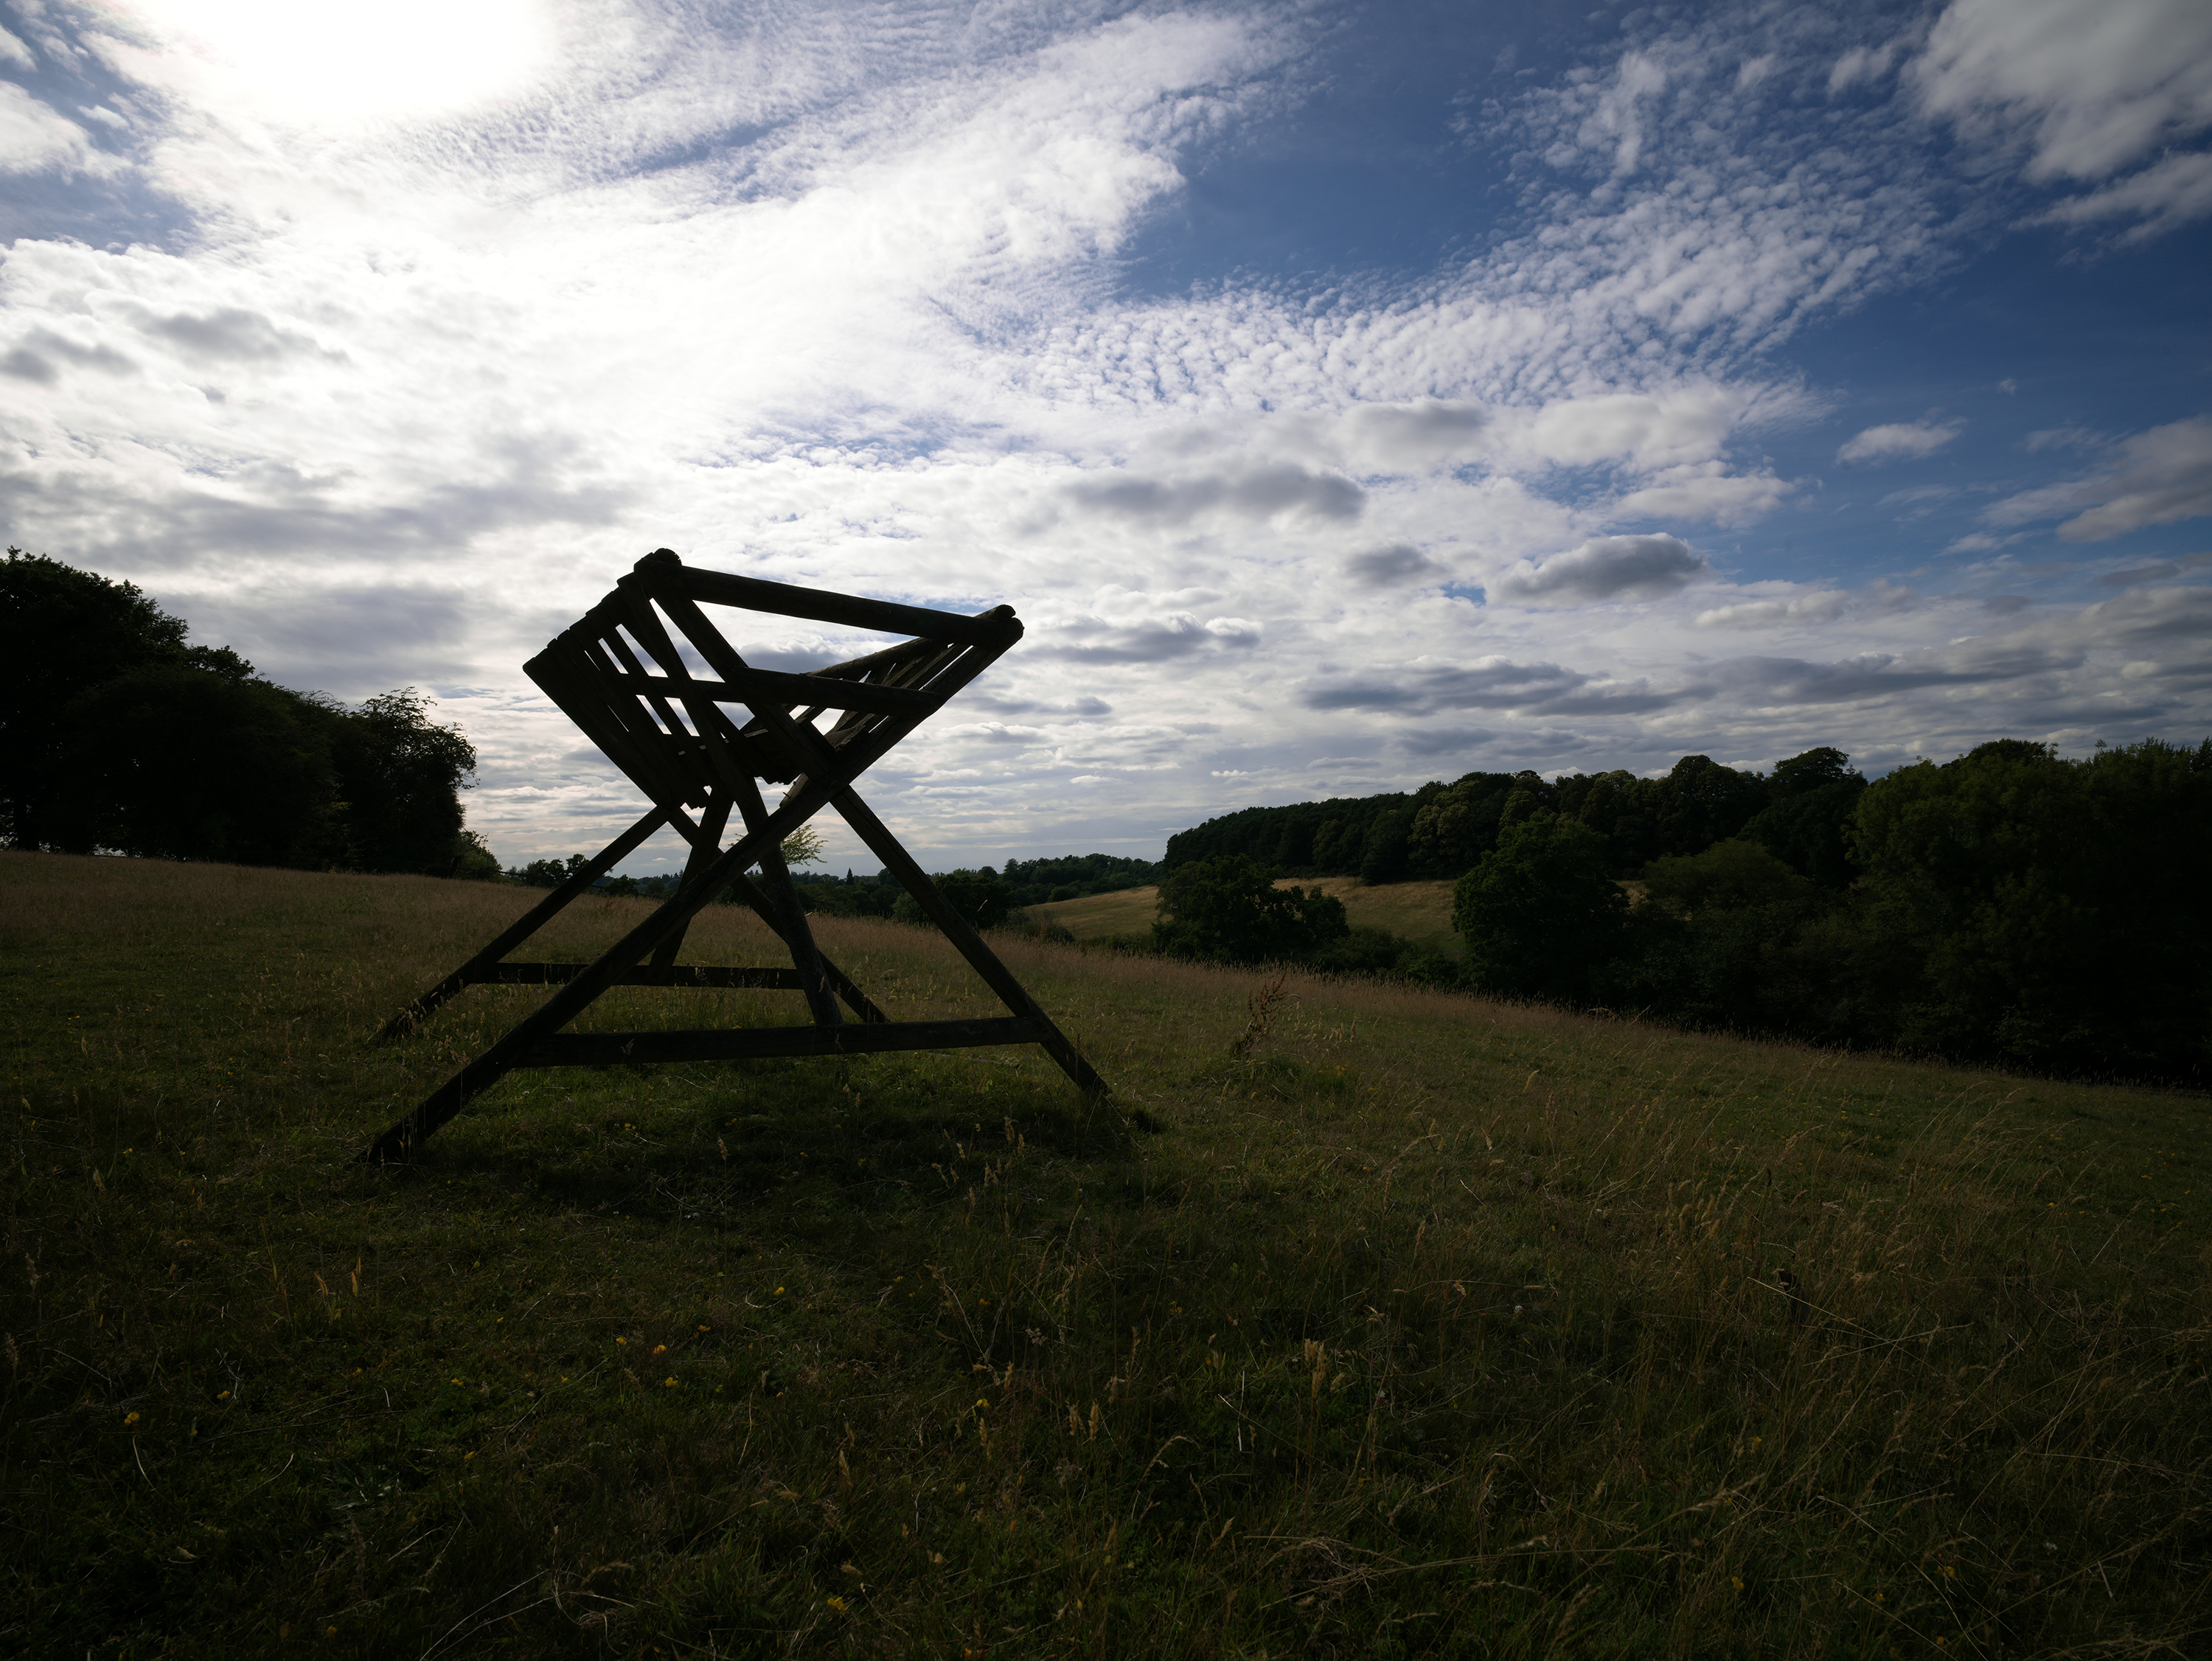
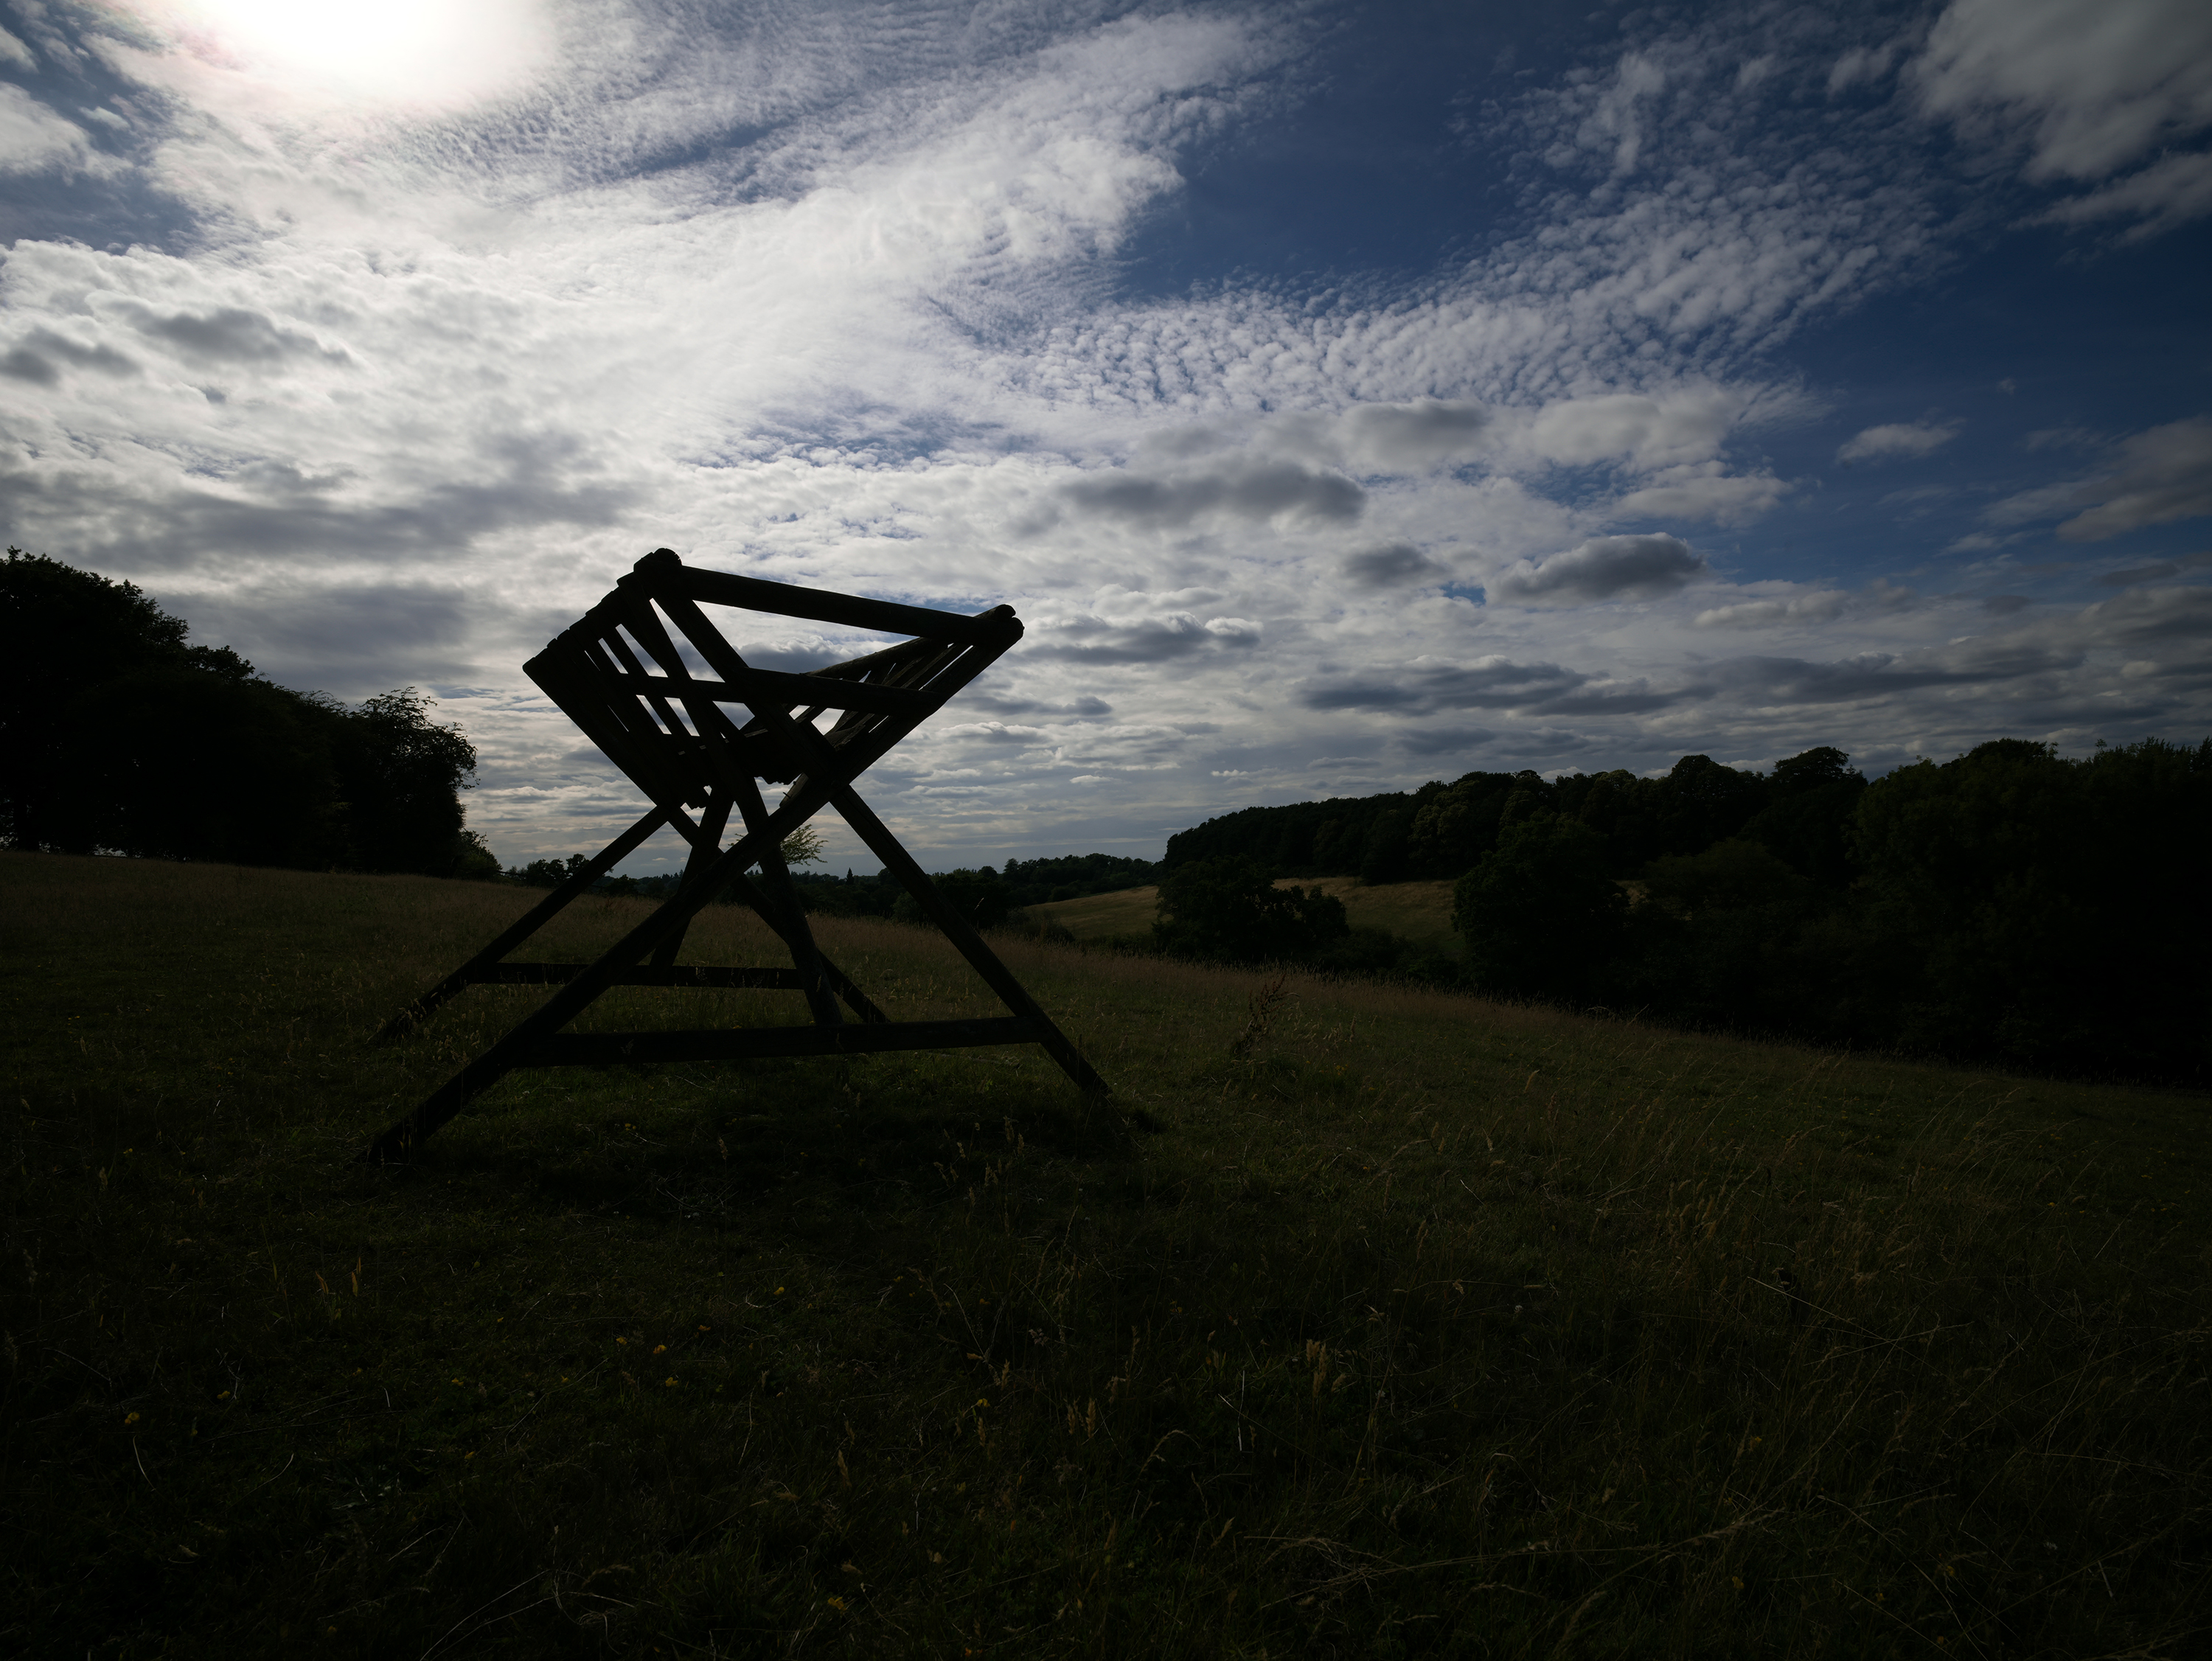
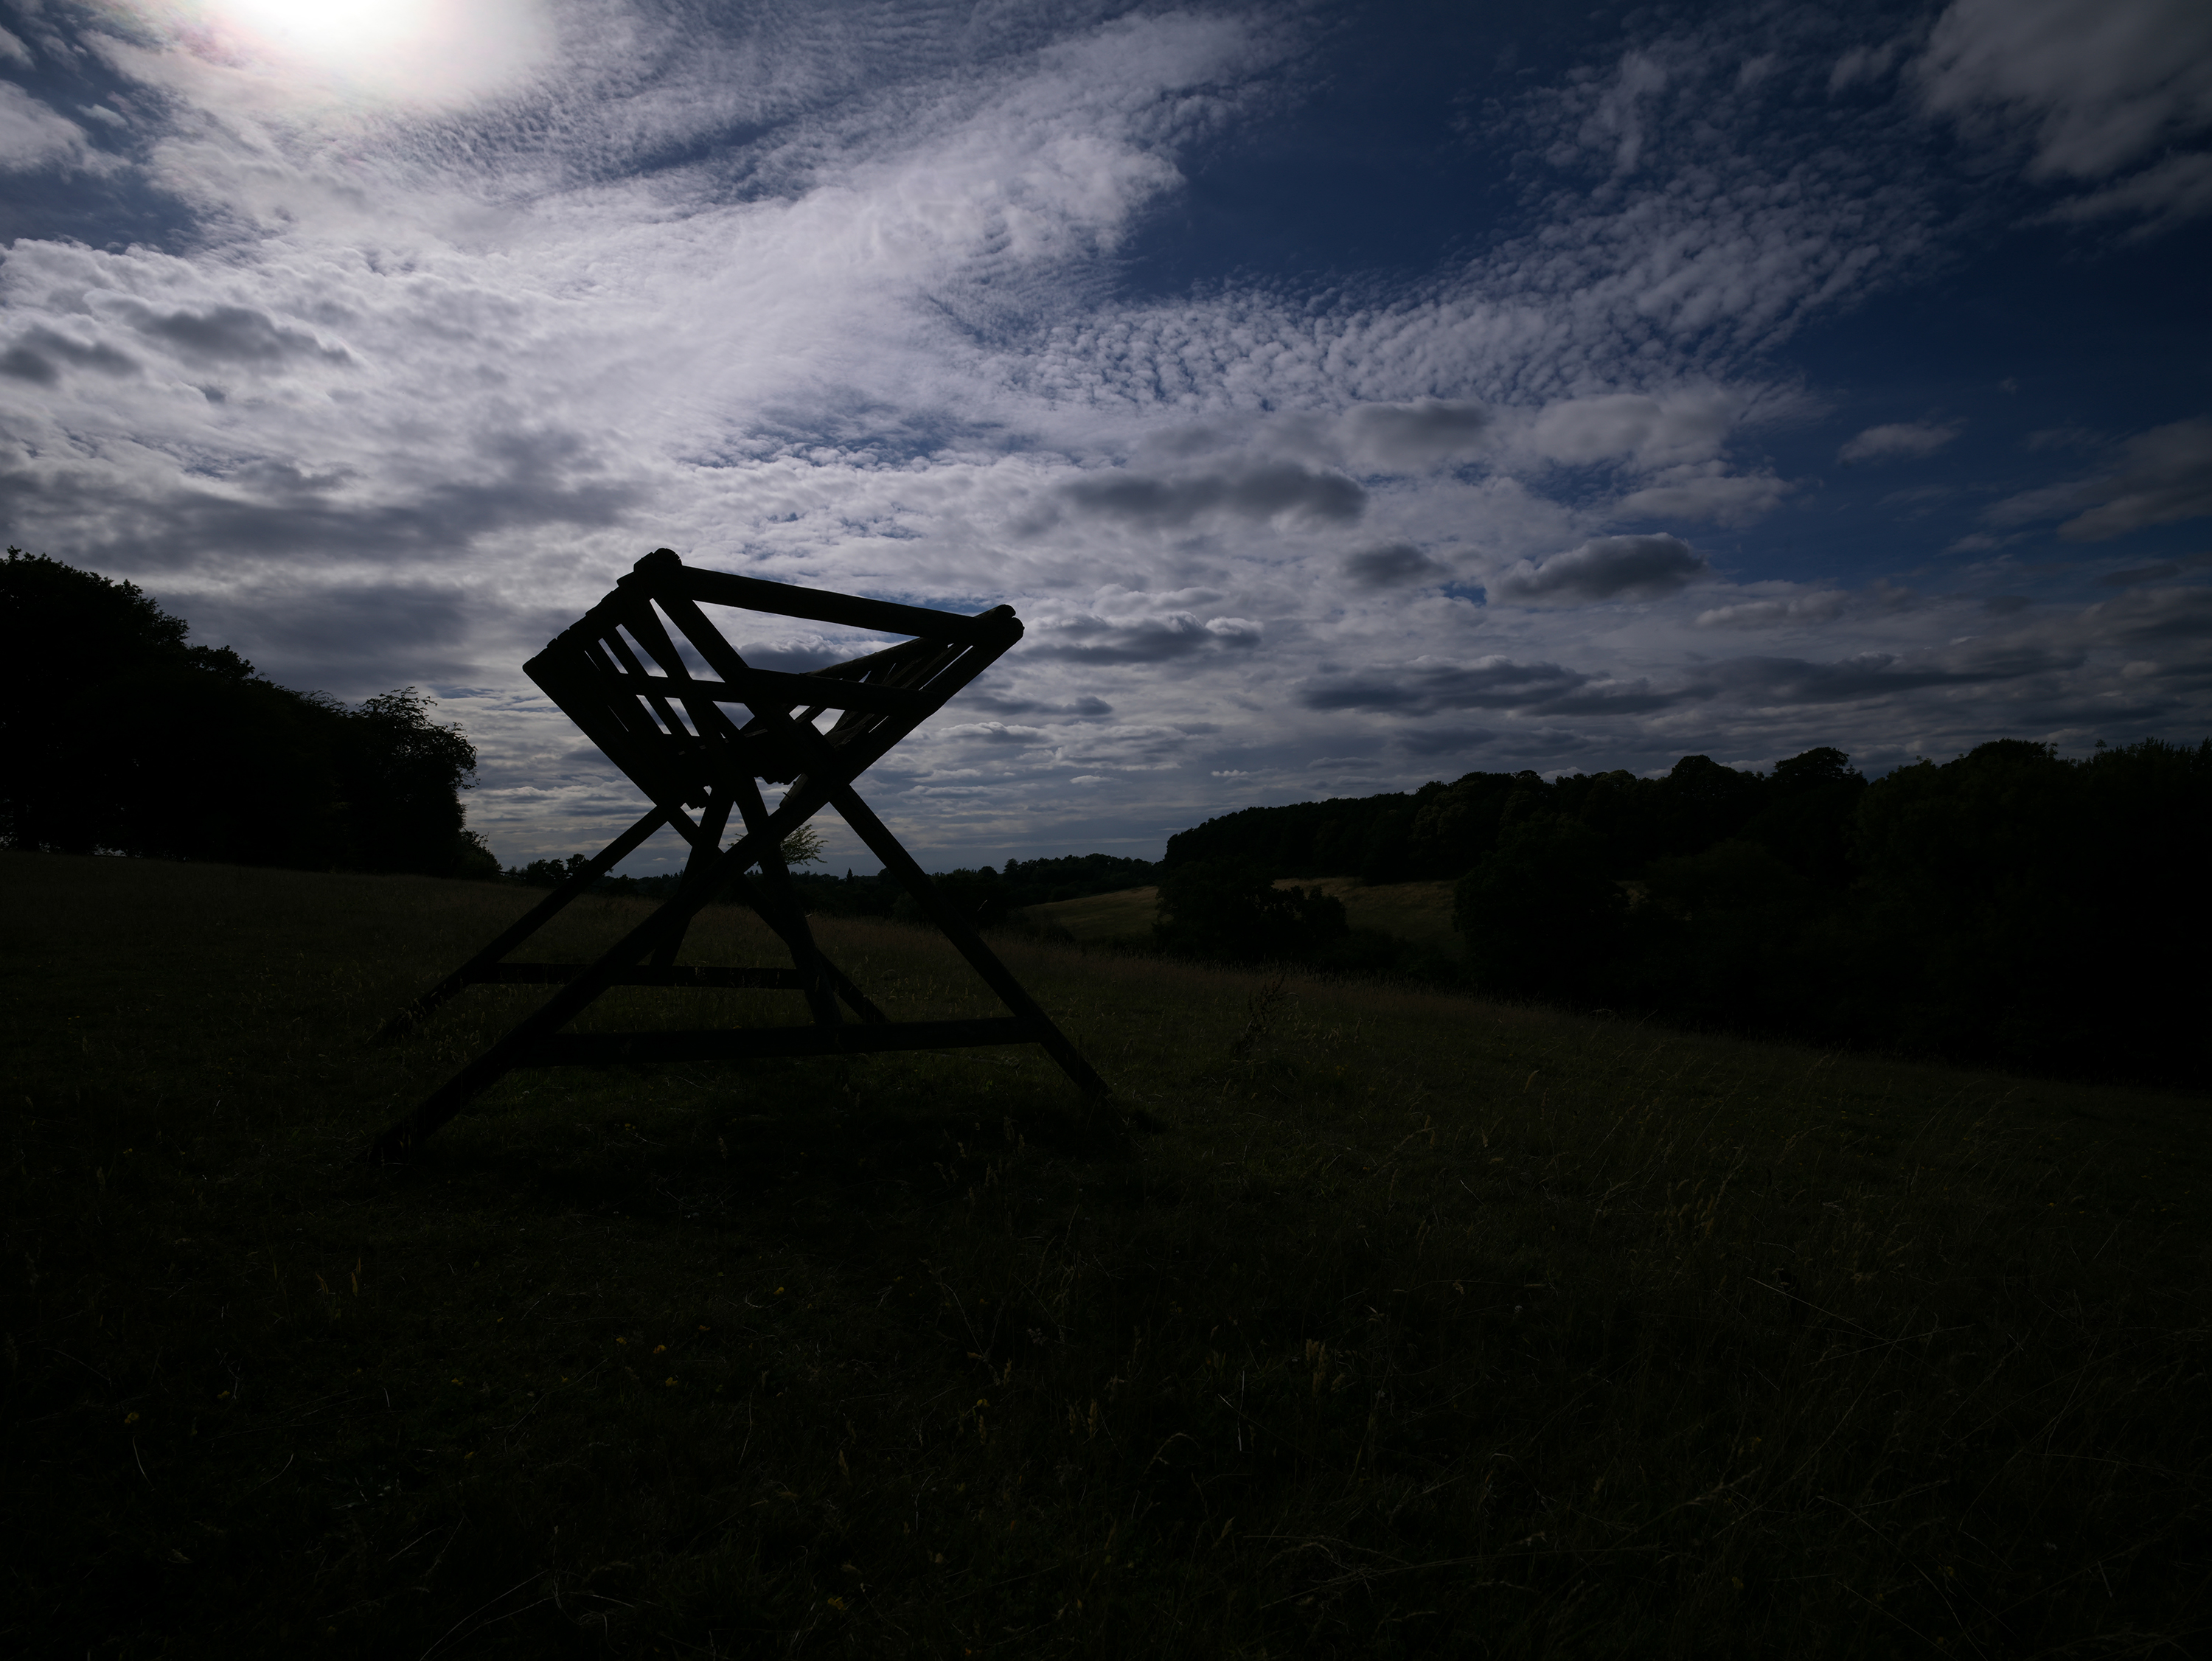
The simplest method with Photoshop is to select File>Automate>Merge to HDR Pro, where you are asked to import the sequence of images taken at the different brightness values.
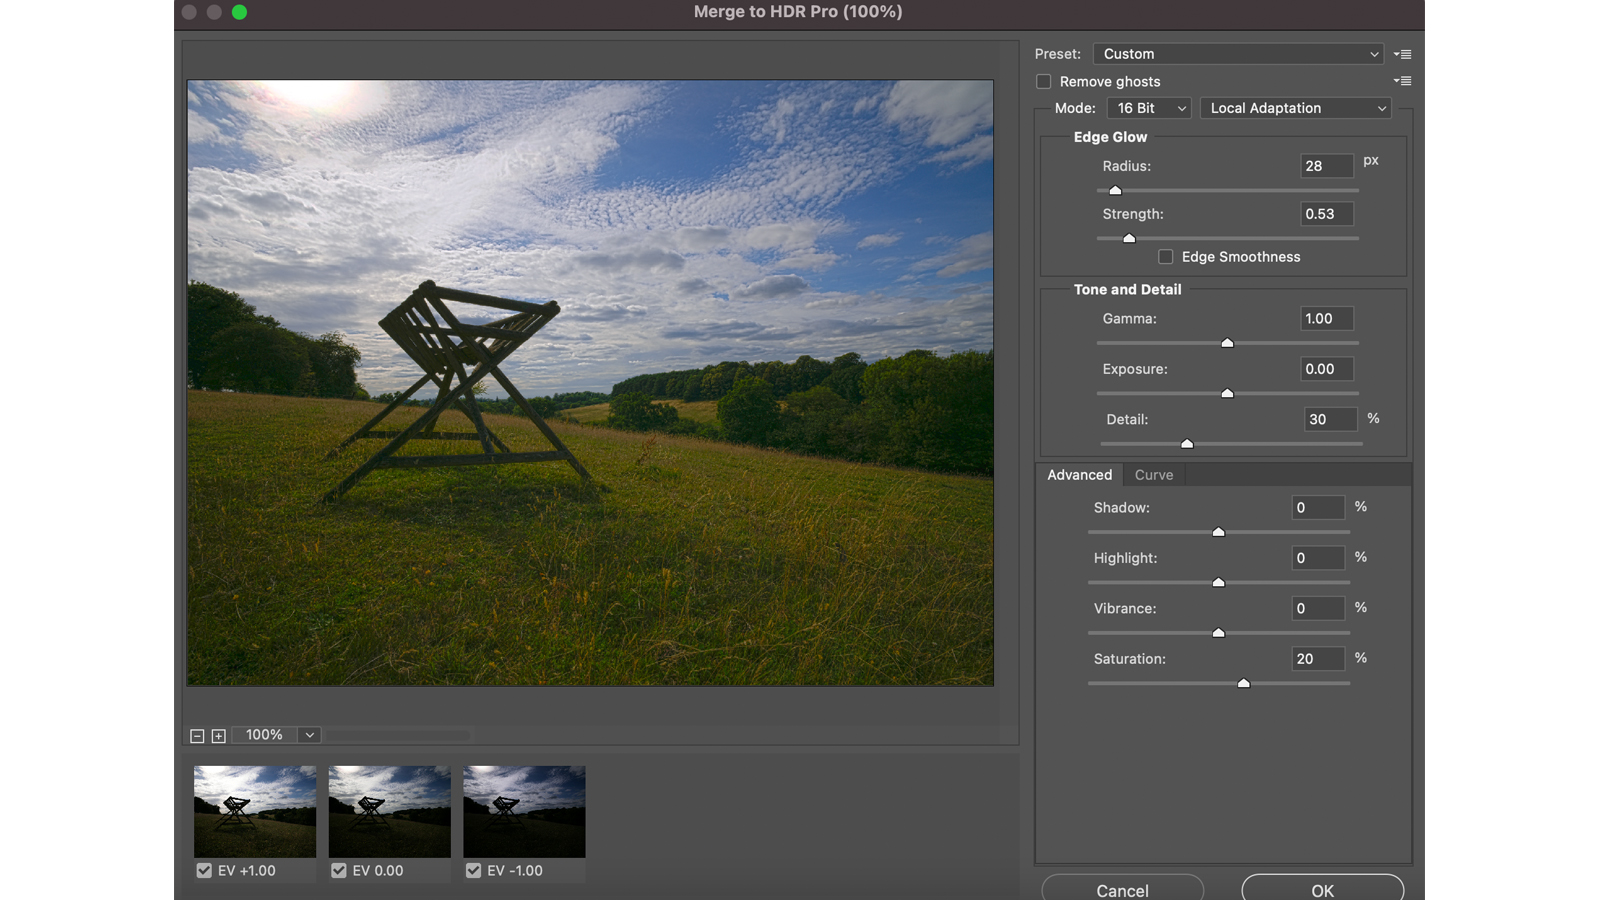
You can check the 'Attempt to automatically align source images' box and hit OK. Once the images are processed, the 'Merge to HDR Pro' editor opens and the fun begins.
4. Tweak the effect
The HDR editing process is very simple, but that doesn't mean you have to accept the first automatic offering. Merge to HDR Pro includes all imported images and if you selected +3EV at capture, the effect might be too strong.
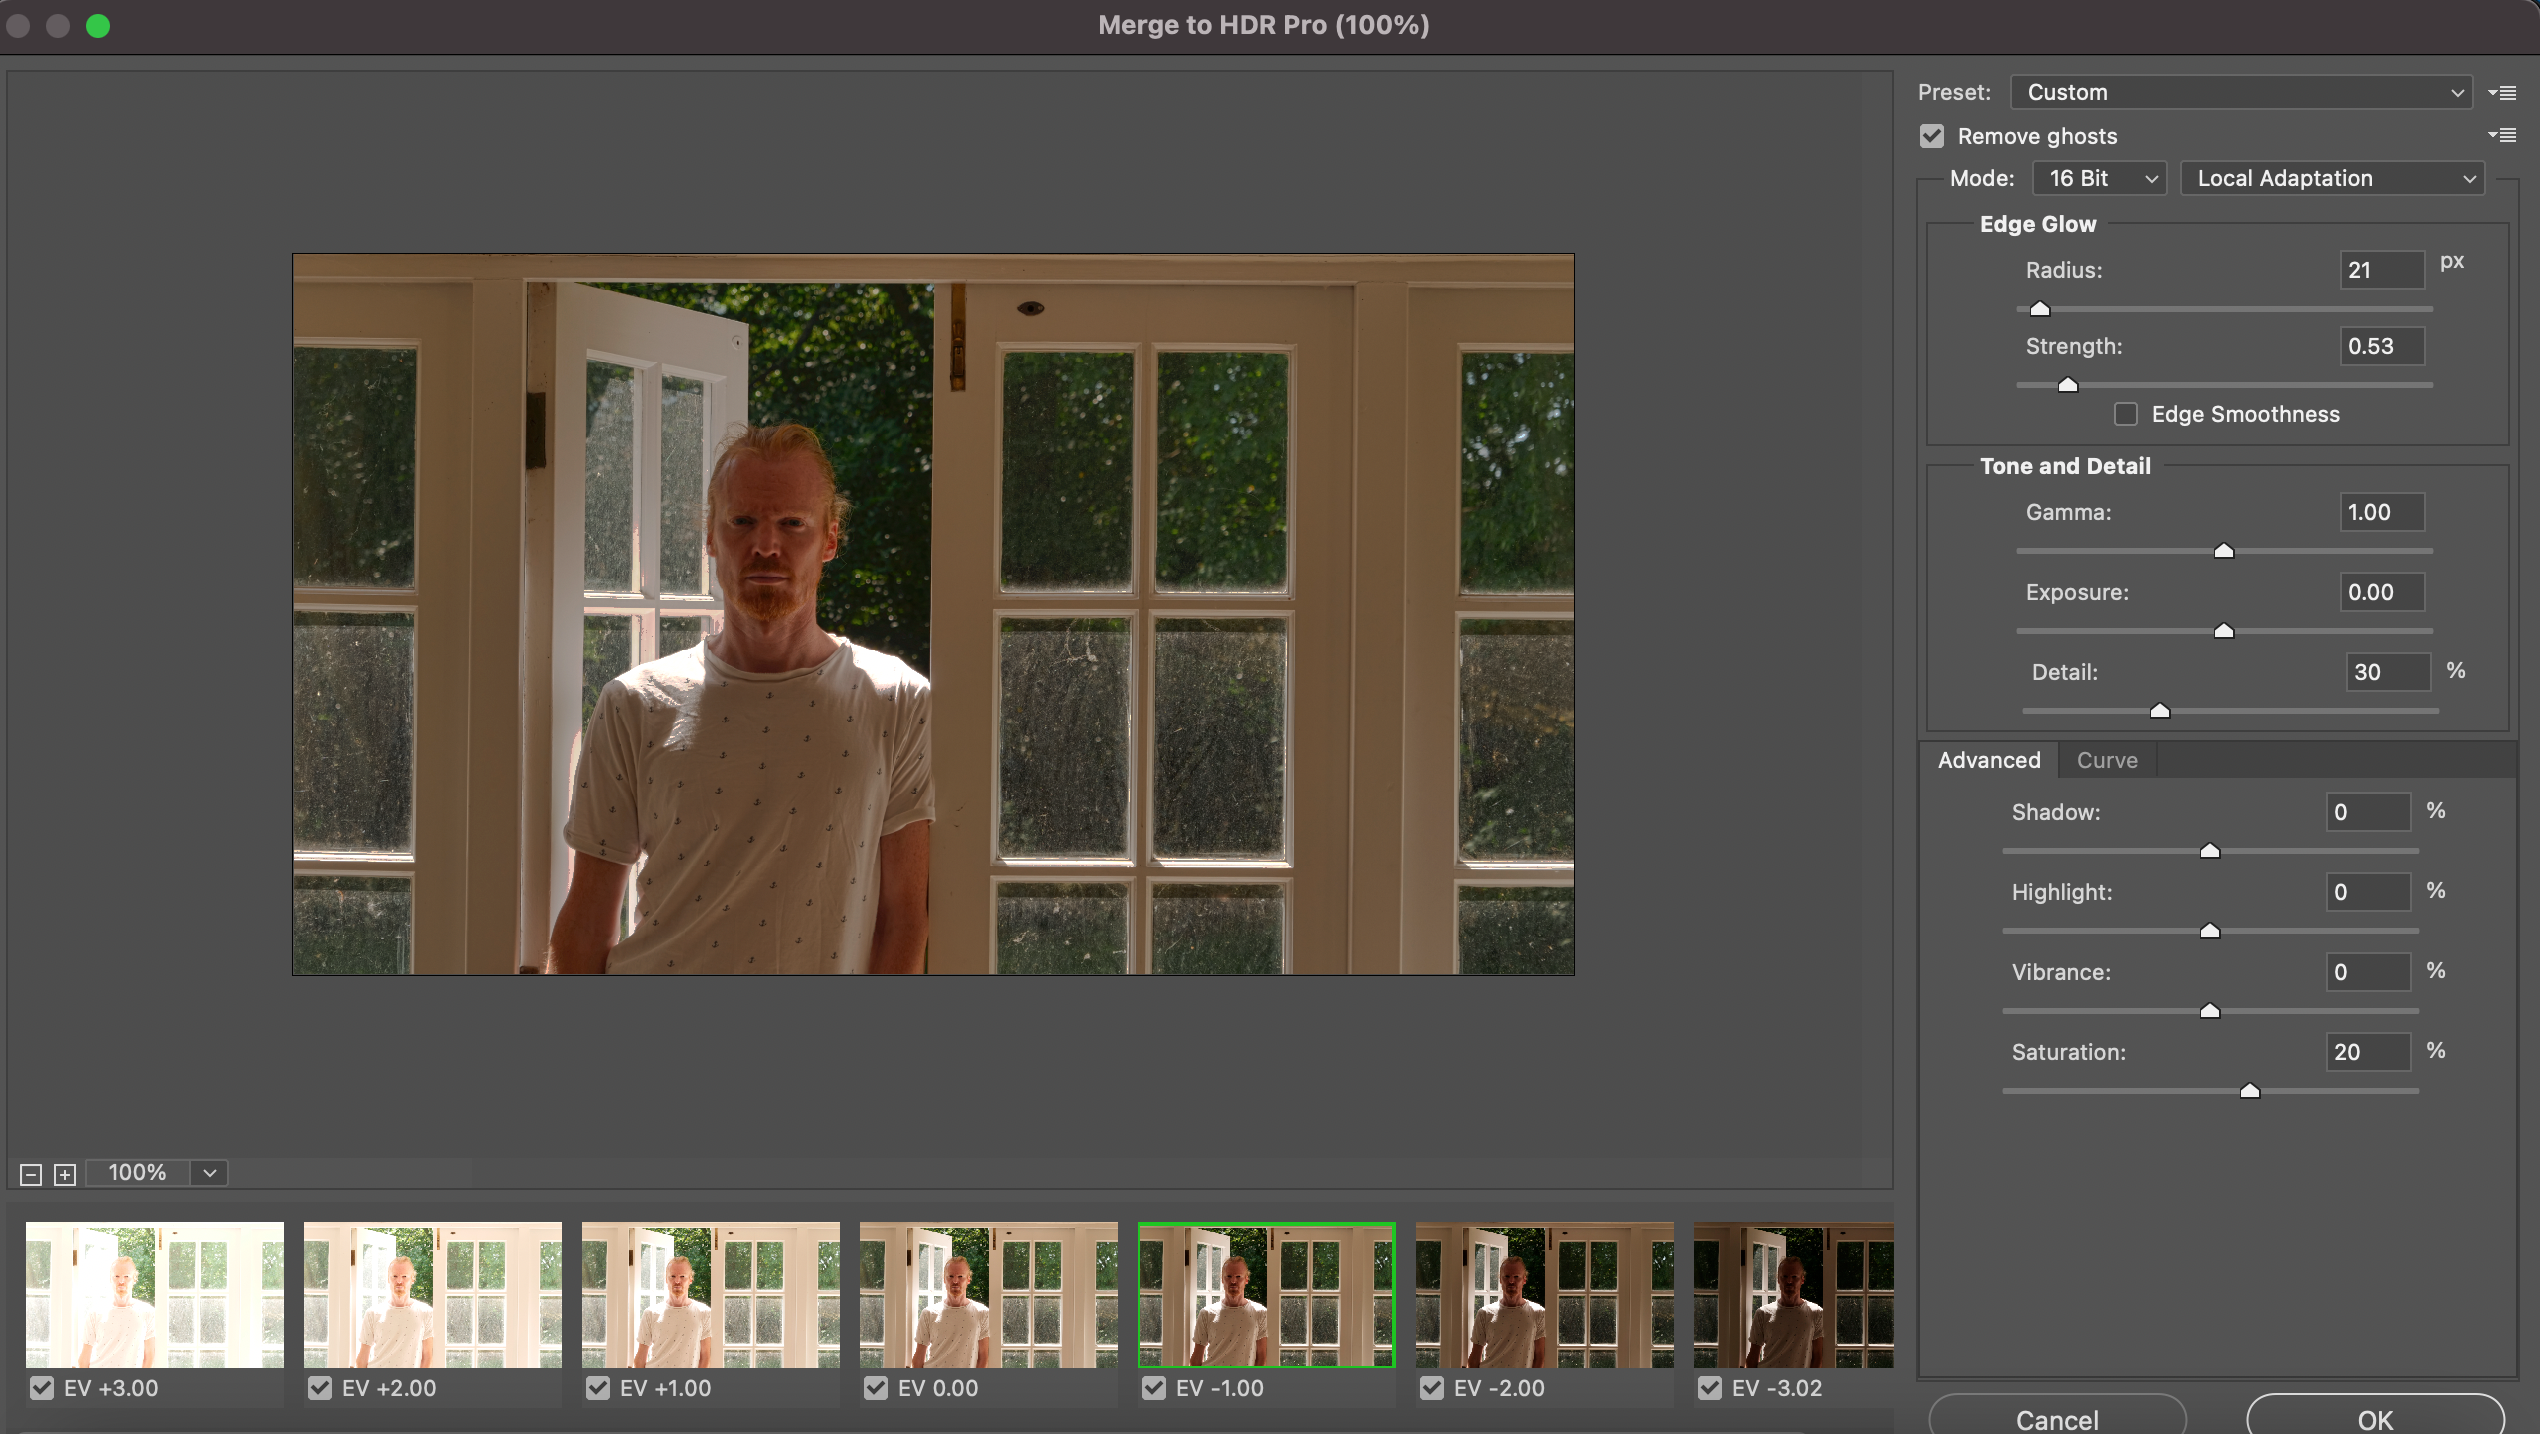
There is some scope for manual intervention, should the HDR effect be too strong. Try deselecting one of the images, reducing saturation and so on, until you are happy. There is also a 'Remove ghosts' option that will attempt to deal with any movement in the scene.
As we've said, overkill usually happens when the shadows are brightened too much. All in all, HDR works best when it subtly and naturally reveals detail, but every artistic effect is subjective.

Tim is the Cameras editor at TechRadar. He has enjoyed more than 15 years in the photo video industry with most of those in the world of tech journalism. During his time as Deputy Technical Editor with Amateur Photographer, as a freelancer and consequently editor at Tech Radar, Tim has developed a deeply technical knowledge and practical experience with cameras, educating others through news, reviews and features. He’s also worked in video production for Studio 44 with clients including Canon, and volunteers his spare time to consult a non-profit, diverse stories team based in Nairobi. Tim is curious, a keen creative, avid footballer and runner, and moderate flat white drinker who has lived in Kenya and believes we have much to enjoy and learn from each other.