How to upgrade your Sky+HD's hard drive
It's easy to add more storage to your Sky box
Sign up for breaking news, reviews, opinion, top tech deals, and more.
You are now subscribed
Your newsletter sign-up was successful
Project: Supersizing your Sky+HD
Polite disclaimer: these instructions are for the first Thomson-made Sky+HD box (model number DS18215). The same basic procedures apply to all boxes, though. If you're not entirely sure what you're doing, leave it to someone who does! Neither the author nor Future Publishing can be held responsible if you blow up your box – or yourself.
1. Completely-disconnect the unit from the 'outside world' (LNBs, TV, mains and so on). Leave it in this state for a few hours (ideally overnight) thereby giving the power supply's high-voltage smoothing capacitor sufficient time to discharge safely.
2. After removing a screw at the back of the receiver and prising up three front mounted retaining tabs, the metal-cased receiver will slide out of the plastic outer enclosure. The metal top panel is 'tab-hinged' to the box on one side; three screws secure it to the opposite side.
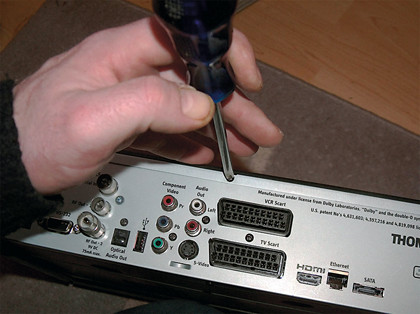
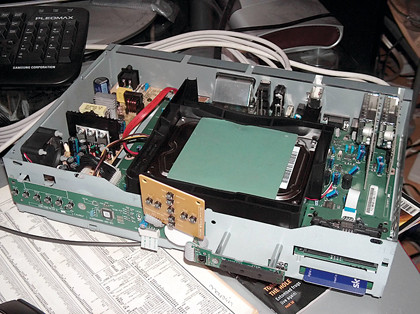
Undo these – and don't forget to carefully remove the top-mounted control panel, which is held in place by two countersunk screws. The lid can be swung open and removed, revealing the unit's complex circuitry.
3. The hard drive can also be seen – typically made by Maxtor, it resides in a plastic cradle and is partially covered by a self-adhesive synthetic sheet that either dissipates heat or reduces vibration. Not all Sky+HD units are equipped with such sheets.
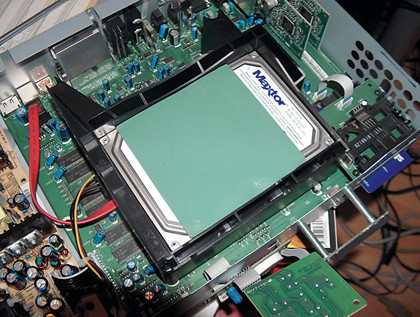
4. These are the power (left) and data (right) cables that connect the hard drive to the Sky+HD motherboard. Carefully pull out the plugs from the hard drive – they should require little force.
Sign up for breaking news, reviews, opinion, top tech deals, and more.
5. Remove the four screws that hold the cradle to the chassis. The cradled drive can then be carefully pulled out to reveal the cooling fan cable. Carefully unplug this from the motherboard.
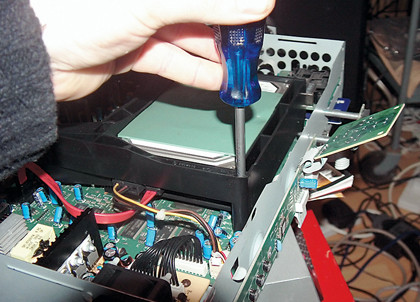
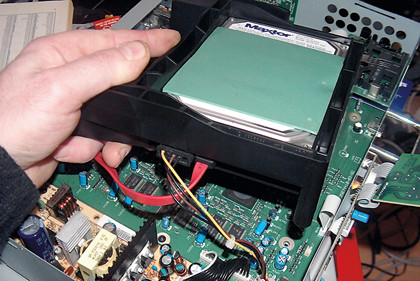
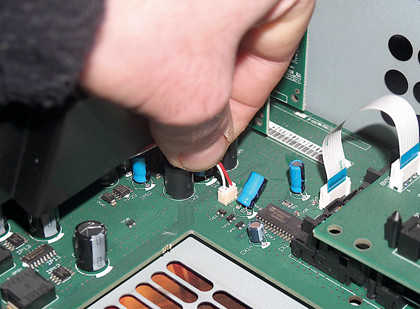
6. The cradled drive can now be pulled completely clear of the Sky+HD chassis. Turn it upside down so that its cooling fan can be seen. You'll now have access to the four screws that secure the drive to the cradle.
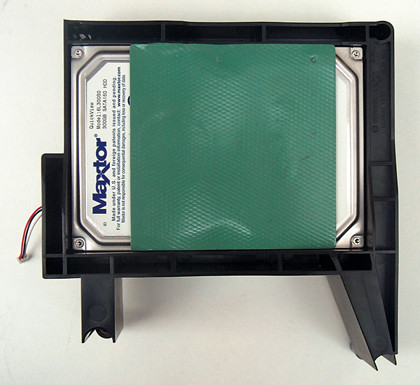
Note that one of the relevant holes is covered by a tamper proof label. If your receiver is out of warranty, then you're OK. If it's not, then you might want to reconsider and wait until the warranty has expired.
7. The next stage requires a PC, but don't connect your drives to it yet. The safe-but-slow way is using an external hard drive USB-to-SATA enclosure or even just a USB-to-SATA data cable. An enclosure is better because data copying could take several hours and it will protect the new drives.
Your computer must have USB 2.0 ports, or copying will take a very long time indeed, but it saves you opening your PC and works if you have an older PC that uses IDE/PATA hard drives. Connecting direct to SATA inside your PC is much faster, but carries the risk that some BIOS and motherboards have issue with SATA/PATA drive configurations.
Having such drives connected at startup runs the risk of Windows running a disc check on them at startup. However, I experienced no such problems with direct SATA connections to a PC based around a Gigabyte GA-MA69GM-S2H.
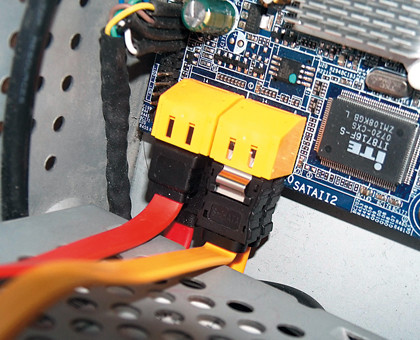
If you're happy to open up your PC, then do so and discover if your PC uses SATA drives. Chances are that it does if it's a modern design. Look for spare SATA ports on the motherboard – you'll need two of these if you're going to transfer recordings from your old drive to your new one.
You'll also need the appropriate number of SATA power cables, which will originate at the power supply. Maplin also sells a handy four-way SATA power supply cable. Fed from a PC power supply's spare AT/ATX drive power-connector, this provides four SATA power-connectors.
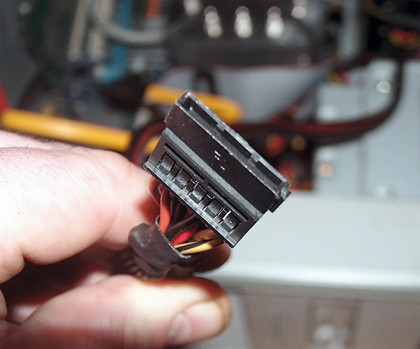
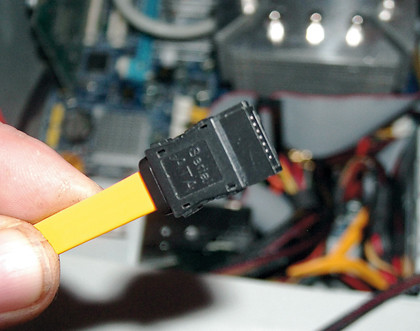
The photos show typical motherboard SATA ports, a data cable and a power cable. If an insufficient number of SATA ports is available, consider external hard drive enclosures.
8. Boot up the PC, and then install the software you need. First and foremost is Copy+, which may be downloaded free of charge. Also available from the same site is XTVFS.
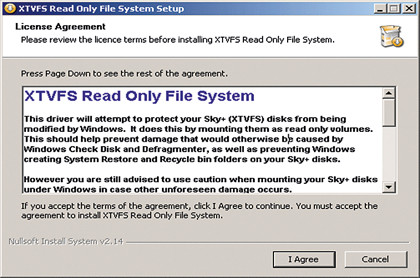
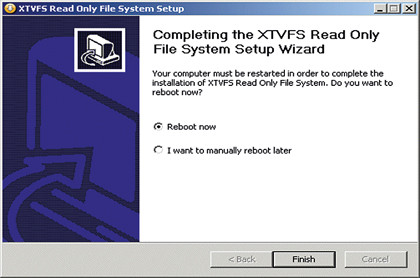
Using these 'read-only' drivers will prevent Windows from corrupting your Sky+ and Sky+HD hard disc drives by attempting to write to them. Now you should shut down the PC and disconnect it from the mains.
9. Now it's time to get the drives connected to your PC, so that the new drive can be appropriately formatted and copying can begin. As you can see from this picture, we have opted for the internal SATA approach. However, the same principles apply if you're using external USB-interfaced drives.
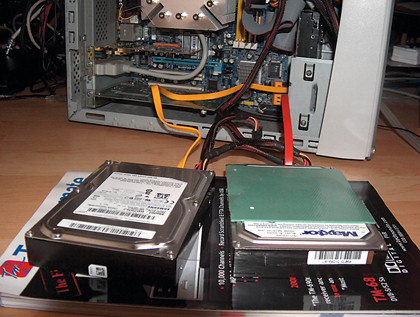
Once everything has been connected, reconnect the PC to the mains and reboot it. Disable any virus-scanners, disc optimisers and anti-spyware software.
10. Windows (and thus Copy+) won't recognise a factory-fresh hard drive, like the 750GB Samsung we're migrating to here. You'll need to initialise it first. We're using Vista, but the same principles are also used for XP.
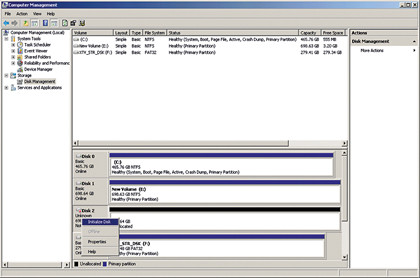
Click on the 'start' button, and highlight 'My Computer' (XP) or 'Computer' (Vista). Right-click, and select 'management'. Select the 'storage/disc management' option. The new hard drive can be identified by a black bar, which denotes that its storage hasn't yet been allocated.
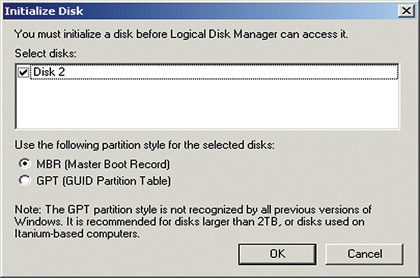
Right-click the relevant disc number – note this down – and select 'initialize disc'. On the pop-up that appears, ensure that the relevant disc and the 'MBR' partition-style are checked. Then click 'OK'.
11. Run Copy+. This friendly and well-designed program will automatically deal with the trickier settings (like the disc format used by a specific Sky box). From the 'source drive' pull-down menu, choose the original 300GB drive. After a while, Copy+ will the display the drive's recordings.
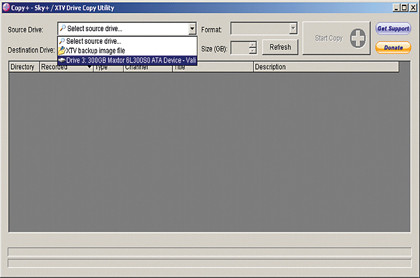
Next, specify the 'destination drive' – choose the drive (0 to 3) as it was displayed in Windows Disc Management. Then click on the big 'start copy' button – and let the program work its magic!
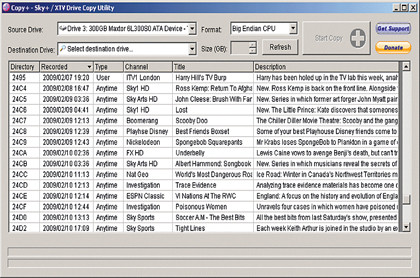
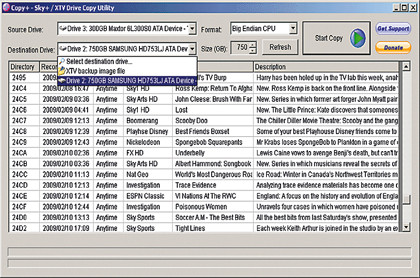
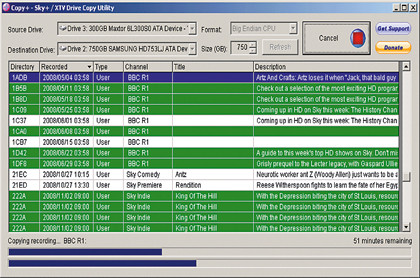
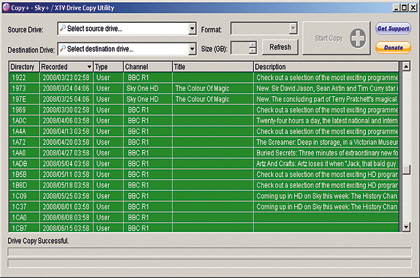
With a direct SATA connection, it took us 90 minutes to copy a nearly full (only 4 per cent free) drive. With external drive enclosures, you might have to wait longer because the USB interface slows things down somewhat.
12. This is how the original and new drives appear under Vista. C and E are the 'guinea pig' PC's NTFS (Windows) formatted drives; E and G are, respectively, the old and new drives. The free capacity reported by Windows is the same as the unused capacity, despite the recordings.
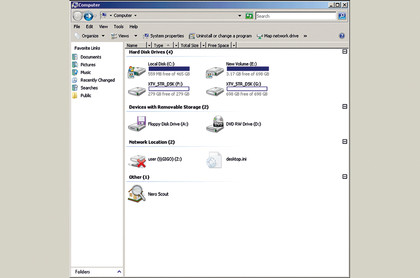
Windows is incompatible with the XTVFS format used in Sky PVRs; that's why we use those XTVFS read-only drivers. Shut down the PC, disconnect from the mains; disconnect the drives. When booting the PC, re-enable any disabled software.
13. Screw the new drive into the Sky+HD box's plastic cradle, and reconnect its fan to the motherboard.
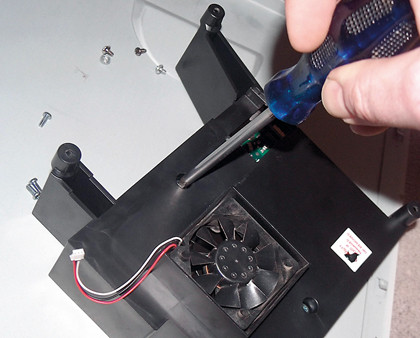
14. Screw the HDD cradle to the Sky+HD chassis, and connect the SATA power and data cables to the drive.
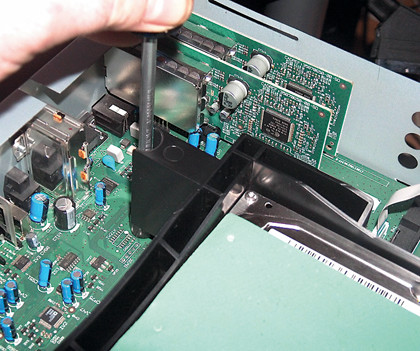

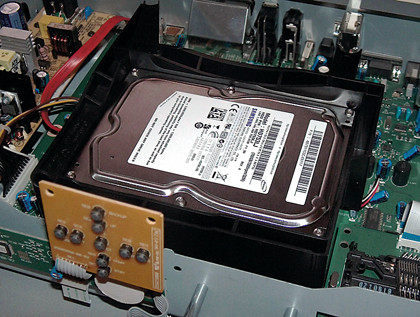
15. Carefully peel the synthetic pad from the original drive – if one is present – and stick it onto the top of the new one.
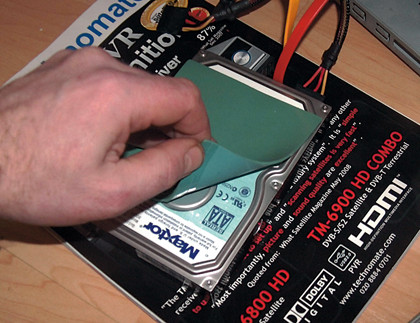
16. Reconnect the display, power and LNB cables to your Sky+HD box, and then turn on. Now it's time to carry out a Sky+ Planner Rebuild (quickly press: [services] 4, 0, 1 [select] and choose option 7).
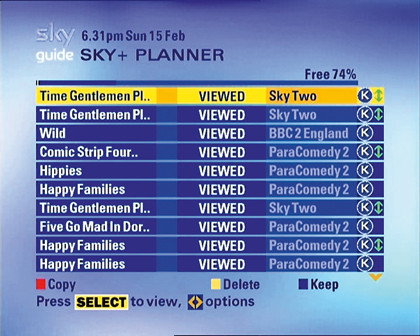
This will take a few minutes – when your box is restarted, you should have access to all of your original recordings and Anytime content – in addition to a useful increase in free capacity (from 4 per cent to 74 per cent in our case).
17. Check that all is well by playing a few recordings and trying to make some new ones. As soon as you are completely satisfied that the hard-drive transplant has been successful your box can be reassembled.
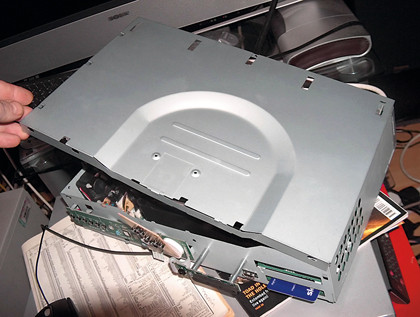
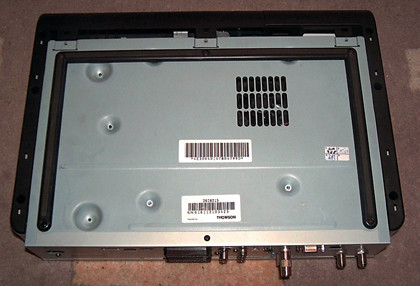
First of all, disconnect the box. Re-fit the top plate, and screw the control panel to it. Finally, insert the unit into its plastic jacket and fit the retaining screw.
Then reconnect your supersized Sky+HD to the rest of your system – and you are ready to enjoy all that extra recording time.
-------------------------------------------------------------------------------------------------------
First published in What Satellite and Digital TV Issue 273
Liked this? Then check out Sky on Xbox: All your questions answered
Sign up for TechRadar's free Weird Week in Tech newsletter
Get the oddest tech stories of the week, plus the most popular news and reviews delivered straight to your inbox. Sign up at http://www.techradar.com/register