The A to Z of low-light photography
Sign up for breaking news, reviews, opinion, top tech deals, and more.
You are now subscribed
Your newsletter sign-up was successful
Q is for Quality
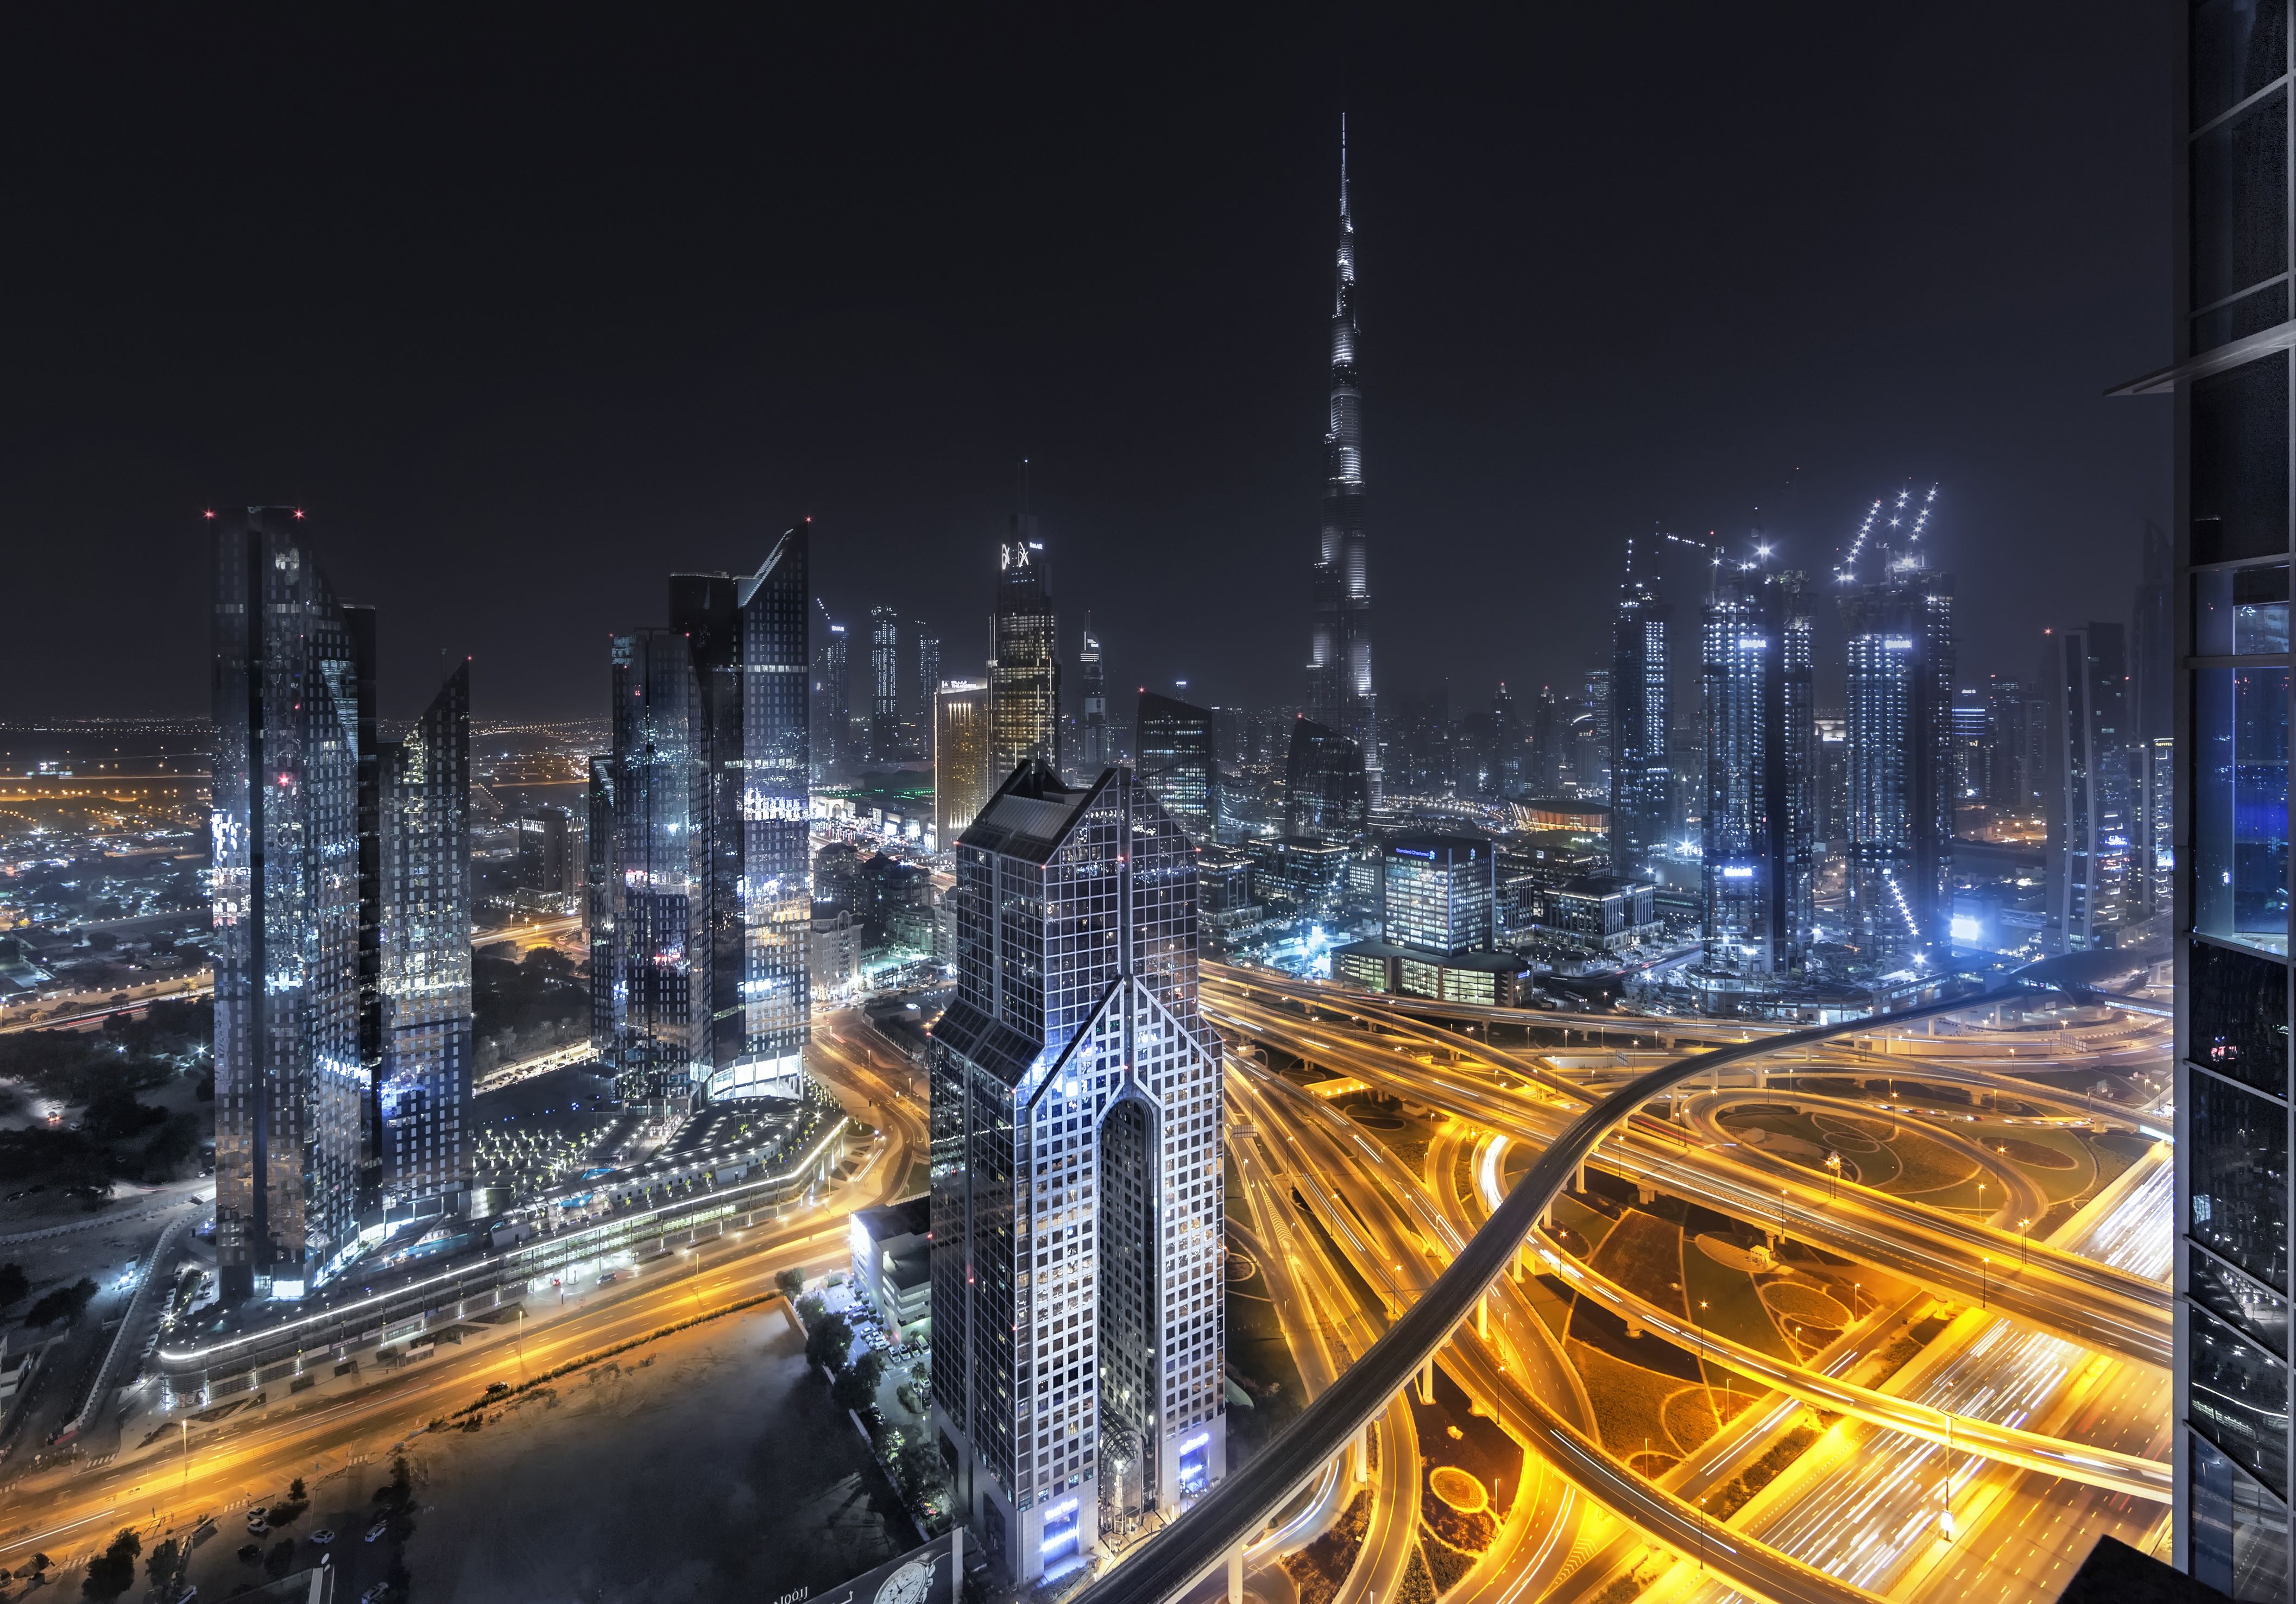
With night photography, it’s best to concentrate fully on nailing a specific shot, rather than taking a bagful of gear and trying to shoot a barrage of different pictures. If conditions are right for star trails, for example, it’ll take at least a few hours to capture the shots – and that’s before you start processing. With traffic trails or industrial scenes, you only have a short window of about 40 minutes to get your shot if you want to record some colour in the sky. And if you take on a painting-with-light project, it’s easy to spend half a night finessing your light trails and processing the results.
The approach is very different to more reactive photography disciplines, where you respond quickly to what’s happening. So take your time, and look to do one shot well, rather than getting a brace of average images.
R is for Raw

You’ll be surprised at the amount of detail that lurks in the shadows of shots you take at night – and the best way to release this is to shoot in raw format. This special format takes the data straight from the sensor and allows you to process it in your own way, using software such as Adobe Camera Raw (built into Photoshop) or Lightroom.
As well as restoring shadow detail, you can also compress the highlights to effectively expand the dynamic range of the image, and can adjust the colour temperature too. Unlike with a regular image file format like JPEG, the colour data isn’t fixed in a raw file, so the white balance of your scene can be changed by simply moving a slider. You can even adjust the overall exposure, so if you’ve undercooked your shot, you can increase exposure to rectify it.
Raw offers many other benefits, and for low-light and night images, its immense flexibility lets you get the maximum possible quality out of a picture. If you’re more comfortable with JPEGs, then start shooting in raw+JPEG format. This will use up more memory card space, but you’ll still have the familiarity of a JPEG.
S is for Star trails
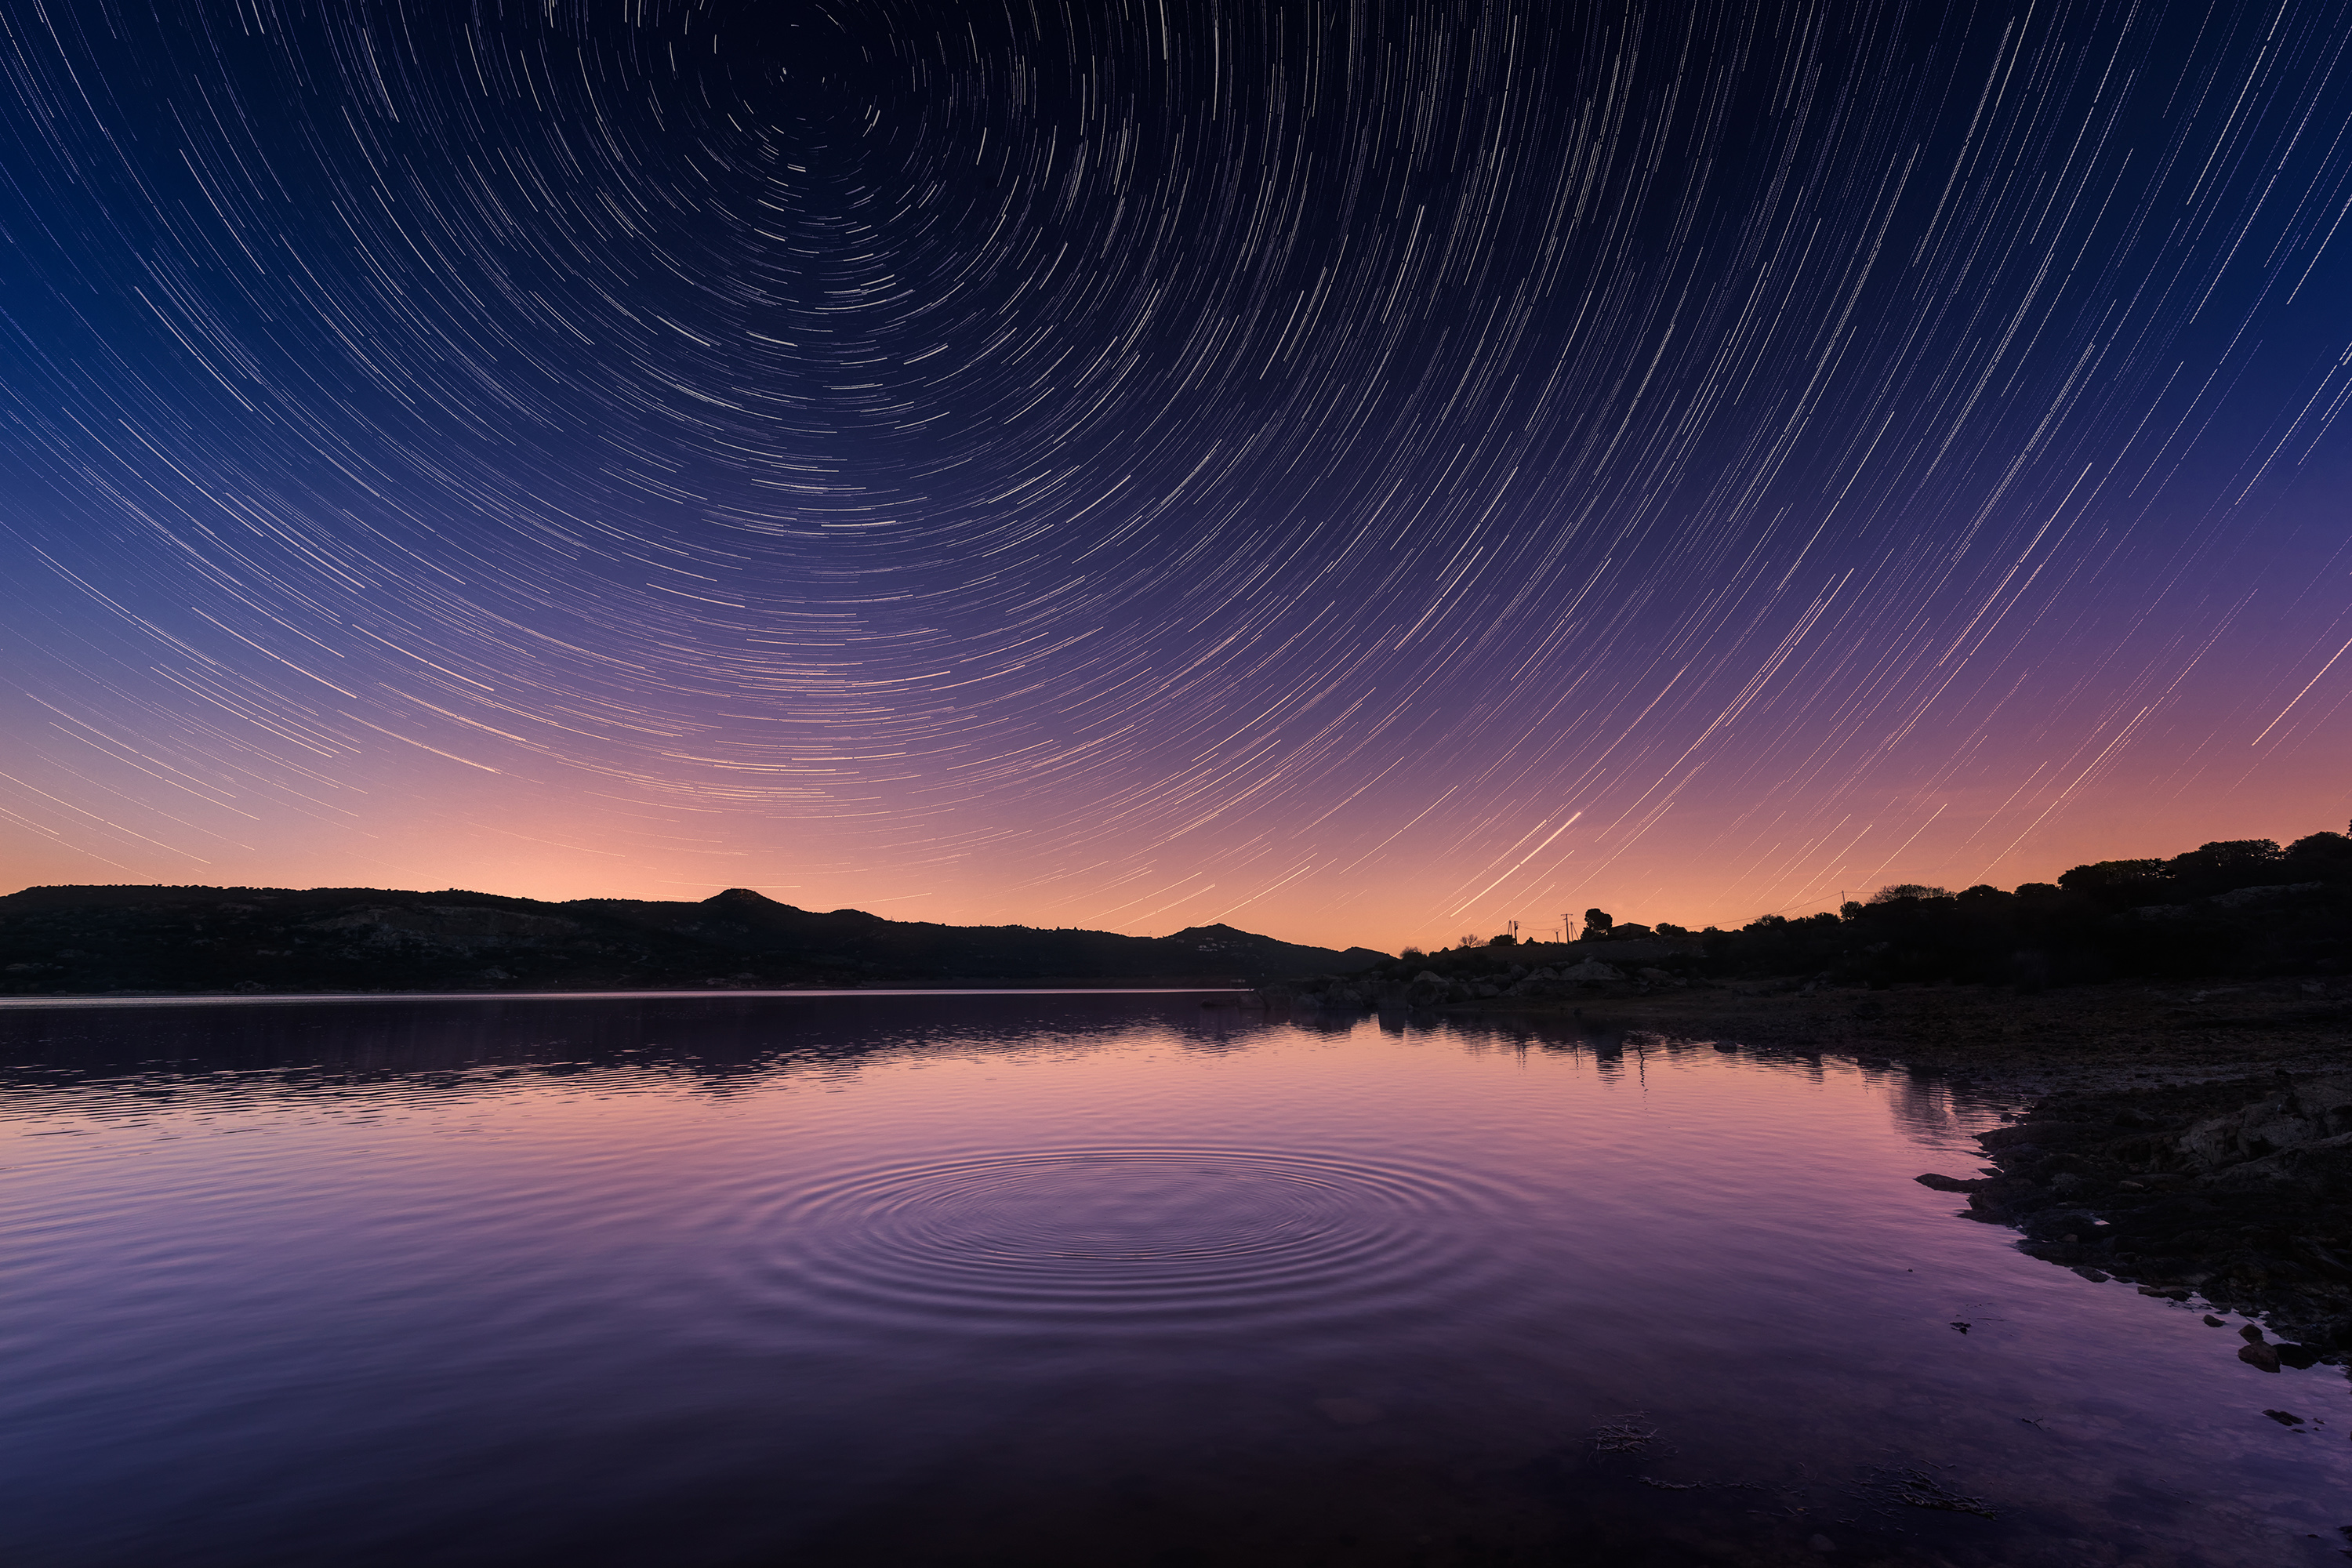
As the earth rotates on its axis, all the stars appear to revolve around a particular point. Draw a line from the south pole through the north pole and extend it into space, and this rotation point is occupied by a particular star – Polaris. With Polaris in the frame and a sufficiently long exposure, you can record the movement, because the stars will slowly arc round, and become streaks of light rather than points.
Really long exposures of several hours make this an amazing spectacle, but regular SLR sensors aren’t designed to be exposed for such long periods. For better results, a ‘burst’ of shorter, 30-second exposures is more suited; the results are blended together as layers in Photoshop. With all the separate pictures stacked one on top of the other, the Lighten Blend Mode is applied to all layers except the one at the very bottom of the stack. This adds all the brighter pixels together, turning the short streaks into arcs of light.
Sign up for breaking news, reviews, opinion, top tech deals, and more.
To avoid pressing the shutter every 30 seconds for an hour or more, an intervalometer is normally used. This automatically fires the camera at a preset time interval, so you can leave it to get on with the picture-taking.
T is for Tripod
When it comes to night shooting, there is no substitute for a good-quality set of sticks. Whether you’re shooting the night sky, a street scene or a light-painted still-life, a tripod jumps the queue on every other accessory: nothing else affords you more creative options. If the weight, bulk or general faff of tripod usage bothers you, consider it as an integral part of your camera, rather than a separate piece of kit.
If you don’t yet have a tripod, put it at the top of your wish list and buy the best full-size model you can afford.
U is for underexposure
Most night shots are underexposed by a stop or even two, because we judge the exposure captured using the image on the LCD screen for reference. As your eyes adjust to the dark, the screen appears much brighter than it really is, so it’s common to undercook everything.
To get better night-time exposures, look at the histogram display in conjunction with the image. If the graph stops about two thirds of the way along, open the aperture or extend the shutter speed until it’s close to the right-hand side. It may look too bright on location, but it won’t be on your computer later.
V is for Vehicles
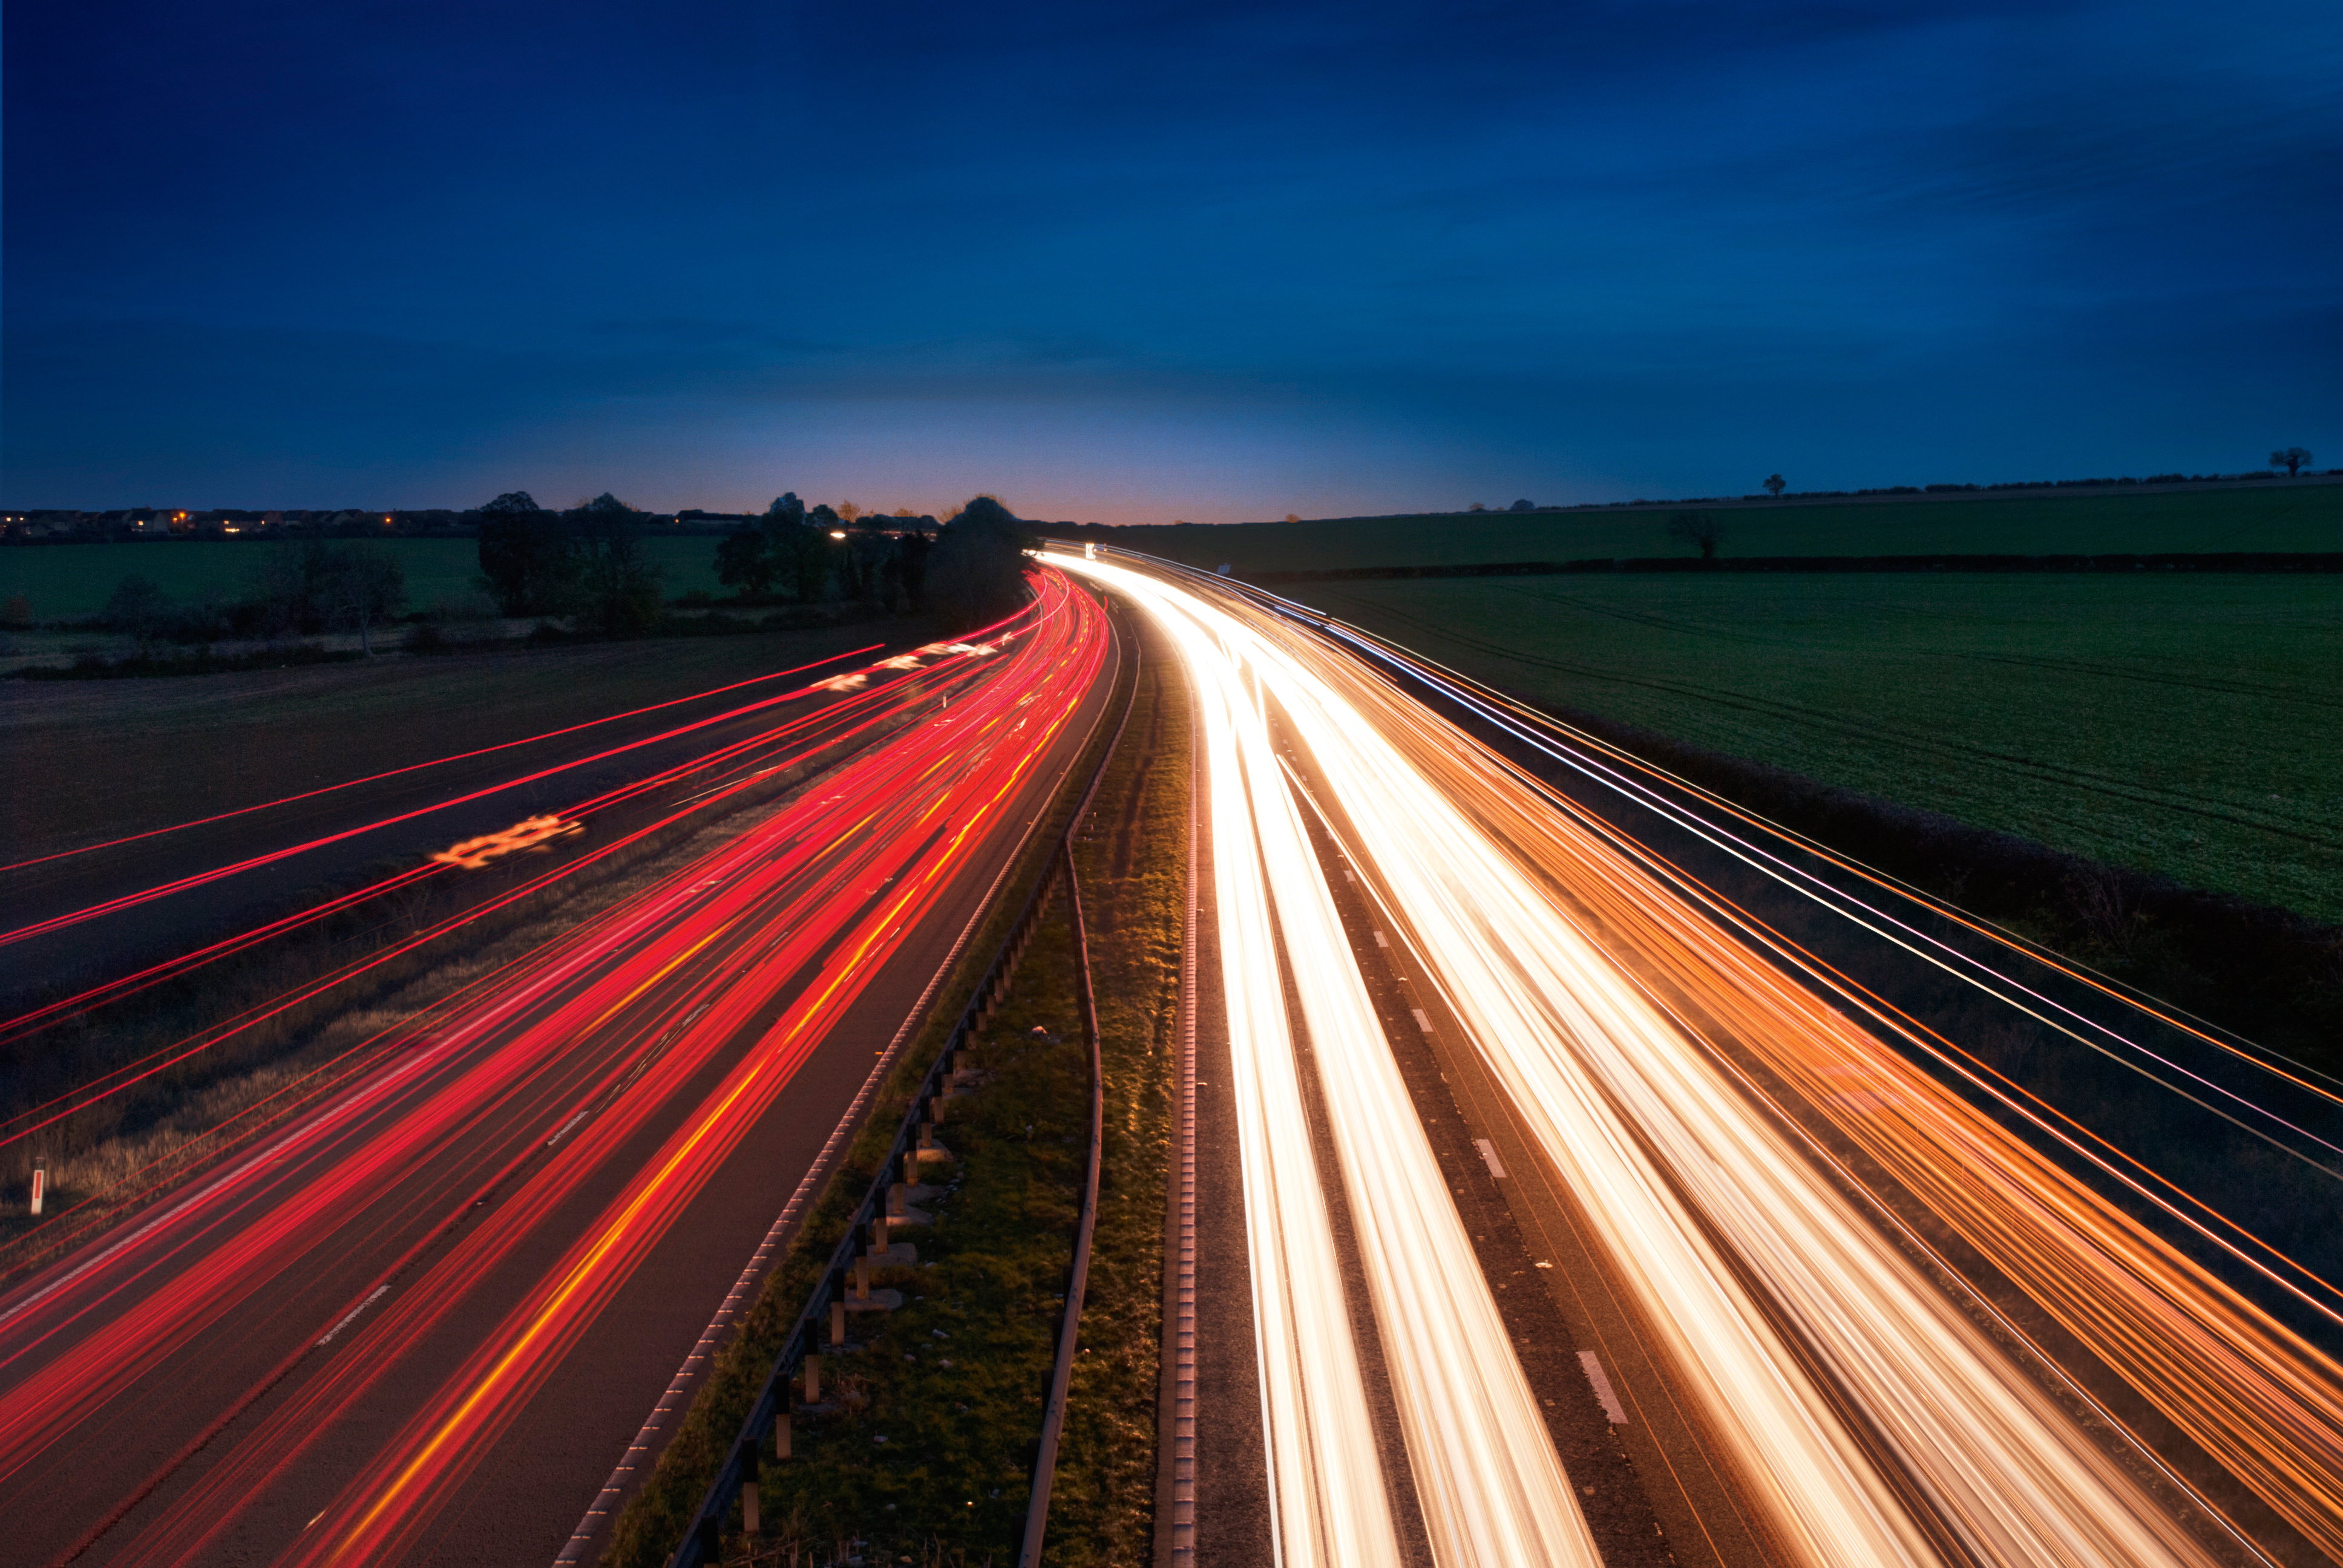
An attractive flow of head and tail lights is a must for every photographer: captured using a long shutter speed, vehicle lights snake into a river of colour. Shooting from a vantage point like a footbridge is an easy way to capture traffic trails; but for the best results, get there just after sunset, when you can still capture some detail and colour in the sky.
Use a tripod to keep your camera still, and set your camera to Manual mode. Start with an aperture of f/11 and a shutter speed of 10 sec with your ISO set to 200, but be prepared to adjust the settings for the sky’s brightness and the flow of traffic.
W is for Wrap up warm
You won’t believe how cold you can get shooting in remote locations. When you’re walking from location to location, you’ll generate some body heat, but once you start on long exposures, you’ll be almost stationary.
Wear lots of layers, topped off with a windproof jacket. A down jacket is even better: it’s effectively a sleeping bag with sleeves. Wear a thin pair of gloves for dexterity when adjusting your camera settings, plus a thick pair to go over the top when waiting for exposures to end. Wear a hat to keep your head warm, and throw on thick socks: there’s nothing worse than getting numb toes!
X is for X-sync
Flashguns can add an extra dimension to night shots, but there’s a ceiling on the shutter speed you can use. In an DSLR, the shutter is like a roller blind: if it moves too quickly across the sensor when the flashgun is triggered, there won’t be enough time for it to expose the whole frame to the light. The X-sync is the maximum shutter speed your camera can use with flash, and is normally 1/200 sec or 1/250 sec, depending on your camera model. Anything up to this speed will be fine, but exceed your X-sync and you’ll see a black bar obscuring part of the picture. Check your manual to find out the X-Sync speed for your camera.
Y is for You

If you want to get sci-fi style selfies, after dark is the time to do it! There’s no end of projects involving you, a tripod-mounted camera and a powerful torch, but a simple set-up that gives spectacular results is a backlit shot. With huge shadows acting as lead-in lines to your silhouette, plus a halo of rim-lighting to cut your figure out of the darkness, it’s a must for any photographer.
Find a good, dark location, such as a piece of woodland. After you’ve composed your shot, decide where you’re going to stand. To focus on this distance, tape your torch about waist-high to a light-stand or tripod; after you’ve focused on it using AF, switch to MF to lock off the focus. Mark the spot, then place your torch further away, so it’s in the middle of the frame and shining directly at the camera.
Use Manual mode, select an ISO of 100 and set a shutter speed of 15 sec and an aperture of f/5.6. Use your self-timer with a delay of 10 sec; after pressing the shutter, go to your mark and assume your chosen position. Stay as still as you can until the exposure has ended, and check the results. If it’s too dark, increase the ISO to 200 or 400, and try again. After a few attempts, you’ll have a spectacular selfie, straight out of a blockbuster movie!
Z is for Zoom burst
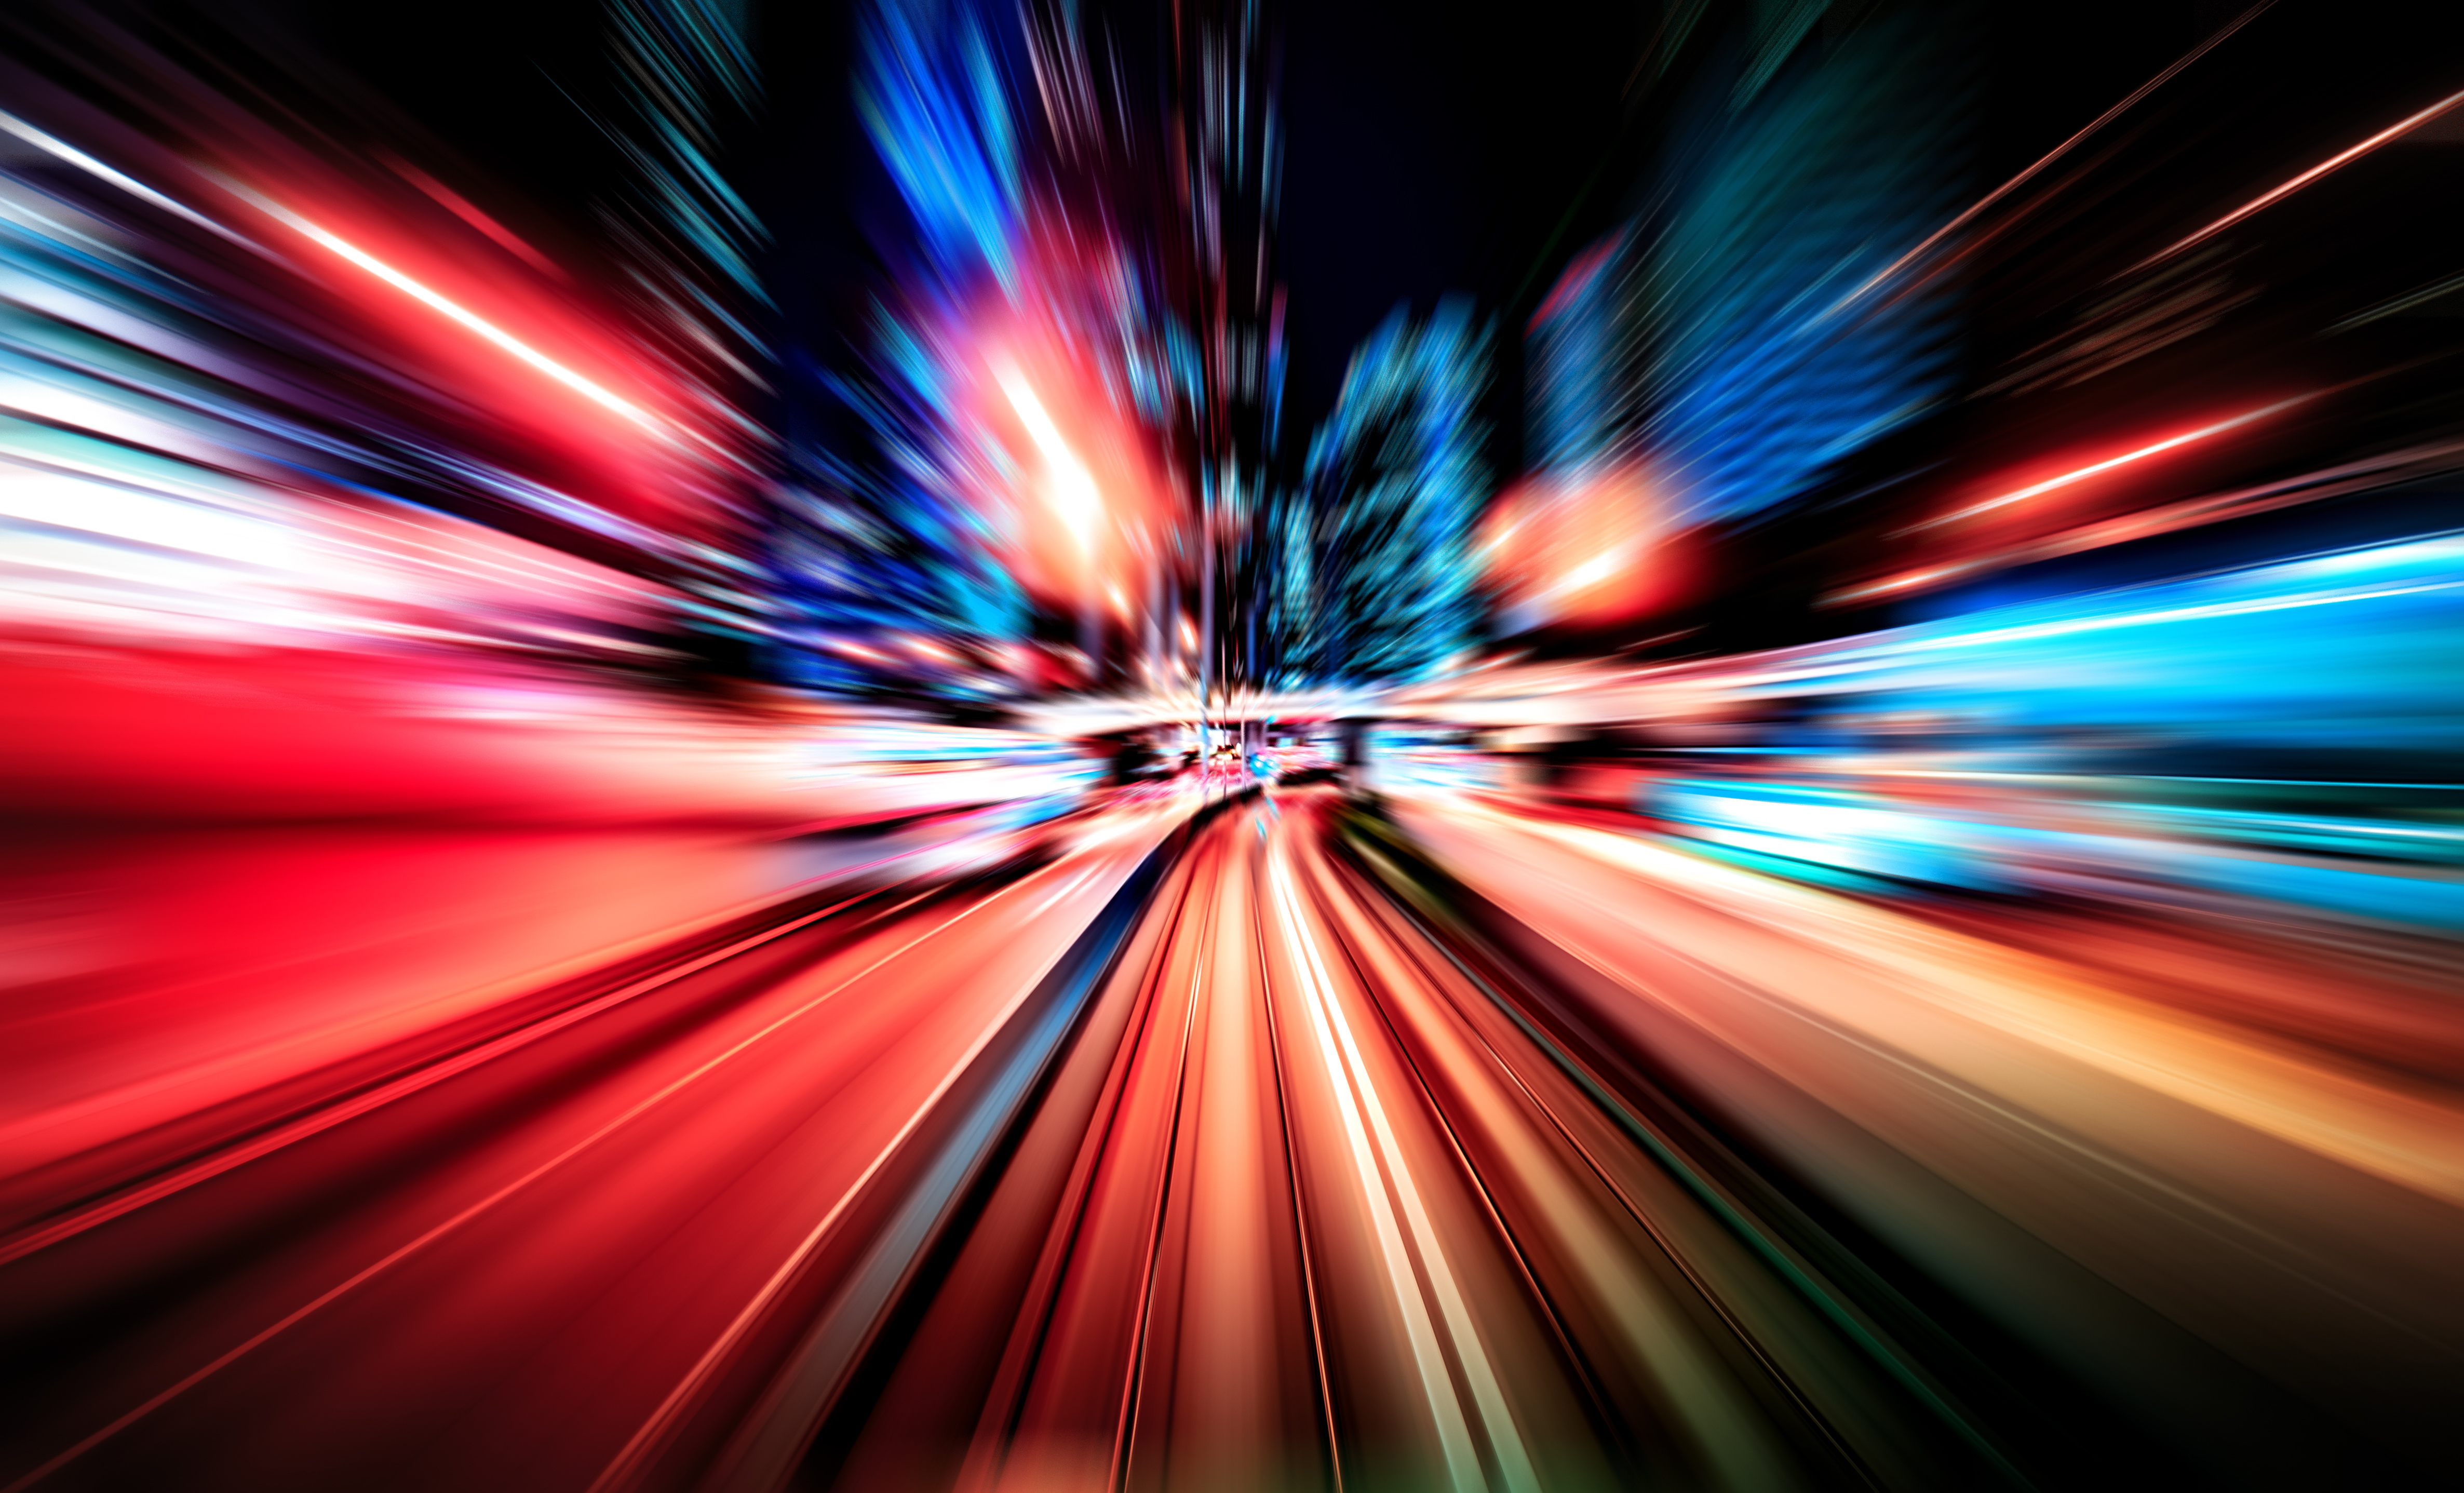
The longer exposure times involved in night shooting allow you to get creative by moving the camera or changing the focal length while the shutter is open. If you rotate the zoom ring while the exposure is being made, light sources will become smears and streaks; you can vary the effect with the amount of zoom used or with camera movements.
For smooth results, start the zoom movement before pressing the shutter button, and continue zooming after the exposure has ended. With longer exposures of several seconds, you can also ‘stagger’ the effect by repeatedly zooming and stopping while the shutter is open. Results are abstracted and unpredictable, but give a very different way of seeing the world.
This feature was originally published in Digital Camera Magazine, to subscribe, click here