The A to Z of Photography: Exposure compensation

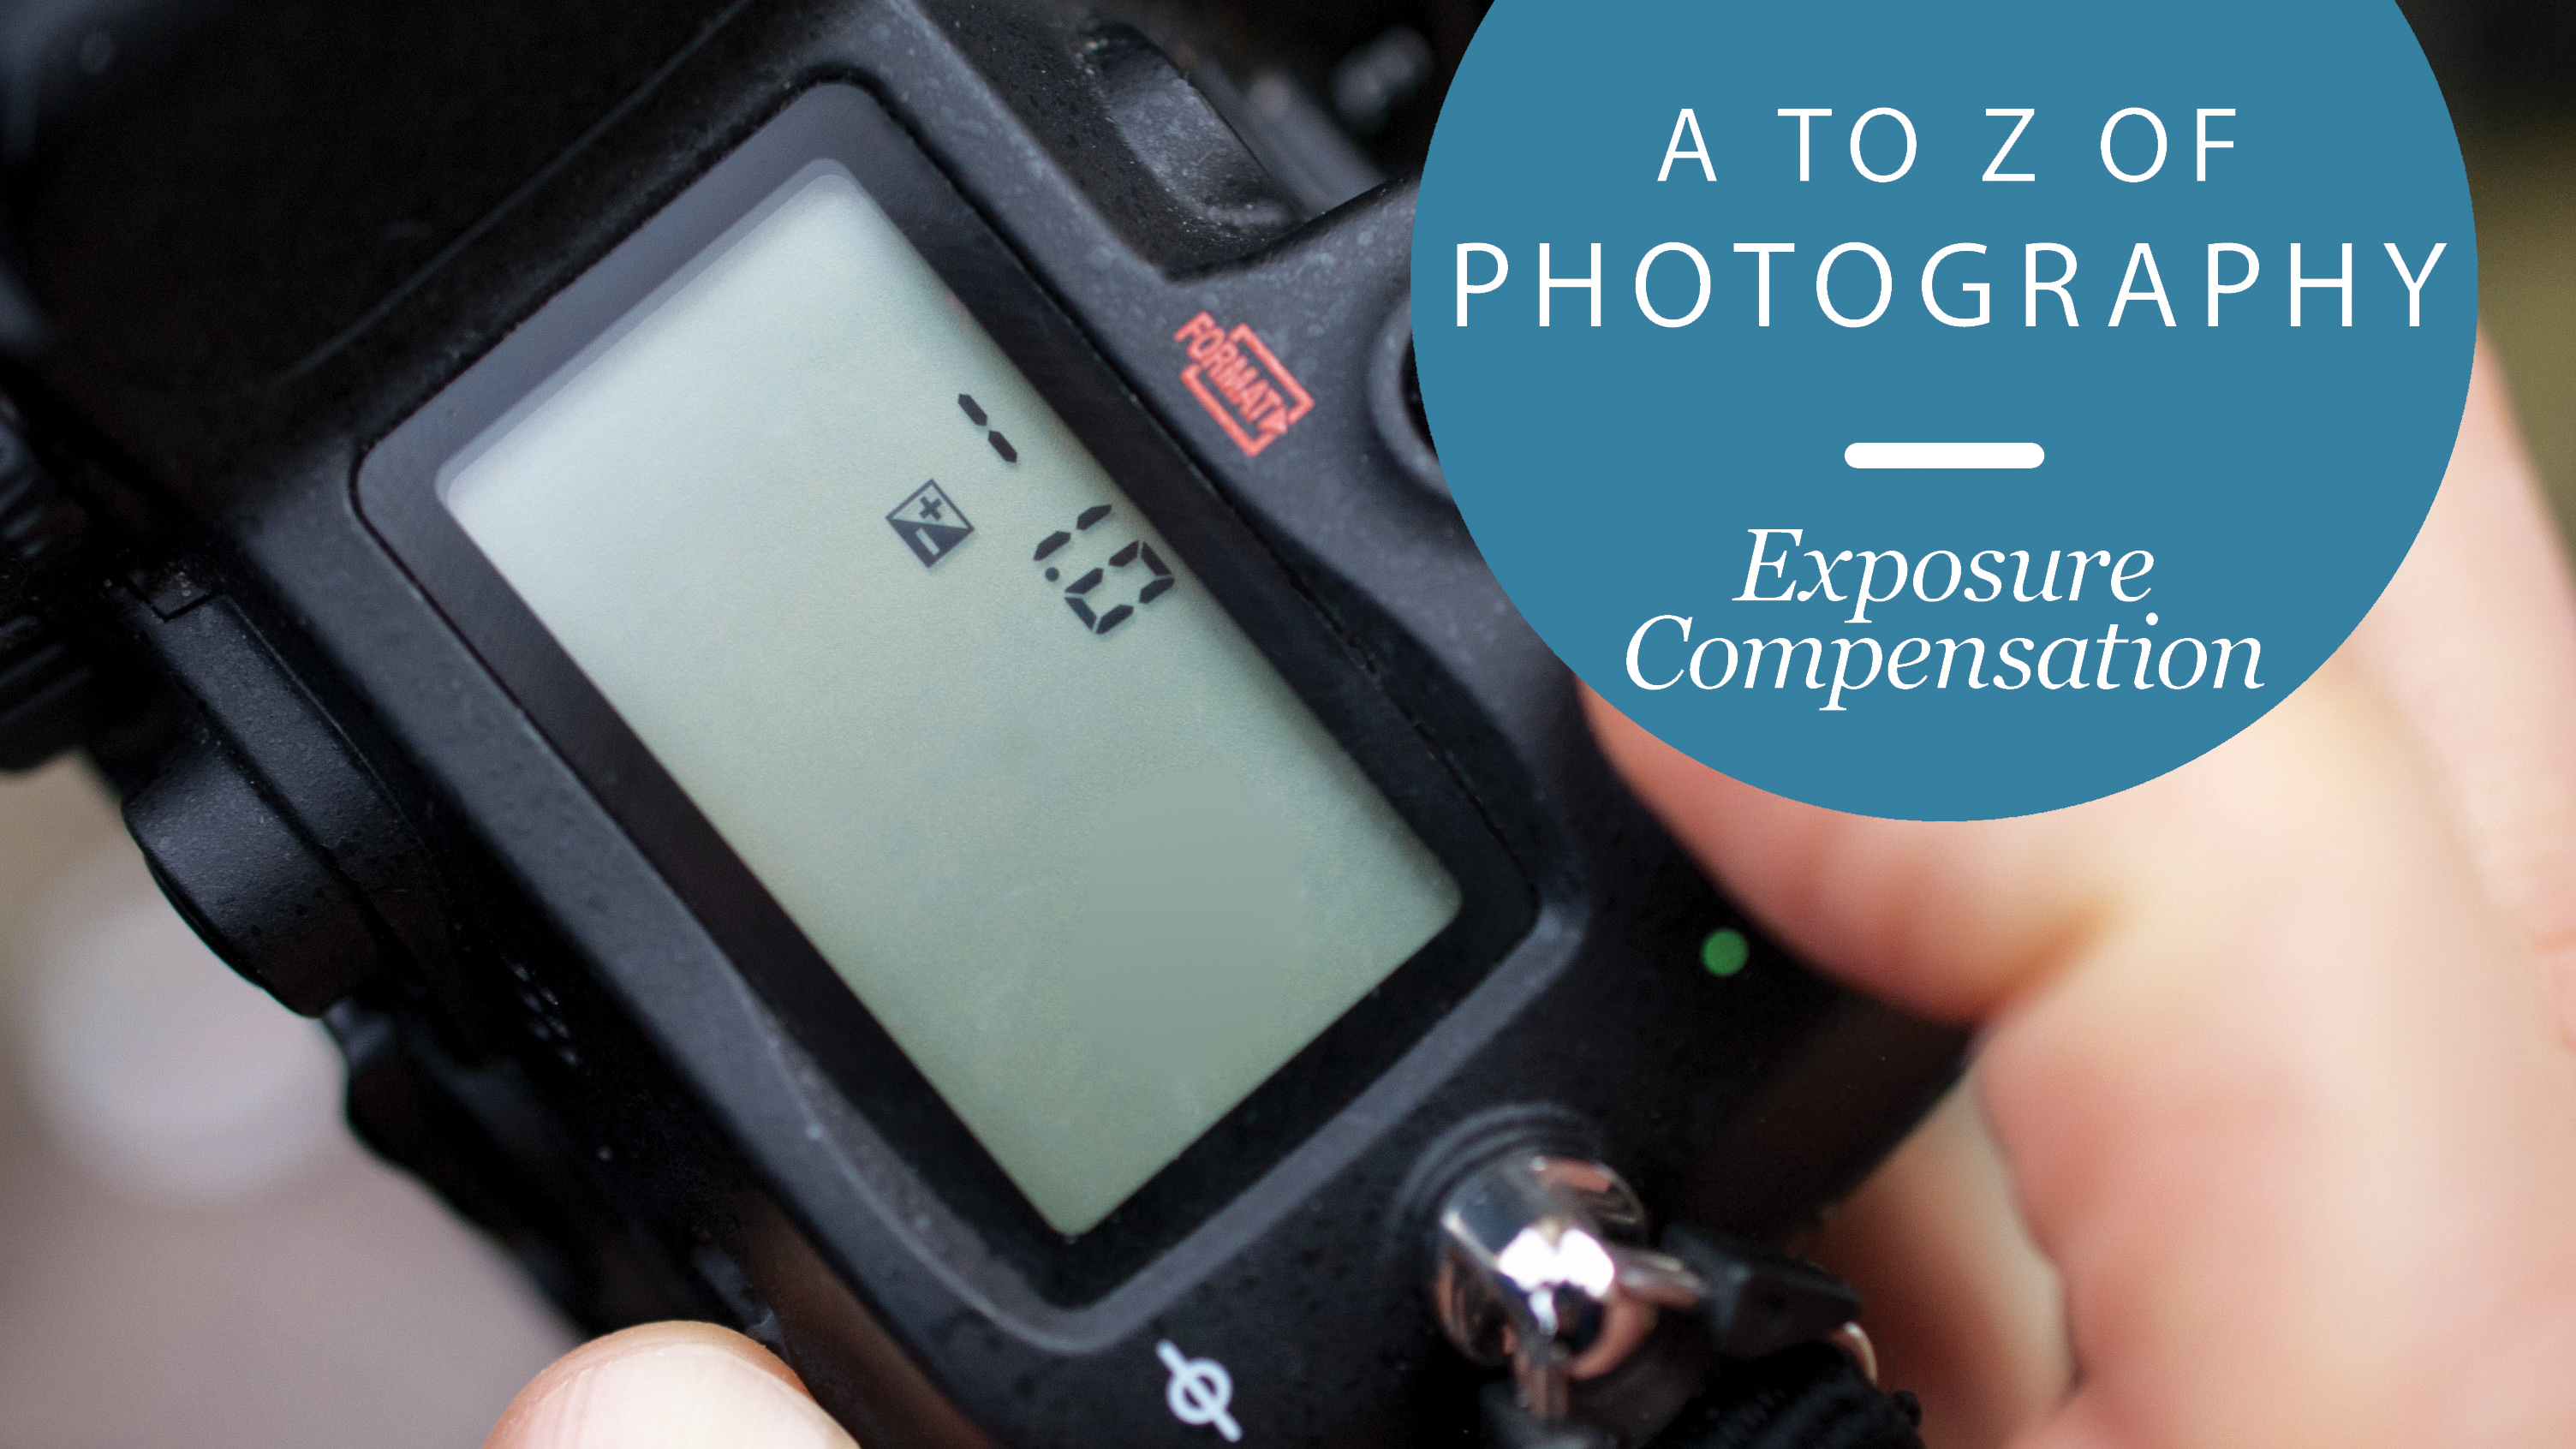
The exposure compensation control on your camera will either take the form of a dedicated dial or, in some instances, be tucked away in your camera's menu – it'll be marked with a +/- icon. It's worth familiarising yourself with this setting, as exposure compensation gives you a great deal of flexibility in fine-tuning your exposure.
Your meter is not infallible
You'd think that with modern cameras featuring sophisticated metering systems you wouldn't need to adjust the exposure yourself, but while your camera's metering system will work out the brightness of the scene correctly in most situations, it's not infallible.
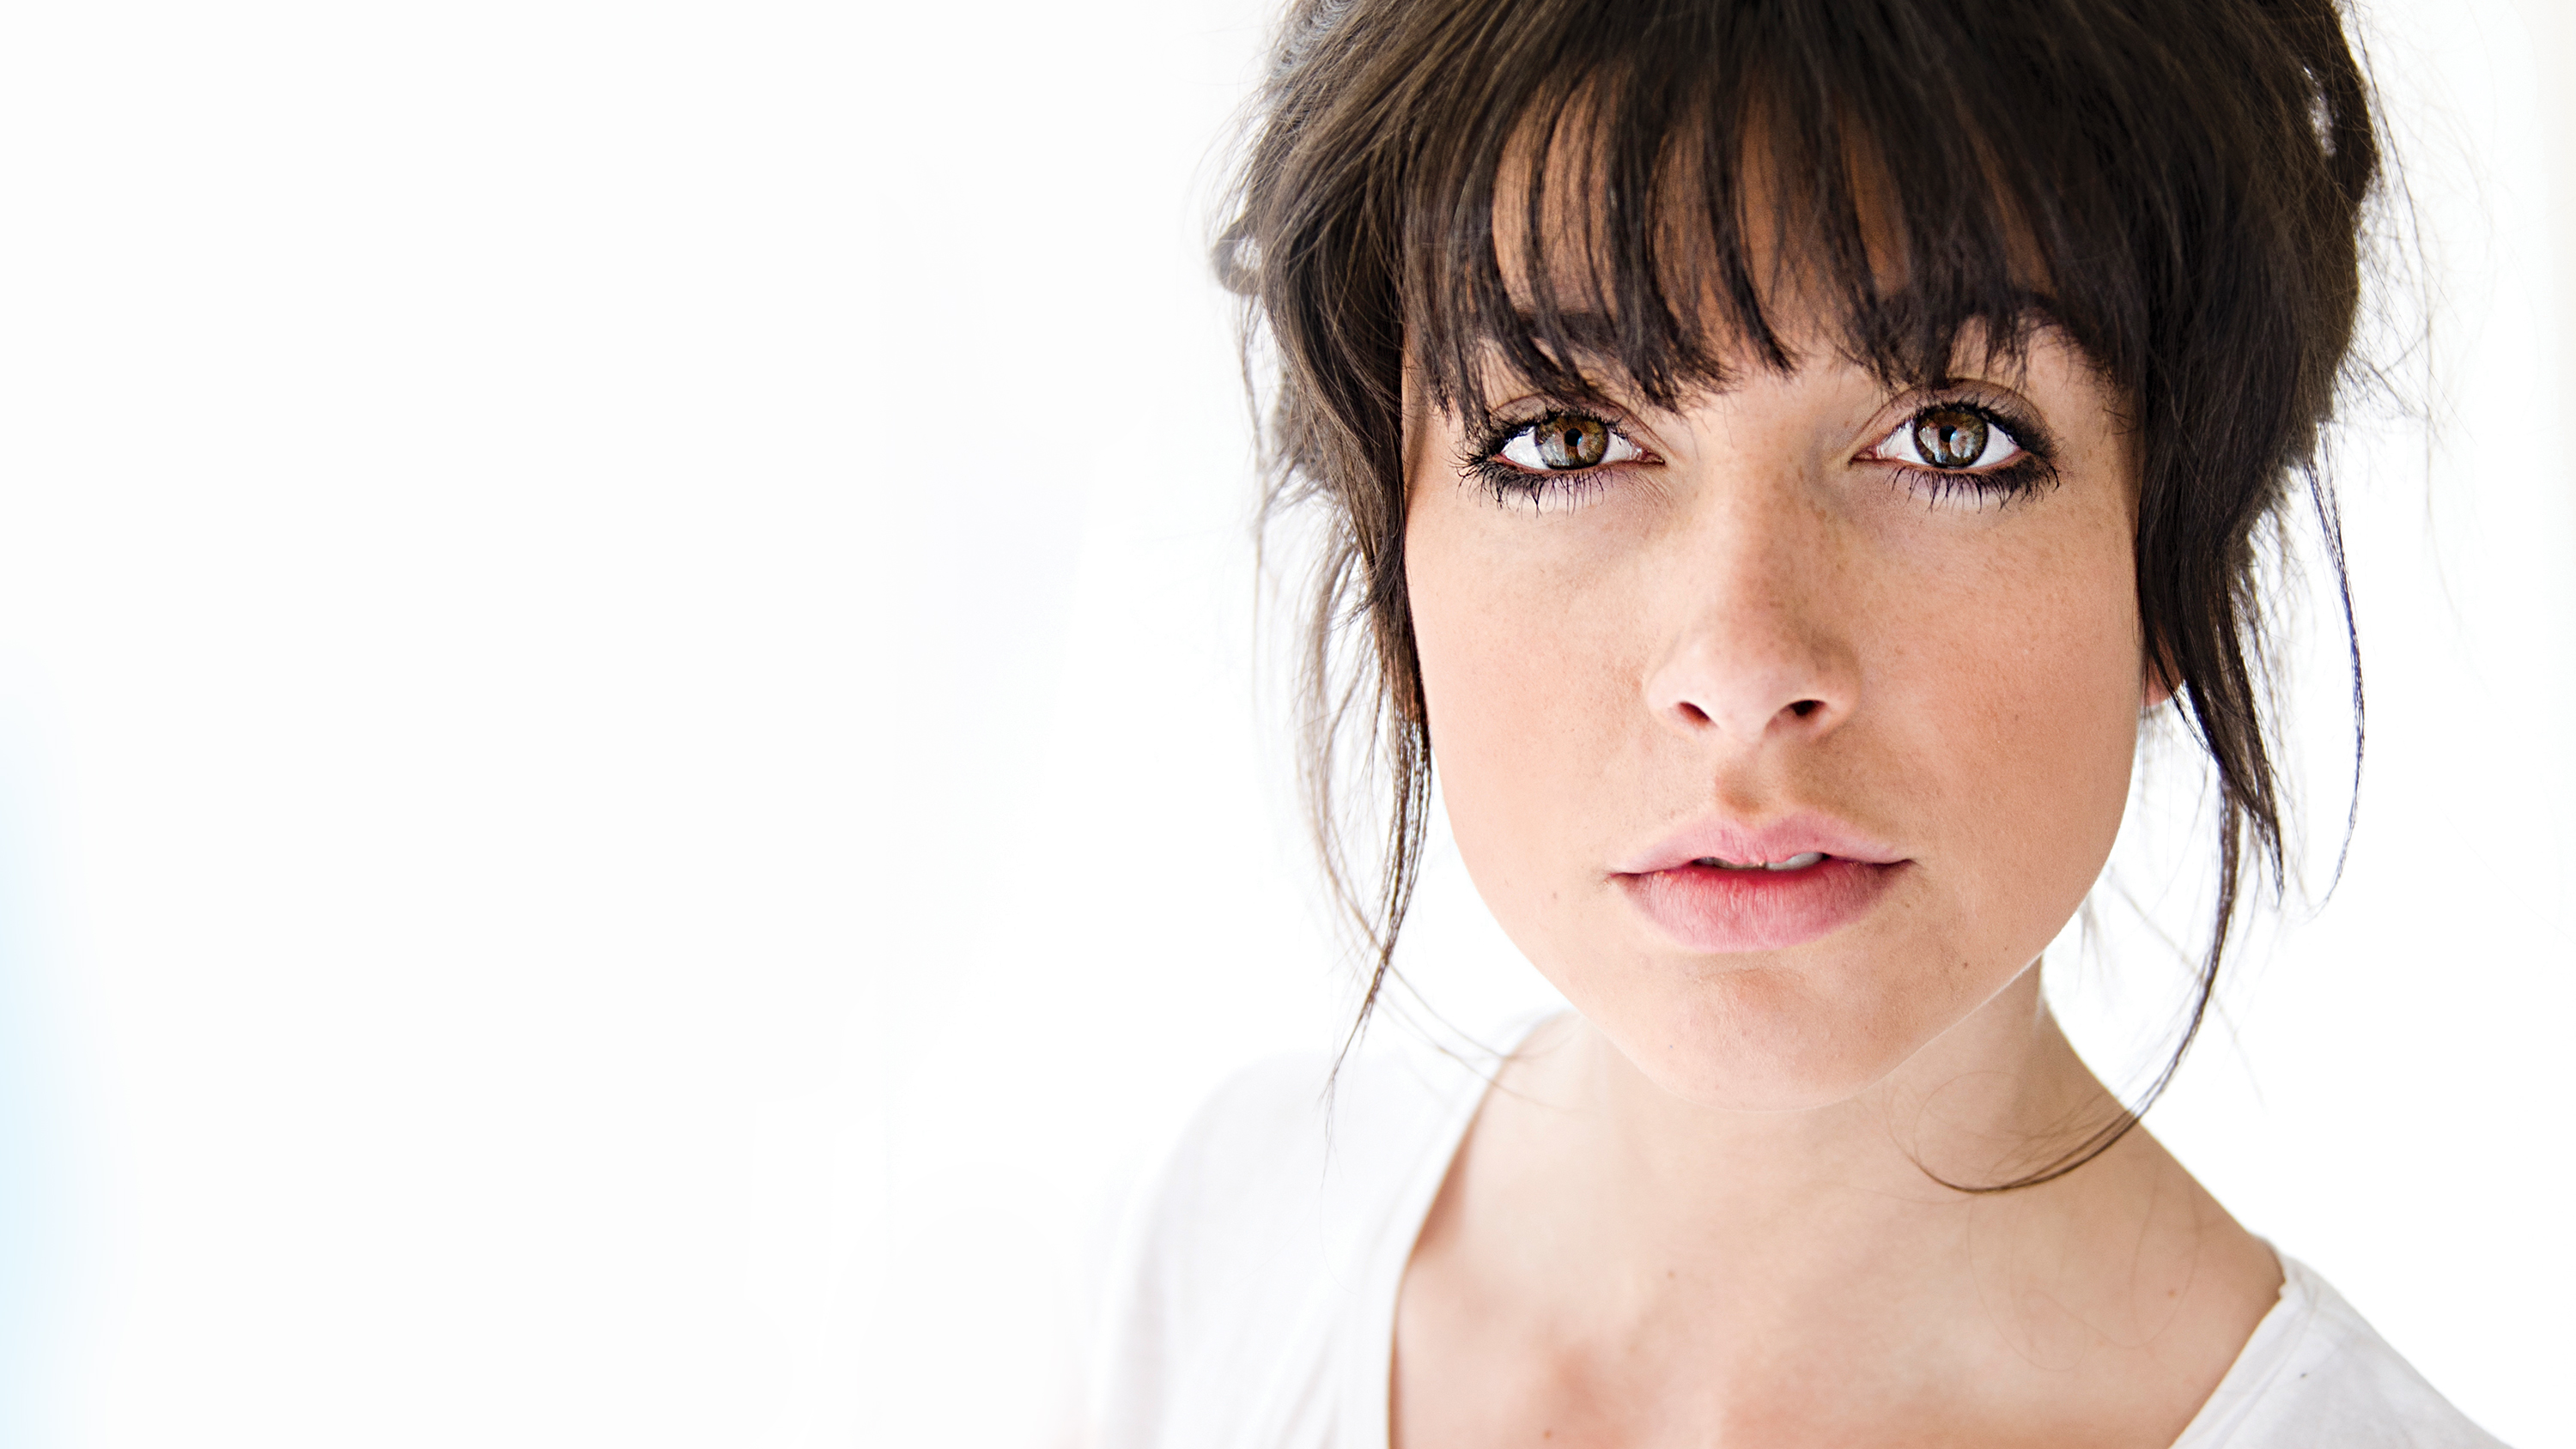
Being able to make small corrections to the metered exposure allows you to adjust for challenging lighting conditions, so that your images don't appear too bright or too dark. You might also want to deliberately override what the meter thinks is the correct exposure for creative reasons, making a portrait overly bright for a high-key effect for instance.
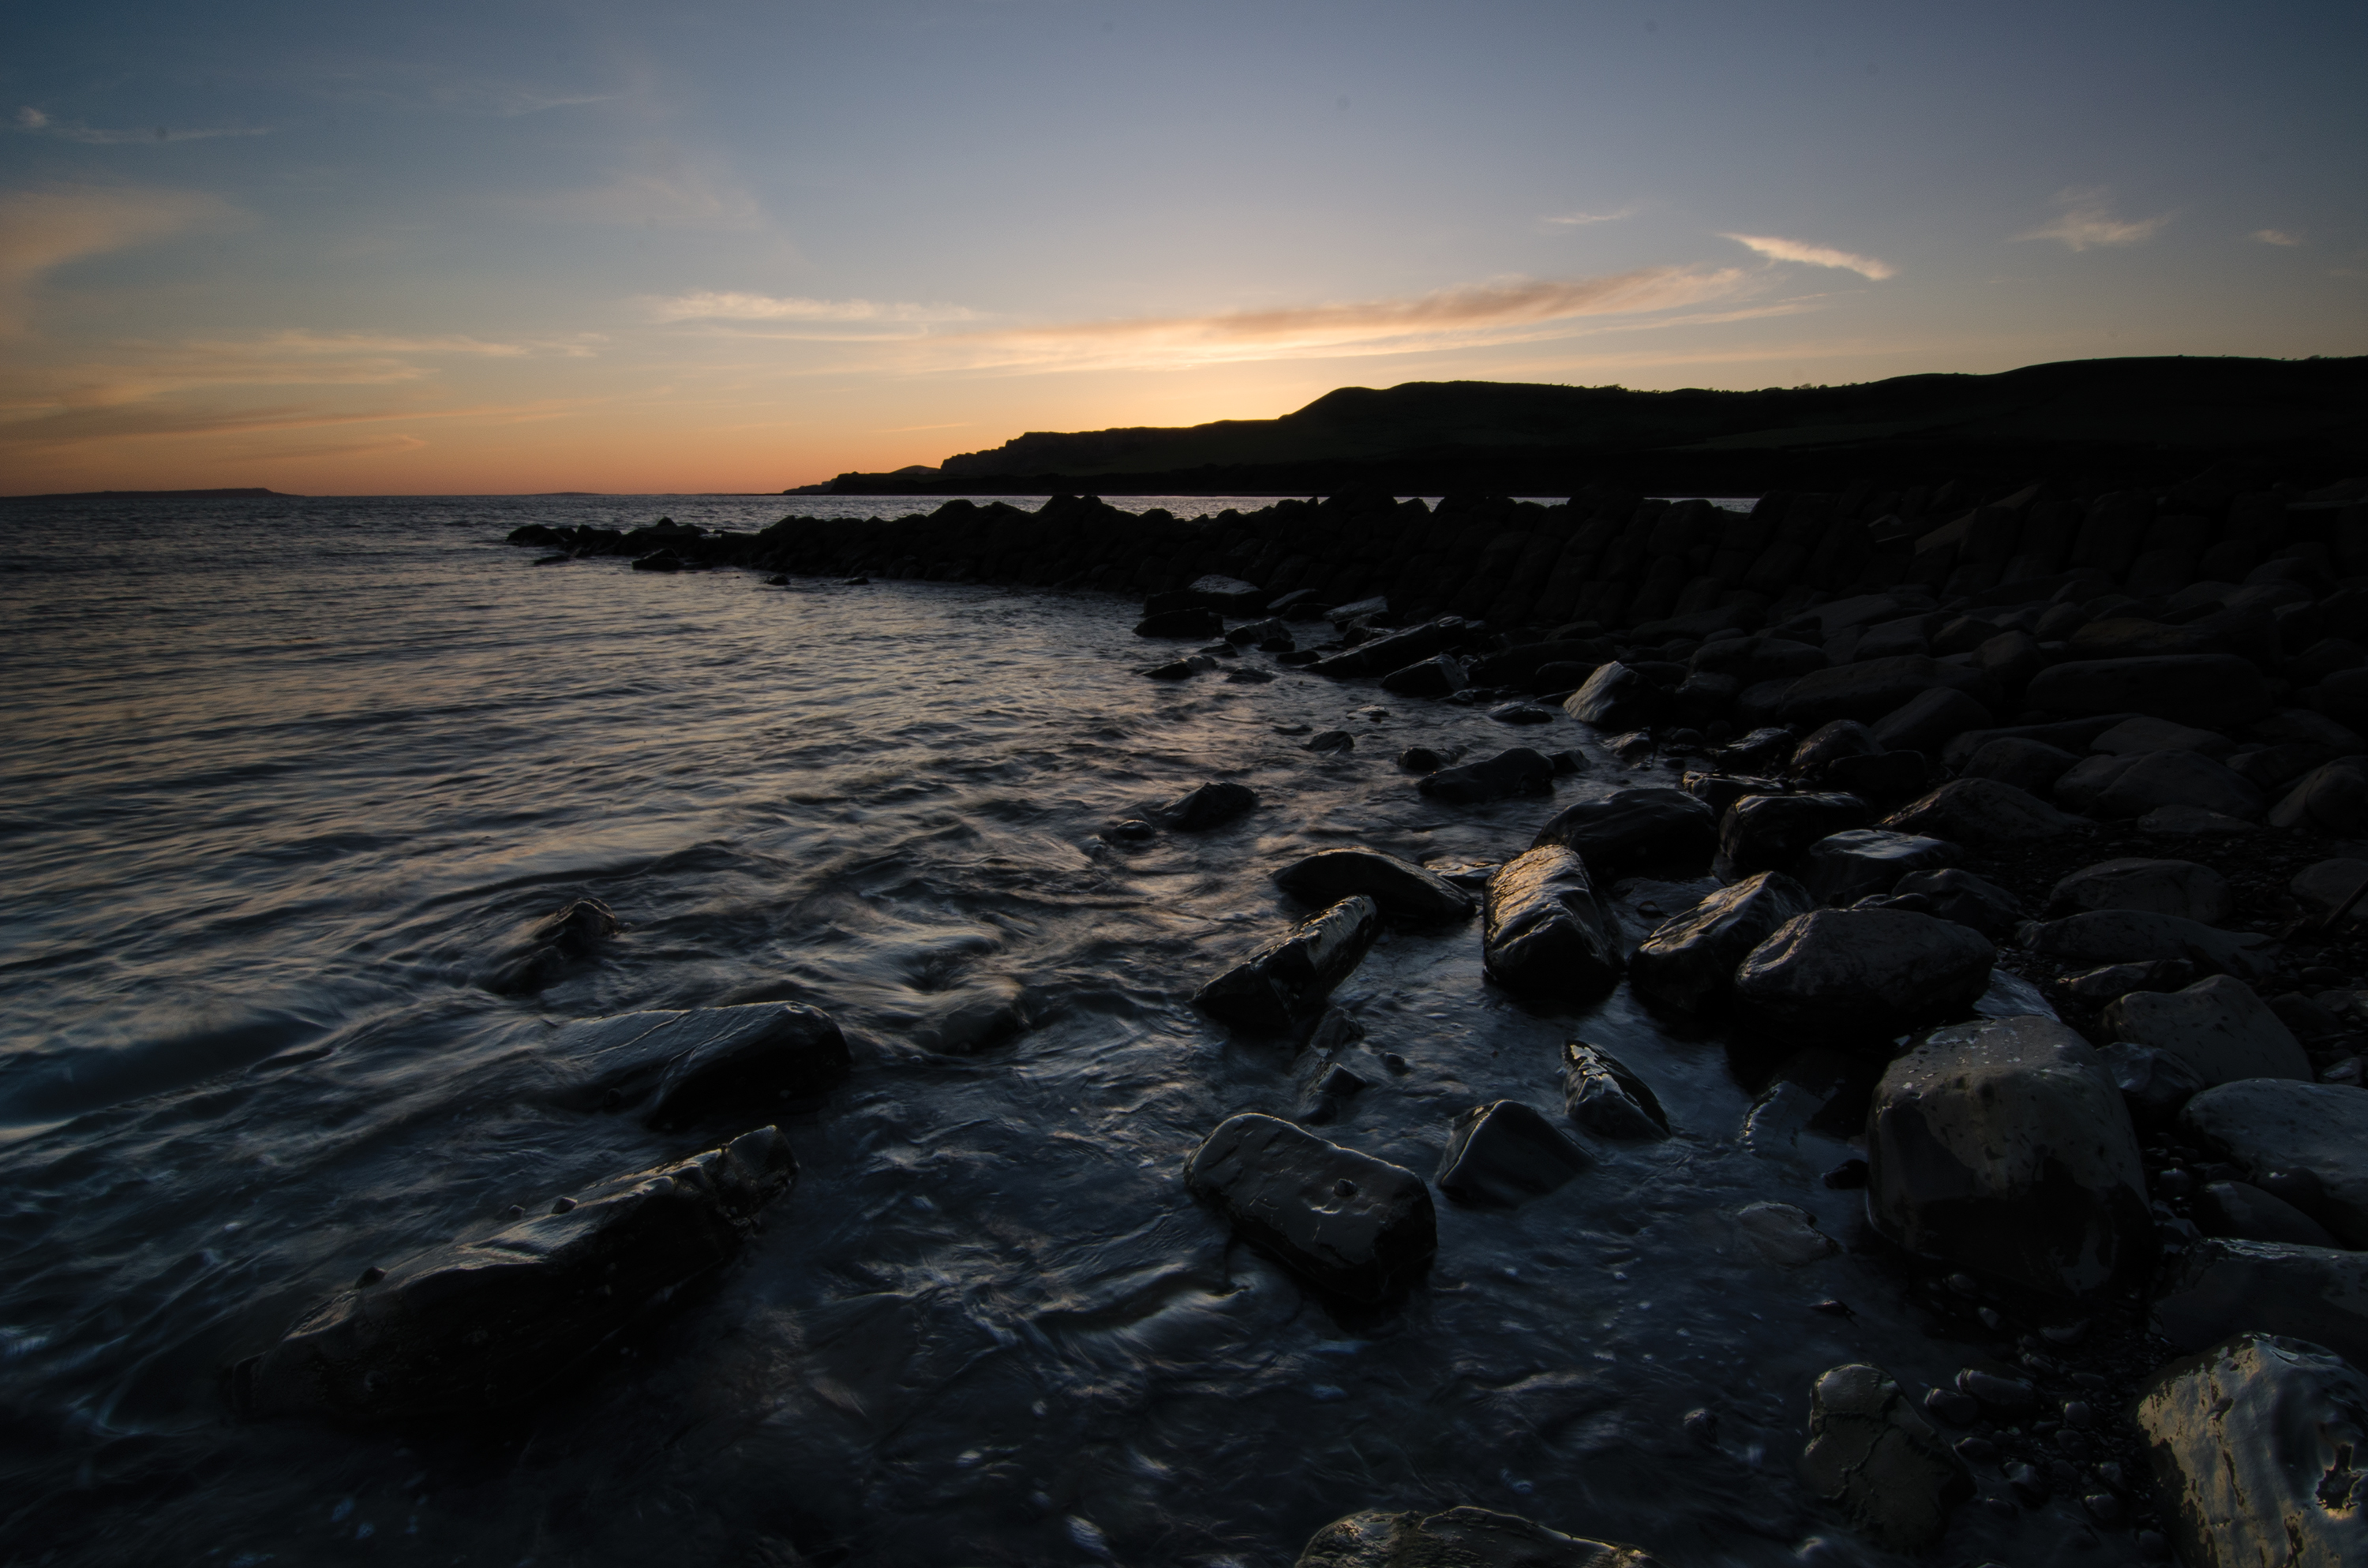
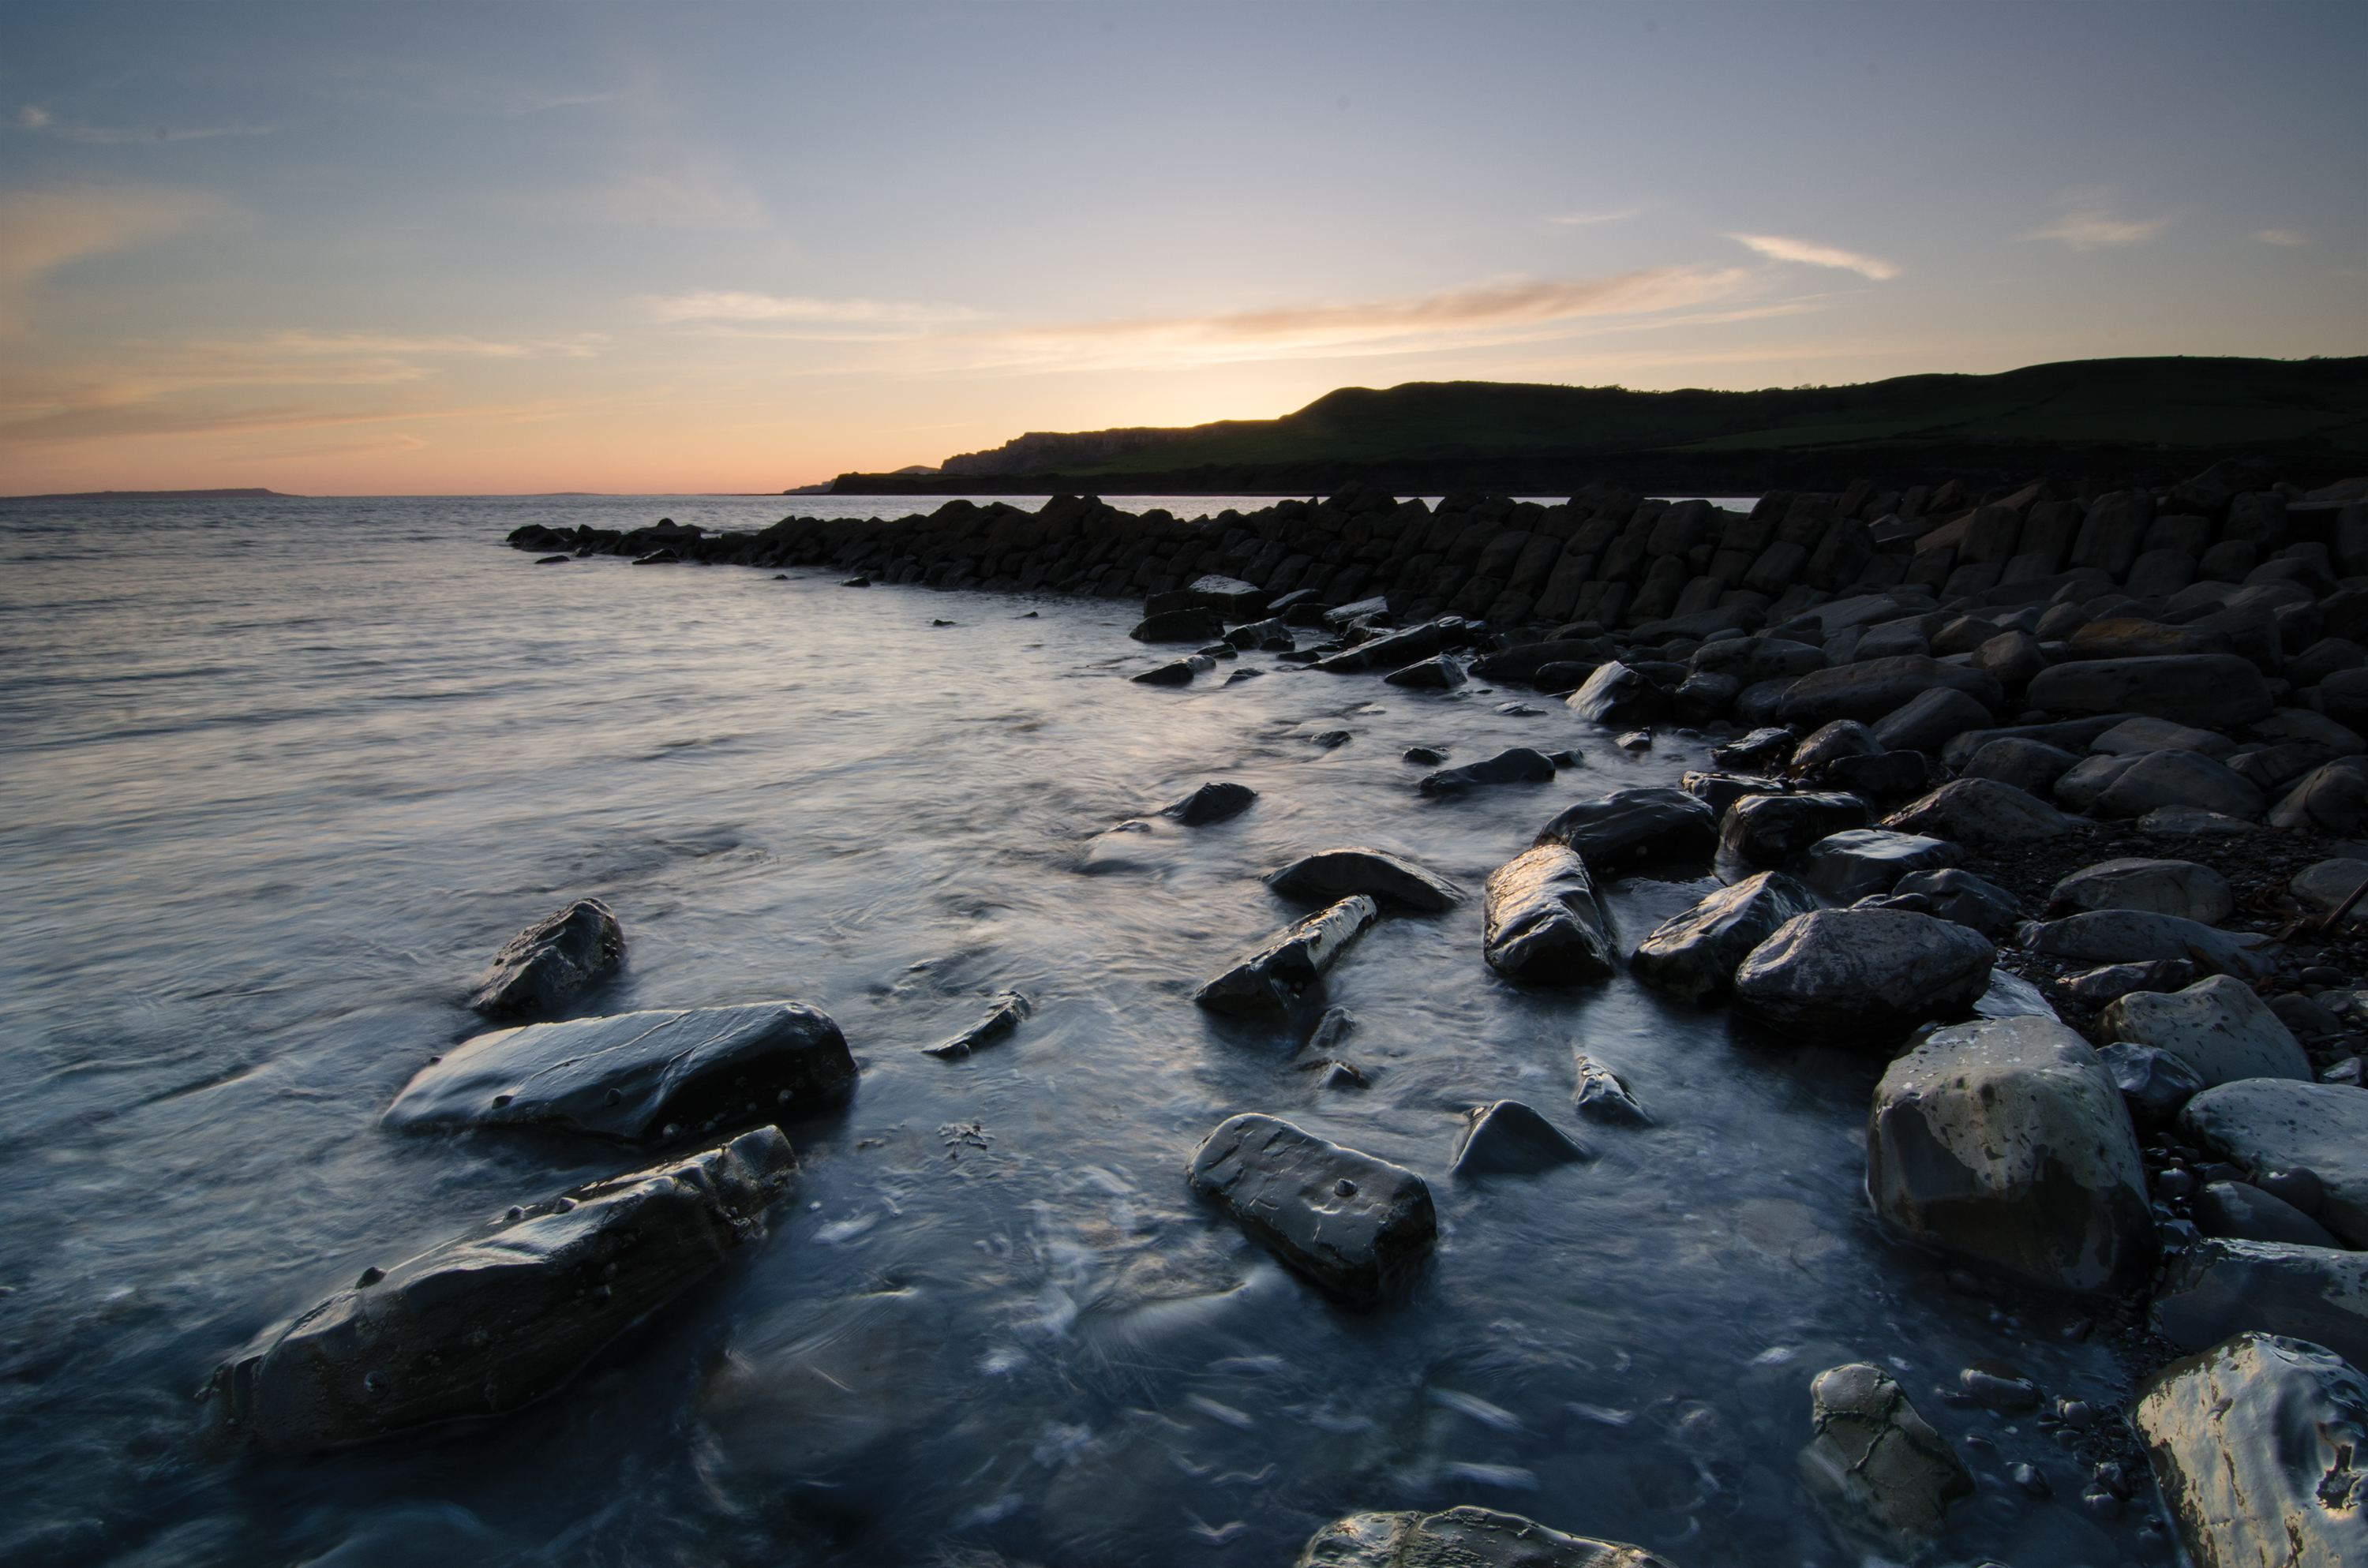
There are a number of common photography situations in which you'll find exposure compensation very useful. High-contrast scenes are perhaps the most common, as these can easily trick your camera's meter, leading it to assess the scene incorrectly. It's in such cases that you'll want to dial in some exposure compensation.
Being able to make small corrections to the metered exposure allows you to adjust for challenging lighting conditions
A plus (+) setting will make your image brighter than the 'standard' exposure, while a minus (-) setting makes an image darker, with each movement up or down the scale recorded as a 'stop', or an increment thereof. A full stop adjustment will double or halve the exposure, but most cameras offer intermediate 'half-stop' or 'third-stop' increments for more subtle adjustment.
Other scenarios that could confuse your camera's meter include photographing someone standing indoors in front of a window. This is because the daylight behind your subject can fool the meter into thinking the overall scene is brighter than it actually is and underexpose it, turning your figure into a dark silhouette.
You can correct for this by dialling in some positive exposure compensation. How much will depend on the scene, but in some instances it may require 2-3 stops to get the exposure right.
Sign up for breaking news, reviews, opinion, top tech deals, and more.

Using exposure compensation in different shooting modes
Exposure compensation is only available if you're shooting in your camera's program, aperture priority or shutter priority modes.
In aperture priority mode, if you adjust the exposure compensation you'll be adjusting the shutter speed. One full stop of negative compensation will double the shutter speed, while a full stop of positive compensation will halve the shutter speed. The aperture remains the same, so a faster shutter speed gives you darker shots by allowing less light to fall on the sensor.


Conversely, a slower shutter speed produces lighter shots by allowing the sensor to 'see' more light. Be careful, though, not to reduce the shutter speed so much that it's too slow to capture sharp shots when you're shooting handheld.
If you're shooting in shutter priority mode and you apply exposure compensation, you'll be adjusting your camera's aperture to make it wider or narrower.
Now the shutter speed will remain constant, so a narrower aperture will result in darker shots because less light will fall on the sensor in a given time, whereas a wider aperture will produce brighter shots because you'll be letting in more light during a given time.
When you're using exposure compensation to adjust the aperture in shutter priority mode, you'll need to bear in mind that you'll also be adjusting the depth of field, so more or less of your scene will be in focus.

Phil Hall is an experienced writer and editor having worked on some of the largest photography magazines in the UK, and now edit the photography channel of TechRadar, the UK's biggest tech website and one of the largest in the world. He has also worked on numerous commercial projects, including working with manufacturers like Nikon and Fujifilm on bespoke printed and online camera guides, as well as writing technique blogs and copy for the John Lewis Technology guide.