How to use a NAS device as a home media server
Create your own personal Netflix service

If you have a large collection of movies and music, then subscribing to an online streaming service such as Spotify or Netflix may seem like a waste of money; however, you will be missing out on some of the advantages such services offer in terms of having digital media at your beck and call.
So in this guide we’ll show you how to use a NAS (network attached storage) device to hold all of your media so that it’s easily available to the devices in your home – and even when you’re out and about.
We’ll also show you how to digitize your media so that it can be stored on the NAS device – so you won’t have to dig out a Blu-ray or CD when you fancy watching or listening to something.
Choosing a NAS
Having a NAS at the center of your home makes accessing your media files more convenient then if they're sitting on the hard drive of a laptop or PC.
NAS devices are by their very nature designed to be accessible to all devices on a network, so you’re able to access files from your laptop, PC, smart TV and pretty much any other gadget on your home network.
NAS drives are also designed to run 24 hours a day, so you don’t need to worry about having to turn yours on when you want to watch something – it will always be available.
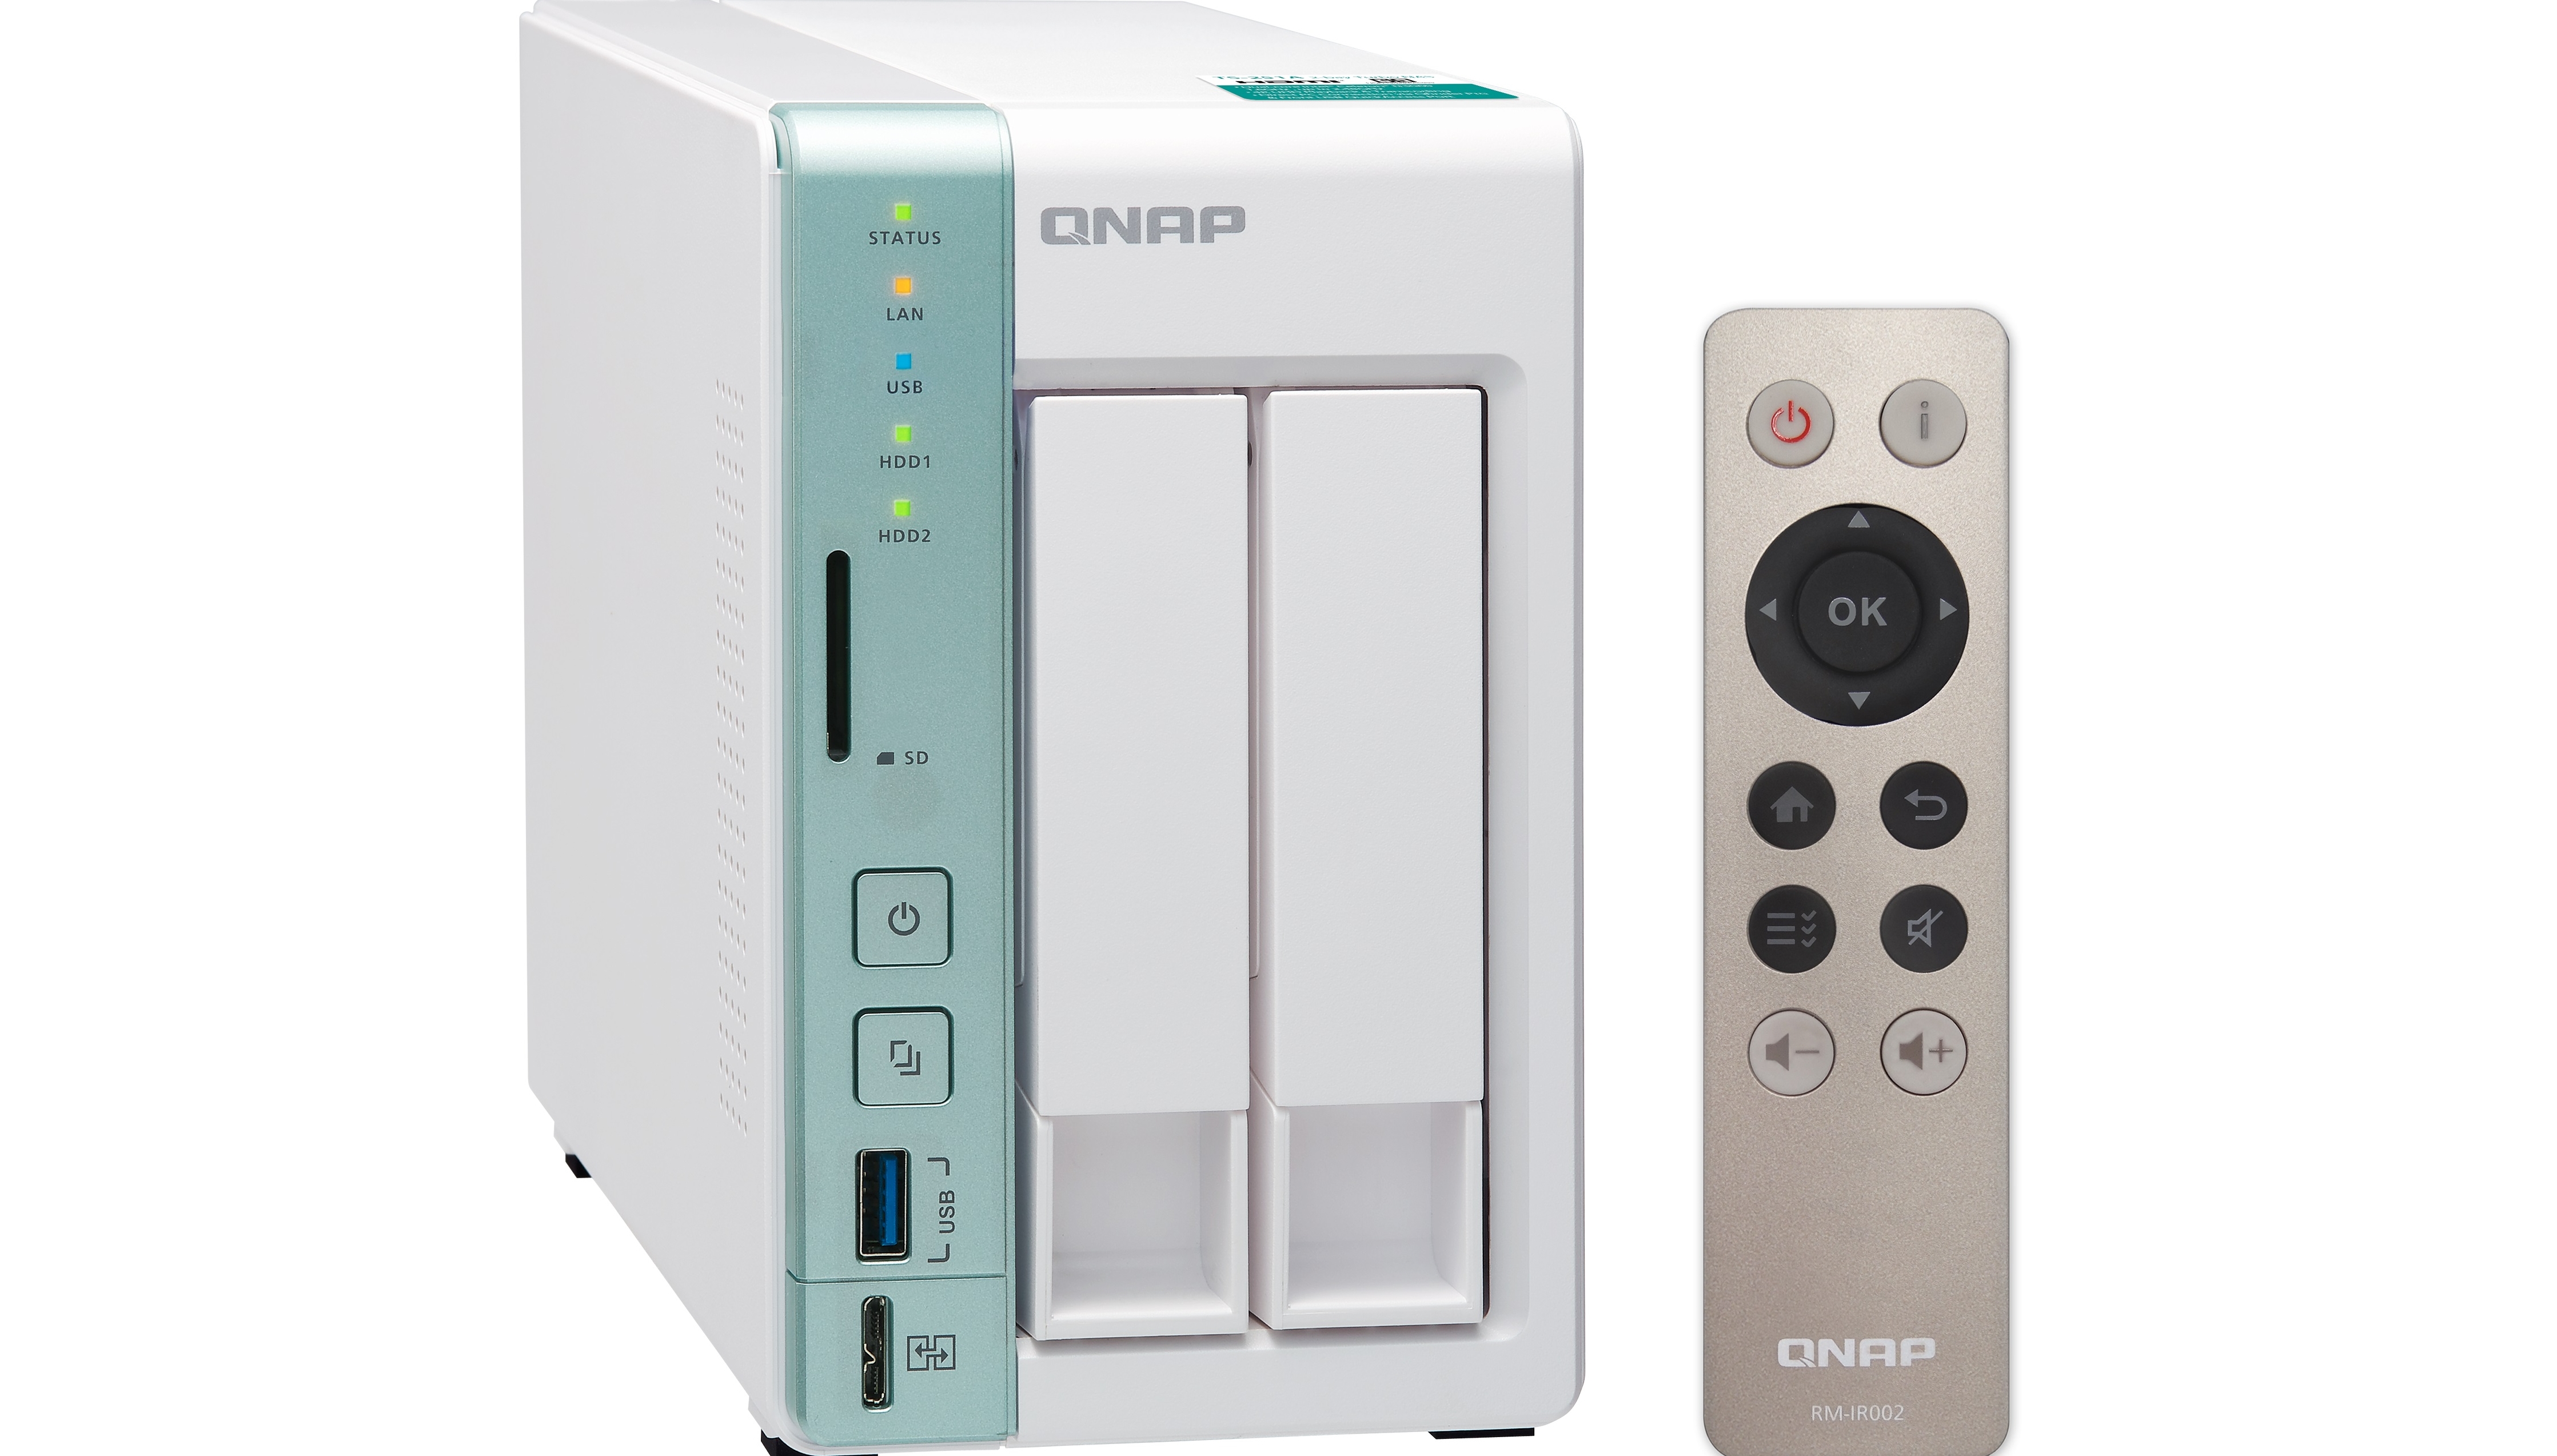
When looking at the best NAS to use as a home media server we chose the QNAP TS-251A, which is an excellent two-bay NAS device that specialises in media playback.
Sign up for breaking news, reviews, opinion, top tech deals, and more.
It comes with some excellent features that make it a great choice for use as a home media server, including HDMI-out to plug directly into your TV, and supports 4K hardware decoding, which is good when you begin moving to ultra high-definition (UHD) content, as the QNAP TS-251A will be able to transcode UHD content for playing on smart TVs and other devices, without you having to worry about whether they support the format.
It also comes with a remote control, making it easy to use from the comfort of your couch. We’ve had a play around with the QNAP TS-251A and we've been very impressed with it. Not only is it powerful and packed full of features, it’s also easy to use. The operating system it runs on makes adding additional features, such as running Kodi or Plex, simple.

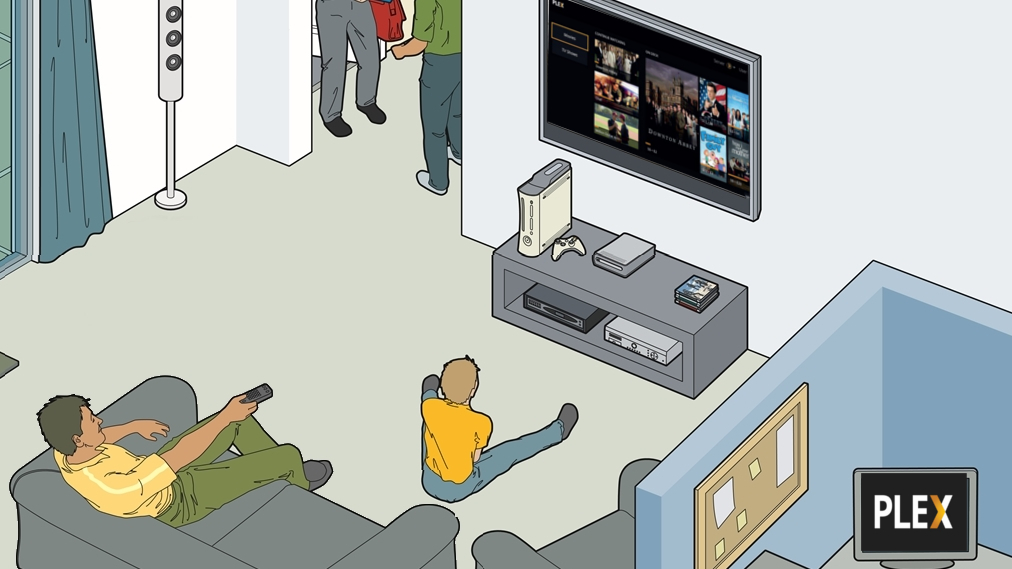
These apps enable you to organize and play your media through attractive interfaces designed for TVs, so you can use them to make your very own Netflix-like streaming services! One thing to note is that while we really like Plex, it doesn't support hardware transcoding – just software transcoding.
Transcoding is the process of converting a media file from one file type to another while it’s being played. It means you don’t have to worry if your smart TV doesn’t support MKV files, for example, as the server will transcode the file so it can be played anyway.
The problem is that transcoding is a demanding process, and while the QNAP TS-251A has the specifications to transcode 4K footage, the software transcoding method of Plex puts a lot of strain on the QNAP’s processor.
To get around this when using Plex, we used the QNAP to store the media while using a second device (in our case the Nvidia Shield) as the media server for all the transcoding needs. Of course, the easier option is to avoid using Plex and stick with Kodi, or play the media natively from the NAS using the HDMI connection.
Choosing the hard drive
While some NAS drives come with a hard drive already installed, many others, including the QNAP TS-251A, are sold without them.
While this isn’t quite as convenient, it at least gives you more flexibility when installing a NAS device as a home media server. Because we want our server to hold a lot of large media files, while making these files available 24/7, we want a hard drive that combines large capacity with energy efficiency and reliability.
For help finding the right hard drive for your needs, check out our 10 best internal desktop and laptop hard disk drives guide. For the ultimate home server we’ve gone with the Seagate IronWolf 10TB drive, which although pricey provides a whopping 10TB of storage, and many NAS-specific benefits.
The QNAP TS-251A we’re using is dual-bay, so we've actually added a second IronWolf for a total capacity of nearly 20TB after the operating system and other factors are accounted for. This ups the price considerably, so you’ll want to find a hard drive that offers plenty of space without going over your budget.

How to set up the NAS device as a home media server
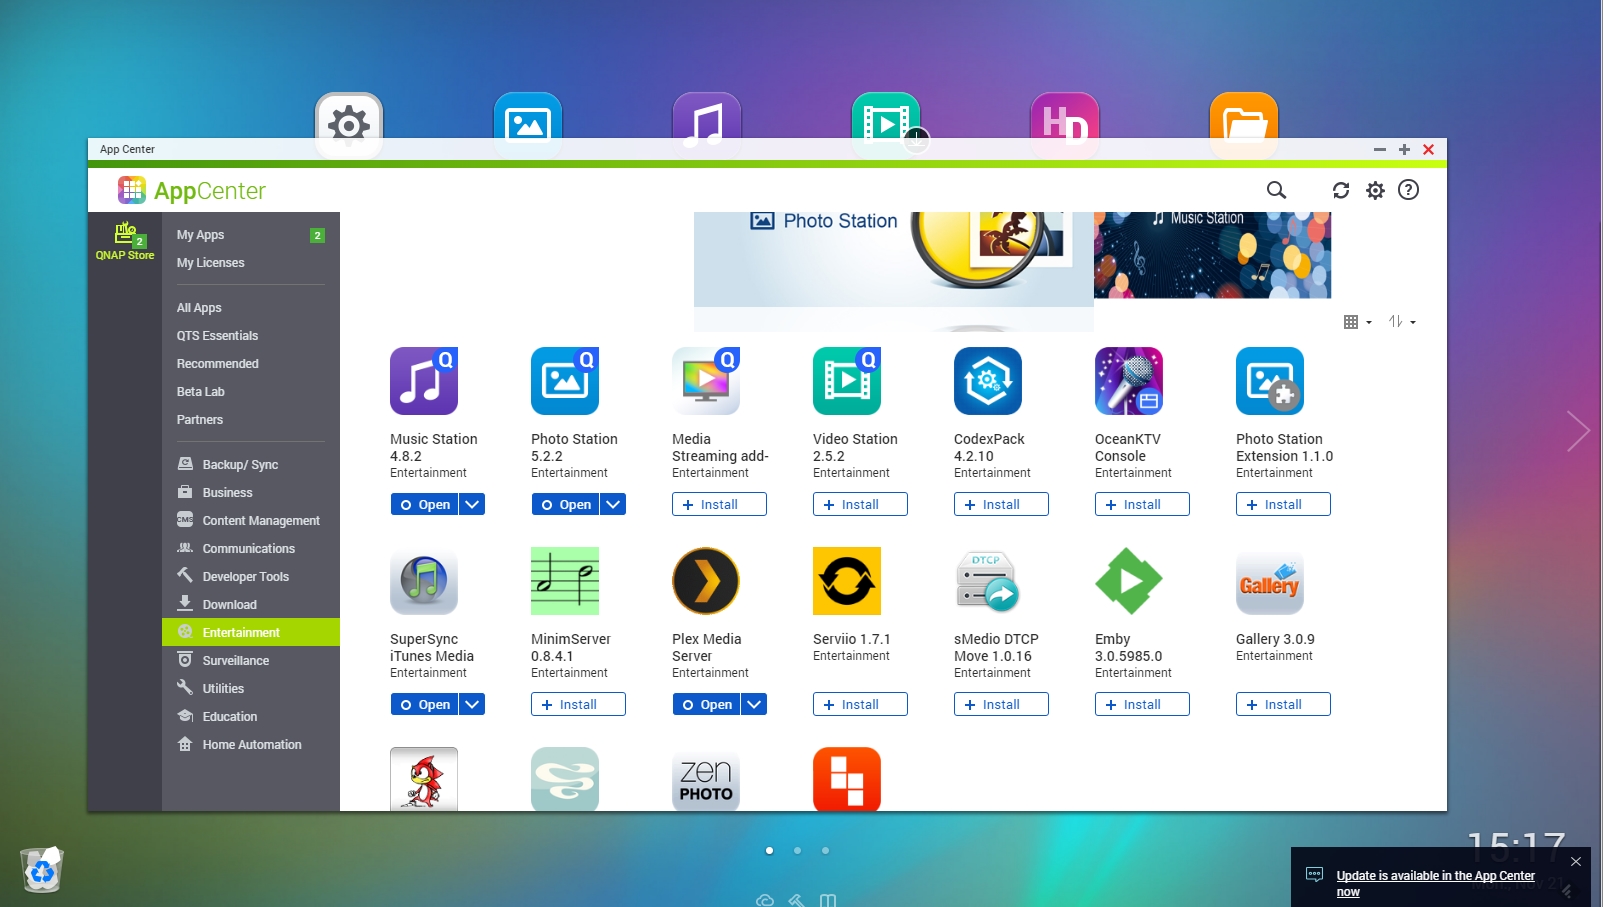
The setup procedure for NAS devices will vary depending on the make and model, but we found the process for the QNAP TS-251A to be straightforward, and adding Plex Media Server and Kodi was a simple process of browsing the software store on the NAS device’s operating system and clicking on the apps.

Other NAS drives may have different ways of installing apps on them. You can visit the Plex website’s download section to view a list of compatible NAS devices.
If yours is on there you should be able to download the file, then add it to your NAS device for installation. The Kodi website also has a page that explains the various devices it’s compatible with, so check there for your NAS device and instructions on how to install it.
Adding your media
To stream your media to devices around your home (and even outside if you allow external connections), you’ll first need to digitize it and store it on the NAS device in appropriate folders.
If your music collection is on CD (or already digital) then the good news is that this is a simple process. Most music playing apps, such as iTunes, make it easy to convert CDs into digital files.
You’ll be able to choose your preferred audio file format, and while MP3 offers the best compatibility, if you have the hard drive capacity we recommend ripping your CDs to a lossless format such as Flac, as this provides the best possible sound quality.
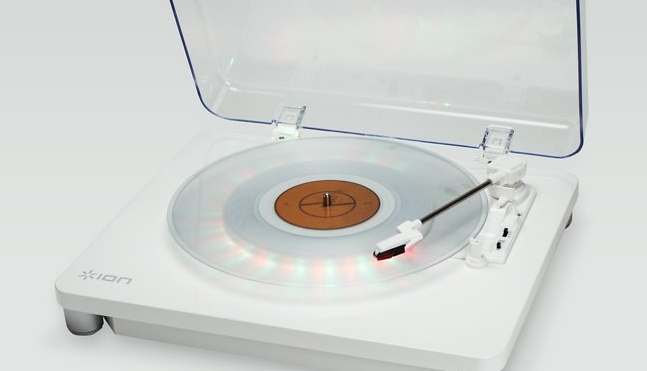
If you have an analogue music collection, such as vinyl, then you’ll need some extra equipment such as the Illuminate Turntable, which will convert vinyl albums to MP3s as they're played.

Converting DVDs and Blu-rays to digital files is more time-consuming, and you’ll have to keep in mind copyright and legal implications – so no sharing the digital files with anyone else once you’ve created them!
One of the best tools we’ve found is MakeMKV, which will make digital backups of your DVD and Blu-ray discs as MKV files. MKVs aren’t as widely supported as AVI and MP4 files, so you may need to rely on Plex, Kodi, or hardware to transcode the files for playback on certain devices.
MKVs are also rather large files, as they make complete copies of the disc, so a Blu-ray backup will be around 30GB in size.
The good thing about MKVs is that you won’t lose any image quality, and high-quality soundtracks will also be preserved. You can make the file sizes smaller in MakeMKV by deselecting additional soundtracks and bonus materials from being copied.
You could also use another program to convert the MKV to a smaller file, but this will sacrifice quality. MakeMKV works on Windows PCs and Macs, so you’ll need a computer or laptop with a DVD or Blu-ray drive (either internal or external).
Once you’ve digitized your collection you’ll need to move it over to the NAS device. The NAS device should appear as a network drive in Windows, MacOS or Linux, so you can copy and paste the files over as if it was a hard drive or USB drive plugged into your computer.
With the media on your NAS device, you’ll now need to tell your media server software where to look for that media. This process will vary depending on the server you use – if you use Plex, check out our guide on How to use Plex media server, and for Kodi see our How to build your own Kodi media streaming box guide.
You'll now have a NAS device that holds all of your media files, and makes them easily streamable to the various devices around your house.

Matt is TechRadar's Managing Editor for Core Tech, looking after computing and mobile technology. Having written for a number of publications such as PC Plus, PC Format, T3 and Linux Format, there's no aspect of technology that Matt isn't passionate about, especially computing and PC gaming. He’s personally reviewed and used most of the laptops in our best laptops guide - and since joining TechRadar in 2014, he's reviewed over 250 laptops and computing accessories personally.