How to install macOS from a USB
How to install macOS from a USB is as easy as 1, 2, 3...4! We walk you through the simple steps you'll need to follow to get you up and running

Did you know that you can install macOS from a USB? It's true! With an external drive, you can install or reinstall the Mac operating system on a supported device, which is great for those times when your Mac won't work normally or you're wanting to install a particular OS across multiple machines.
If you're a fan of the best MacBooks and Macs, knowing how to install macOS from a USB is a handy trick to have up your sleeve. It's worth noting though that Apple recommends that only system administrators follow these steps since a bootable installer isn’t necessary to update or even reinstall macOS. A bootable installer is ideally suited for installing macOS on multiple devices.
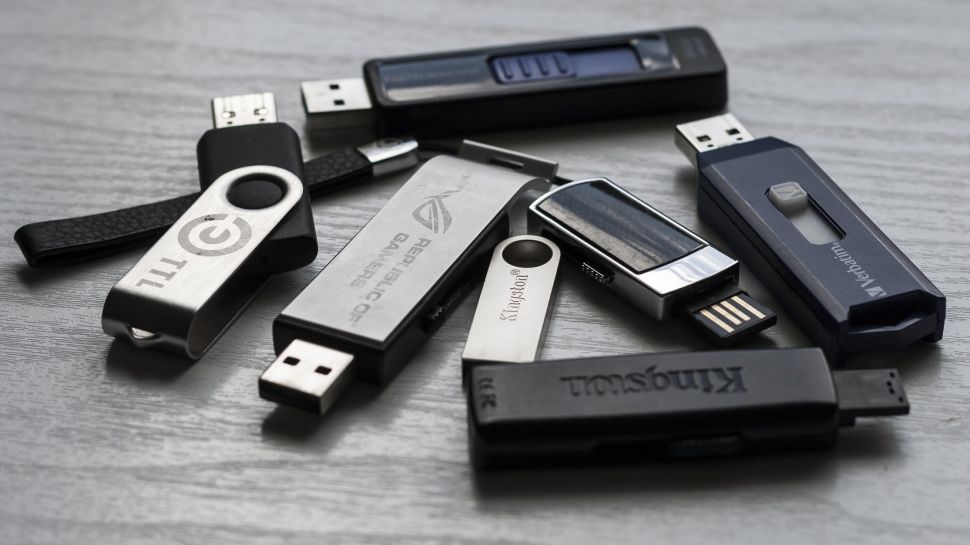
While USB drives are super cheap these days, we still advise that you purchase one of the best flash drives for this job. It's much better to invest slightly more in a known brand from a reputable store rather than relying on unknown brands that claim their flash drives have incredibly high storage.
You'll also want to check what ports you have available to you on your Mac before you begin. The newest MacBooks only have USB-C ports. To install macOS on these computers, you'll need a flash drive that supports USB-C or one of the best USB-C adapters. The file or drive must support Mac OS Extended and have at least 14GB of available storage.
Below, we'll walk you through everything you need to know to help you to install macOS from a USB. It's worth noting that you can currently only create a bootable installer for macOS 12 Monterey, macOS 11 Big Sur, and a few earlier versions, such as Catalina, Mojave, High Sierra and El Capitan. Ready to get started? Let's dive in...
1. Download macOS
The first step to install macOS from a USB on a MacBook or Mac desktop computer is to download the version of macOS that suits your needs.
The macOS file will download to your Applications folder. Once the download is complete, you'll see the file named 'macOS [version name]'.
Sign up for breaking news, reviews, opinion, top tech deals, and more.
To get the correct installer, download from a Mac that is using macOS Sierra 10.12.5 or later, or El Capitan 10.11.6. Enterprise administrators should download from Apple, not a locally hosted software-update server.
For an OS X El Capitan installation, the file gets saved as a disk image named 'InstallMacOSX.dmg'. To install, open the disk image and run the installer named 'InstallMacOSX.pkg'.
From there, it installs an app named 'Install OS X El Capitan' into your Applications folder. You will create the bootable installer from this app, not from the disk image or .pkg installer.

2. Use Terminal
Once you have your bootable installer ready, it's time to move to the next step. Connect the USB flash drive to the computer you wish to install macOS. Choose 'Finder' then select 'Go' from the menu bar. Click 'Utilities', then 'Terminal'.
In the next step, you'll enter a command in Terminal. The command differs, depending on the macOS version you're going to install. With each command, it's assumed the installer is located in your 'Applications' folder and 'MyVolume' is the name of the USB flash drive. Change the name in the command to match your settings, if necessary.
For macOS Big Sur, copy and paste the following into Terminal:
sudo /Applications/Install\ macOS\ Big\ Sur.app/Contents/Resources/createinstallmedia --volume /Volumes/MyVolumeFor macOS Catalina:
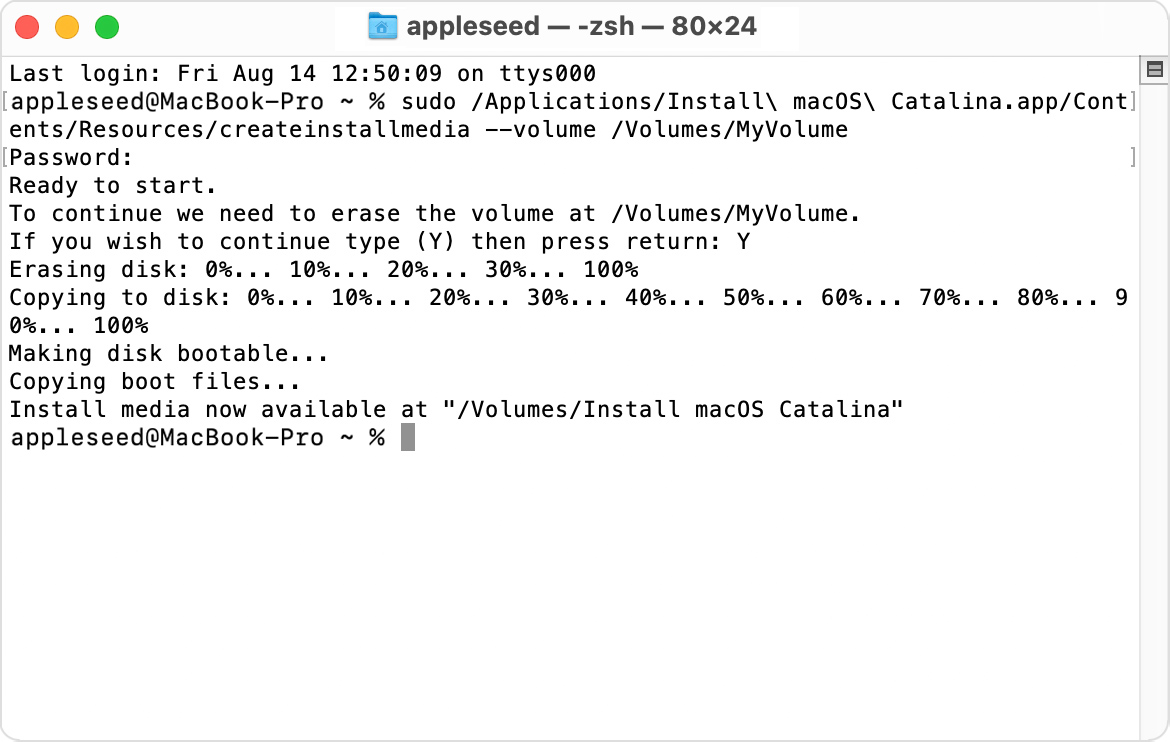
sudo /Applications/Install\ macOS\ Catalina.app/Contents/Resources/createinstallmedia --volume /Volumes/MyVolumeFor macOS Mojave:
sudo /Applications/Install\ macOS\ Mojave.app/Contents/Resources/createinstallmedia --volume /Volumes/MyVolumeFor macOS High Sierra:
sudo /Applications/Install\ macOS\ High\ Sierra.app/Contents/Resources/createinstallmedia --volume /Volumes/MyVolumeFor OS X El Capitan:
sudo /Applications/Install\ OS\ X\ El\ Capitan.app/Contents/Resources/createinstallmedia --volume /Volumes/MyVolume --applicationpath /Applications/Install\ OS\ X\ El\ Capitan.app3. Continue with Terminal
After pasting the command above, hit the 'Return' key. Type your administrator password when prompted, then press 'Return' again. Type 'Y' to confirm that you want to erase the volume, then press 'Return'. If asked, click 'OK' to allow the copying of files to proceed. Quit 'Terminal'.
You've now successfully created a bootable installer that you can use to install macOS on other machines.

4. Use bootable installer
You've made it to the final step of learning how to install macOS from a USB. It's now time to use the bootable installer to install a fresh copy of macOS. The steps are different, depending on whether you're using an Intel-based Mac or one with Apple silicon.
For Intel-based machines:
Plug the bootable installer into a Mac that’s connected to the internet and is compatible with the macOS version you’re installing. Press and hold the ‘Option’ key after turning on or restarting the Mac. Release the ‘Option’ key when you see a dark screen showing your bootable volumes. Select the volume that contains the bootable installer. Click the ‘Up’ arrow or ‘Return’ key.
If prompted, choose your language. Select ‘Install macOS’ or ‘Install OS X’ from the Utilities window. Click ‘Continue’ and follow the instructions.
For Apple silicon machines:
First, plug the bootable installer into the Mac you wish to install macOS. Make sure this machine is connected to the internet and supports the macOS version you’re installing. Hold the power button until you see the startup options window. Select the volume containing the bootable installer, then select ‘Continue’. Follow the instructions when the macOS installer opens.

Bryan M. Wolfe is a staff writer at TechRadar, iMore, and wherever Future can use him. Though his passion is Apple-based products, he doesn't have a problem using Windows and Android. Bryan's a single father of a 15-year-old daughter and a puppy, Isabelle. Thanks for reading!