How to descale a Keurig coffee maker
Keep your Keurig brewing beautifully

Knowing how to descale a Keurig will make maintaining your machine so much easier. Knowing how to descale your coffee machine is just as important as knowing how to clean your Keurig coffee maker - as regularly doing both will make sure your Keurig keeps operating properly, and it’ll also ensure that your coffee keeps tasting great.
Keurig machines are widely regarded as some of the best coffee makers you can buy, and offer a convenient way to make barista-style coffee in the comfort of your own home.
How often do you need to descale a Keurig coffee maker? It’s recommended that you aim to descale your machine every three months but if you live in an area with hard water, you may need to descale more regularly. Most Keurig coffee makers are fitted with a descale reminder function, so you don’t even have to make a note of when your next cleaning session is due.
- Find out how coffee makers work
- See today's best Keurig coffee maker sales and the best cheap coffee maker sales
- Make tasty smoothies with the best blenders
- Cook up a storm with the best air fryer
How to descale a Keurig coffee maker
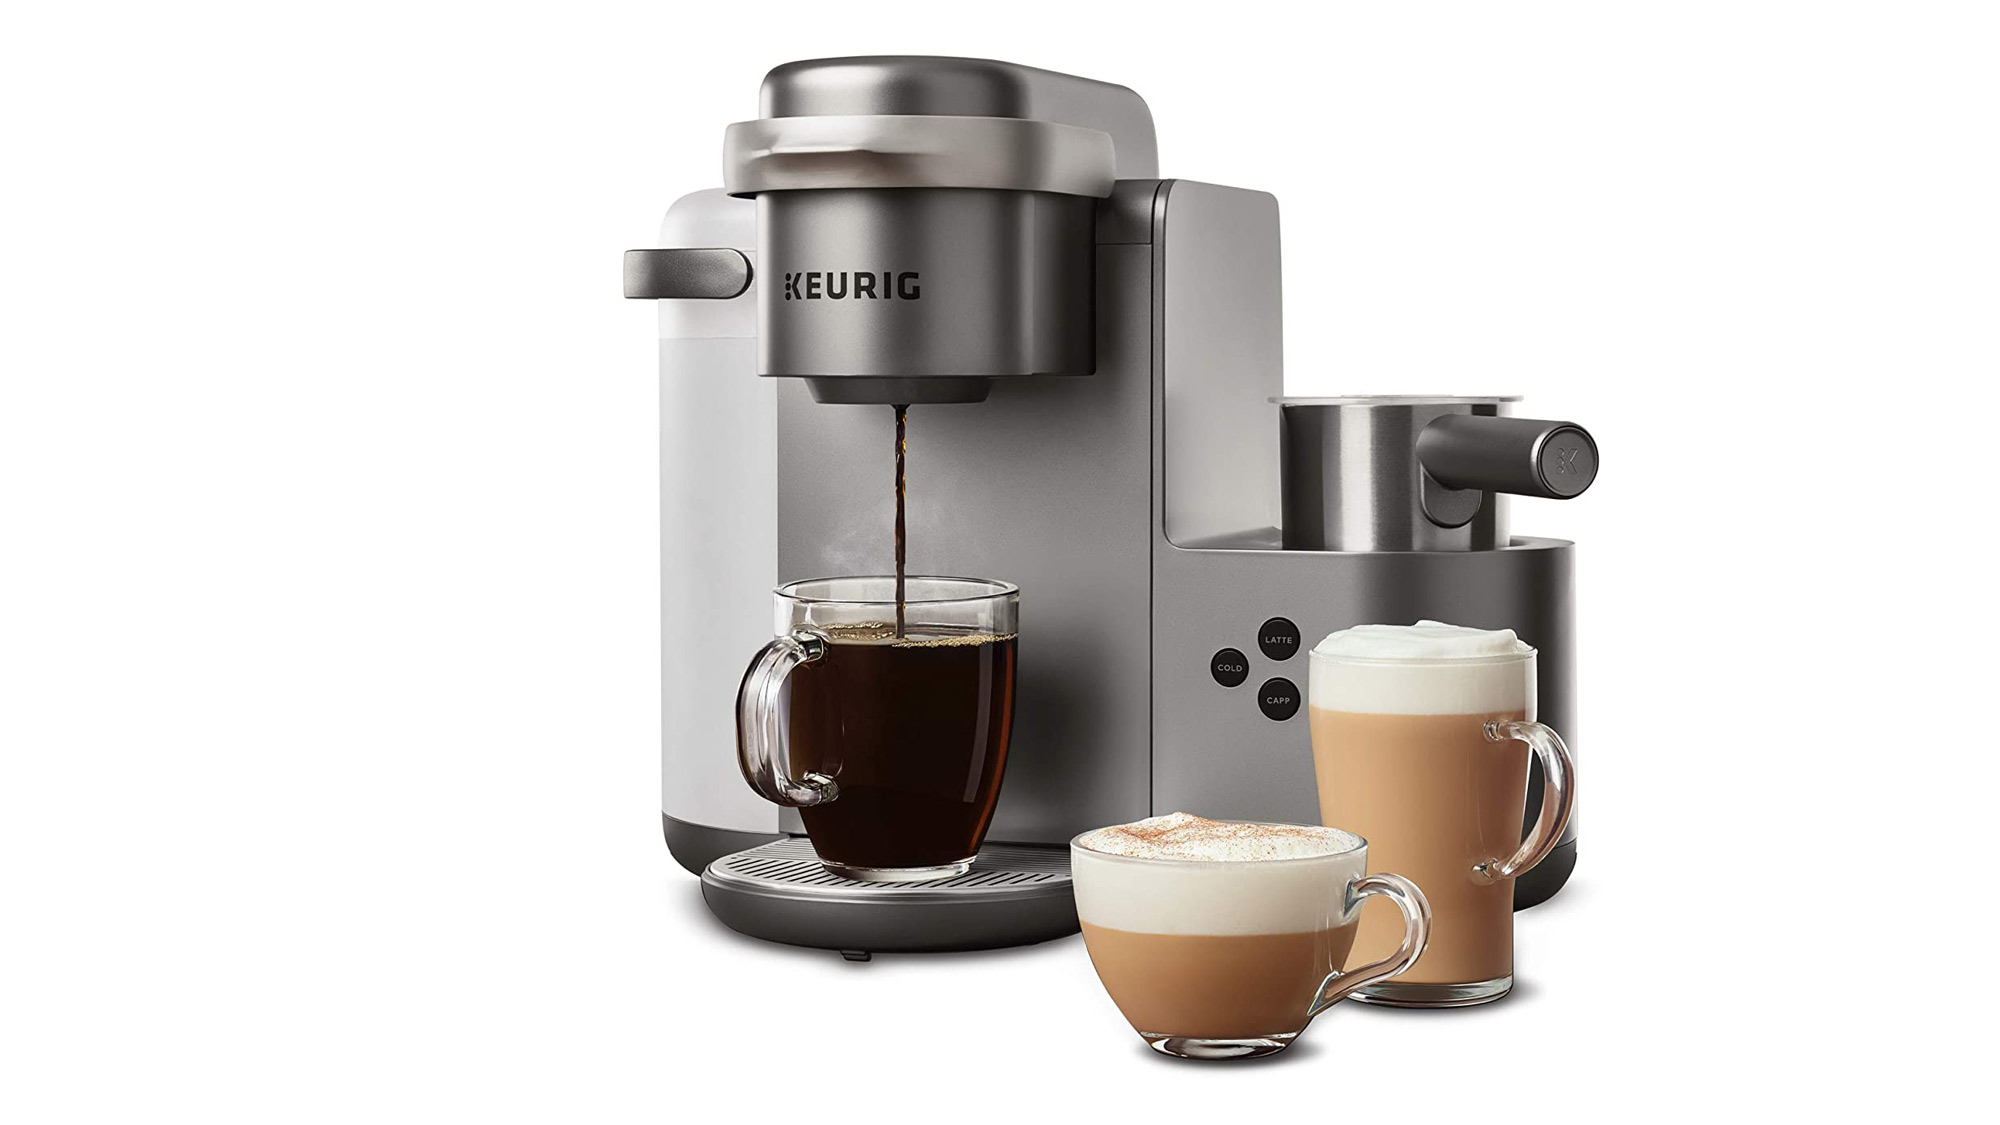
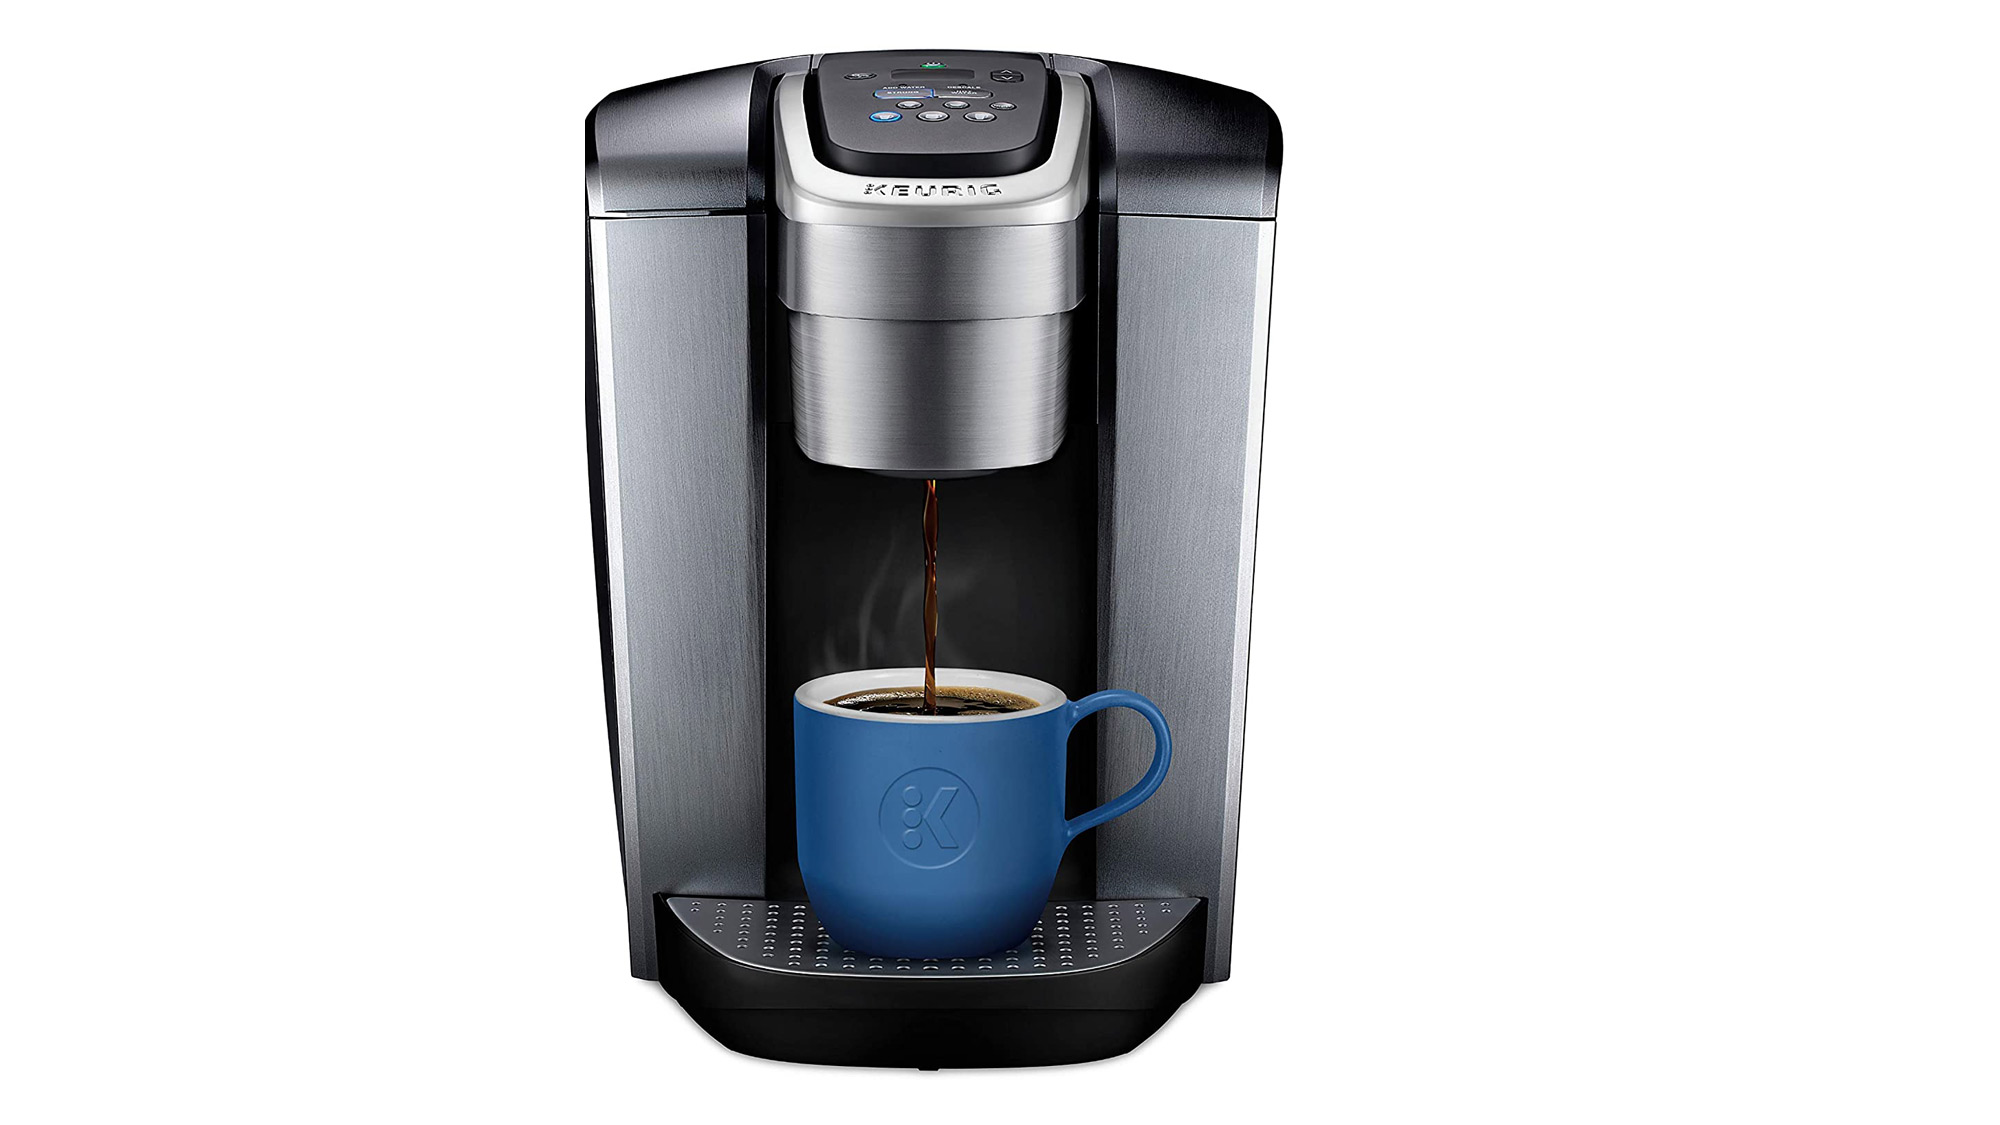
Keurig sells its own range of descaling products on keurig.com, and the advice for using them varies slightly from machine to machine. Here, we’re going to focus on Keurig’s specific guidance for its traditional brewing range which includes the K-Cafe, K-Classic, K-Latte, K-Elite, K-Select and K-Compact machines.
The first thing you’ll need to do is empty your machine’s water reservoir, and once you’ve done this, empty the descaling solution bottle’s contents into the reservoir. This solution can be purchased from keurig.com and costs $12.99 as a one-off purchase, or you can opt for a subscription which brings the bottle price down to $9.74.
Fill the empty bottle with water and add this to the solution in the reservoir.
Next, you’ll need to get a container or a large mug to place on the cup holder. At this point, it’s important to check that there aren’t any pods in the machine.
Sign up for breaking news, reviews, opinion, top tech deals, and more.

Lift and lower the handle that you normally use to add a pod to the machine and choose the biggest drink size button. The solution will then work its way through the machine and into the mug or container, giving the internal pipes and the coffee head a good clean. In order to fully descale your machine, you’ll need to repeat the rinsing cycle by lifting and lowering the handle and choosing the largest cup size again. Keep running this cycle until the machine indicates that it needs more water.
Once you’ve finished flushing the descaling solution through the machine, leave the coffee maker for 30 minutes, then give the water reservoir a good rinse before filling it with fresh water.
The final step is to run the clean water through the machine for 12 rinsing brews - be sure to select the biggest mug size again for this step. After rinsing the machine, you’re all set to use it again to make coffee.
For more advice on cleaning specific machines, head to keurig.com.
- Save with these cheap coffee maker sales
Sophie writes about all things appliance-related and is currently the Home Editor at TechRadar's sister site, Top Ten Reviews. When she's not testing coffee machines and appliances, Sophie is thinking of eating delicious food, and asking people what they're having for dinner.
