
 Become a TechRadar Insider


Quadcopters (drones) used to take hours of practice to master, as even the simplest manoeuvres, such as takeoff and landing, could prove difficult. Learning to fly one took time and determination – and before you even took to the skies there was the small matter of building one.
Now that there's a good selection of pre-built and programmed drones on the market, you can go into major High Street retailers and buy one directly off the shelf. Drones such as the Parrot Bebop and DJI Phantom have revolutionised the market, and slowly drones are appearing with advanced flight features that make flying and controlling them much easier.
The big turning point in drone design was when they got intelligent, thanks to small processors being placed onboard that were able to stabilise flight and apply advance features, such as auto-braking, takeoff and landing –these enabled the pilot to get on with having fun rather than worrying about the mechanics and programming.
As the availability of commercial drones has increased in popularity, so have the open hardware and software communities. The latest open source drones are challenging their more expensive rivals with advanced features, such as object avoidance and GPS navigation.
This challenge to the commercial models is no real surprise, and you don't have to look too far into the DIY drone community to find that many of the main manufacturers are extremely active in the open source world, and regularly contribute to and support those wishing to build their own; companies such as 3D Robotics, for example, sell autopilot systems that can be programmed through software applications such as Mission Planner.
3D Robotics involvement in the community is apparent when you take a closer look at one of its drones. Peek under the hood of the 3DR SOLO and you'll see that it's Linux based. The company also runs a huge education program, and a full SDK is available for the SOLO.
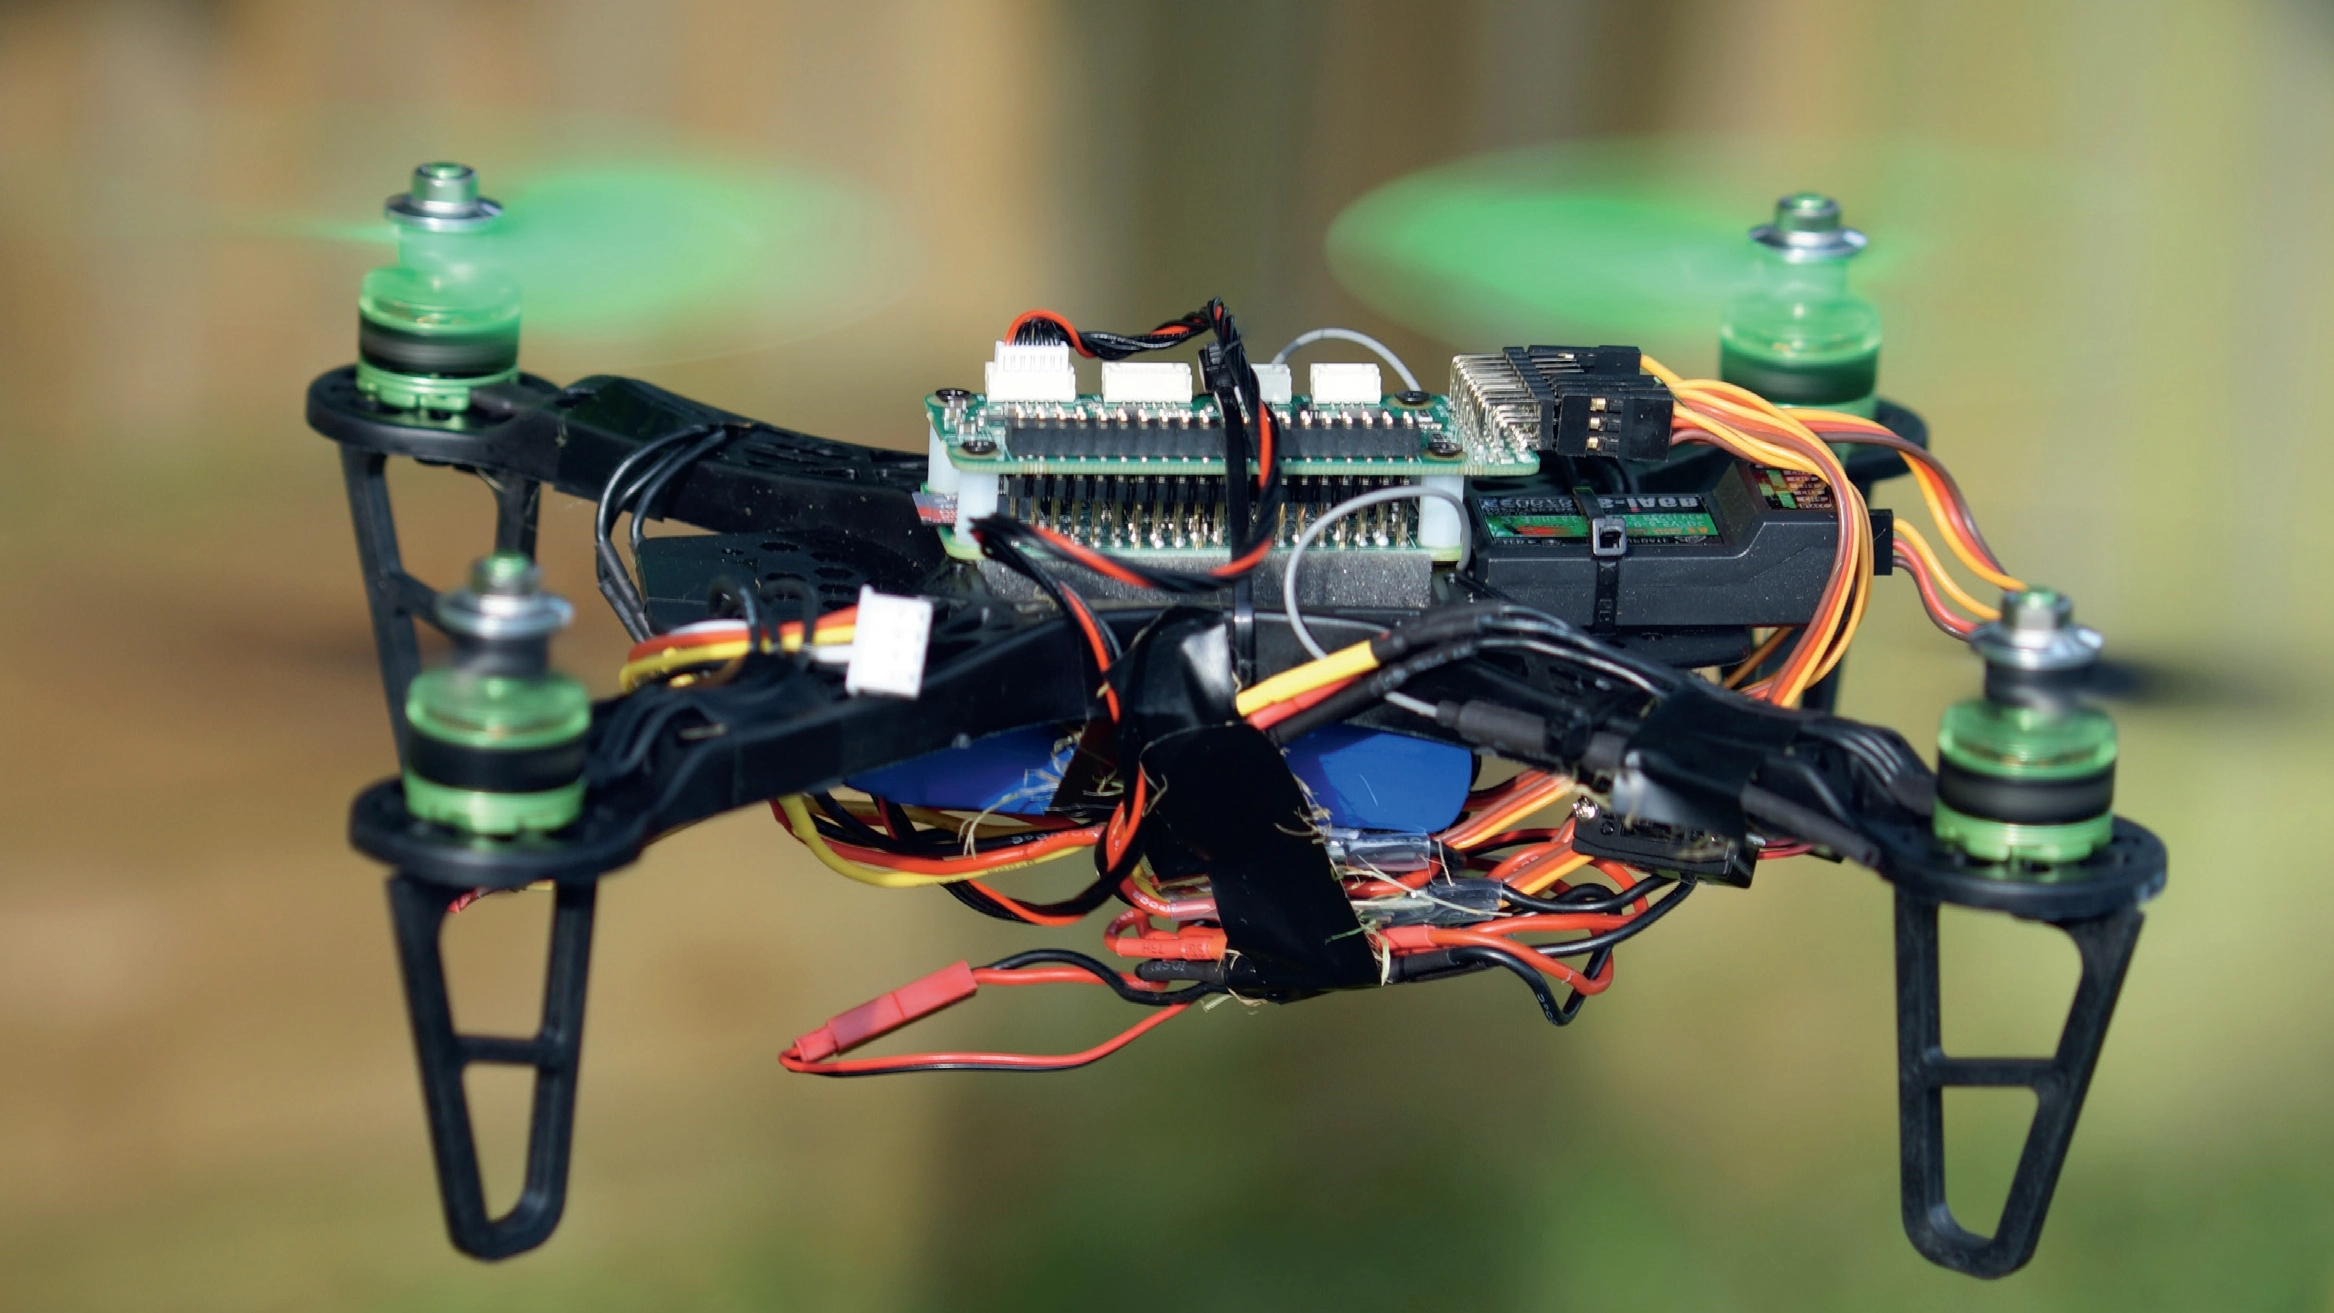
We're going to take a look at building a basic drone from this recent open source community project with the latest Raspberry Pi Zero and Erle Robotics PXFMini.
Once you've finished this project, head over to our How to fly your DIY Raspberry Pi drone article to find out how to calibrate and fly your new drone.

What you need
- Raspberry Pi Zero
- Erle Robotics PXF Mini
- Erle Robotics PXF Mini Power Module
- HobbyKing Spec FPV250
- 100mm male to male servo cable
- FlySky-i6 controller
- Edimax AC EW-7811UAC
- RC XT-60 connectors
Getting started
The first step is to prepare the Raspberry Pi Zero and PXFmini. Fitting the two together is relatively simple once the 40-pin GPIO connector has been soldered onto the Raspberry Pi Zero. The connector is simply a set of two lines of pins that slot into the top of the Zero and corresponding socket on the PXFMini.
The cost of the Pi Zero's basic board is low at just £4 ($5, around AU$7), but for this project you really need to get the starter kit that includes the unpopulated 40-pin GPIO connector, Mini USB and HDMI cables. A USB hub is also a good idea so that you can connect a keyboard mouse and Wi-Fi dongle.
You'll actually end up with two 40-pin connectors if you buy this as there's one included with the PXFMini but it's worth paying for the other connectors along with the Raspberry Pi Zero.
Soldering in the pins can be a bit of a challenge due to the small size of the board and you must also make sure that the pins have enough length above the board to interface with the PXFMini.
The easiest way to do this is to use some Blu-Tack. We also found that by sanding the pins with a bit of Wet and Dry or fine emery cloth helps the solder to stick.

To prepare the board place the GPIO pins into the Raspberry Pi Zero and turn the board over so you can see the pins coming through the board. Put it on the table so that it's at about a 45 degree angle and use a bit of Blu-Tack (or Sticky Tack, or any similar material) to secure.
Now push the pins so that there's only a small portion – a maximum of 1mm – appearing through the board, and use Tack to secure the position of the pins at one end of the board. The Blu-Tack needs to be positioned on pins that we're not soldering at first, then once one end of the pins is soldered and secured we can remove the Tack and finish the job. If the Tack gets hot then it will burn and become difficult to remove.
You'll need to solder all the pins and make sure that you avoid any dry solders. A fine-tipped soldering iron with a new tip will make your life easier if you're not used to soldering.