How to benchmark a CPU
We'll show you how to benchmark a CPU for performance and safety
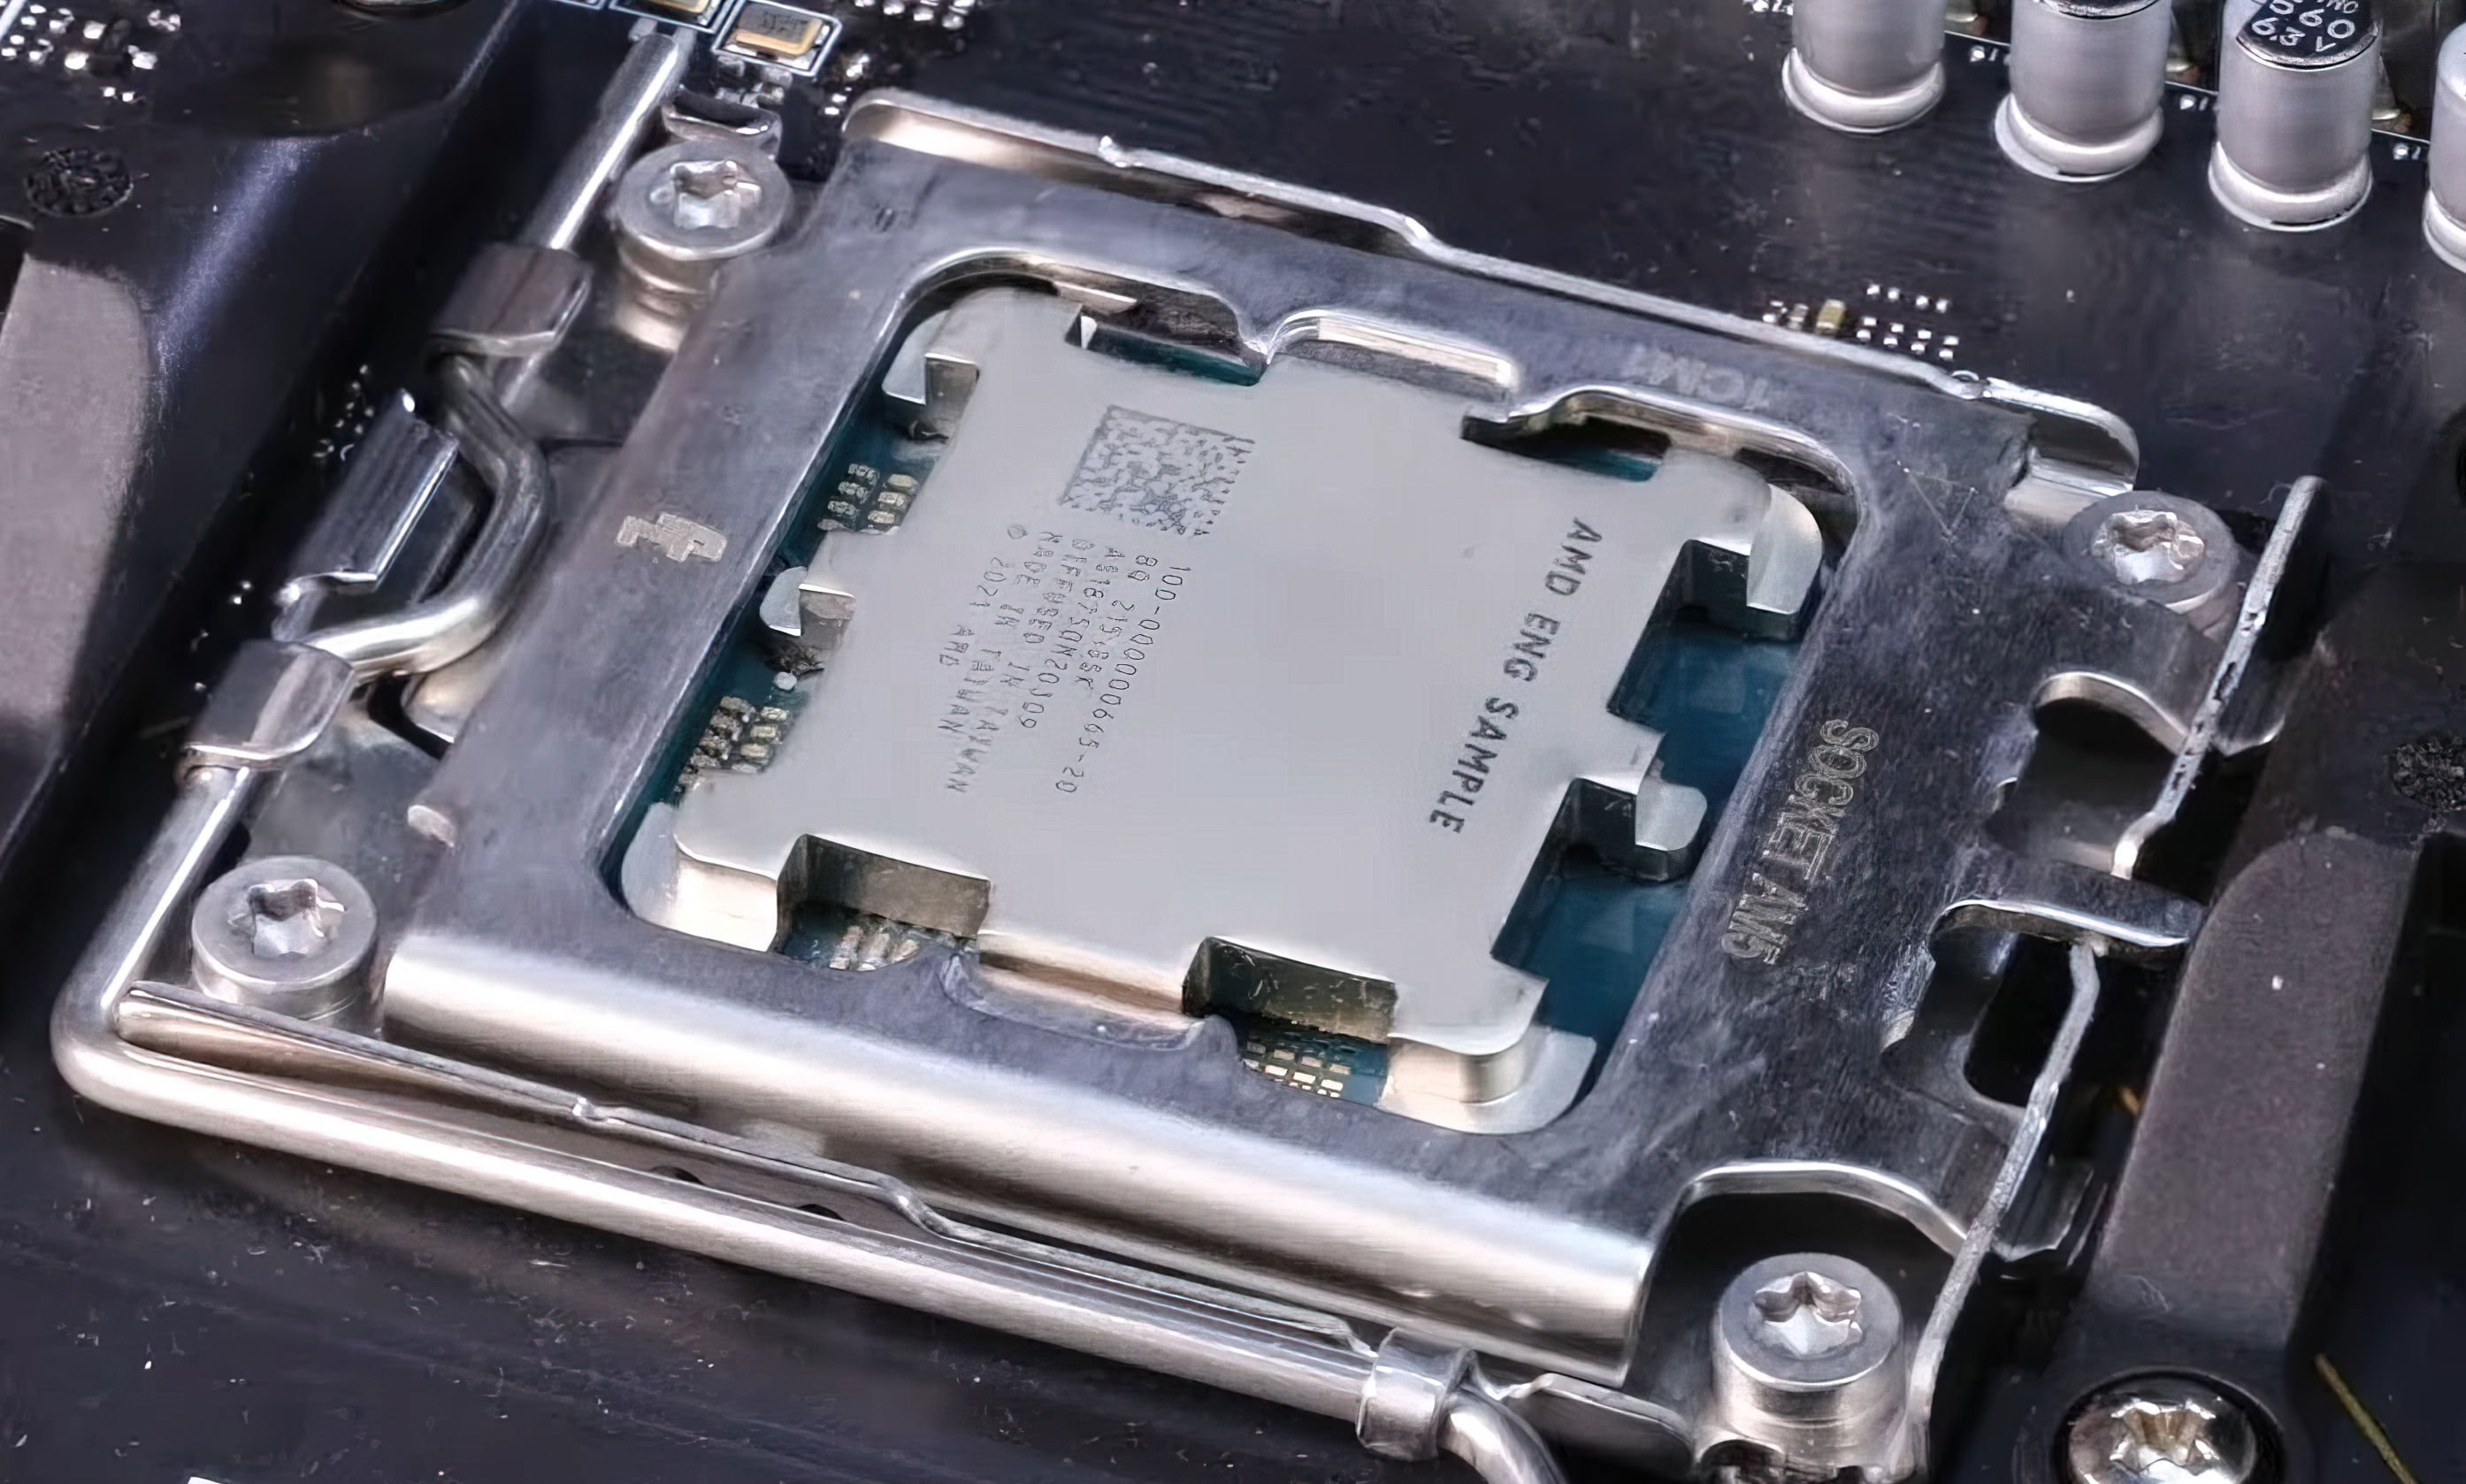
Whether you're a seasoned enthusiast, a dedicated gamer, or a professional seeking peak productivity, knowing how to benchmark a CPU is a critcal step in unlocking the performance potential of the best processors on the market.
But benchmarking can be daunting for the uninitiated. Benchmarking is the process of rigorously testing and measuring a processor's capabilities to assess its performance across various real-world and synthetic workloads to see how it stacks up against the best processors on the market.
While that might sound like a lot, trust me: I've been doing this for many years now, and there really is nothing to it. Using freely available tools, I'll show you how to push your CPU to the limit, how to analyze your results, and give you some tips on what you can do to improve your scores.
Method one: Steps for how to benchmark a CPU
- Download and install necessary benchmark tools and hardware monitor
- Run the CPU benchmarks three times each and average the resulting scores
- Compare the scores to published scores online to see where your CPU lands
Tools and Requirements
- About 5GB free space for benchmark tool installations
- An internet connection
- A good antivirus tool
- Skill level: beginner
Step by step guide
Before we show you how to benchmark a CPU, you're going to need to update your antivirus software. The benchmarking tools I use in this guide are downloaded from the internet, and it's vital to scan anything you download from the internet with the best antivirus software you can to keep your computer safe, regardless of how reputable the source.
Once you're ready, we can start prepping our system for our benchmarking run.
1. Shutdown as many background tasks as you can
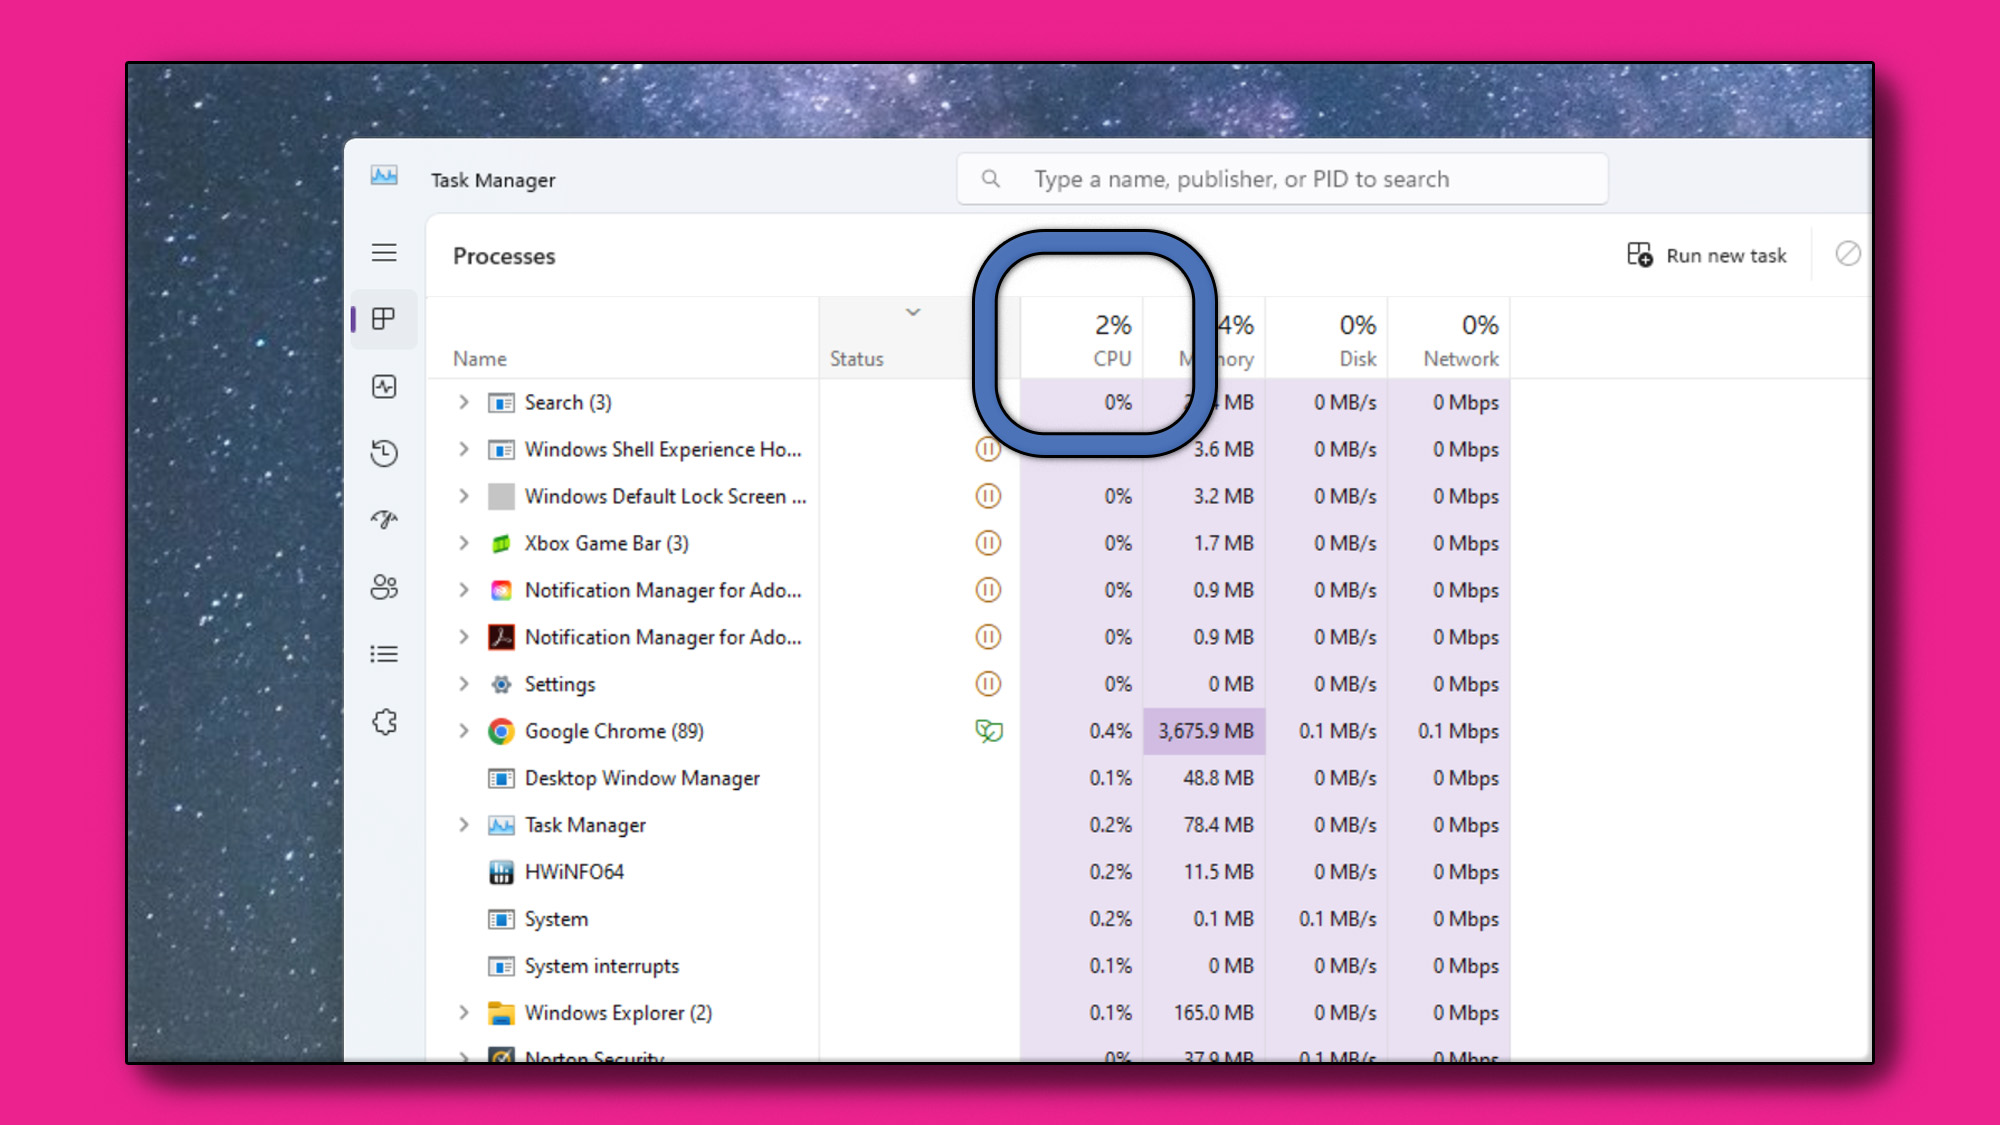
The point of CPU benchmarking is to push the CPU to its limit using our benchmarking tools, so any background programs that are eating up processing power need to be closed. You can do this by right-clicking on any open programs in the taskbar and selecting "close window," or "close all windows" from the context menu.
Sometimes programs are more stubborn, and you need to shut them down at the root. Press CTRL+ALT+Delete to bring up the Lock Menu. Select Task Manager.
In Task Manager, look for any programs that are eating up significant CPU resources, right click on the process and select "End task" from the context menu. Once you're down below 2-3% CPU utilization, that's about as good as you're going to get, so you can close out of Task Manager.
2. Download and install HWiNFO to confirm proper installation

Head over to the HWiNFO download page and grab the Windows installer for this tool, which we'll use to check the CPU temperature during testing.
Once you've downloaded and run an antivirus scan on the installer and its confirmed safe, install the tool wherever you'd like, but make sure to launch it after it finishes installing. When you see the small popup window on launch, press start to open up the system information panel.
There is going to be a lot of information suddenly on the screen, but the only thing we're interested in is making sure that the CPU is showing up properly in the system information panel.
Before you go any further, at the top of the main HWiNFO window, you'll see a button marked "Sensors". Click it to open up the Sensors Status window. Scroll down until you see your processor, and specifically the entries in the table for CPU Package and Core Temperatures.
While we test, we'll be keeping a close eye on these two sensors.
3. Download and install Geekbench 6
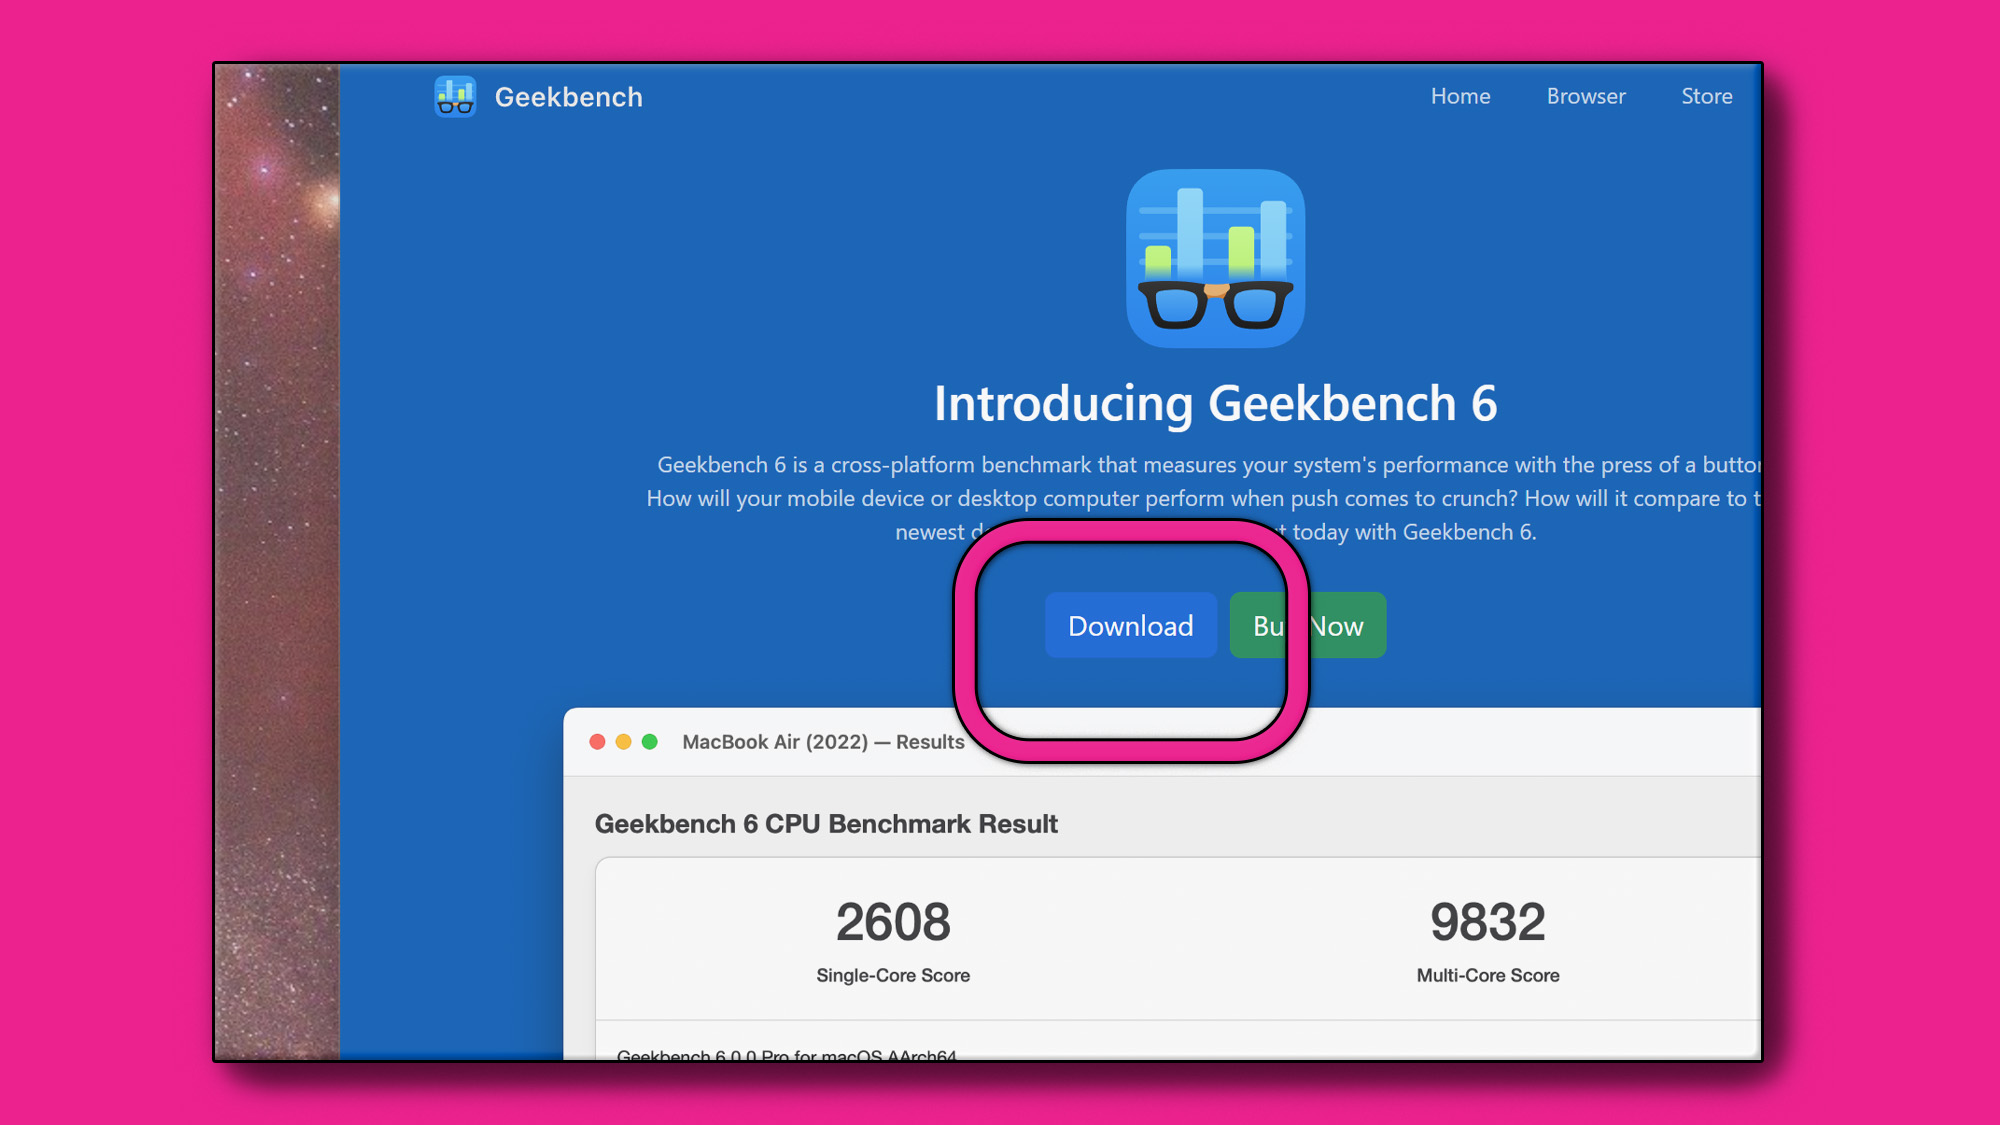
There are several benchmarking tools out there for CPUs, but Geekbench 6 is one of the most widely used. Free for personal use, the only catch is that your anonymized PC build information will be entered into the Geekbench database to keep track of all scores over time. If you're not ok with that, you can skip this test, but you'll be missing out if you do.
Navigate to the Geekbench 6 download page and select the Windows installer (though this tool can also be used to benchmark your Mac and Linux devices as well). One you've downloaded it, scanning the installer for viruses and once you get the all-clear by your antivirus, install the tool to the directory of your choice.
4. Download and install the PassMark PerformanceTest Tool
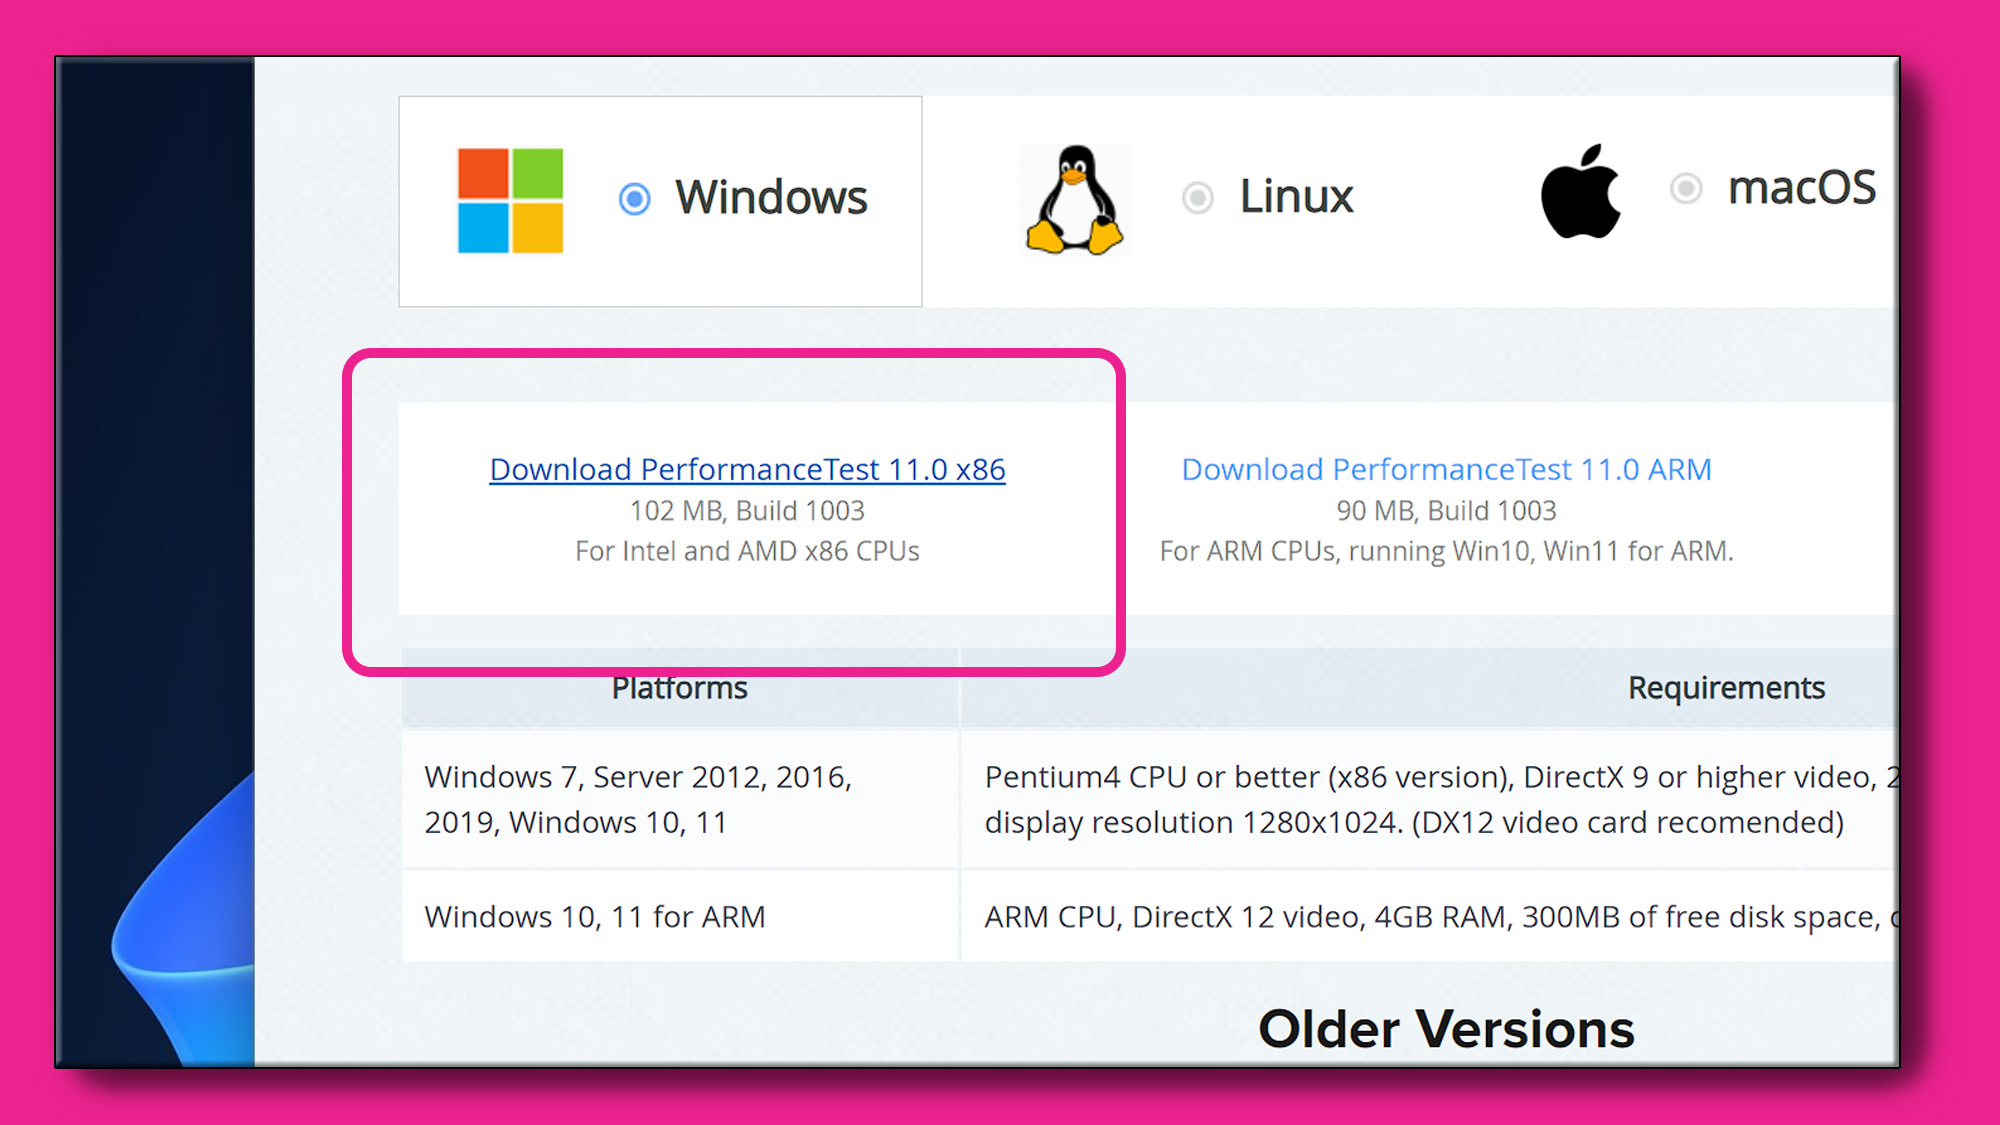
Navigate to the PassMark PerformanceTest download page and select the Windows installer and download the tool from the nearest server to you.
After downloading it, scanning the installer for viruses and once you've determined that it's safe to run, install the tool to the directory of your choice.
5. Download the CineBench R23 Benchmark Tool
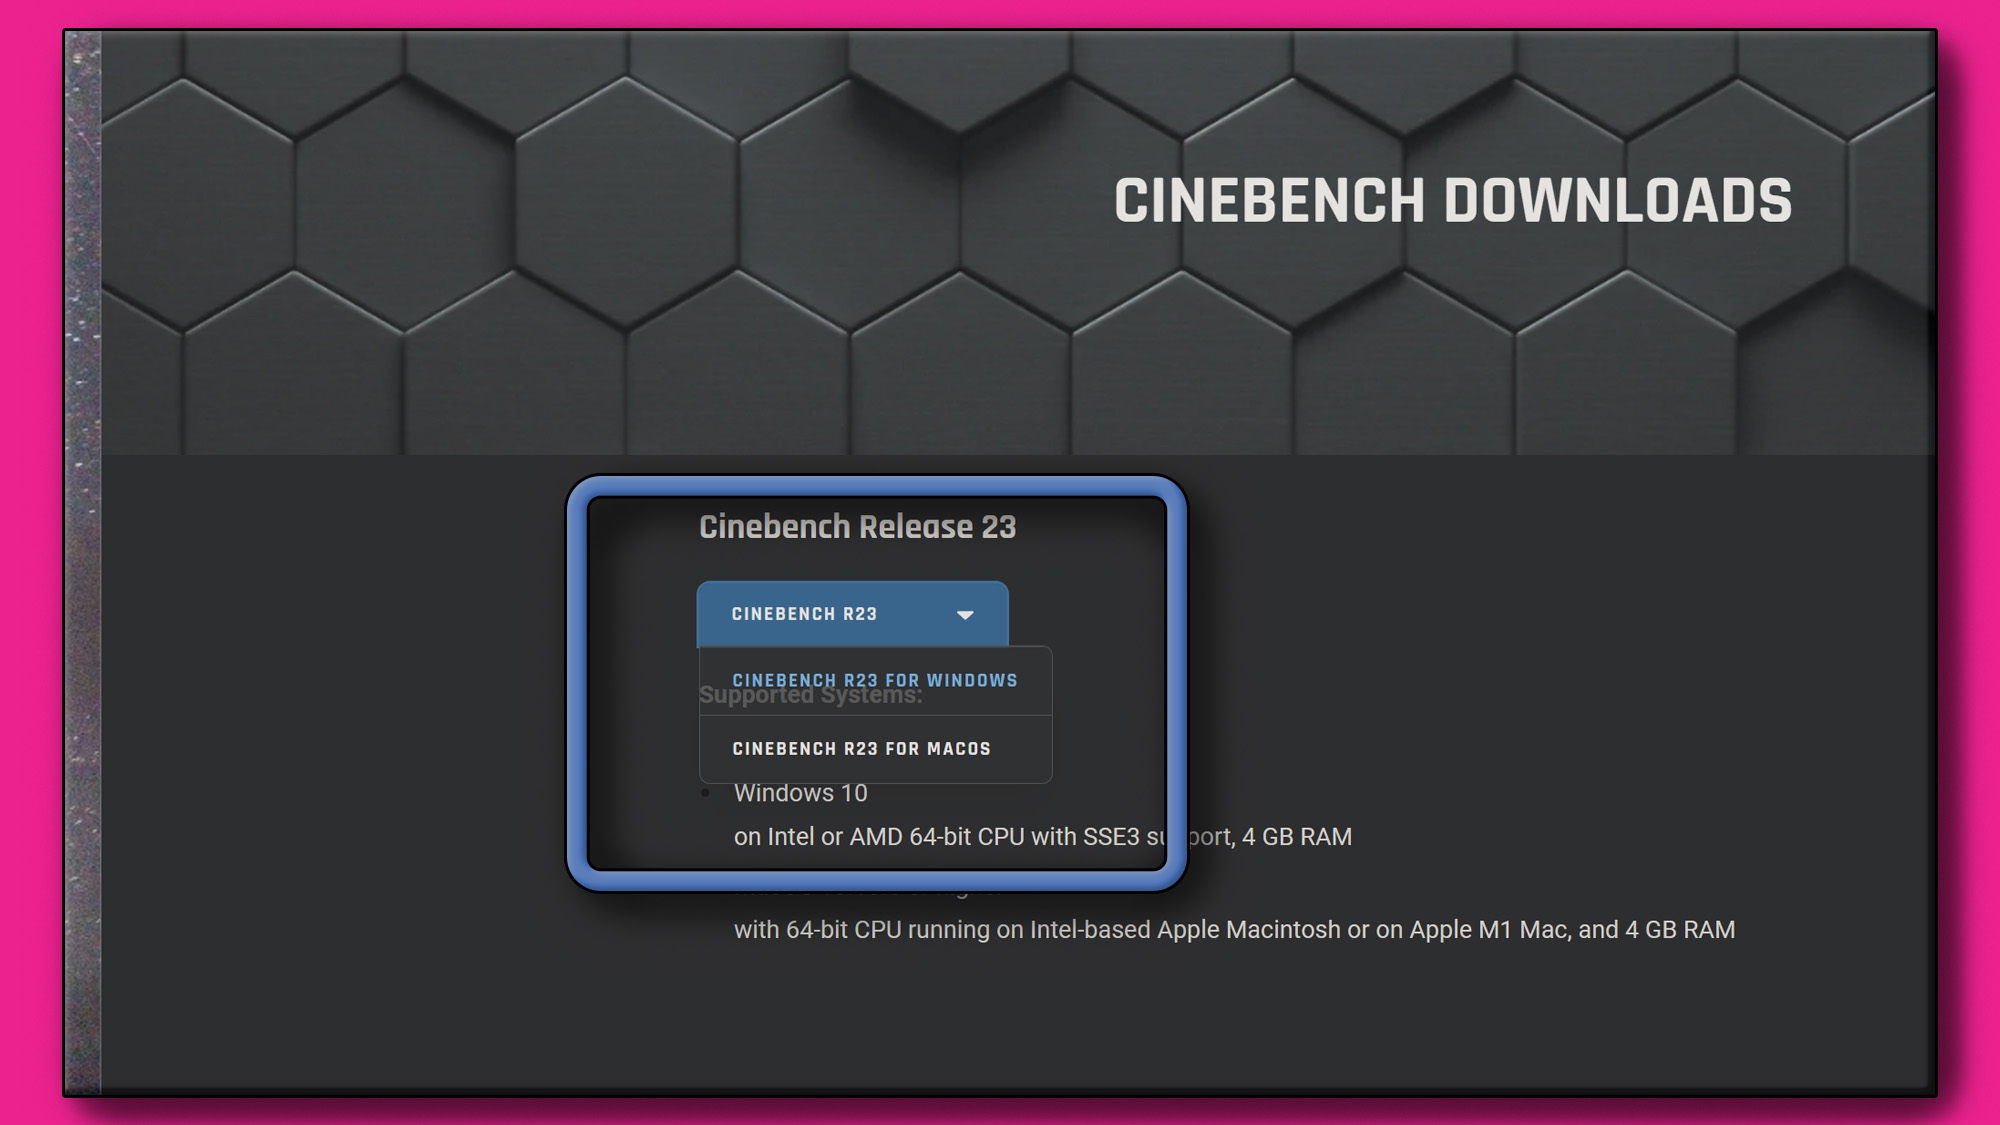
Navigate to the Maxon CineBench R23 benchmark download page and select the Windows ZIP file to download. Once downloaded, scan the file for viruses, then extract it to the directory of your choice once your antivirus gives you the all clear.
5. Download the Chaos V-Ray 5 Benchmark
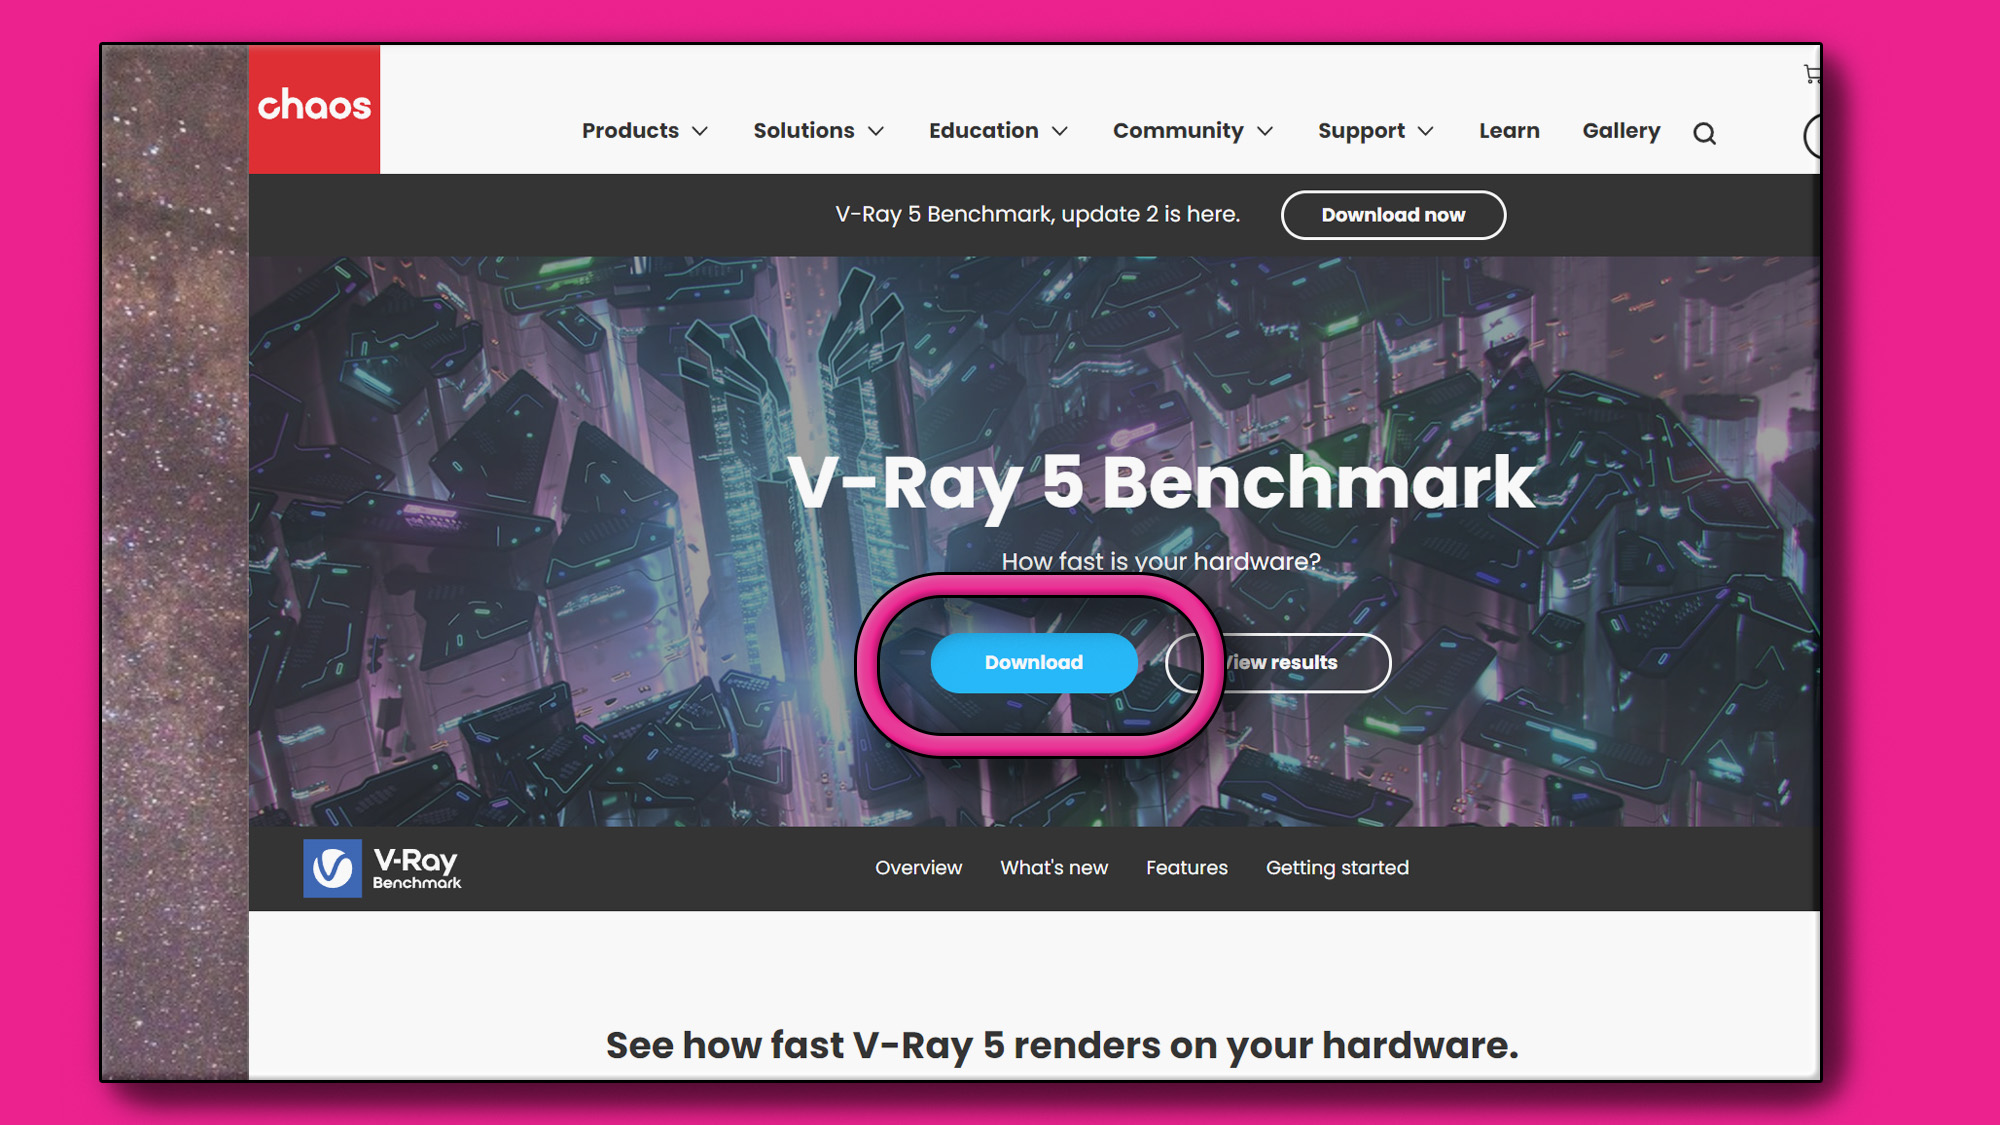
Navigate to Chaos's V-Ray 5 Benchmark page and click download. You might need to log-in in order to download,but if you have a Google account, one or two clicks will be all you need.
Once you're at the actual download page, make sure you select to download the standard V-Ray GUI benchmark and not the command-line benchmark. There's nothing wrong with the command line, but since this is your first rodeo, you might as well take it easy on yourself.
Once the benchmark is downloaded, scan it with your antivirus, and then that's it. No more downloads.
6. Run Geekbench 6's CPU benchmark
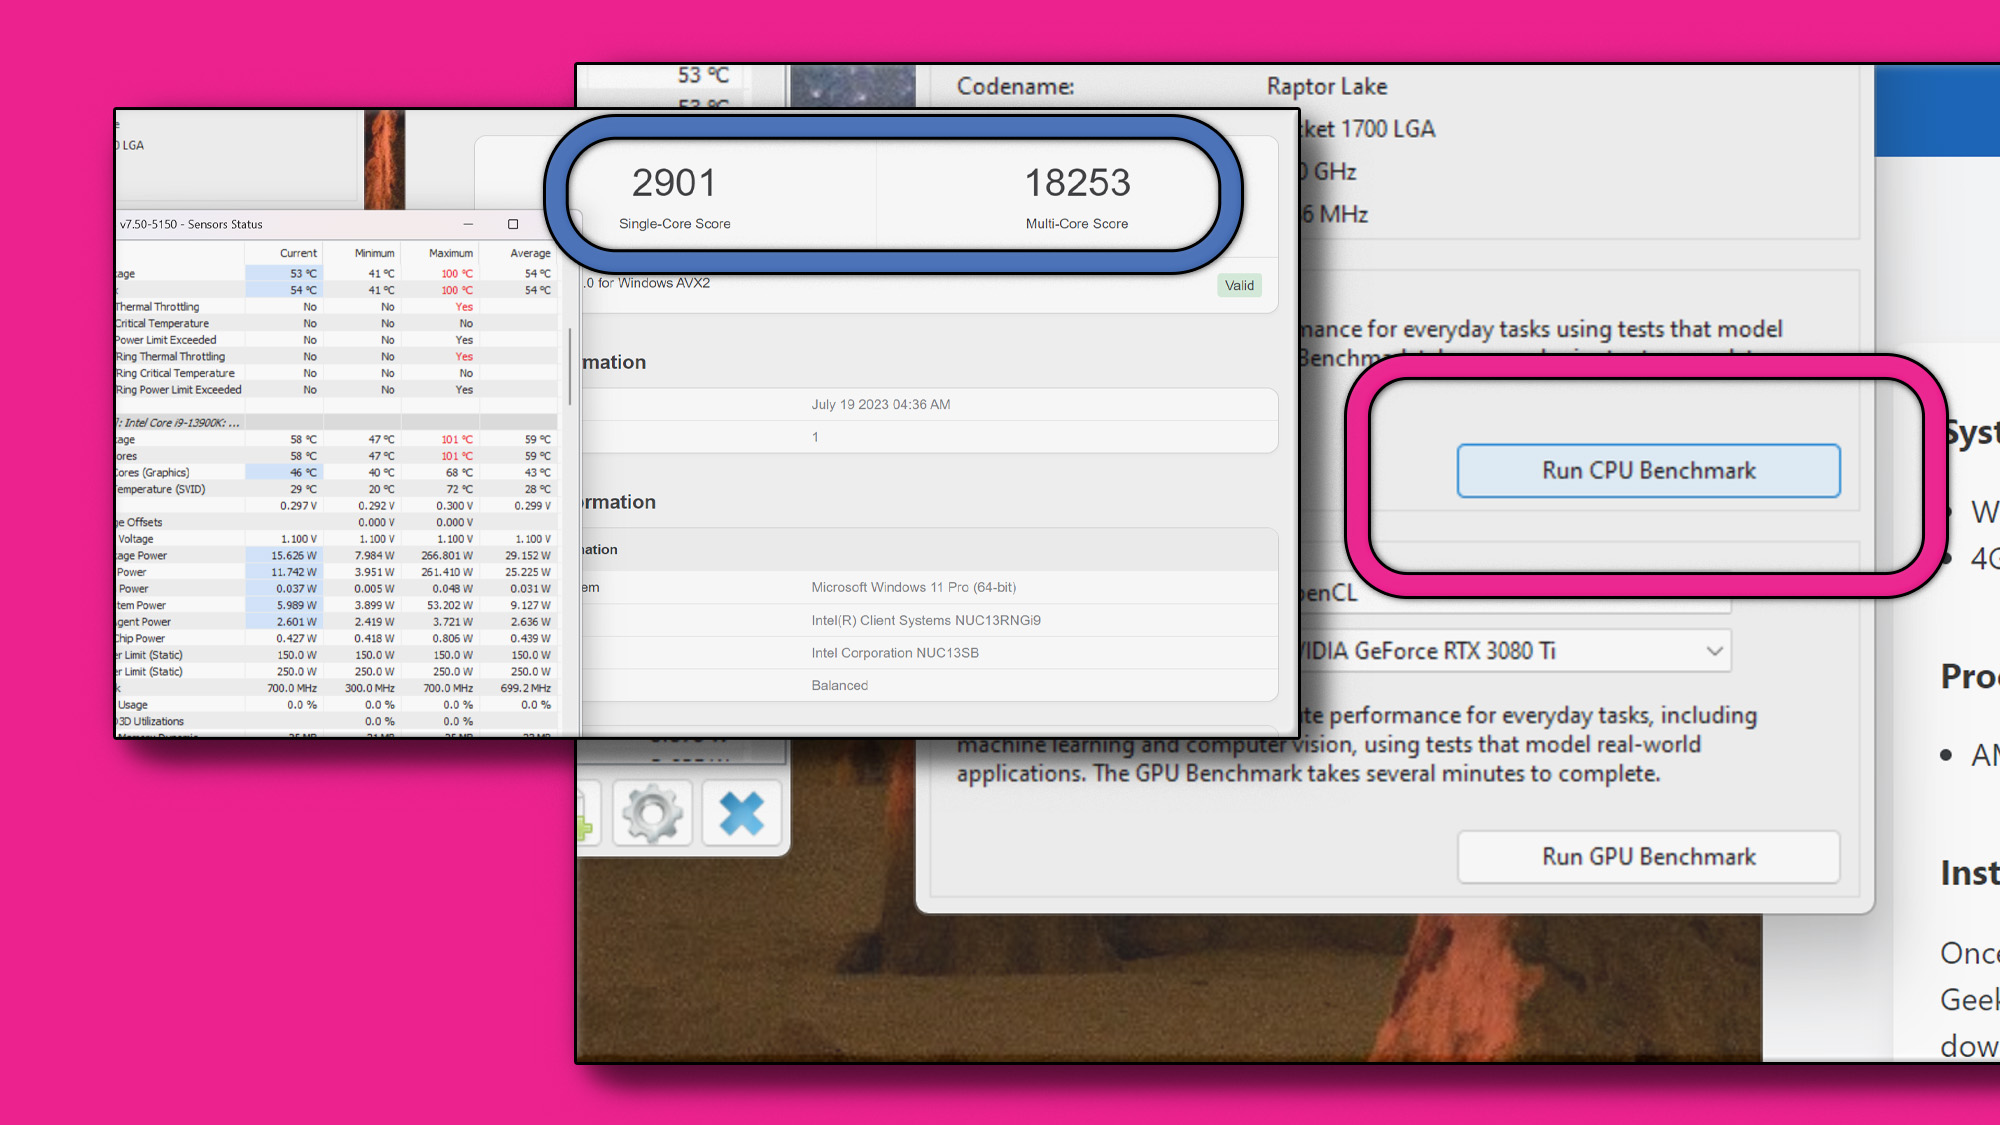
Once you've launched Geekbench 6, click the button that says "Run CPU benchmark". The tool will run for a few minutes before producing a web page with your results for both single core and multi core performance. Write these numbers down and rerun the benchmark twice more, writing down the scores each time.
After three runs, take the averages of the single core scores and the multicore scores as your final two scores.
Now, navigate to Geekbench's Processor Benchmark page to see all of the aggregate scores that have been uploaded to Geekbench.
Either scroll down or use CTRL+F and enter your processor model to search for it on the list. When you find it, compare the average score and the score you have for either Single Core or Multi-Core performance.
If they are reasonably close (within 300 points on Single Core and within 1,000 on Multi-Core), then you're in good shape. If they're more than 500/1500 points off, respectively, there might be an issue with thermal throttling holding the performance of your chip back.
7. Run PassMark's PerformanceTest CPU Benchmark
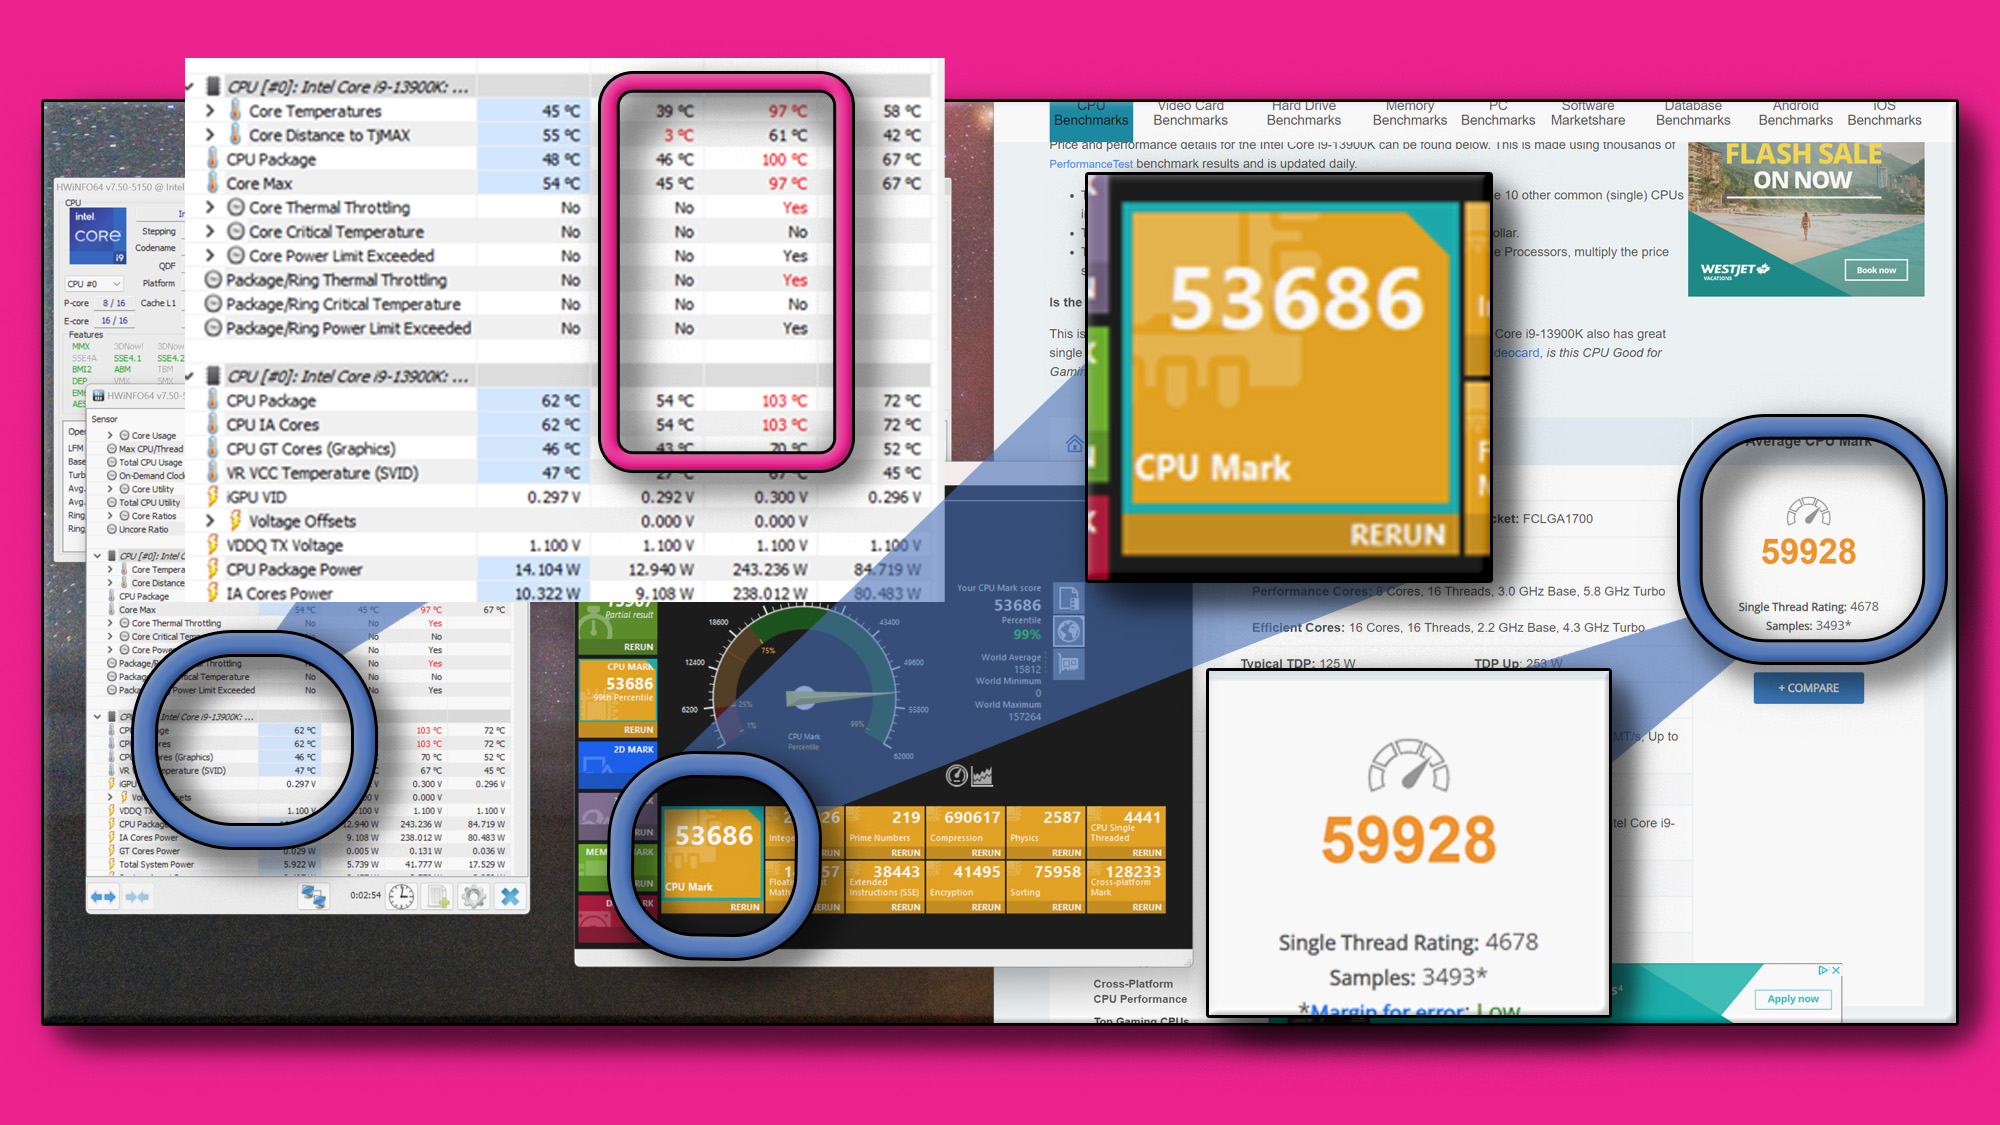
Moving on to PerformanceTest, once you've launched the utility, you want to click on "Run" in the yellow box labeled CPU Mark. This will run the CPU benchmarks, and after about two minutes, the utility interface will list the CPU score along with some other info. We're just interested in the top-line number though, and we can compare this figure to the official averages compiled by Passmark on its CPU List page to see if your processor is performing as expected.
If it's within a reasonable ballpark of the semi-official scores, then you should be fine. But if your score is substantially lower, then it might be an indication of a problem you need to address.
8. Run the CineBench R23 Benchmark
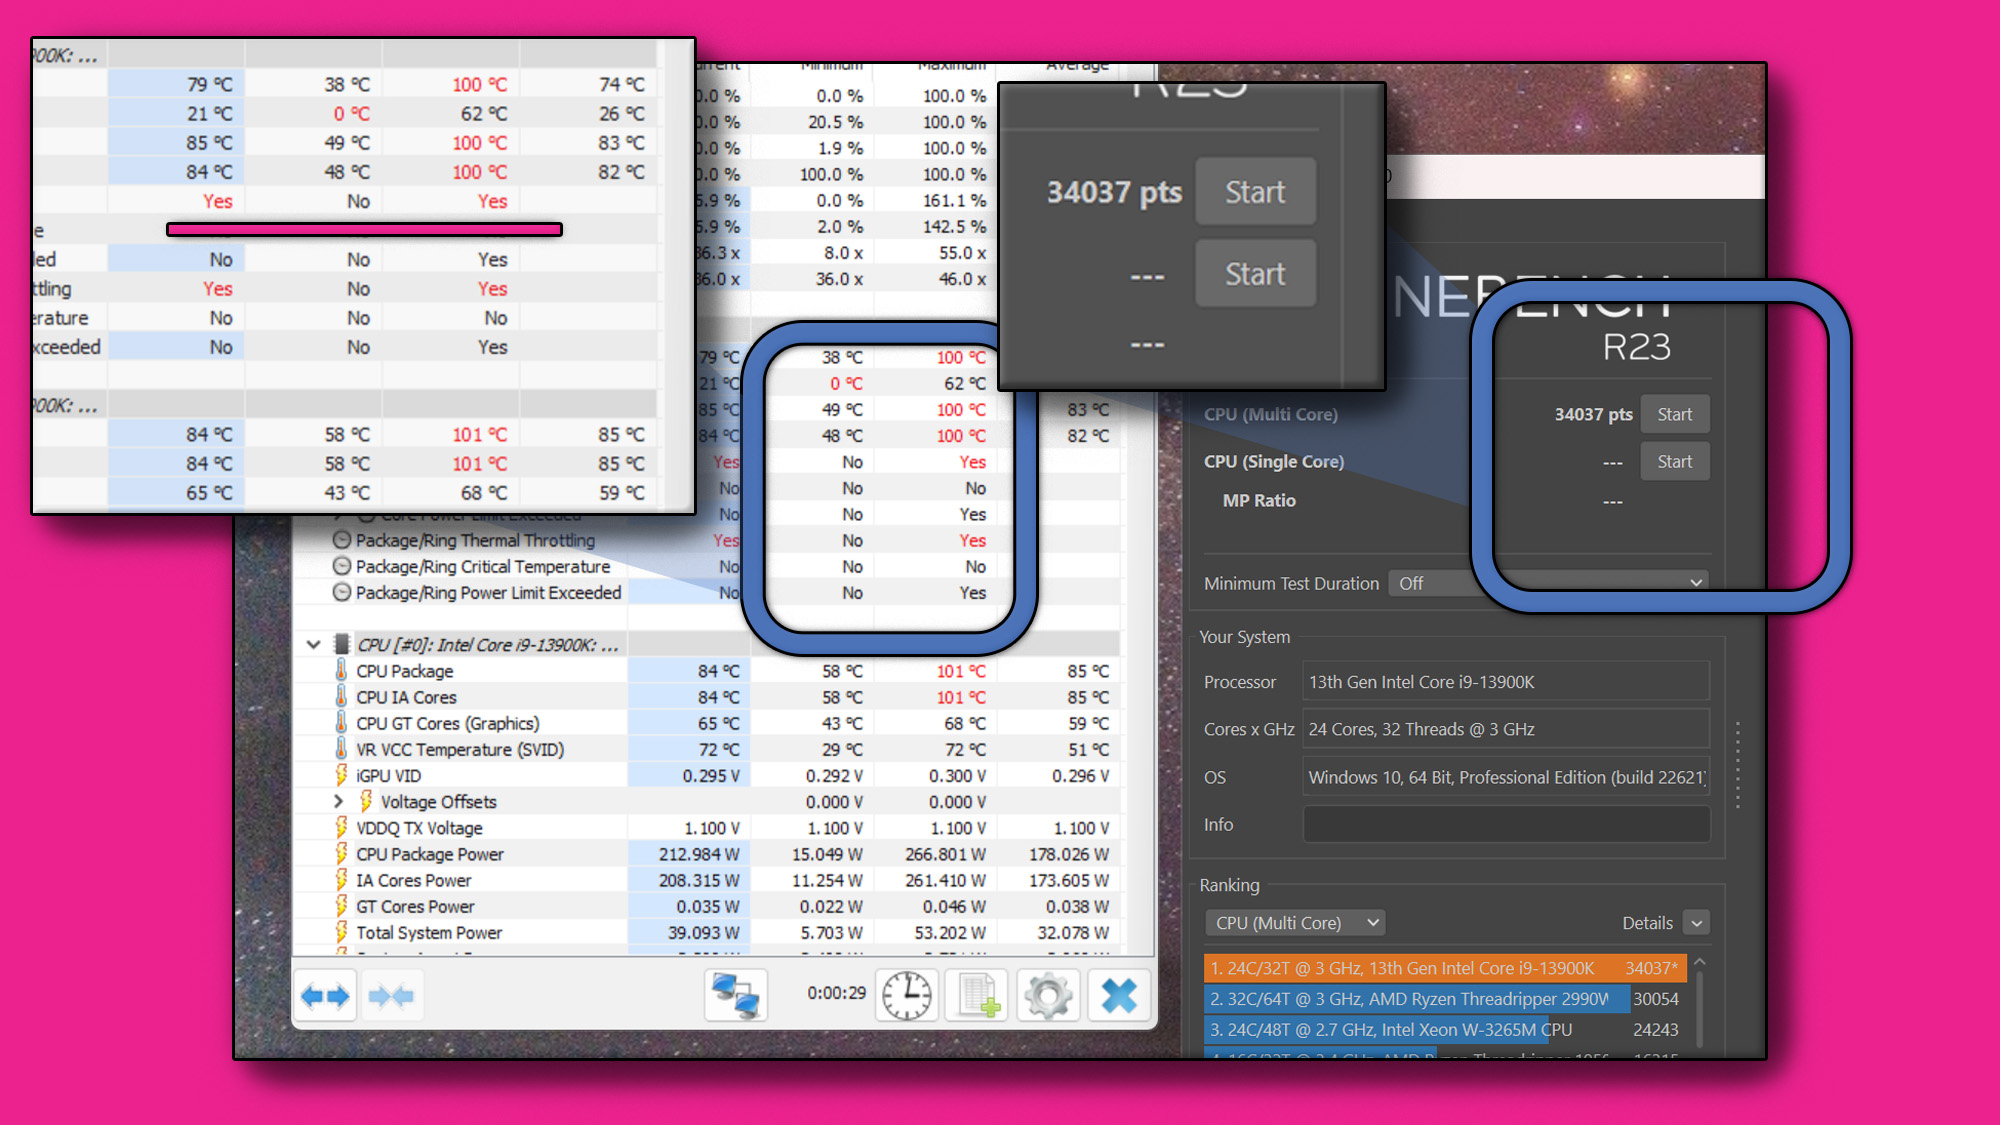
Navigate to where you unzipped the CineBench R23 benchmark and run the CineBench.exe program inside. This should bring up a front end where you'll have the choice of either single core or multi-core tests. First though, click on the File menu at the top-left, and check Advanced Benchmarks. This will allow you to disable the 10-minute minimum benchmarking duration to help speed things up.
Run at least the Multi-Core benchmark three times and average the scores. Do the same for Single Core (if you decide to run that test) just be prepared to wait, as the test takes a very long time.
There is no official webpage with Cinebench results, but several sites like CGDirector keep a tally of Cinebench R23 scores for reference. There is also the comparative list in Cinebench R23 itself, at the bottom left, that shows your chip's standing against some mainstream and workstation processors.
9. Run the V-Ray 5 CPU Rendering Benchmark
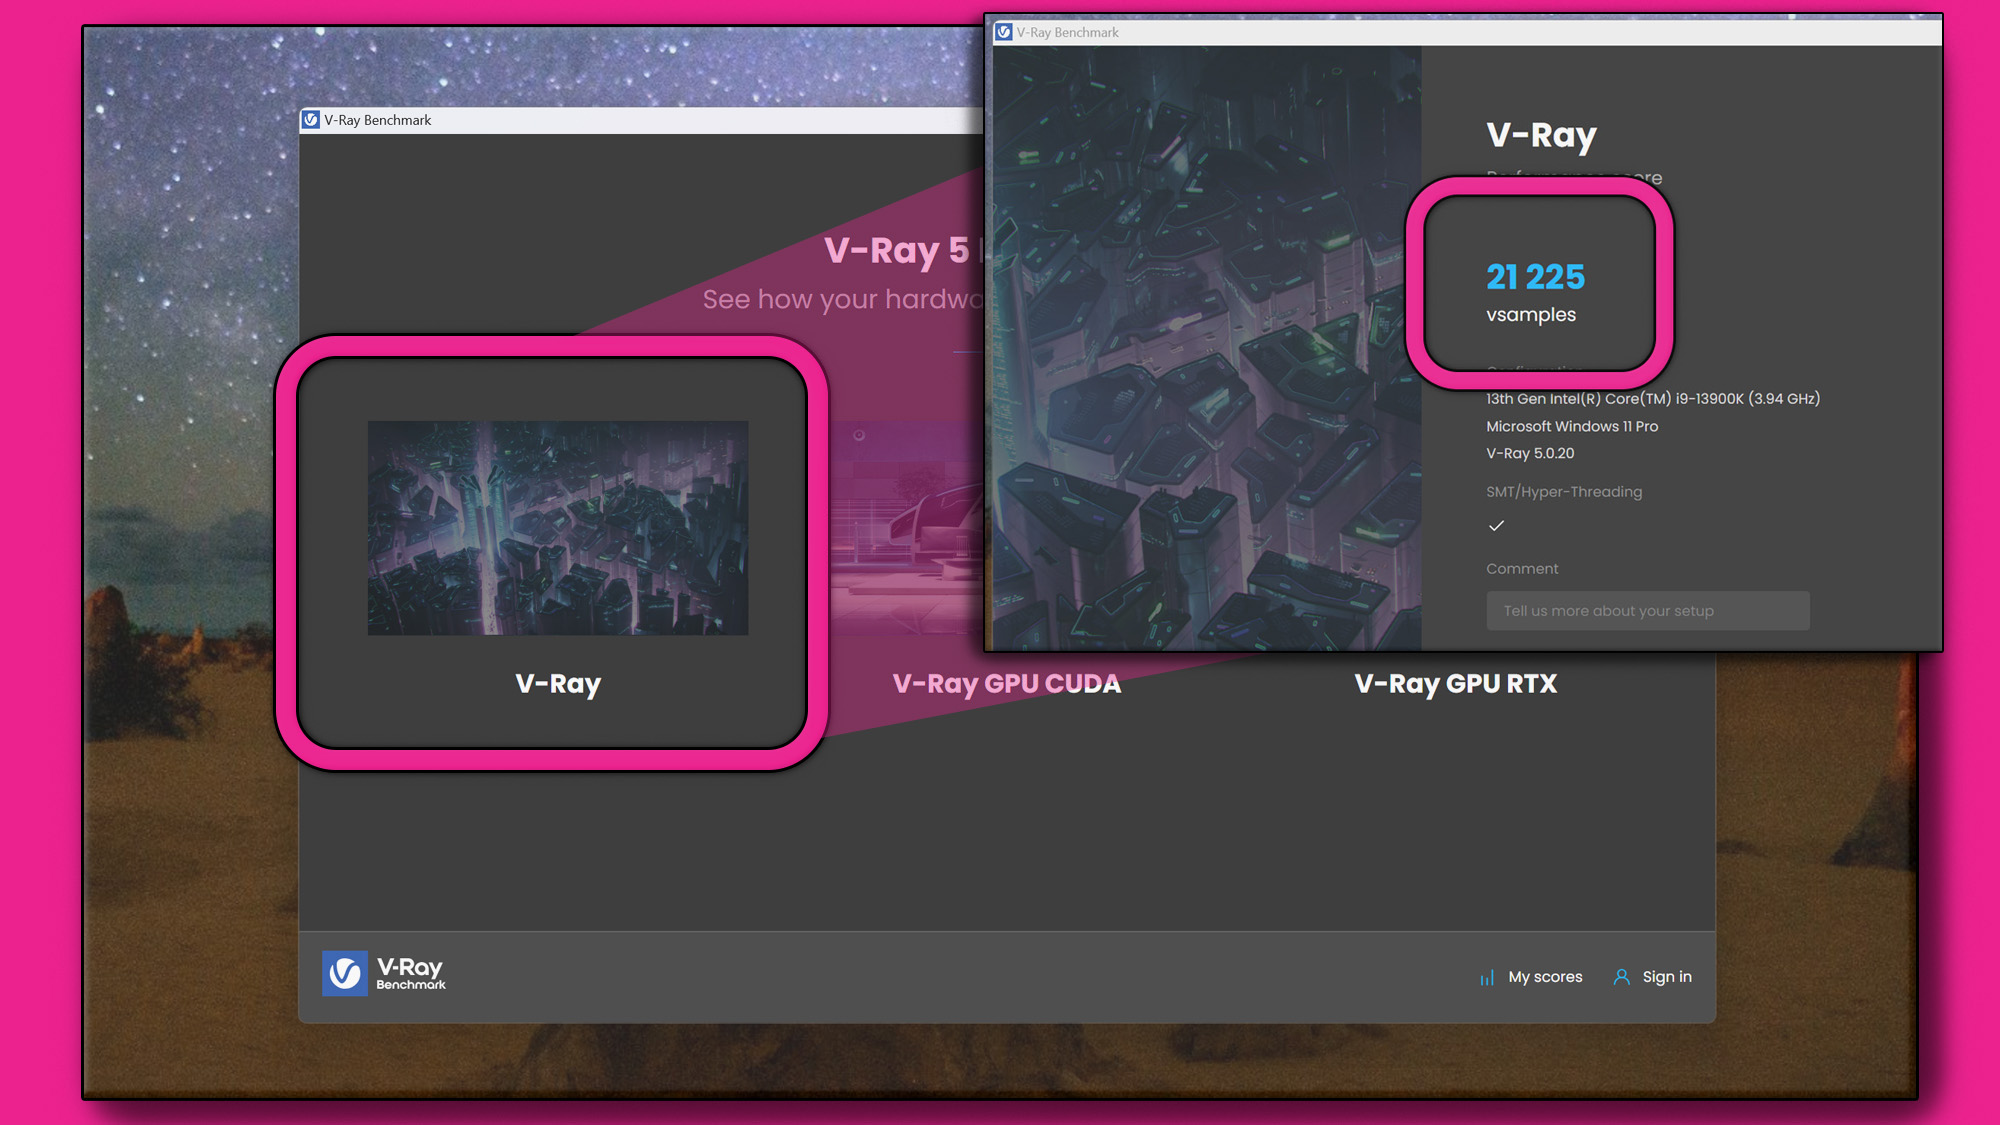
Finally, run V-Ray 5 directly from the file you downloaded and select the V-Ray option on the left to perform a strictly CPU-based rendering workload where the CPU will perform as many sampling passes as possible on an image in one minute. It will then give a score that can be compared online at Chaos' website.
10. Analyze the performance of the CPU and fix any issues
Now that you know how to benchmark a CPU, you need to know what to do with all this data.
For one, if all of your scores are more or less in line with what you've seen online. you can consider yourself done.
If more than one score comes back wildly off from where you would expect it, you'll need to figure out what's getting in the way of your processor's true potential.
In 99 times out of 100 cases, the problem is your how you installed the CPU cooler, in that it isn't providing sufficient cooling to bleed off the heat generated by the intense workloads used in benchmarks. This leads the processor to throttle its performance to keep heat within acceptable levels.
If HWiNFO reports that the CPU hit it's max temperature or if it indicates that the CPU core performance is being throttled while running your benchmarks, you have almost certainly found the cause of your lower scores.
To fix this, you'll need to check to see if your cooler is properly seated and tightly held against the processor itself (with a layer of thermal paste in between).
If you unhook the cooler from the processor and you don't see a neat, rectangular smear of thermal paste, but instead it looks like one or more corners of the cooler wasn't making proper contact with the CPU (which will look like a triangle of paste), it's not cooling the CPU properly. Clean the processor and cooler of old paste using a disposable alcohol pad (70% or better) and reapply fresh paste before reattaching the cooler. A small bead of paste about the size of a pea is all you need. Spread it out evenly with your finger to cover the whole processor die (you can clean the paste off your finger with another alcohol pad). Make sure to carefully distribute the weight of the CPU cooler by alternating the tightening of fasteners so that it fits even across the CPU die.
If that doesn't work, you'll also need to consider whether you have the right cooler for the job, even if it's in full working order. In this case, you'll likely need to invest more money into getting the best CPU cooler you can afford, but it's money well spent to unlock the full performance of your CPU.
Final thoughts
Benchmarking a CPU is an essential part of both PC building and testing as well as general PC maintenance.
Benchmark scores that are right on the nose for where they should be is a good sign that everything is in working order, but CPU benchmarks that swing wildly away from these numbers mean that you'll have your work cut out for you diagnosing the problem. Still, start by making small changes to your PC over time, testing the PC after every change to narrow down what the issue is, and eventually you'll have you a finely tuned PC that's operating at peak performance.
Sign up for breaking news, reviews, opinion, top tech deals, and more.

John (He/Him) is the Components Editor here at TechRadar and he is also a programmer, gamer, activist, and Brooklyn College alum currently living in Brooklyn, NY.
Named by the CTA as a CES 2020 Media Trailblazer for his science and technology reporting, John specializes in all areas of computer science, including industry news, hardware reviews, PC gaming, as well as general science writing and the social impact of the tech industry.
You can find him online on Bluesky @johnloeffler.bsky.social