
 Become a TechRadar Insider


We've covered a lot of clever techniques in our DIY Photography Hacks series, and this latest is one of our favourites - both because it's so simple and the effects are amazing! In our quick tutorial below we show you how to use an empty toilet paper tube as an extension to transform your 50mm standard lens into a powerful macro lens.

A macro lens can be an expensive investment, especially as it's a specialist lens that you might only use a few times a year.
However, if you want the close-up experience but don't want the expense of buying a macro lens, it's easy enough to create your own with a few household items, plus a standard prime lens - we used a Nikon 50mm f/1.4.
Please note that you will need to sacrifice a body cap for this project, but these are cheap to buy, at around £8/$8.
The key to this project is to flip the lens, putting the front element against the camera, then when you look through the viewfinder you'll see everything has got much closer. Stick a tube in between camera and body and everything gets larger still.
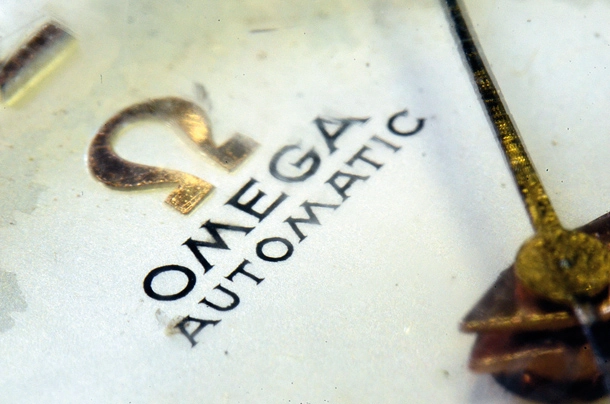
Make a macro lens the DIY photography way

01 Make the extender
Cut the toilet roll tube to roughly 100mm, then tape a piece of neoprene inside to help cut out any light reflections. If you don't have any black neoprene, black paper will also work. Take a body cap and carefully cut a hole in the front, then tape the tube securely to the body cap.

02 Attach the lens
When all is secure, attach the lens, reversed so that the front element goes into the tube, and tape into place. Mount the camera on a tripod and move the subject into focus. There's a small lever on the back of the lens: move this to close down the aperture and secure with Blu-tack.

03 Take your shots
Set the camera to aperture-priority mode. The camera will say it has set itself to f/0. Next, set the self timer to avoid any shake or image blur while shooting, and take a few test images. Check the results and adjust the aperture lever with the Blu-tack as needed.
READ MORE
DIY Photography Hacks: how to reduce camera shake using a simple bag of lentils
DIY Photography Hacks: why a blank CD case makes the perfect rain guard for your lens
DIY Photography Hacks: make your own tripod holder
DIY Photography Hacks: get cool soft-focus effects using a pair of tights
99 common photography problems (and how to solve them)