How to install a CPU cooler: Keeping your processor chill
Stay at full speed for longer

So, you've installed your CPU. Now it's time for the harder part. Once you've got your CPU in, you need to make sure it's going to stay cool with one of the best CPU coolers. If you install it poorly (or forget to install it altogether) your processor will heat faster and hotter than it should, and it may eventually shut down your computer to protect itself. So, you want to make sure you've got your cooler installed correctly, and we'll guide you through with step-by-step instructions no installing a CPU cooler.
1. Check for or apply thermal paste
Your CPU cooler doesn't go straight onto your CPU. There should be a thin layer of a thermal compound that eliminates any gaps between the CPU lid and the base of your CPU cooler. Some coolers come with a thermal paste already applied, so check the bottom of your coolr or the manual to see if it has pre-applied thermal paste.
If your cooler has pre-applied thermal paste, you're ready to go. DO NOT apply a second layer of thermal paste.
If your cooler doesn't already have thermal paste on it, apply thermal paste to the top of your CPU lid. You should only apply a small amount, though there are many schools of thought on how you should apply it. You can simply put a small dot, no bigger than a pea, in the center of your CPU lid.
Other approaches to thermal pastre application include spreading a line across the CPU lid or putting some paste onto the CPU and then spreading it evenly with a credit card.
(Note: If your processor has left over thermal paste on it from a previous cooler, do not rely on that. Remove the old thermal paste and apply anew.
2. (Optional) Set up any standoffs and/or install bracket behind the motherboard
Depending on your cooler and motherboard combo, you may need to use some extra installation hardware. This can be standoffs that screw through your motherboard and into your case, a bracket that sits behind your motherboard for your cooler to connect to, or quite likely both. If your cooler included these components, check which are appropriate for your motherboard and CPU, and attach them now.
Sign up for breaking news, reviews, opinion, top tech deals, and more.
If you're installing a water cooler, now is the time for you to also attach the radiator to your case.

3. Line up your CPU cooler
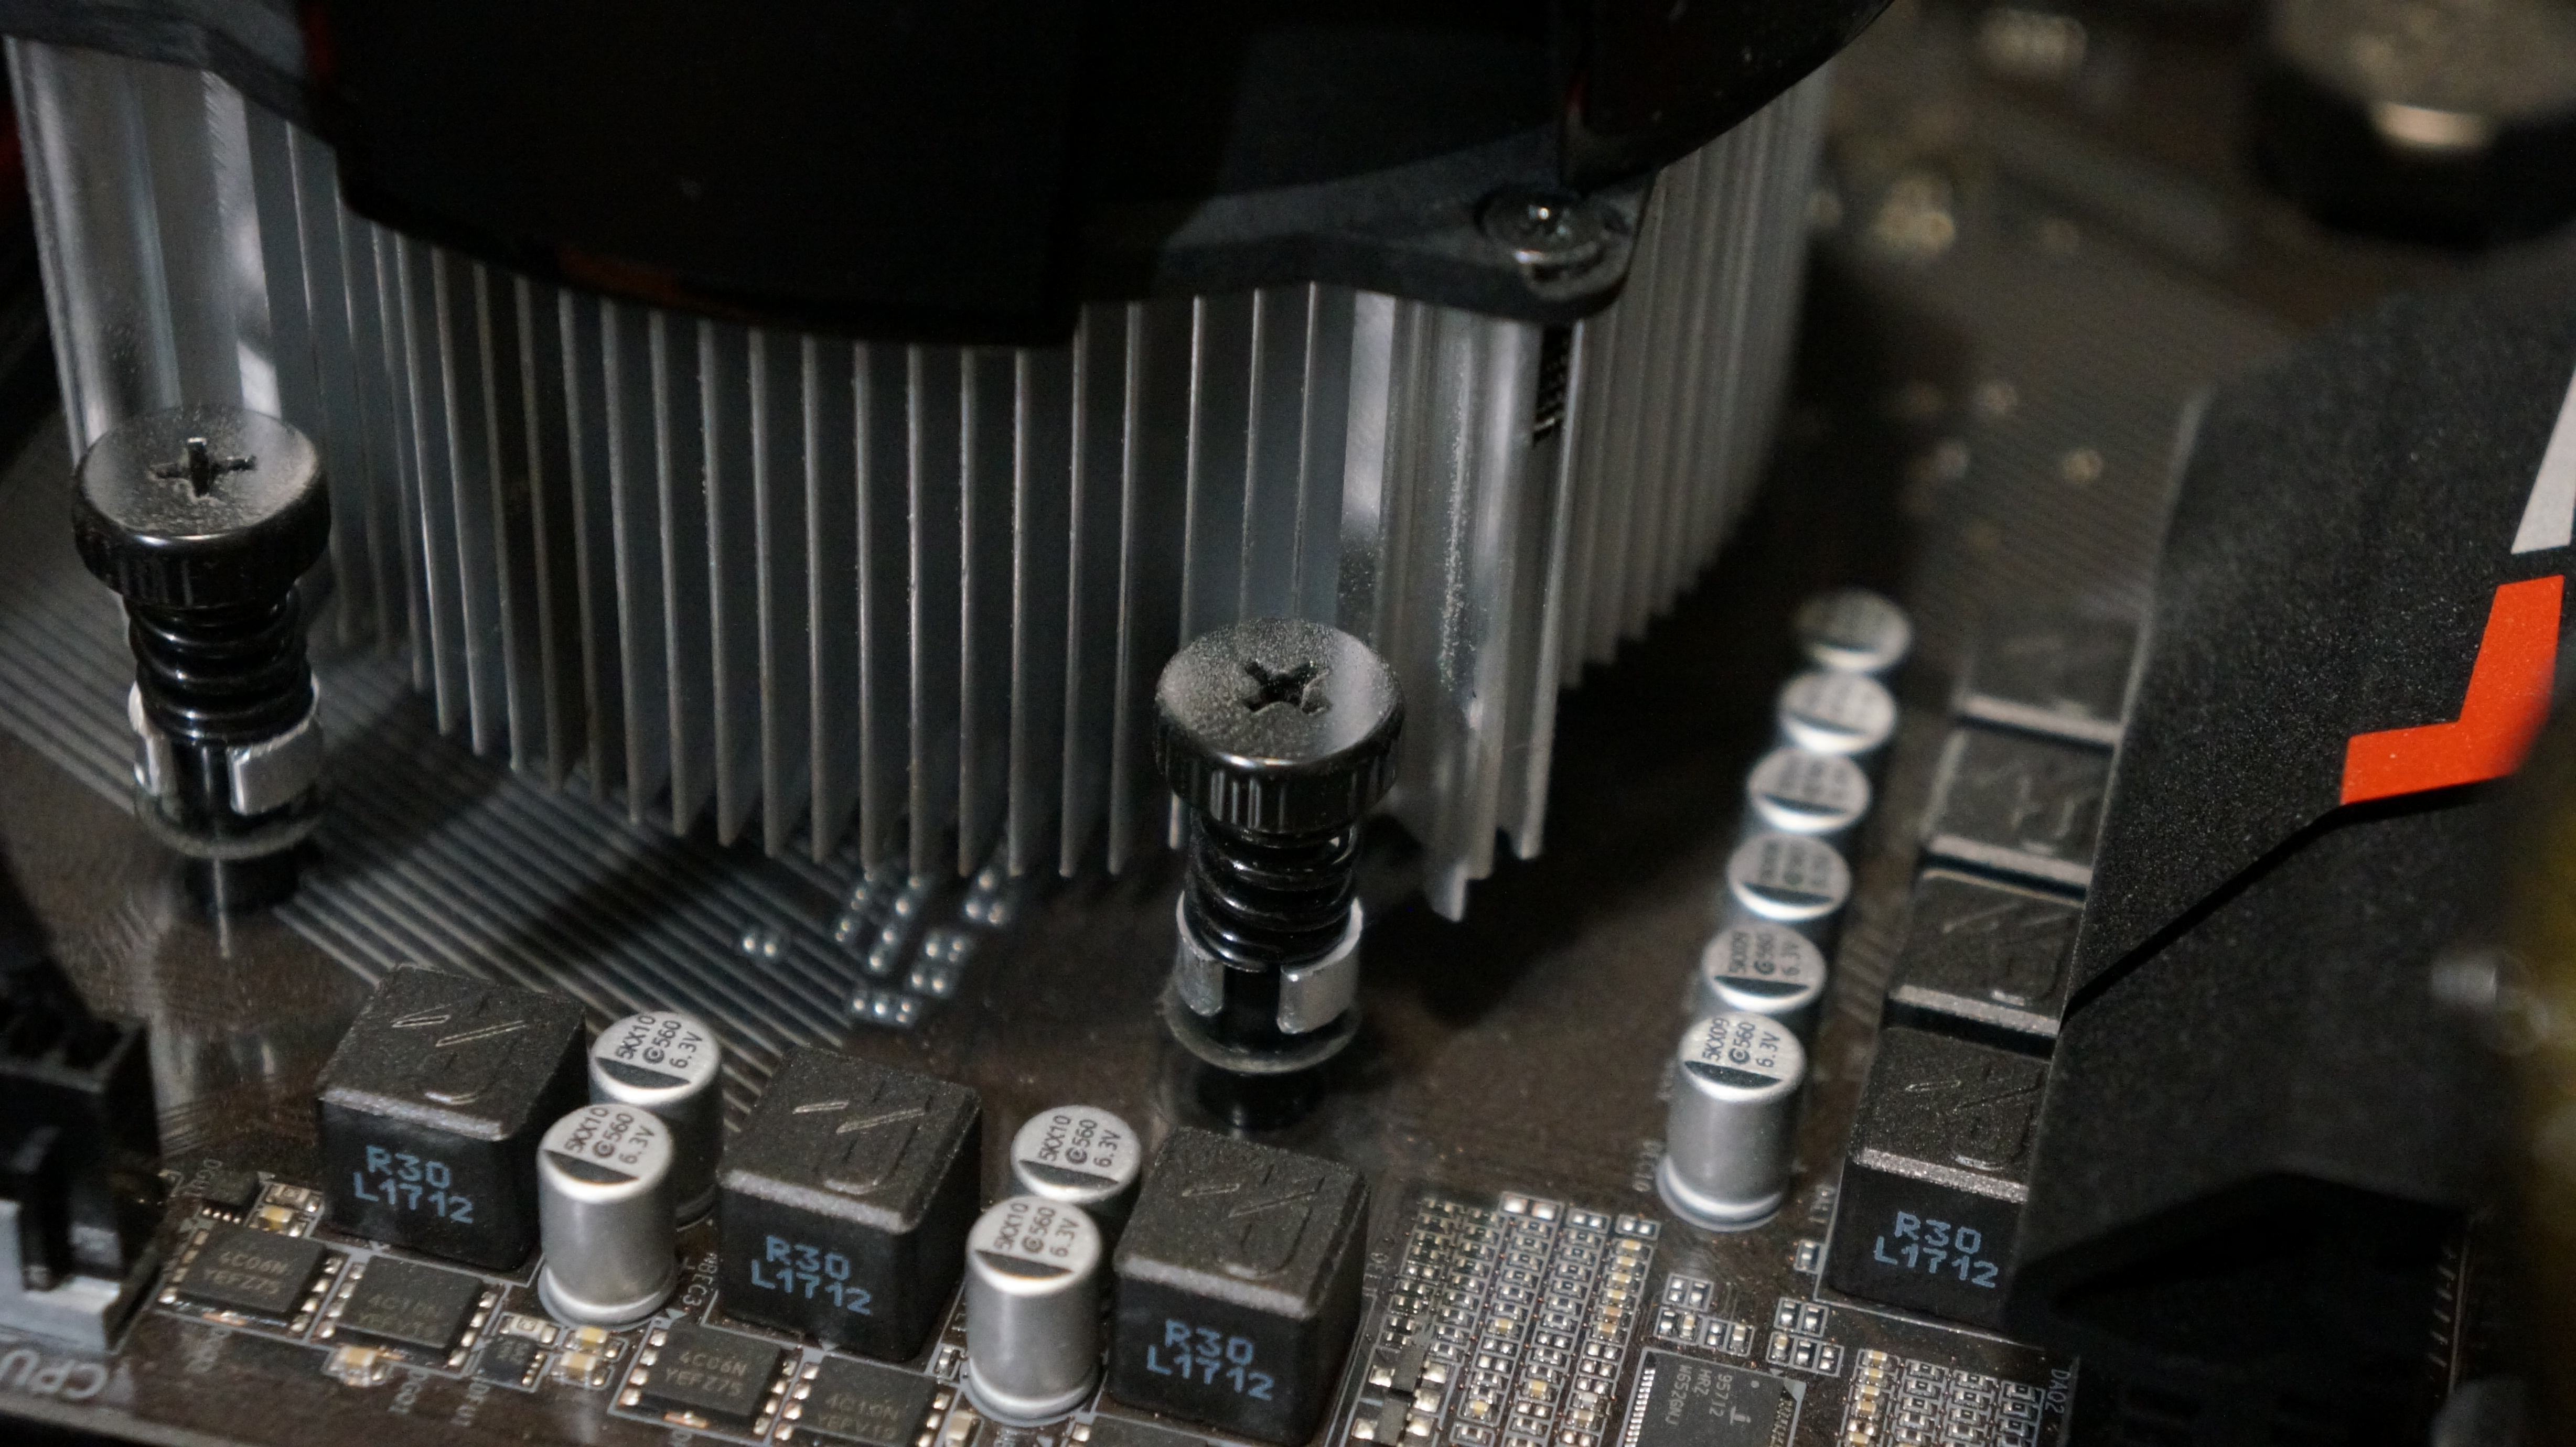
Take your cooler and hold it over the CPU, carefully lining up the screws (or whatever type of connector it uses) with the holes in your motherboard or the standoffs you installed earlier. Lower the cooler onto the CPU. (Note: You may need to remove fans from your cooler while attaching your cooler, though it's not necessary for all coolers.)

4. Attach the CPU cooler
With the CPU cooler in place, screw in (or push in) the connectors using an X pattern. Tighten loosely first, then increase tension with each pass without putting to much muscle into it. Do not go around the CPU in a square, as this can create uneven pressure across the processor and may impact cooling.
5. Attach any fans
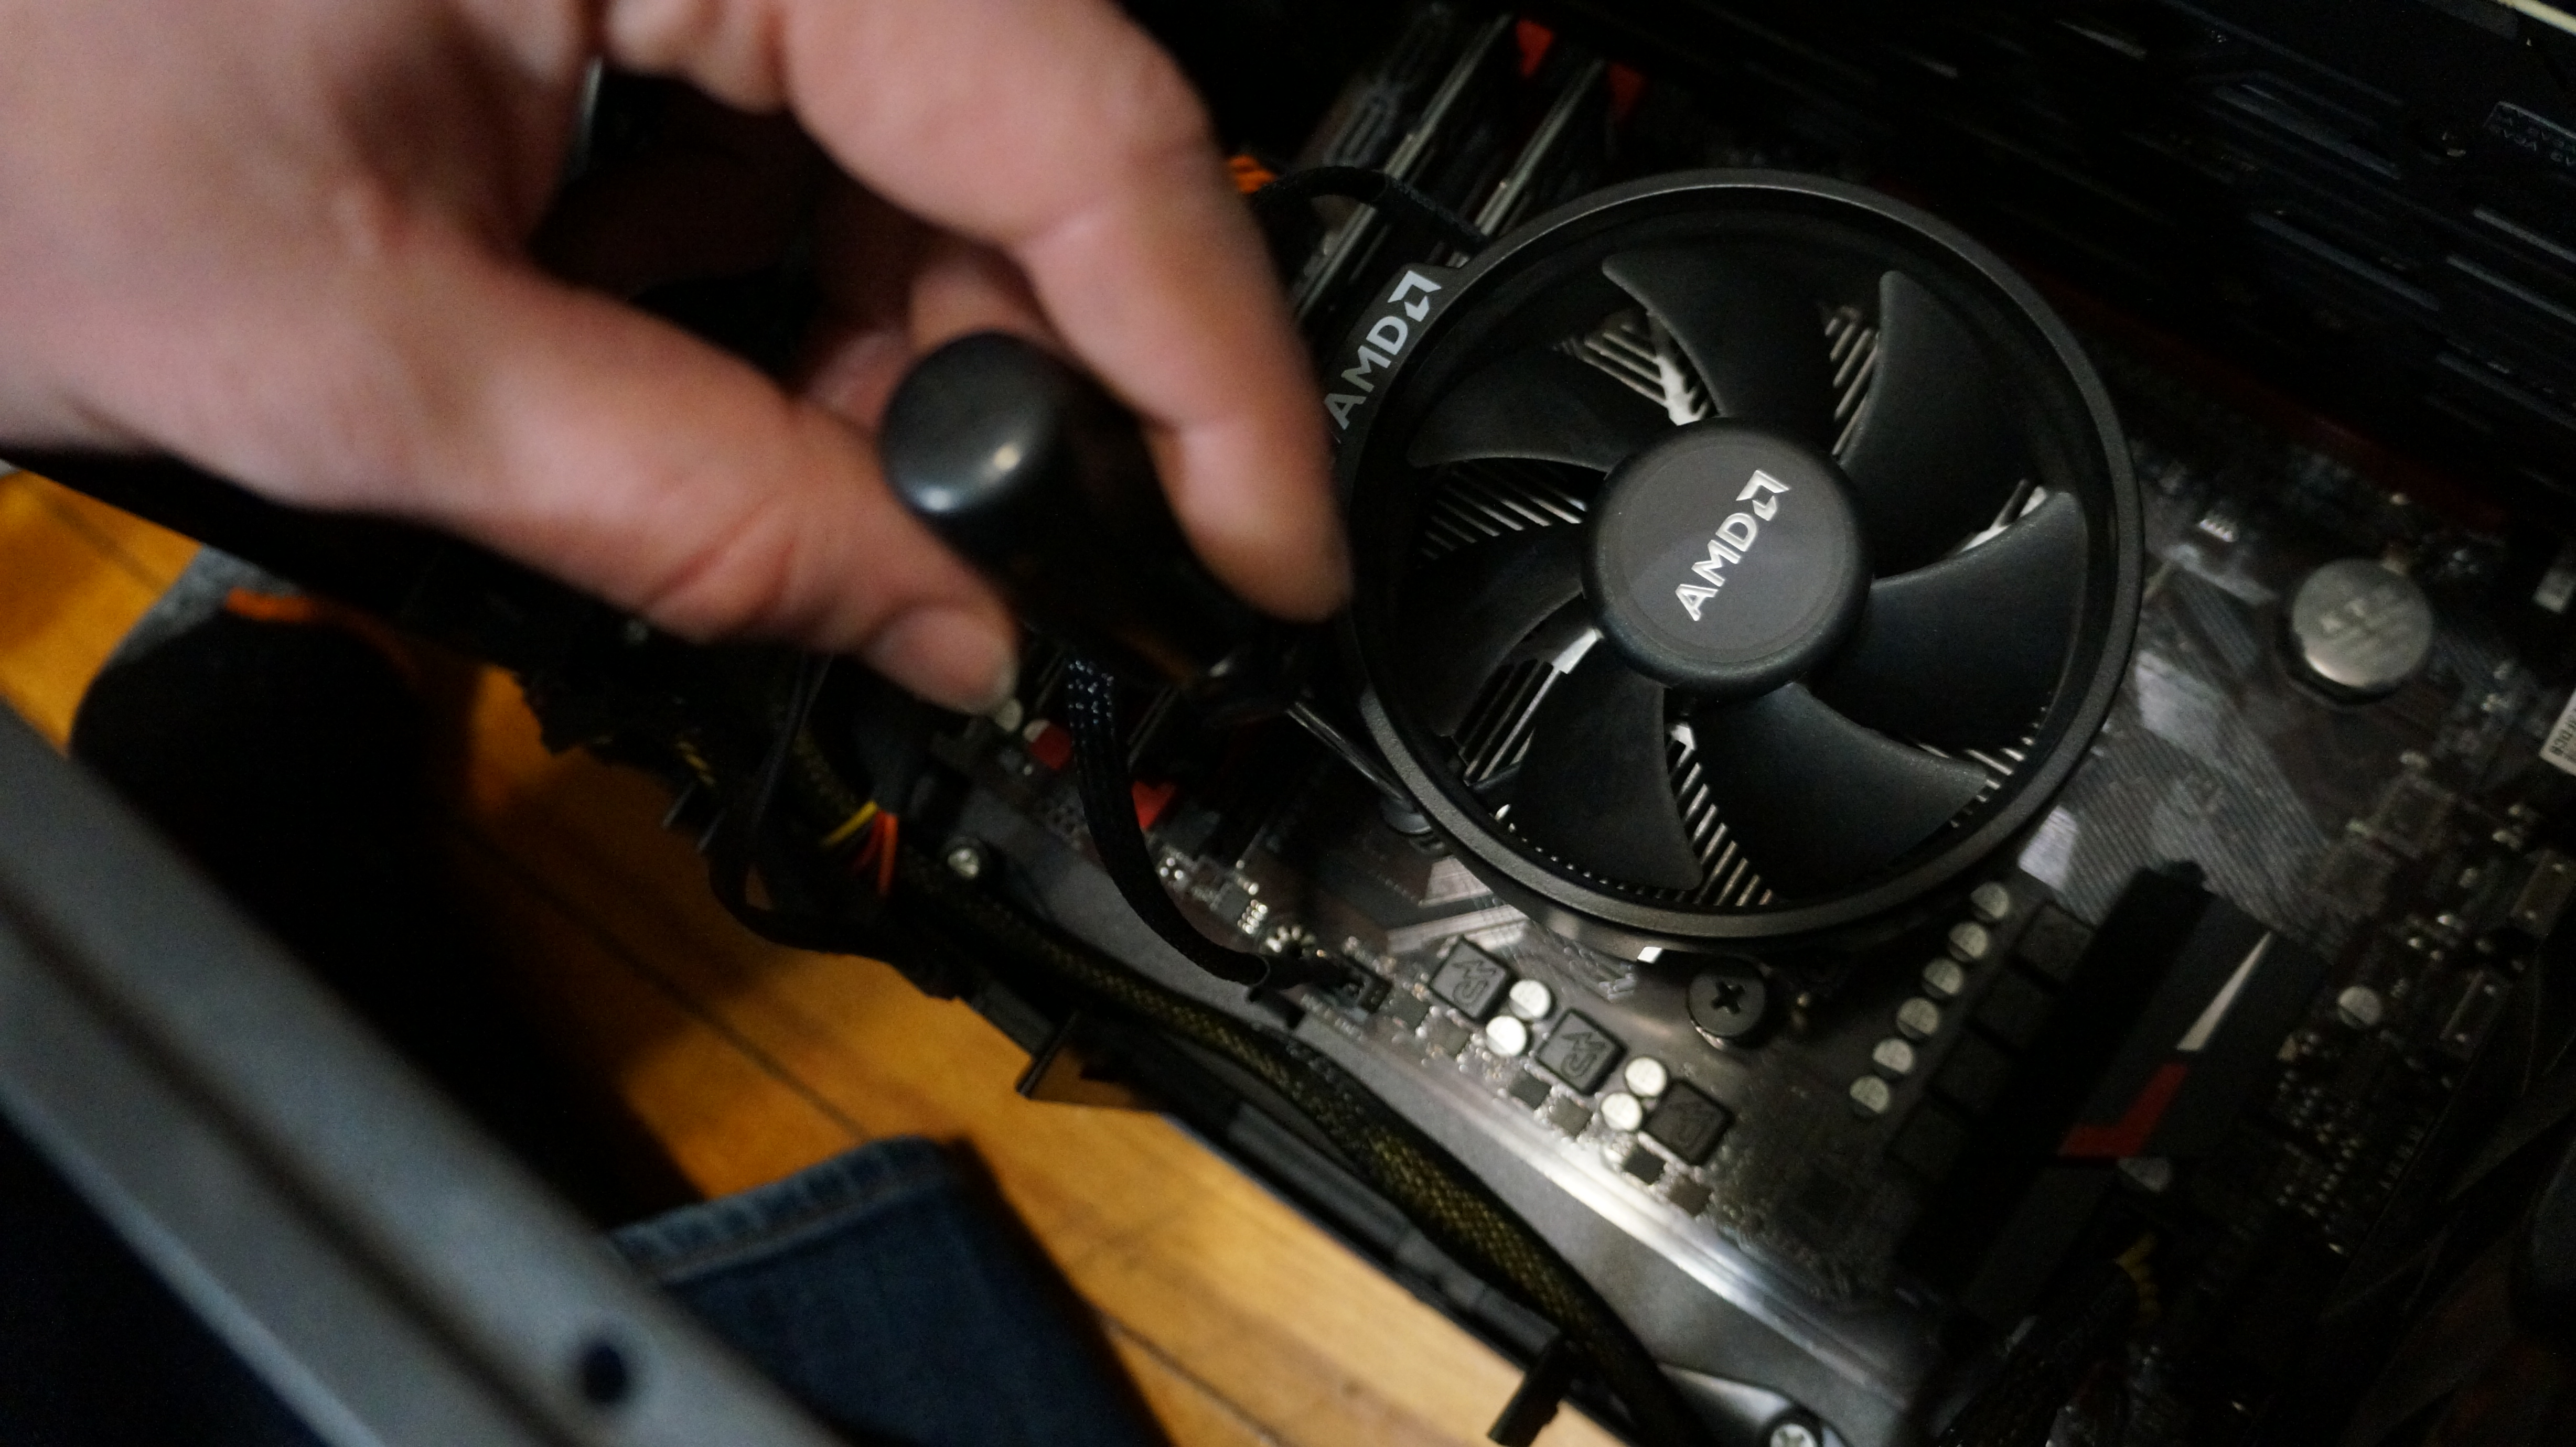
If you removed any fans from your cooler earlier or still have some to install, you can attach them to your cooler now. How they connect will depend on the fans and your cooler, so consult your manual.
If you're using a water cooler, you'll need to connect the radiator, any coolant reservoirs, and the water pump to one another.

Plug everything in
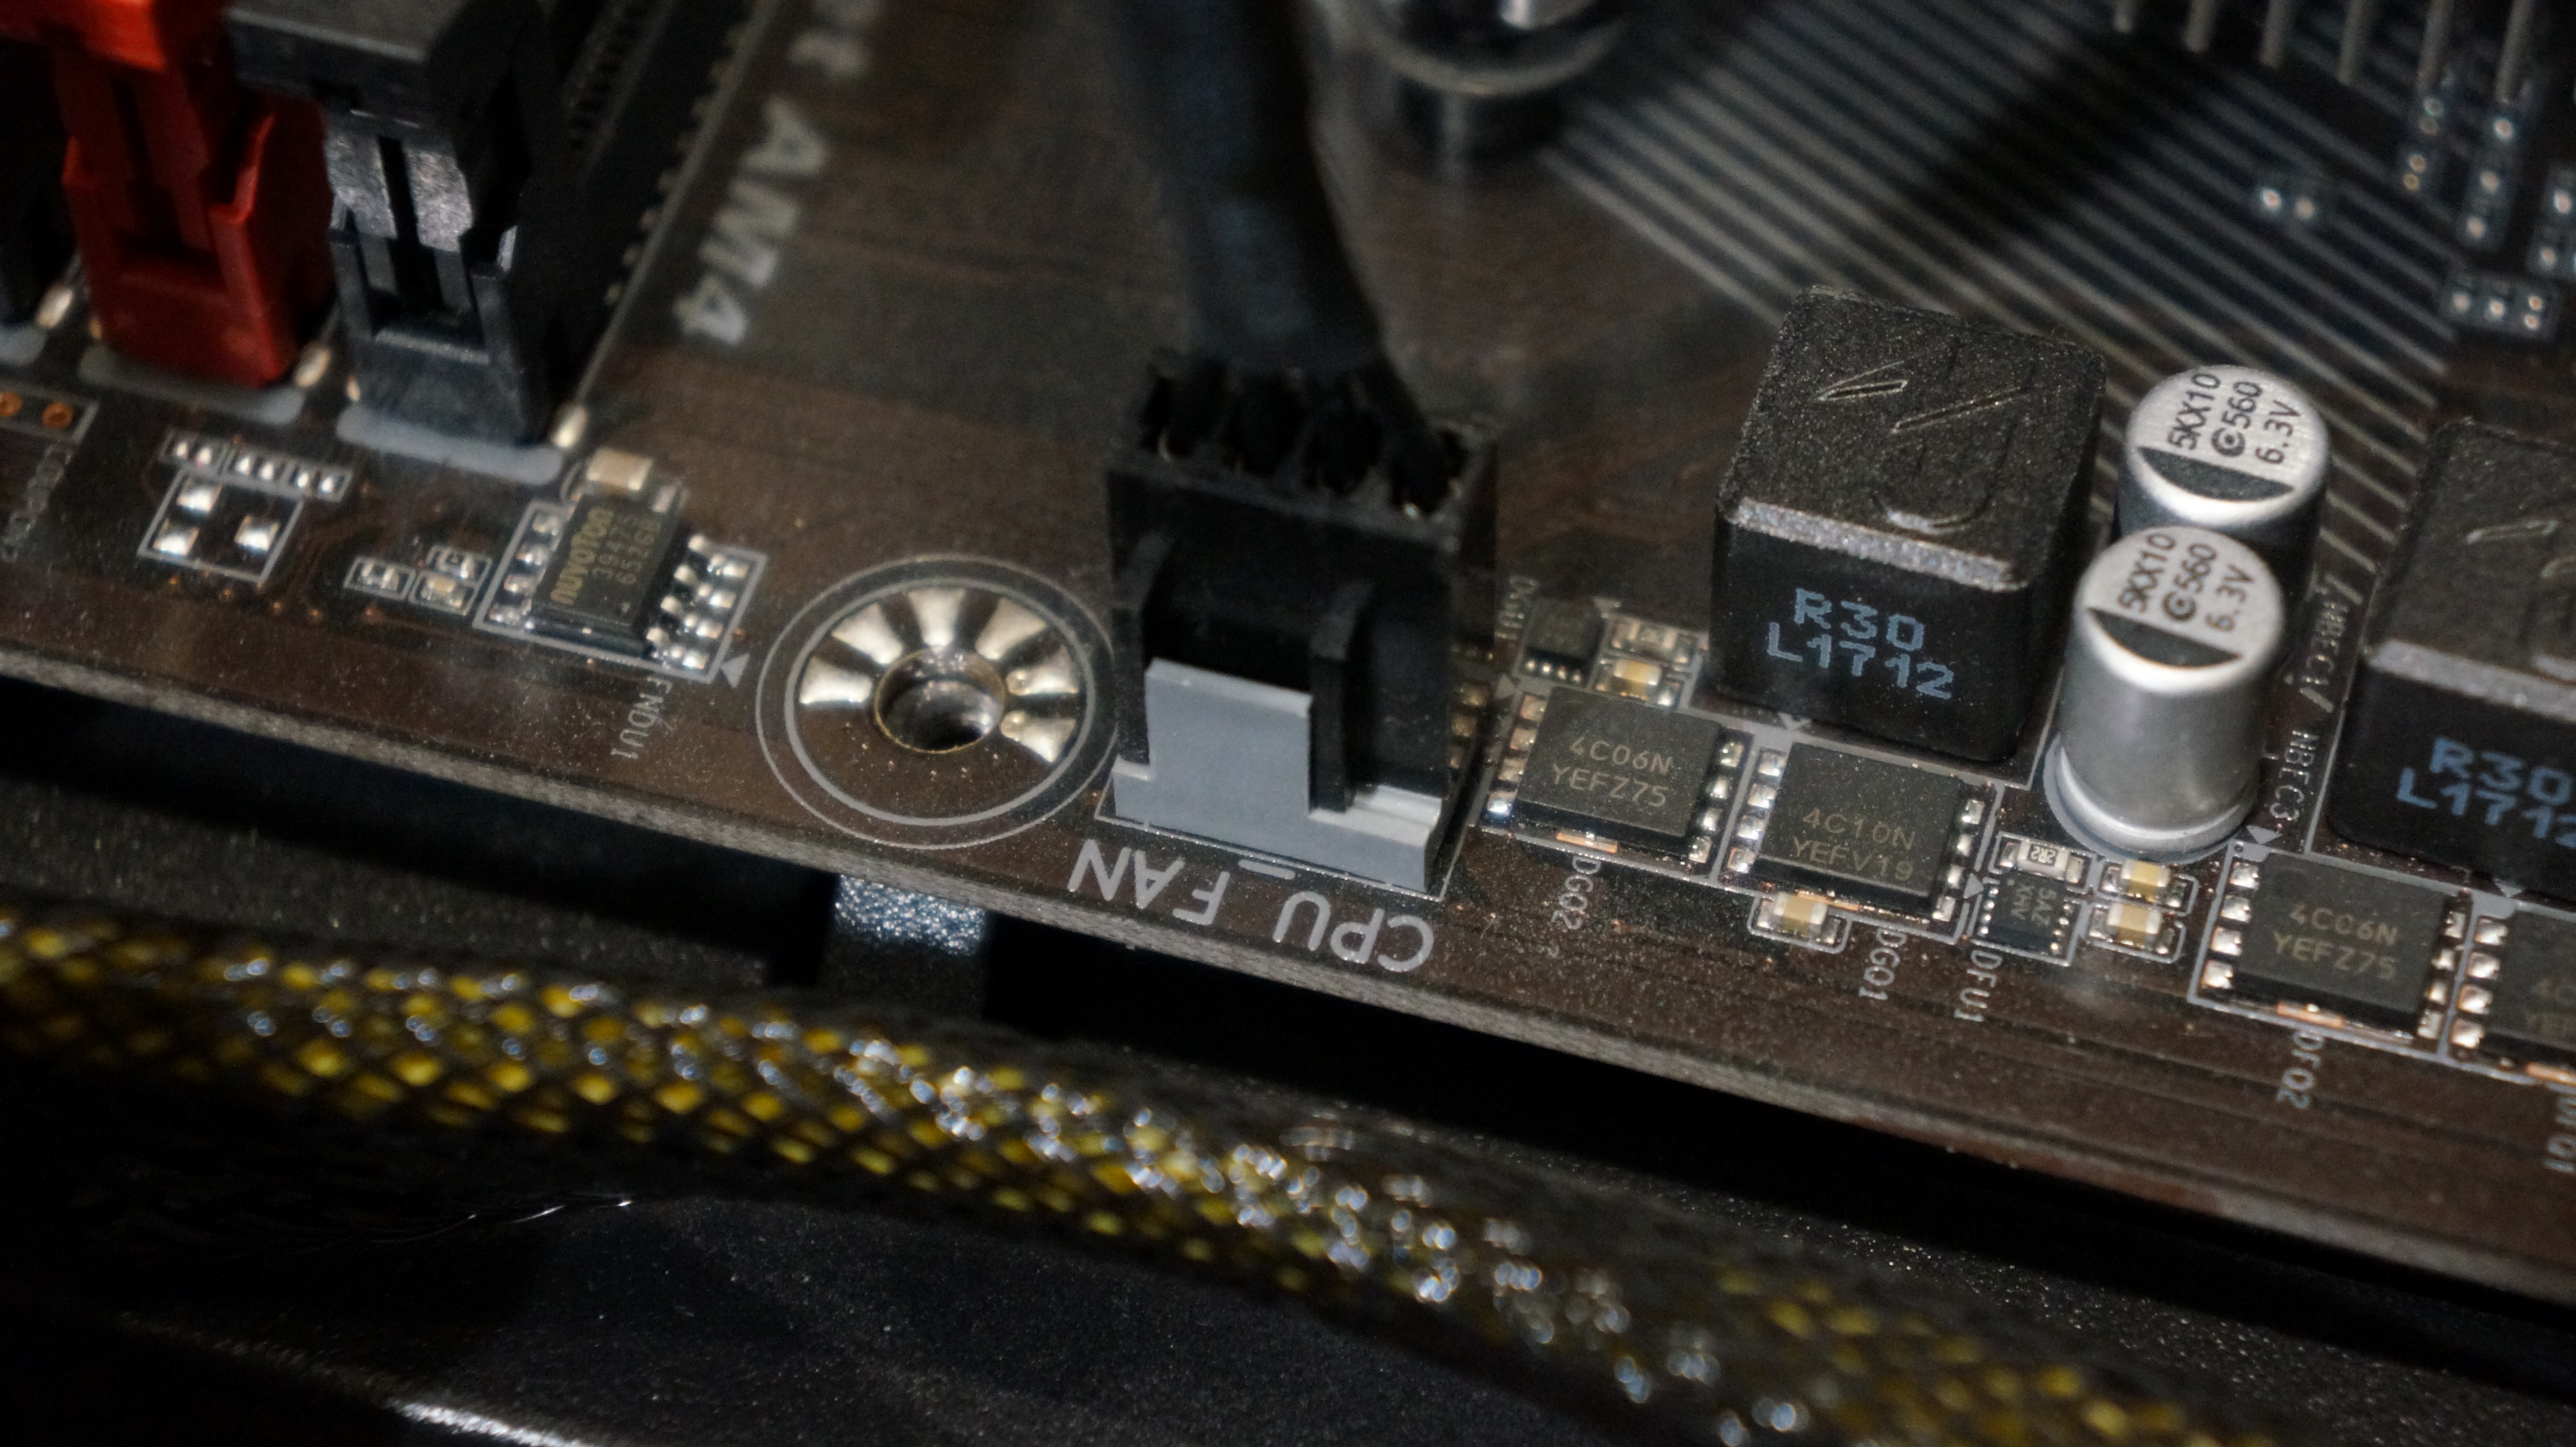
Once you have everything attached, you need to ensure it all has power as well. From water pumps to air cooler fans and radiator fans, these parts all need power. In most cases, a simple air cooler fan will have a specific connector on the motherboard (It may look like this: "CPU_FAN"). Whatever your setup, be sure you have everything connected to the appropriate power source.
With that, you're good to go.
- There's a whole world of PC components out there

Over the last several years, Mark has been tasked as a writer, an editor, and a manager, interacting with published content from all angles. He is intimately familiar with the editorial process from the inception of an article idea, through the iterative process, past publishing, and down the road into performance analysis.