How to install a CPU: Putting the brain into your computer
Putting in the brains

Sign up for breaking news, reviews, opinion, top tech deals, and more.
You are now subscribed
Your newsletter sign-up was successful
You've just got the best processor you could muster and you're ready to toss that bad boy into your first PC build. But, how do you install a processor?
Fortunately, like many other aspects of building a PC, installing a CPU is a very simple process. So, no need to stress about getting it wrong, as we'll guide you through each step.
1. Keep your CPU where it is
Sit tight. Don't take your CPU out of the box just yet.
2. Ready your motherboard
We're not going to assume you're putting your new CPU into a new motherboard, but that would be the simplest scenario.
If you have a new motherboard, there may be a plastic cover over the CPU socket. If you're putting your new CPU onto a motherboard that already has a CPU, then obviously that and the CPU cooler will be in the way.
In both cases, you'll need to remove whatever is in the way of the CPU socket. This is also a good opportunity for you to get familiar with the retention arm (and possibly the metal bracket on an Intel socket) that holds the processor in place once installed. You can get a sense of how much pressure it takes to press down.
Keep the retention arm in its open, up position. With your CPU socket open, you're ready to move on.
Sign up for breaking news, reviews, opinion, top tech deals, and more.

3. Line up your CPU
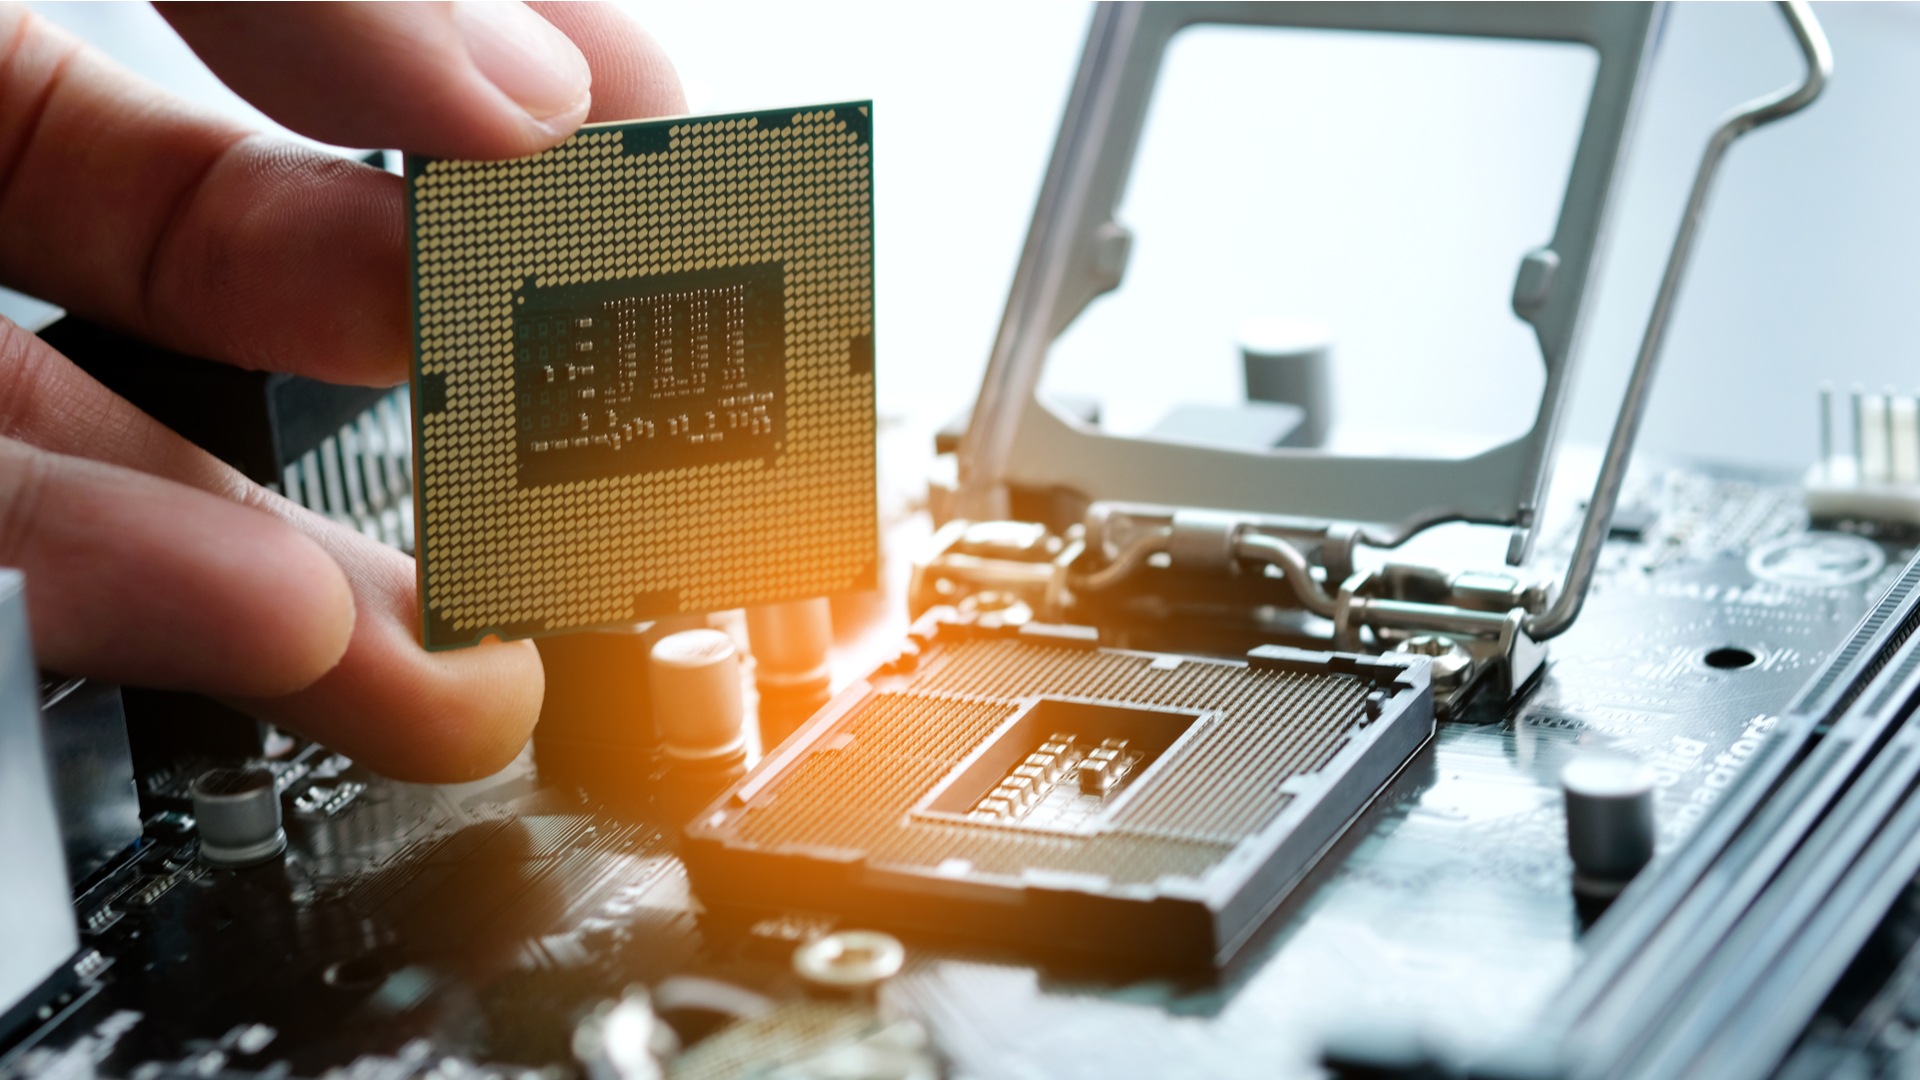
(Note: When holding your CPU, it's best practice to only touch the sides. Touching the underside or the metal lid can get undesirable residue on them that may affect performance.)
Your CPU has to go into its socket on the motherboard facing the right direction. Fortunately, there are almost always indicators on the CPU and socket to help you get the alignment correct.
Look for a matching indicator on the corner of your CPU and the socket. It will likely appear as a small triangle. If you don't see any indicator, you should consult the manuals for your motherboard and CPU.

4. Set the CPU into its socket
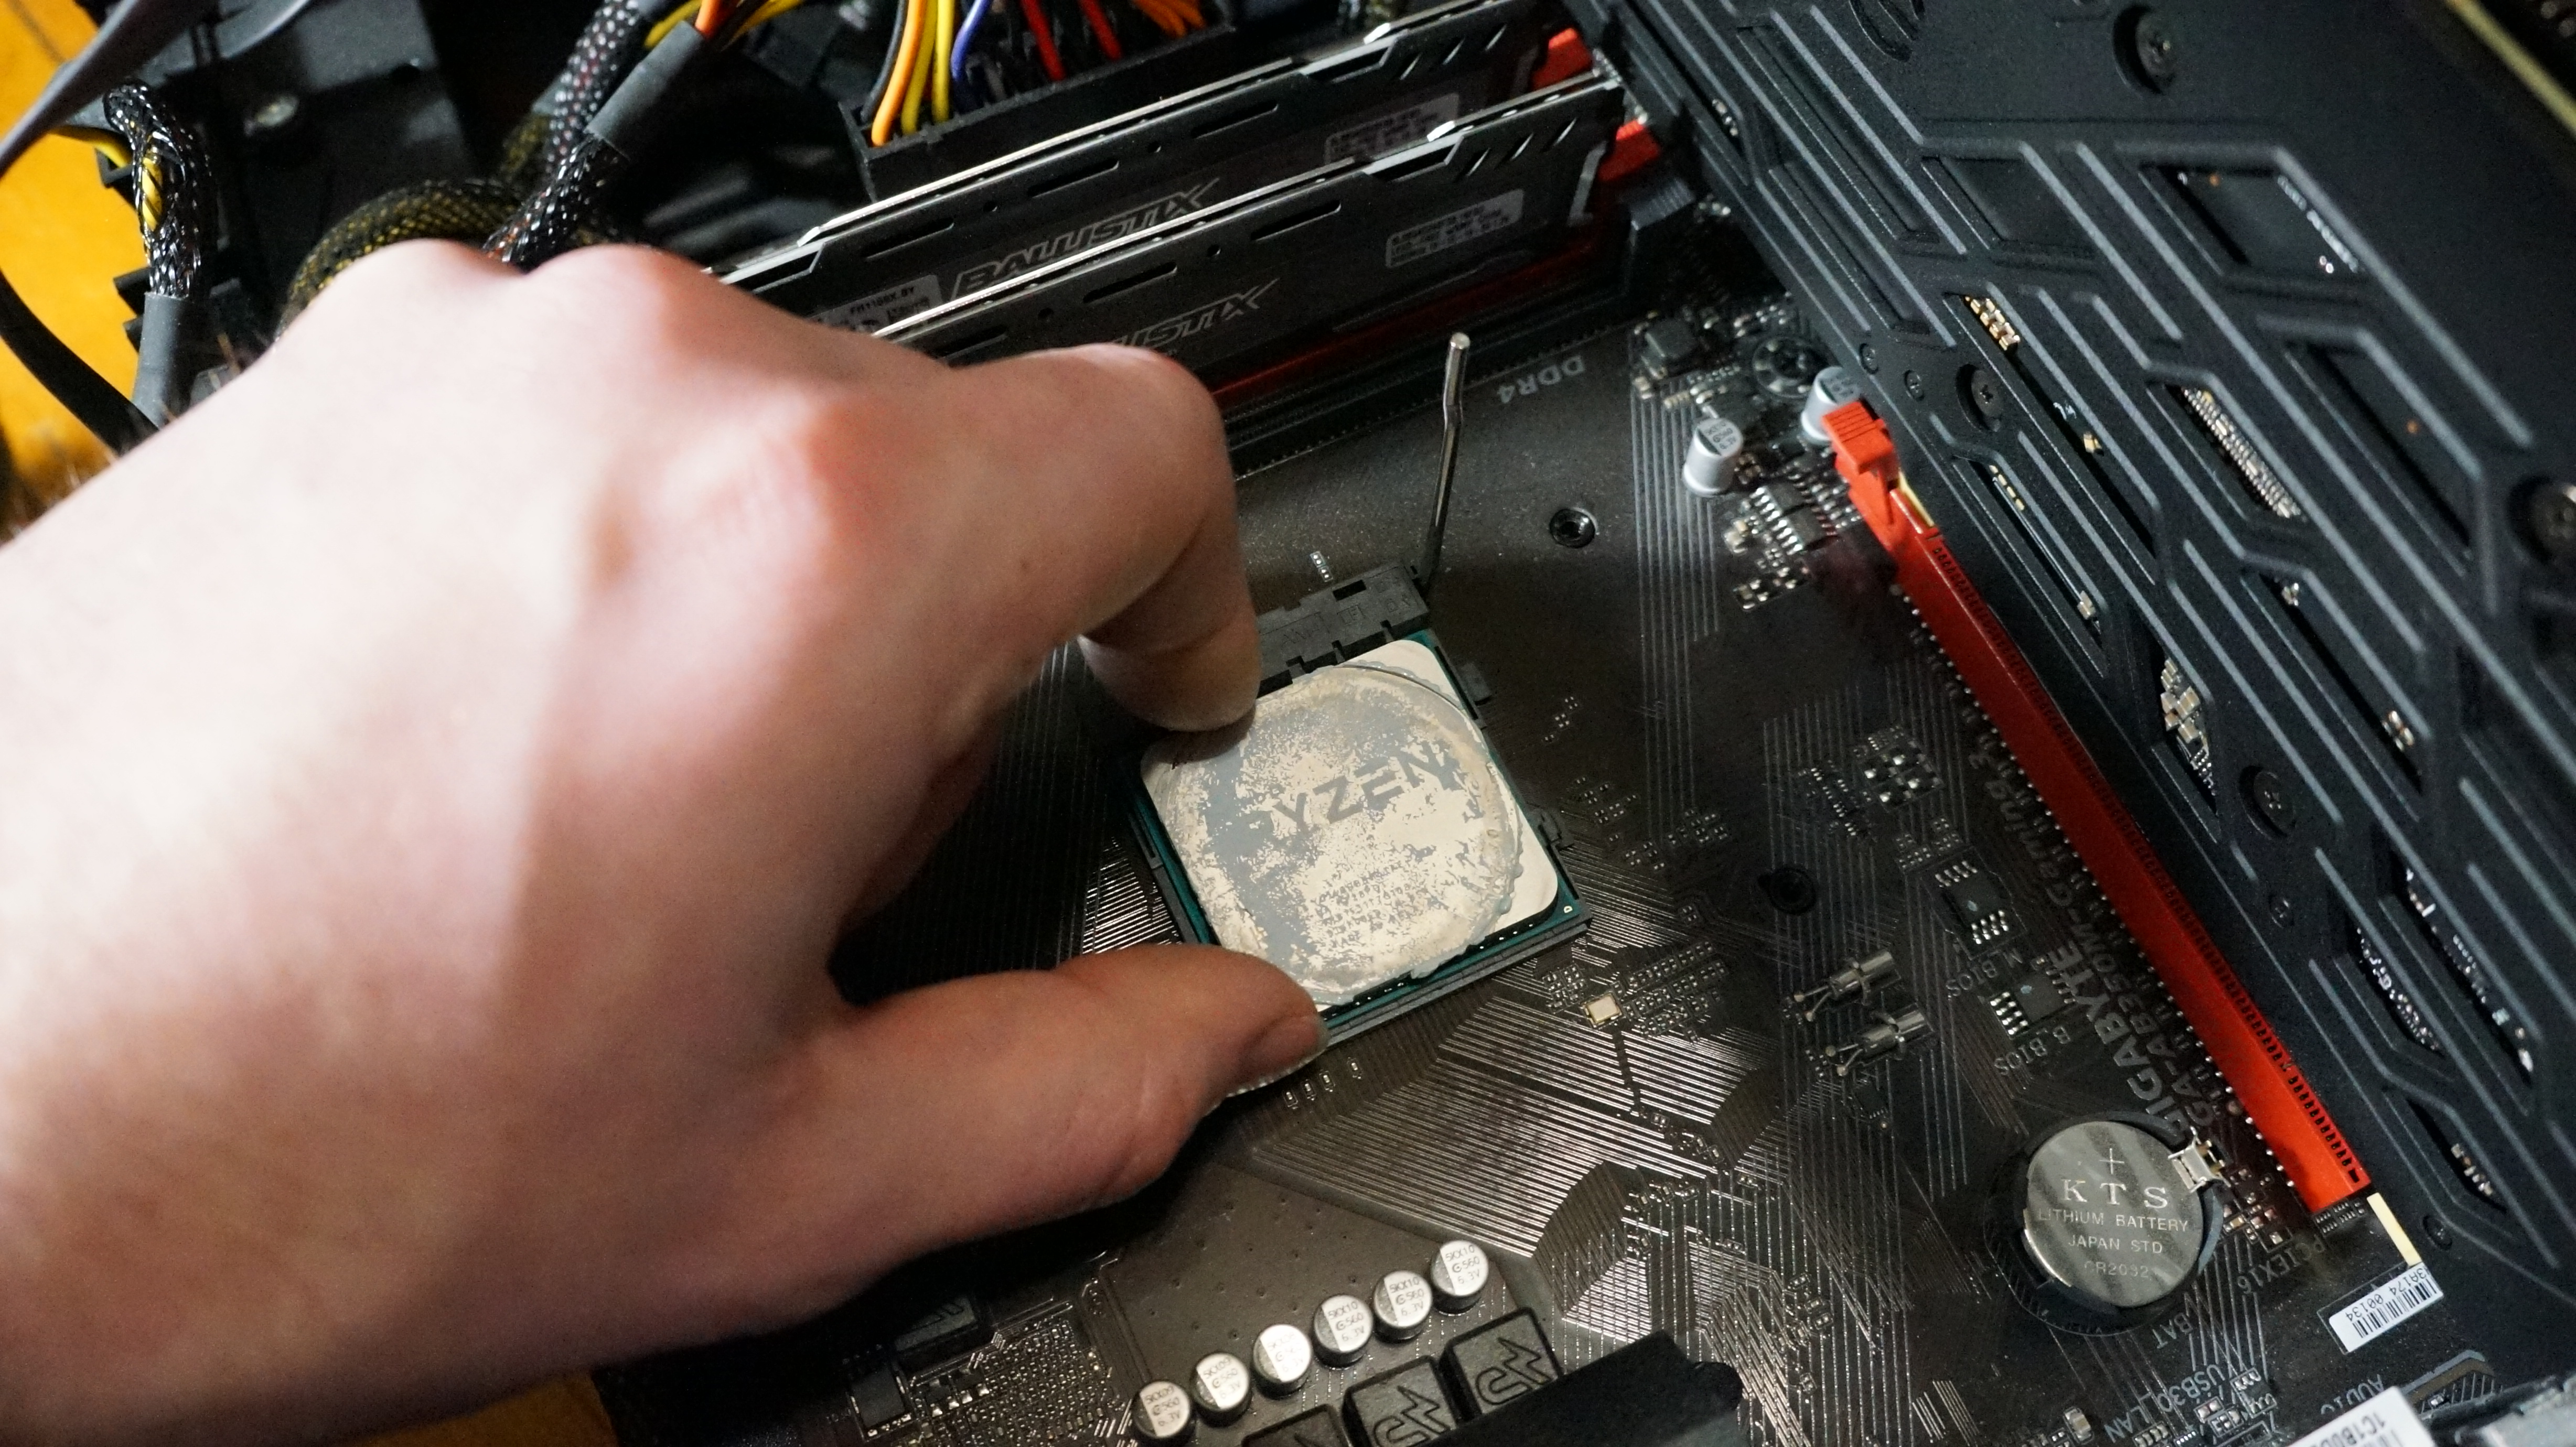
Assuming you correctly lined up your CPU with the socket, it should drop right into place. You may need to gently, and we mean gently, shift it around if it feels like it's not quite in place. AMD CPU pins, for instance, can be a little trickier to line up with the holes in the socket.

5. Close the retention arm
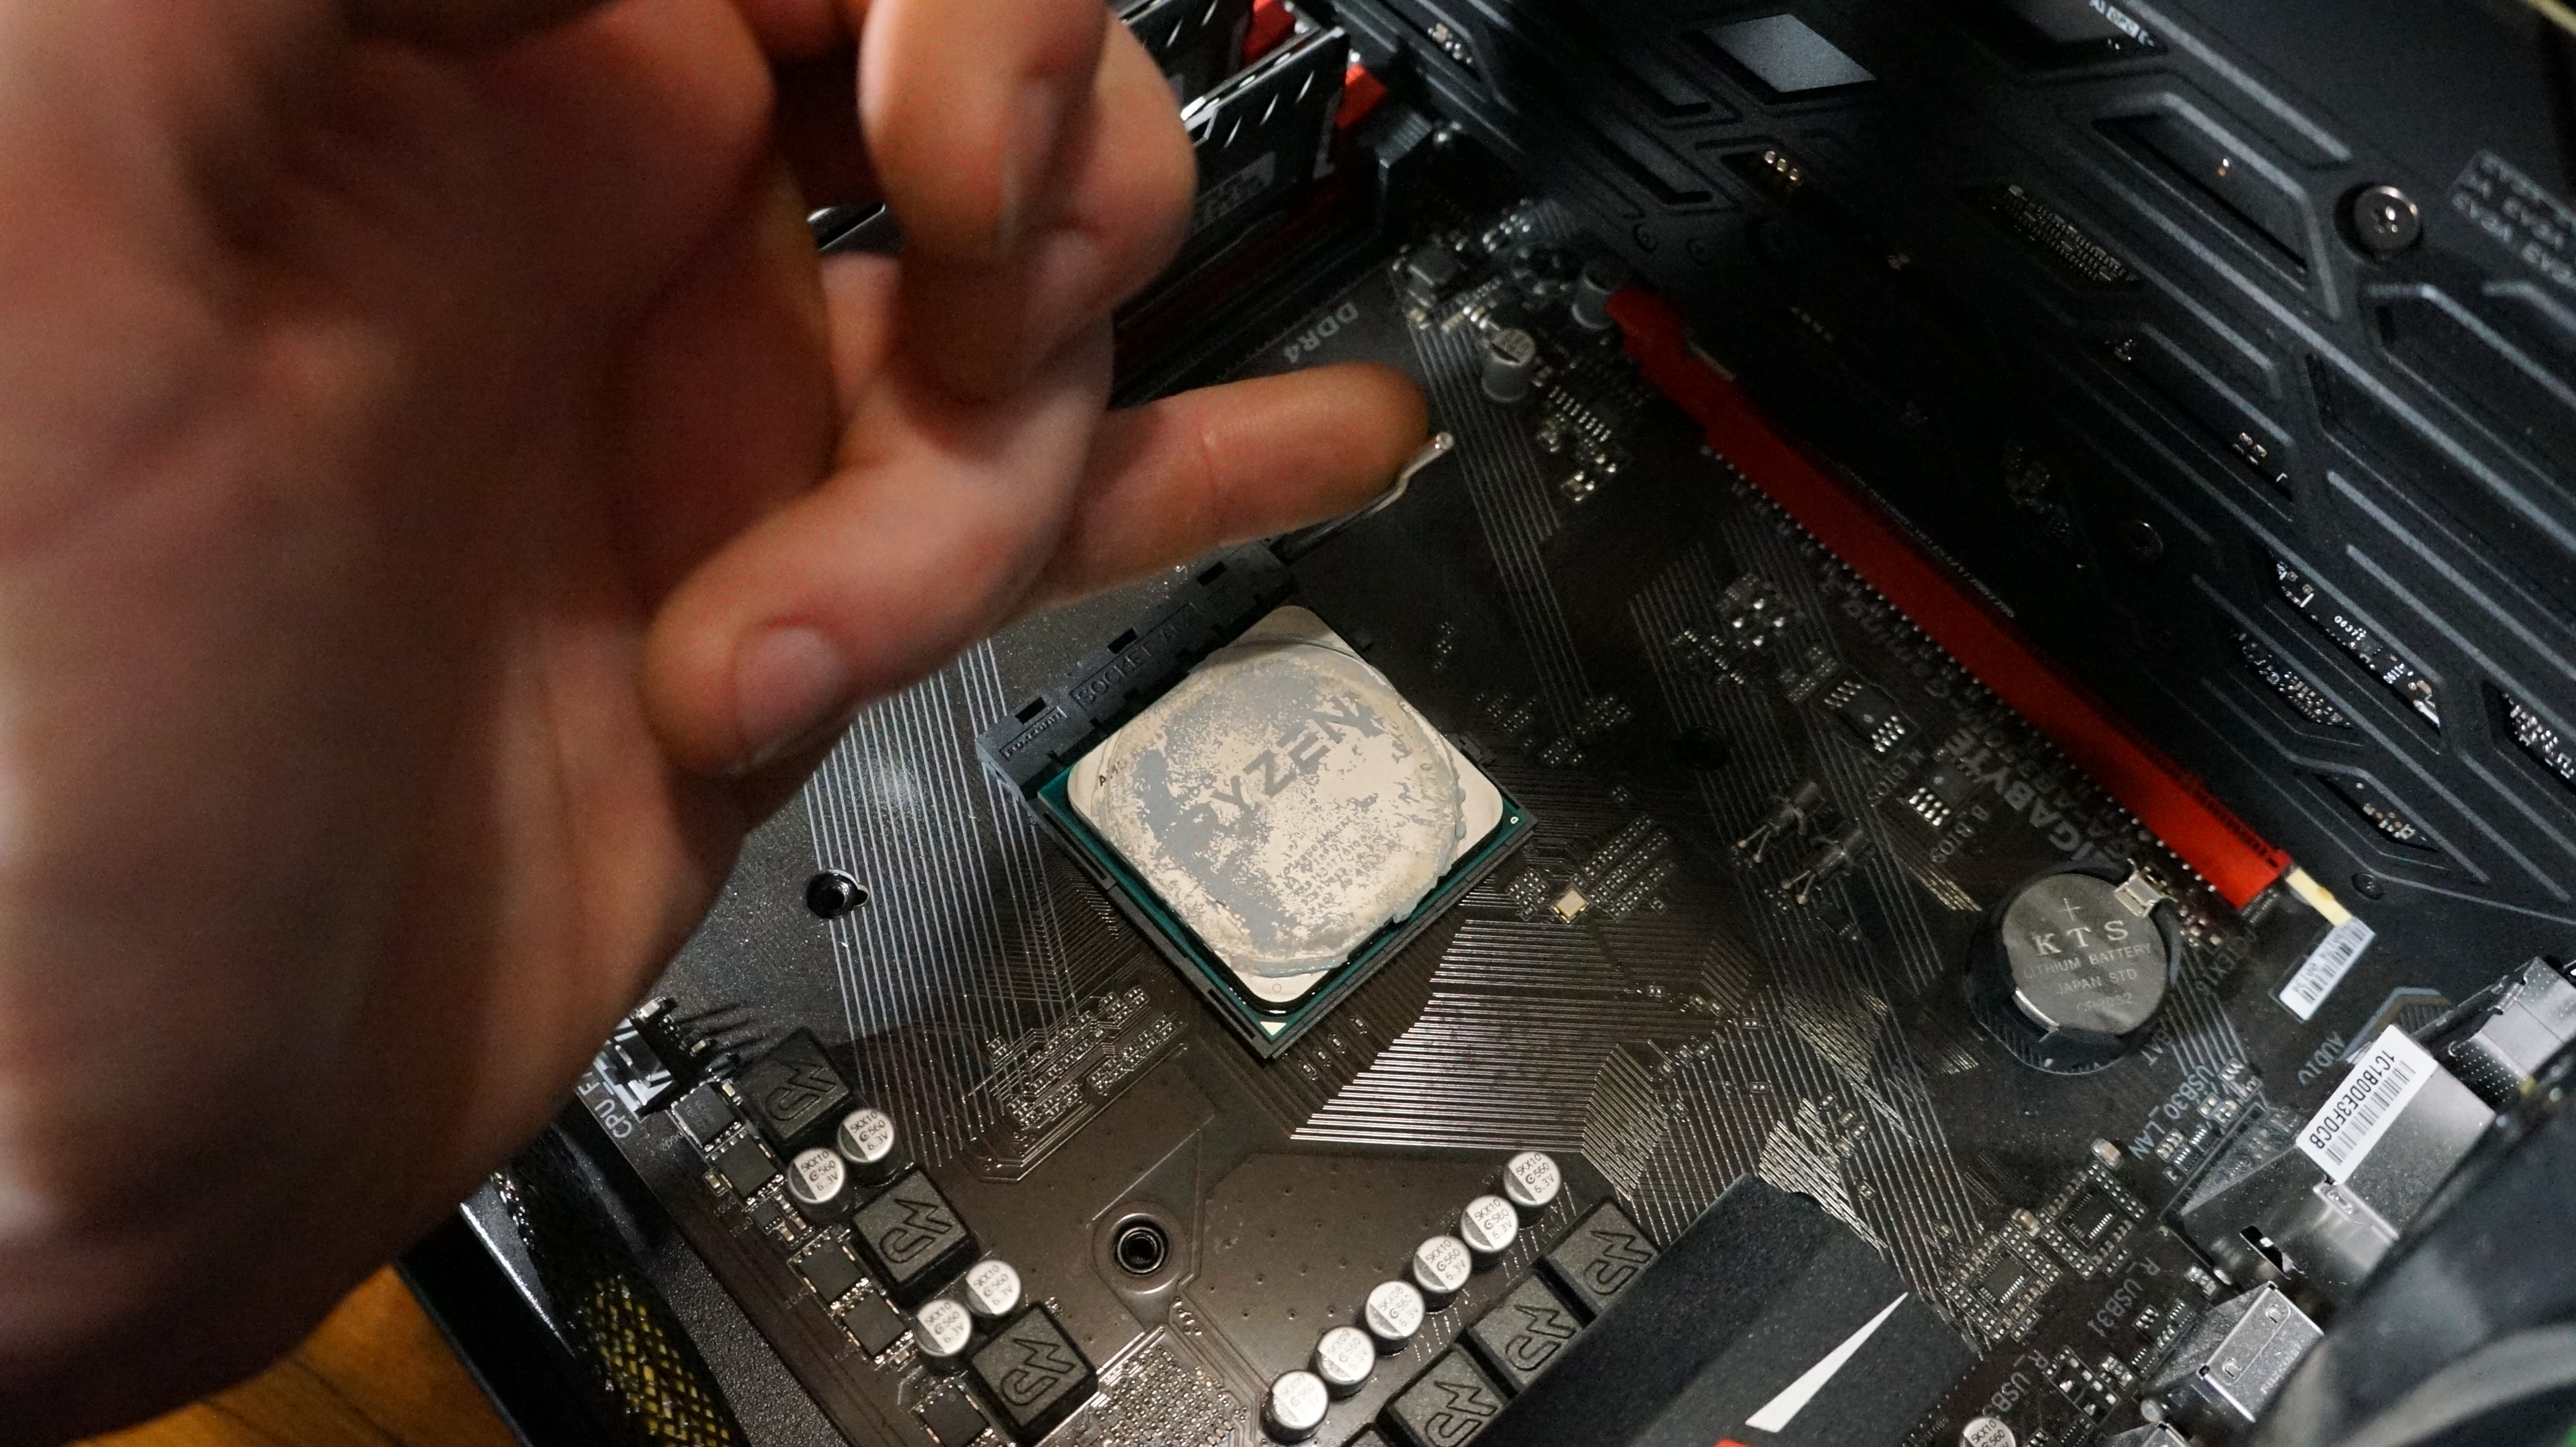
With your CPU properly seated in the socket, you should be able to push down the retention arm with ease (if it's an Intel CPU, lower the bracket first). If it feels like the retention arm is resisting you, double-check the seating of the CPU in the socket. We find a gentle push with your pinky finger can be enough force to close the retention arm, so don't try to force it or you may end up damaging your CPU (We've bent CPU pins that way, and it is NOT fun trying to bend them back).
Once your CPU is seated and the retention arm is down, you're all set. (Note: if you're also setting up the rest of your computer, check to make sure that the CPU power socket on your motherboard is connected to your power supply. It is separate from the larger power connector for the rest of the motherboard.)
Now it's time to install the CPU cooler.
- Not sure what graphics card to get? Check out the battle of Intel vs AMD

Over the last several years, Mark has been tasked as a writer, an editor, and a manager, interacting with published content from all angles. He is intimately familiar with the editorial process from the inception of an article idea, through the iterative process, past publishing, and down the road into performance analysis.