


You may have heard of the Pringle tube antenna, which was on the right tracks, but this is the science-perfect version.
From what we've read wireless networks use these things called radio waves, we can't see them but we have empirical evidence they exist. Using the brains of this chap, it seems a 100mm diameter can boost these waves to improve performance.
Using an N Connector positioned 44mm from the sealed end with a solid copper wire 31mm high for the antenna, the last piece is a cable to connect this to your system. This cable can be made from standard 5mm coaxial cabling, an N plug and RG58 Reverse Polarity SMA male connector - all easy to find online.
Importantly, you will need a compatible adaptor, this will have the standard SMA reverse polarity screw connection, pictured in step 6. Potentially, you could 'jack-in' to an adaptor's antenna wiring but that's a bit too in-depth for here.
What you will need
Chassis N socket
Clamp N plug
RG58 reverse polarity SMA male connector
5mm coax RG58 cable
2mm solid copper wire
100mm diameter can
Soldering iron
Drill
Ruler
Ideally a tripod

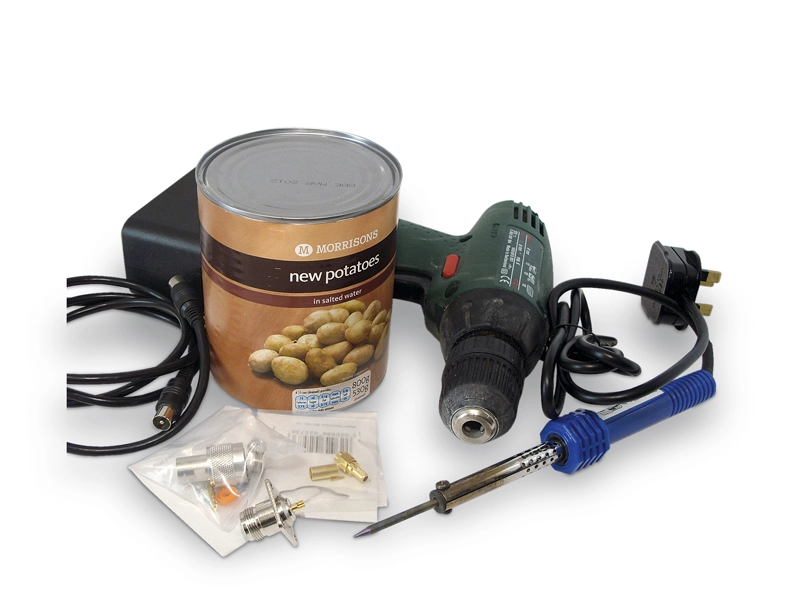
1. Let's take this lot of junk and turn it into a Wi-Fi boosting antenna.

2. The key part is the can. Our measurements are based on a 100mm diameter one. Ideally, it needs to have smooth sides. We found paint tins are the best solution. We're making do with a potato tin here just for demonstration purposes.
3. Effectively this works with any diameter can in the range of 90mm to 110mm, check out this online calculator for your own specifics.
To fit the N Connector a 15mm hole is required, with its centre 44mm from the sealed end.


4. For testing fix it with Blu-Tack, you can bolt it into place afterwards.

5. To pick up the signal, a receiving antenna is required, use a bit of solid copper from 30A mains wiring or a brass nail cut to 31mm in length. Solder this in place.
