
 Become a TechRadar Insider


Editing is often the trickiest part of building a home movie - which is rather inconvenient, since this is the one task that takes up the most time when working with video.
As a result, the way you interact with your footage is crucial: if it's too tricky, you'll most likely give up in frustration and move on to the other things you have to do in your day.
Calling editing 'fun' depends on how fascinated you are in the process of picking clips, trimming them and putting them together to tell a story. Even if you feel resentful at having to do any of that, but have to get that movie ready for others to enjoy, you'll find that iMovie does its level best to make the process as organic and intuitive as possible.
In fact, Apple had such confidence in the way editing worked in iMovie that when Final Cut Pro was rewritten, that very concept migrated from a consumer program to a professional one. The advantage here of course is that once you've outgrown iMovie, moving to Final Cut will feel like a natural progression.
But we're getting ahead of ourselves; this tutorial shows how some of the basic editing concepts work in iMovie, and we'll hopefully teach you that editing with precision can indeed be fun.
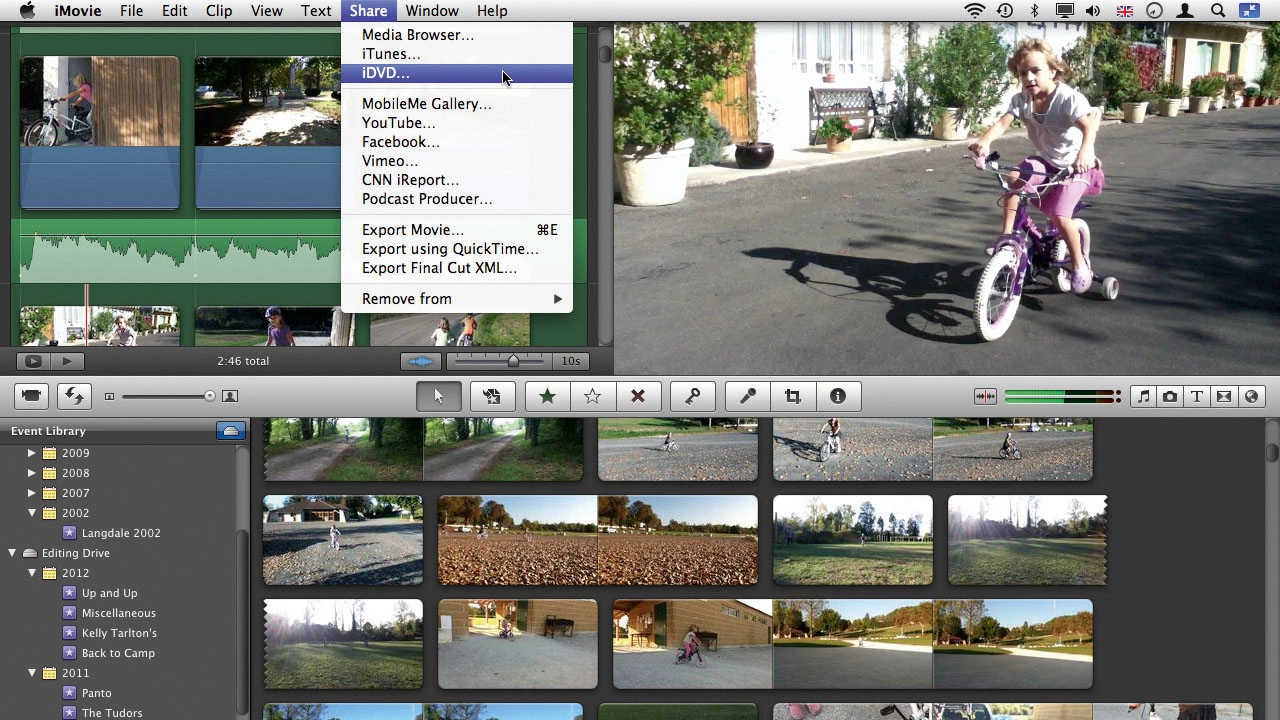
1. Skim and preview

Start a new project (Command+N) and select an Event from iMovie's Event Library (lower left). Move the cursor over one of the clips to see it appear on the main preview section (upper right). Skim through your footage to find the right piece you need. When you have, click on it.
2. Multiple selections

This automatically selects four seconds of footage which you add to your project by dragging it over. To choose a different amount, click and drag on your clip, or use the handles to fine-tune your selection. Add multiple clips to your project and slowly build your story.
3. Reorder and insert

The order of your clips isn't set. To change it, drag a clip and a green bar previews where it will end up. You can also add a clip in the middle of another: drag one from the Event onto an existing one in your project. A menu appears; select Insert. This cuts the existing clip in two.
4. Replace existing clip

There's another option called 'Replace'. This replaces the existing clip with the one you're dragging in. It won't match the existing clip's duration, but removes it and adds the new one instead. Think of it as delete and replace; to just delete a clip, select it and hit the key.
5. Trimming your clip

With a clip in your project, you may need to make fine adjustments so it fits better within the flow of your story. To do this, move your cursor over the clip and a cog icon appears. Click on it and select 'Clip Trimmer'; the whole Event section is replaced with another tool.
6. Work with Clip Trimmer

The Clip Trimmer shows all the footage available from the selected clip. You can use the yellow handles to resize your selection as you did when you first chose the clip or you can drag the highlighted portion to select an entirely different part.
7. Add or remove frames

If you just want to extend or reduce your clip's duration by a few frames, you don't need the Clip Trimmer at all: hold down Option+Command and move to a clip's edge: it turns orange. With those keys still pressed, you can add or remove up to one second by dragging that edge.
8. New buttons on the clip

If you're not a fan of keyboard shortcuts, go to iMovie's Preferences (Command+,), select the Browser tab and tick 'Show Fine Tuning controls'. This adds a new button on either side of the clip your cursor's over. Clicking on it enables you to trim that edge without having to press any keys.
