Get started with Messages for Mac Beta
Send messages to other OS X Mountain Lion and iOS users
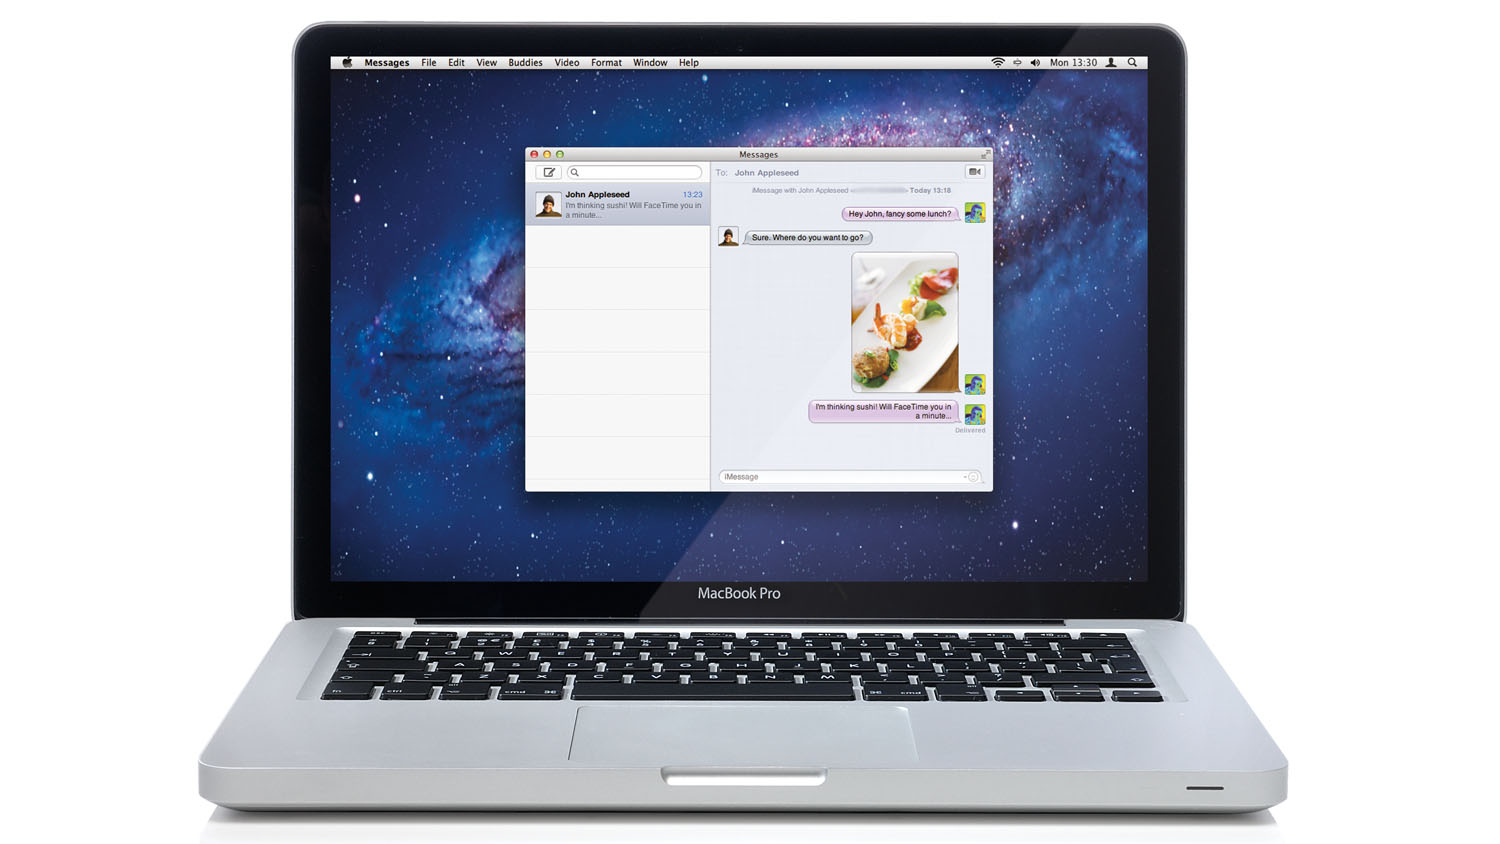
By now you've no doubt heard about OS X Mountain Lion, Apple's upcoming update to OS X Lion. Among the many new features that provide a far more iOS-like feel is Messages. This turns the humble iChat application into a more iCloud-focused messaging centre that stays in sync across all of your devices.
As part of its testing of the new platform, Apple has made a beta version of Messages available as a free download for anyone to use. Of course, beta software isn't the most robust and you may encounter some glitches, but if you want to get a taste of Mountain Lion before it arrives then this is the best way to do it.
You'll need the latest update to OS X Lion to run Messages Beta, as well as an iCloud account or an account with another messaging service such as Google Talk. To fully appreciate the benefits of Messages, however, an iCloud email address and an iPhone, iPad or iPod touch are best.
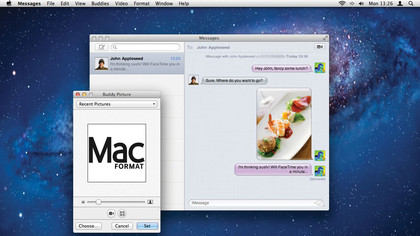
As long as your Messages account is using the same iCloud account as those on your iPhone, iPad or iPod touch, your conversations will be available on all of your devices.
For example, if you begin a chat on your Mac and then want to resume it while you're away from your computer, iMessages on your iOS device will show the same conversation and show any additional messages you might have received. When you return to your Mac, these messages will have been updated so your chats will always remain in sync.
This goes for photo, video and file attachments too. iMessage can be set up from the Settings app within the Messages section. The email address you supply will initially need to be verified for use .
In this tutorial we'll show you how to download and install Messages Beta on your Mac as well as how to add your existing iCloud and instant messaging accounts.
Sign up for breaking news, reviews, opinion, top tech deals, and more.
1. Download the Beta
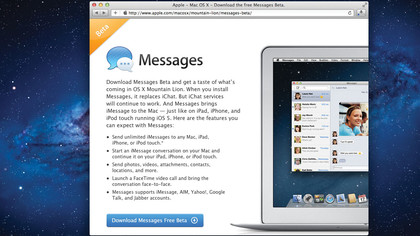
First download Messages Beta from Apple's site. Make sure your Mac is running the latest version of OS X by running Software Update from the Apple menu and install updates as needed. Next, go to the Message Beta webpage and, when the file is downloaded, locate and run the Messages installer to continue. Once the software is installed, you will be asked to restart your Mac.
2. Enter your details
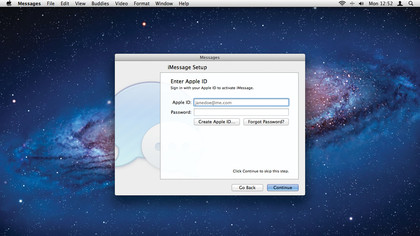
Launch the Messages app. Click through the opening screen until you're asked to enter your Apple ID. Fill in your email address and password into the fields provided or click the Create Apple ID button if you don't have one. Next you'll be asked to include any other chat accounts such as Google Talk and AIM.
3. Additional accounts
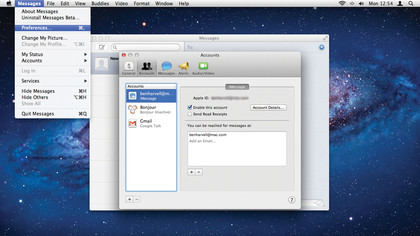
Messages should automatically use existing iChat accounts associated with your Apple ID; check this by clicking on Preferences from the Messages menu. From here you can click on the accounts tab to view all of the accounts you've set up to work with Messages, and add or remove accounts using the plus and minus buttons.
4. Send a message
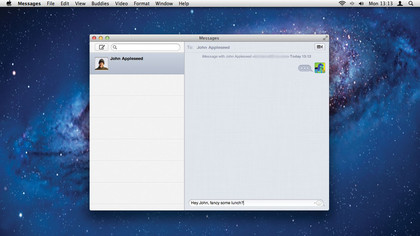
You can now use Messages to chat to contacts regardless of whether they are using their Mac, iPhone, iPad or iPod touch. Click the New Message button at the top-left of the screen then click the plus button at the top-right to add a contact from your Address Book that you wish to chat to. Type your message and hit Enter.
5. Emoticons
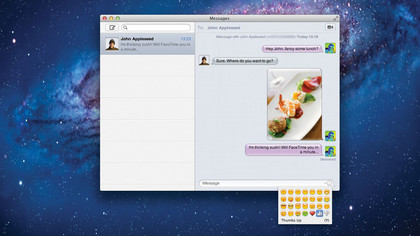
In the same way you can add emoticons to iChat and SMS messages, Messages enables you to do the same from your Mac. Click the face at the right of the message input area to view a menu that includes the images and their corresponding trigger symbols. Emoticons can be viewed on all devices using iMessage or Messages.
6. Pictures, videos and files
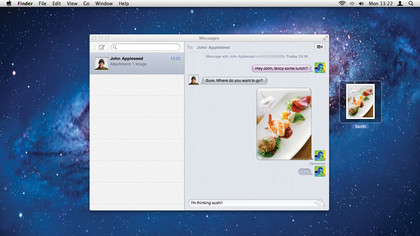
To send a picture or video in a message, simply drag and drop the file onto the message input area. You can even include documents and other file types. The recipient sees images and video on any of their devices as if it were a normal picture or video message. They can also open other file types using compatible apps they own.
7. FaceTime
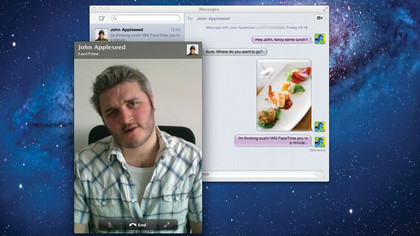
At any point in a Messages chat you can initiate a simultaneous FaceTime call from within the app by clicking the button at the top-right of the interface. From here you can select which assigned address or phone number you're chatting to, and use it for FaceTime before the FaceTime interface appears and begins your call.