How to set up a webcam security system
Sign up for breaking news, reviews, opinion, top tech deals, and more.
You are now subscribed
Your newsletter sign-up was successful
Any dedicated 'security' camera will come with an IR mode and IR illumination in the form of an array of IR LEDs.
In PC Plus 262 we looked at how you can transform any cheap webcam into a night vision camera.
It's a matter of removing the IR filter that usually eliminates this wavelength and replacing it with black negative film, but it would be better to buy dedicated units and use any standard webcams for indoor or illuminated areas.
We're testing a system that uses a standard USB camera and an inexpensive IP-based Wi-Fi night vision camera with pan and tilt. The IP camera is useful because it tests all of iSpy Connect's camera abilities.
It supports all web-based IP cameras, which are a necessity for larger installations that move beyond the practical 10m USB limit, or 5m with passive USB cables.
There's also support for many pan and tilt cameras, though control implementation varies, so not every one of these devices can be supported.
Putting it together
Mounting a webcam can be a pain, as most just come with a clip for attaching them to a monitor's surround.
Sign up for breaking news, reviews, opinion, top tech deals, and more.
A few models offer a standard tripod-compatible thread (the Microsoft LifeCam Studio is one such example), and some others have a M6-sized thread that can be attached via a standard adaptor.
If your webcam lacks either of these connections, try using epoxy resin to attach a bracket that can then be screwed directly to a wall or attached to a tripod.
W''re building a modular system, so once you've added and configured one camera it's easy enough to expand the network by doing do the same again.
We've covered adding a remote IP-based camera and microphone and how to assign alerts with actions. The recordings can even be uploaded to YouTube for remote storage, in case the local server machine is stolen.
Setting security: Storage, Camera, action
1. Storage here Grab the iSpy Connect program and install it. Now download the face and plate recognition add-ons from the Plug-ins section.
Extract these files to C:\Program files (x86)\iSpy\iSpy\Plugins. You'll also need VideoLAN for local playback of video files, and we suggest creating an iSpy Connect account, as we'll use this later.
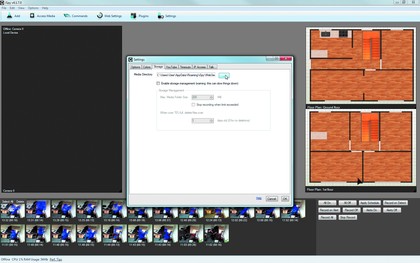
2. Storage there Now fire up iSpy and select 'Options > Settings > Storage'.
If you're going to be saving a lot of recorded video on your system, think about the file sizes and make sure you alter the Media directory to somewhere with plenty of space. It's also worth investigating the storage management option, as it can auto-delete files of a certain age to free up drive space for new footage.
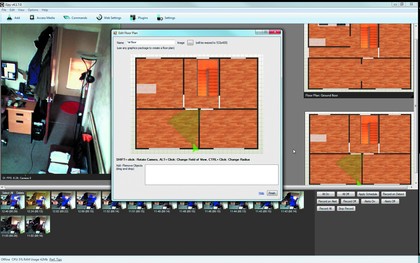
3. Storage everywhere As an easy management option, iSpy can help you monitor your systems via a graphical floorplan.
There are a number of online sites that can help you create these, like Homestyler. Once you've got everything planned, save it as an image file, then right-click a blank area in iSpy and select 'Add floorplan'.
Now it's up and running, drag your cameras onto the plan.
Getting secure: Create a monitored fortress to protect property, possessions and people
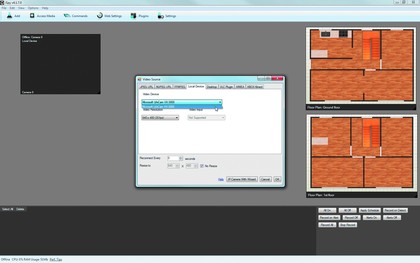
1. Add local cameras To get started, right-click on a blank area of iSpy and choose 'Add camera'. In the menu under 'Local Device', select a connected USB camera - we'll look at remote ones later on.
Click on 'OK' and you'll see the main camera settings.
From here you can customise detection zones, alert conditions, recording settings, YouTube uploading options and the details of scheduled recordings.
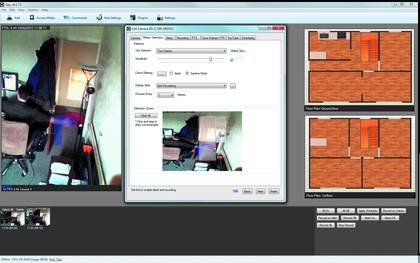
2. Motion detection Click on the Motion Detection tab. Here you can add and control monitored areas for movement.
Draw rectangles on the preview area to add monitored sections. On the live preview you'll see a blue bar and a green line, which show the detection and trigger levels.