I took a barista class, and these are the most important lessons I learned for making perfect coffee at home
Sign up for breaking news, reviews, opinion, top tech deals, and more.
You are now subscribed
Your newsletter sign-up was successful
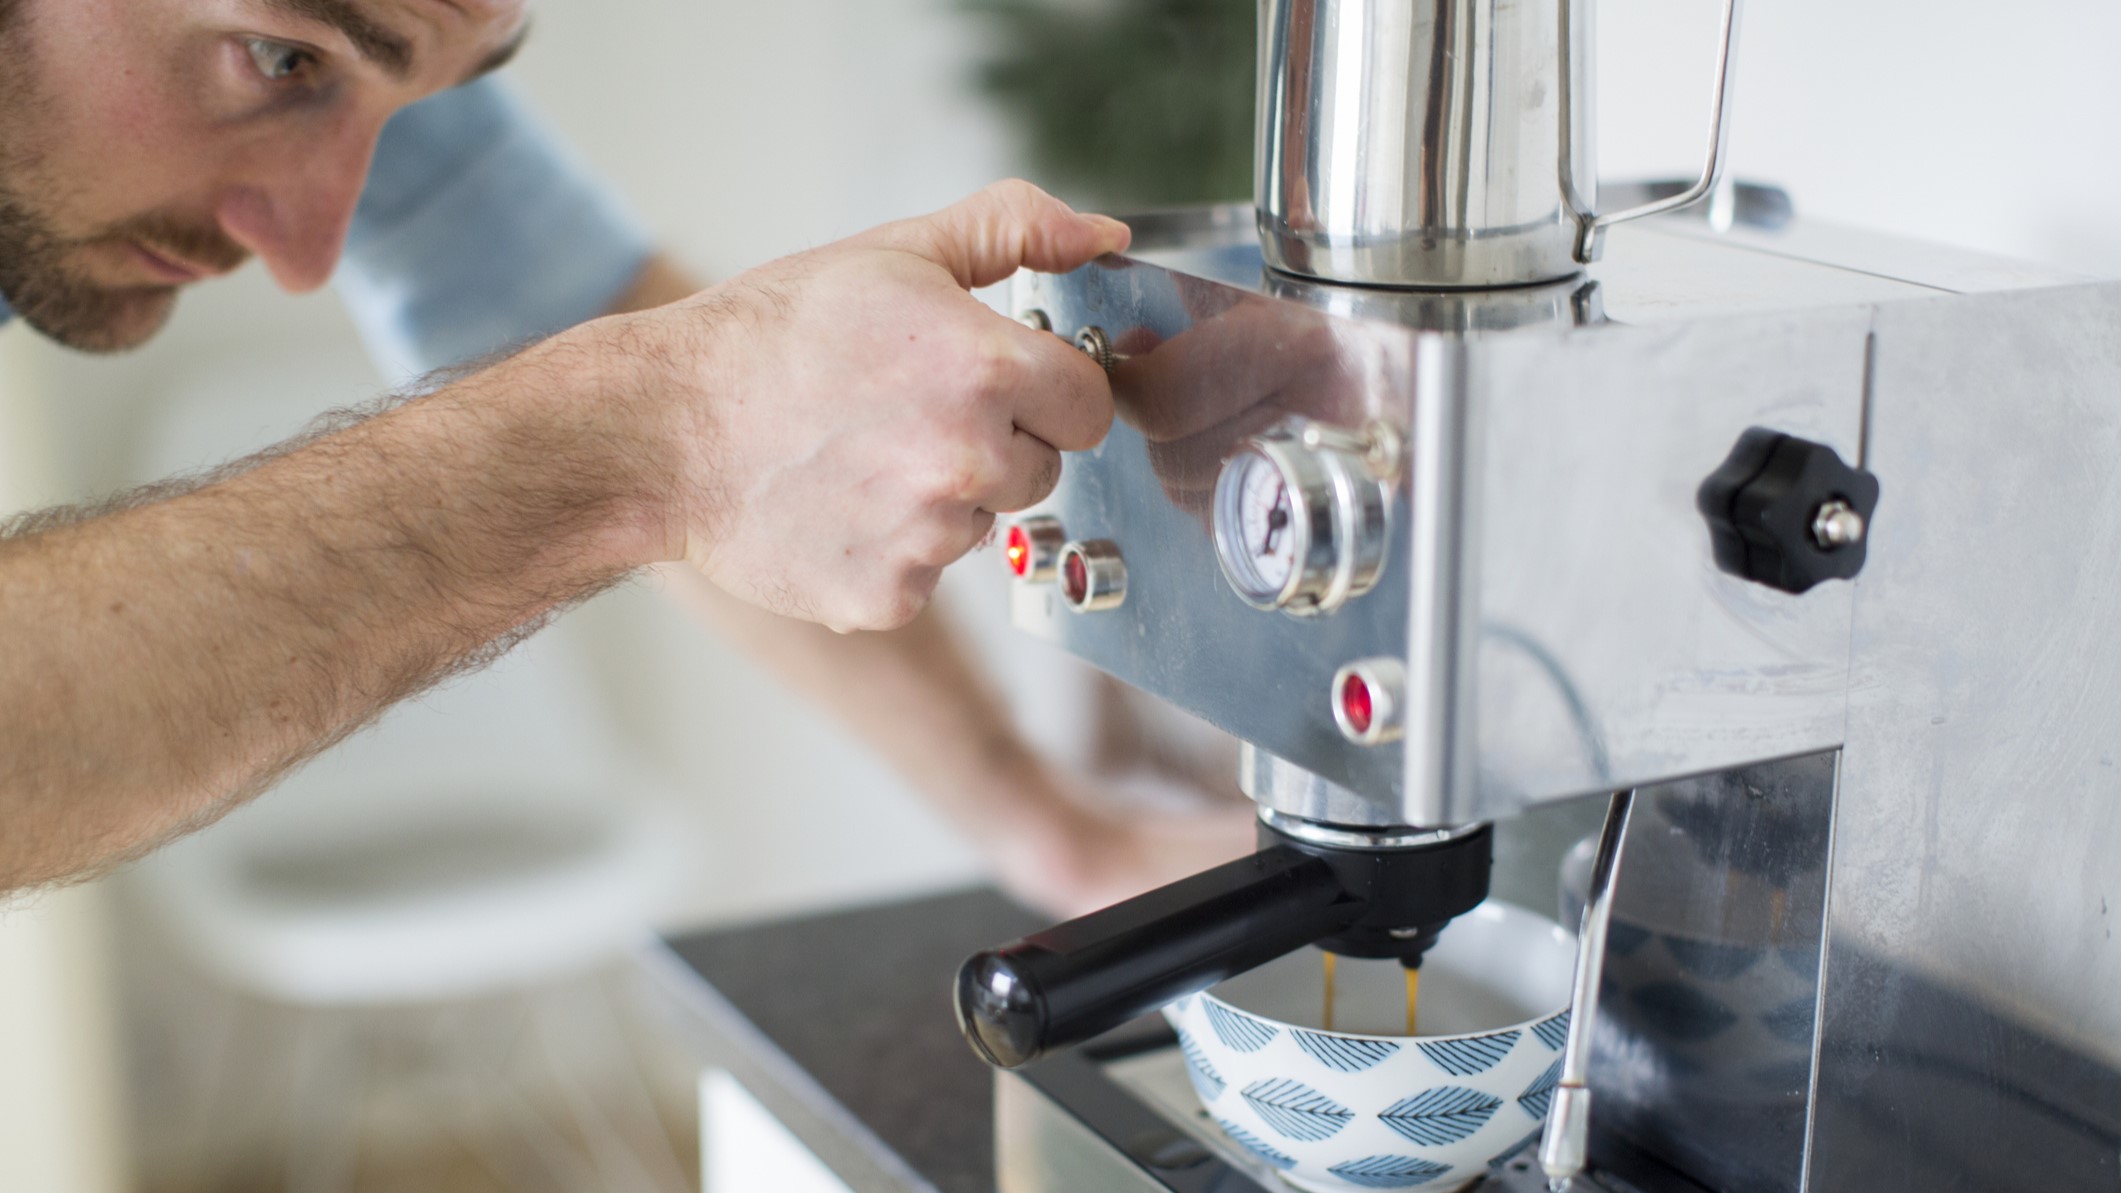
Modern coffee makers are easy to use, but sometimes, following the instructions set out in the manual isn't enough to achieve your perfect tasting cup. Last weekend, I attended a course in coffee-making with an expert from OddKin Coffee Roasters in my hometown of Bristol, UK, to discover the secrets of making delicious espresso drinks at home – and how to tailor your technique to suit your tastes.
How a cup of coffee tastes is often quite subjective, with what one person finds delicious perhaps tasting bitter and burnt to someone else. What's important to keep in mind is that you are actually in control, and there are lots of things you can do to achieve the perfect flavour, starting with selecting the right beans. There are no right and wrong answers here; it all comes down to what you enjoy.
Know your beans
There are two main types of coffee bean: robusta and arabica. Robusta beans are generally less expensive than arabica since they're less picky about their growing conditions; they contain more caffeine, and generally produce a drink with a more bitter flavour. On the other hand, the trees of arabica beans only grow in tropical climates near the equator, and are less hardy than robusta trees, which raises its value and therefore this coffee type's cost. Arabica beans produce coffee with a sweeter taste and more acidity.
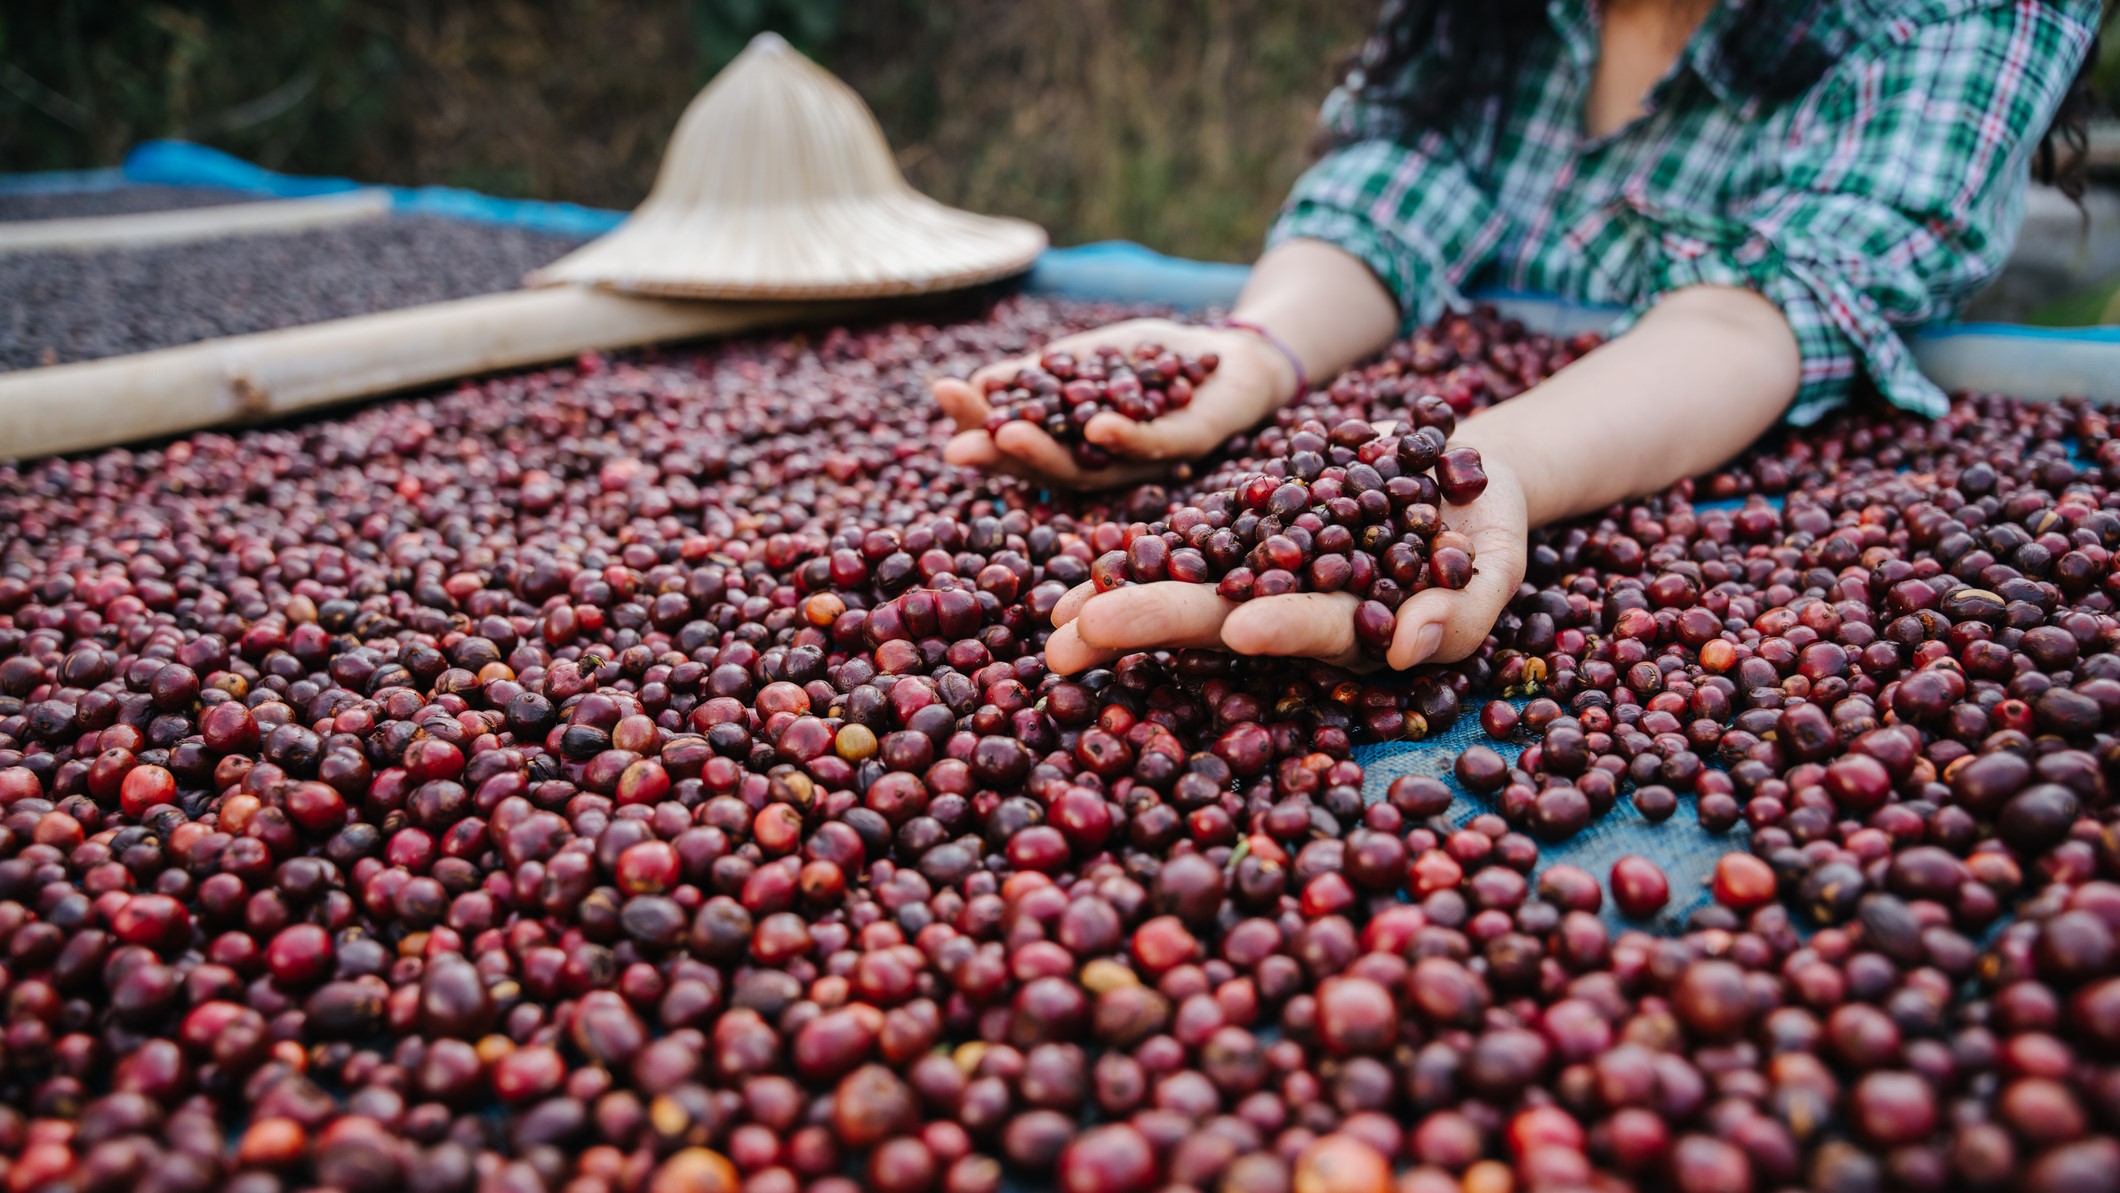
The way in which the beans are processed can also impact its taste. Generally speaking, there are two main ways to process coffee: natural and washing. With natural processing, whole coffee cherries are left in the sun, where they dry and start to ferment. Following about a week of careful monitoring and turning, the flesh (cascara) is stripped away to leave the beans. Natural processing results in coffee with a fruity, sweet, and even boozy flavor.
Washed coffee has the cascara stripped away before the beans are dried. This means they dry faster and don't undergo the same fermentation process. Washed coffee has a crisp, complex flavor with greater acidity,
Finally, there's the roasting process. Light-roasted coffee is heated until the "first crack" is heard (where the bean splits and releases CO2), and tends to taste lighter and more fruity. Dark-roast coffee is heated for longer, and tends to have a bolder flavor profile; it's bitter and smoky.
Find your flavor
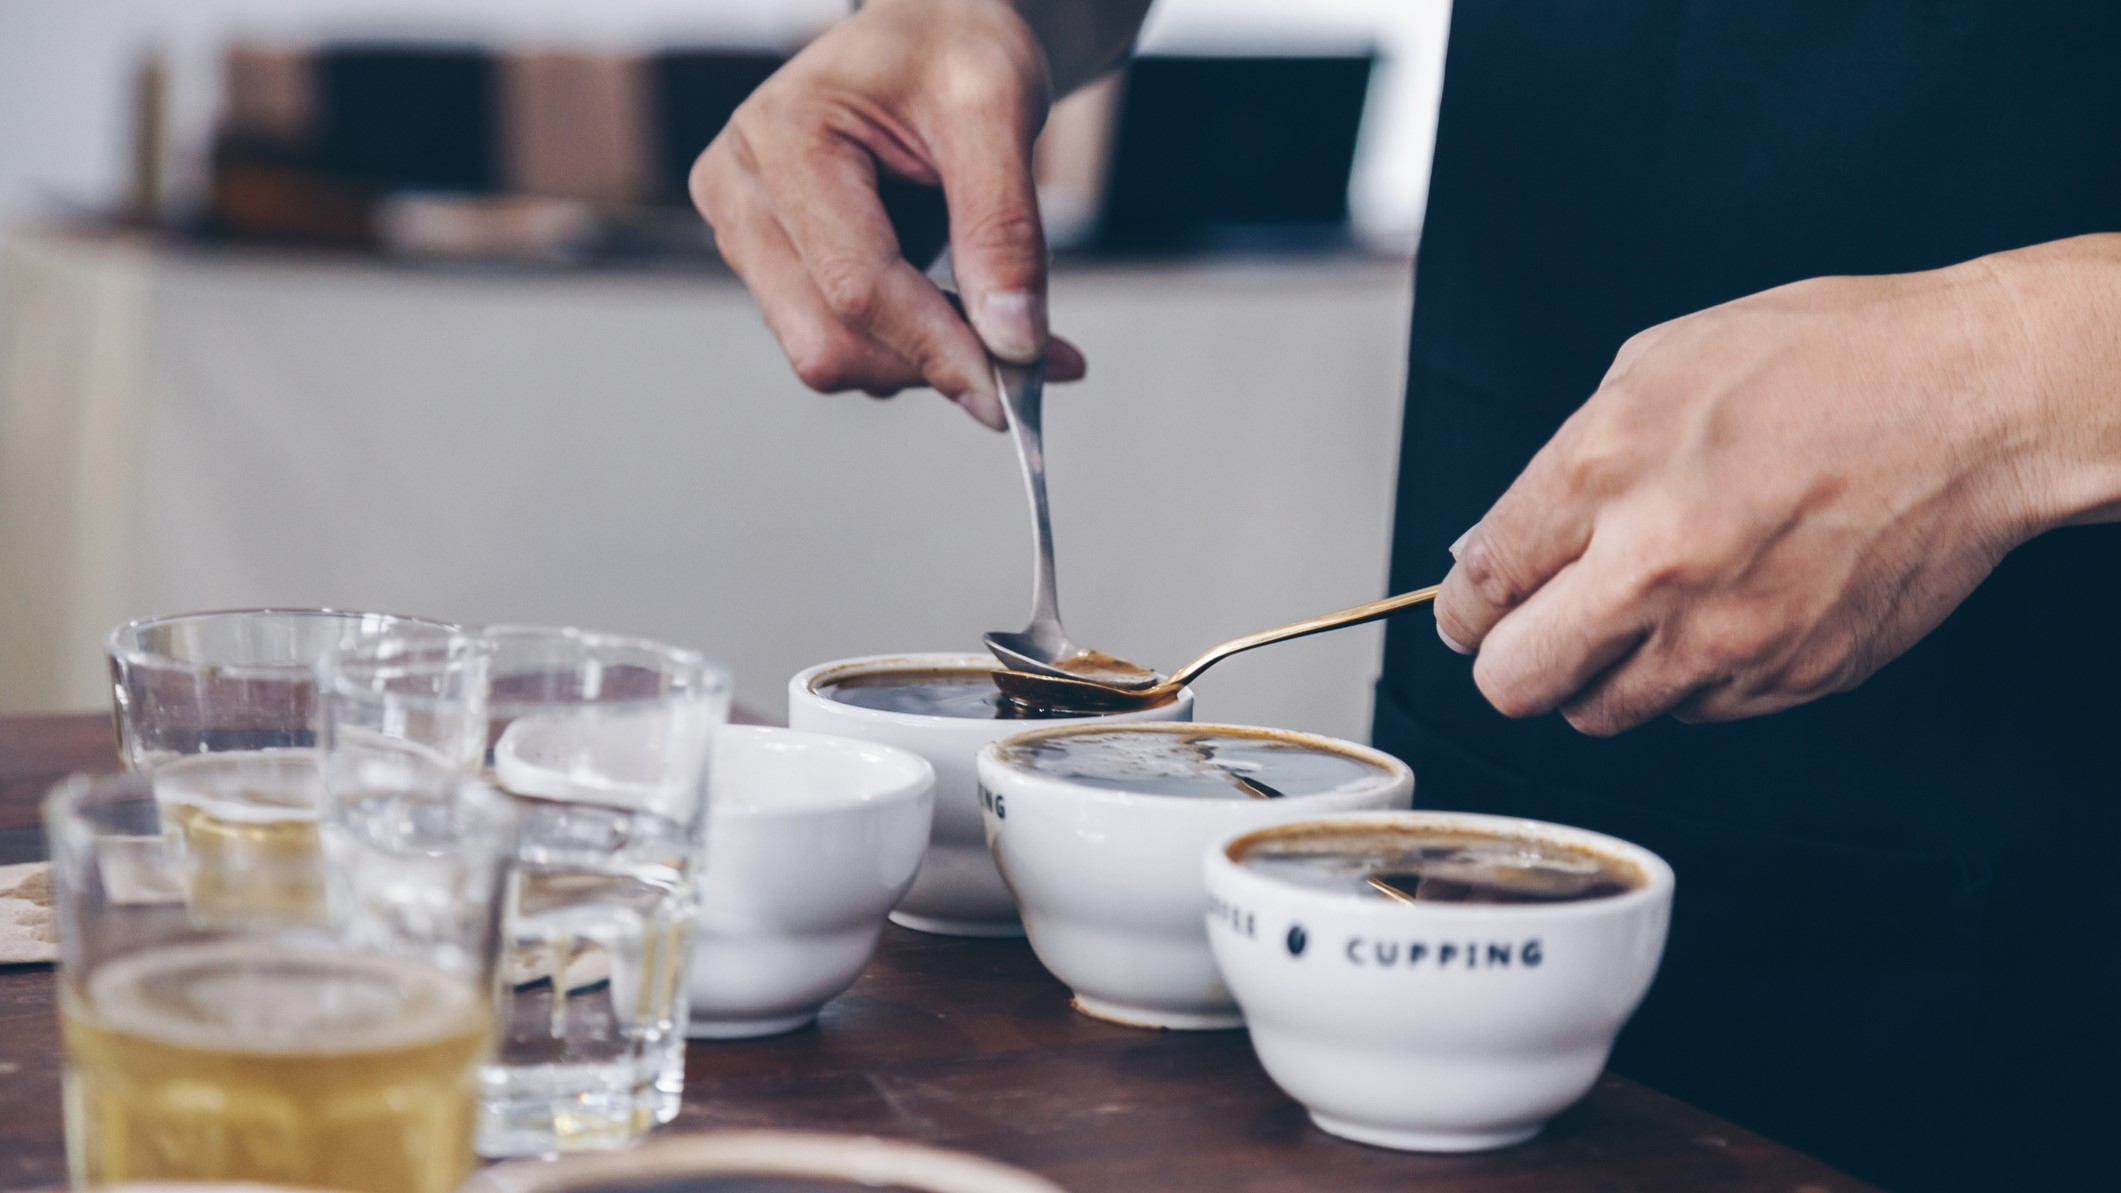
Not sure where to begin? Check out local coffee roasters near you to find one that holds cupping sessions. This is a way of sampling coffee, and is the process buyers and roasters use to decide what they want to purchase.
Sign up for breaking news, reviews, opinion, top tech deals, and more.
During cupping, coffee is brewed in small bowls using only grounds and hot water (no filter). You'll use a spoon to take some coffee from each bowl and slurp it up –this might make you feel a bit silly, but the slurping action allows the coffee to spray around your palate. Go with a friend, have fun experimenting, and don't worry that your opinion might be different from other people's. As we've mentioned, coffee is a very personal thing.
Get the right grind size
Coffee starts to oxidize as soon as it's ground, losing flavor. As such, an ideal scenario would be to grind the beans at home, just before making your drink. However, even if this isn't possible, be aware of the effect of grind size on the finished drink. Different methods of coffee preparation call for different grind sizes, but here we're talking about espresso specifically.
The smaller the grind size, the longer it takes the water to pass through the coffee, where the more soluble flavors are extracted. If the grounds are bigger, there are larger gaps in between each particle, and water can pass through more quickly.
If the water runs through too fast and the coffee is under-extracted, you'll notice that your drink tastes sour, maybe a little salty, plus the flavor doesn't last. If it's over-extracted, it will be bitter and make your mouth feel dry; you might not realize this at first, but you'll notice when the taste hits the back of your tongue.
On the whole, you'll be aiming for the sweet spot between those two extremes; but some people prefer their coffee to lean more one way or the other. For a double shot (18g of coffee producing 36g espresso) you're generally aiming for an extraction time of 27-30 seconds, but take the time to experiment with grind sizes and see what you prefer.

Weigh it out
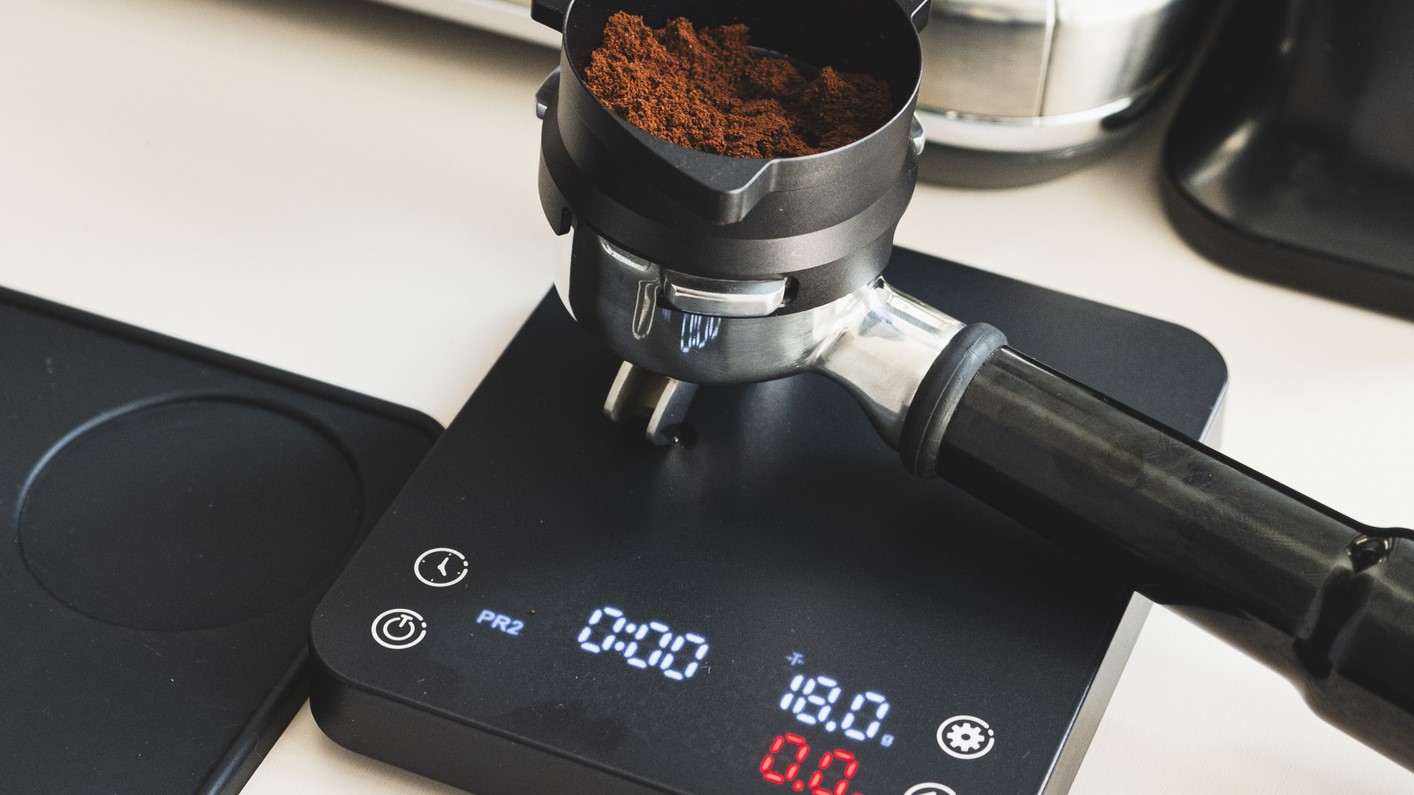
If you're currently using a scoop to measure your coffee, consider upgrading to a digital scale instead. You can find small ones that are perfect for weighing out coffee and spices, and which will fit under your cup so you can weigh the espresso as it drips out (like this one, available for $15 from Amazon).
As mentioned above, aim to use 18g of coffee for a double shot of espresso. Make sure the basket is clean and place it in the handle, then put the handle on your scale and zero it. Now grind your coffee and weigh it into the handle until it reaches 18g.
Give the basket a gentle tap to even out the grounds, then tamp it firmly (but not too firmly) to produce a nice level surface, which will ensure that the water flows through evenly. Don't whack the handle and then tamp again – this creates cracks that the water will flow through quickly, resulting in an under-extracted drink.
Insert the handle into your espresso machine, put your scale beneath, place your cup on top, and zero the scale again. Now just press the start button and wait until the scale reads 34g. Hit the stop button and you should end up with about 36g of nicely extracted espresso.
Steam your milk
You can enjoy your espresso as it is , add water to make an americano, or add steamed milk for a latte, flat white, or cappuccino. As this guide from Happy Bones Coffee explains, each drink has a different ratio of coffee, steamed milk and foam.
Full-fat milk works best for latte art because it creates a creamier foam as a result of the higher fat content, but you can use any milk or milk substitute you like.
To steam your milk, pour it into your jug and angle the steam wand about 1cm from the wall of the jug, slightly off-center. Submerge the tip so the steam holes are just under the surface. Turn on the steam and listen for a sound like ripping paper, which indicates that air is being added to your milk to create foam. Milk substitutes generally require less air incorporating for latte art.
Move the steam nozzle deeper into the milk and keep steaming it until the side of the jug is too hot to touch. Wait another two seconds, then turn the steam off.
If you can see big bubbles in your milk, tap the jug firmly on the counter to pop them (but don't lean over, or you'll get milk on your face). You can simply pour the milk on top of your espresso and enjoy; or you can try a little latte art by pouring two circles of milk into the cup from a few inches above, then moving the spout of the jug closer and pouring into the center of the cup until a white circle appears. As you finish pouring, move the jug away from you in a straight line to make a heart.
It's more difficult than it sounds, but you can practice without wasting milk by steaming water with a drop of dish soap instead, and pouring it onto a few dry coffee grounds in the bottom of your cup.

After seeing this article, TechRadar reader Brian Evans got in touch to share three factors you can control for the perfect cup of coffee, irrespective of the type of beans or processing:
1. Weigh your beans
2. Get the grind right to produce a 25 second pour in a 22 gram group
3. Invest in a tamper to give the consistency
If you have any top coffee-making recommendations, please feel free to drop me a line like Brian did!
You might also like...

Cat is TechRadar's Homes Editor specializing in kitchen appliances and smart home technology. She's been a tech journalist for 15 years, having worked on print magazines including PC Plus and PC Format, and is a Speciality Coffee Association (SCA) certified barista. Whether you want to invest in some smart lights or pick up a new espresso machine, she's the right person to help.