Upgrading your PC can breathe new life into an older system, improving performance, increasing storage capacity, and enhancing your overall computing experience. Whether you're looking to speed up your applications, store more data, or get better graphics performance for gaming or design work, this guide will walk you through the essential upgrades you might consider.
Note: Before you spend money on hardware upgrades, you might want to try some of the free methods of speeding up your computer.
STEPS FOR HOW TO UPGRADE YOUR PC
There are five main methods of upgrading your PC:
Article continues below- Upgrading RAM
- Switching from Hard Disk to M.2/NVMe Solid State Drive
- Switching from Hard Disk to SATA Solid State Drive
- Upgrading the graphics card
- Upgrading the processor
Before you start: should you upgrade or buy a new computer?
Upgrading allows you to tailor your PC to your specific needs and preferences. You can prioritize which components to upgrade based on what performance improvements are most important to you, such as enhancing your gaming experience, speeding up software applications, or increasing storage capacity.
But before you begin making hardware changes to your current PC, ask yourself whether it would be better to buy a new computer.
If your computer is relatively new (less than three years old), it might have the potential for upgrades that can extend its useful life at a fraction of the cost of a new PC. However, if it's significantly older, finding compatible parts can be more challenging, and the investment might not be worth it.
Sometimes, the total cost of upgrades can approach or even exceed the price of a new PC that meets your needs. Consider the cumulative cost of upgrading multiple components versus purchasing a new system.
Choosing between upgrading and buying a new PC ultimately comes down to evaluating the cost-effectiveness, assessing your performance needs, and considering the longevity that upgrades vs. a new system will provide. If upgrades can satisfy your requirements and offer a good return on investment, they can be a wise choice.
Step by step guide
1. Upgrade RAM

Increasing your system's RAM (Random Access Memory) can significantly improve its responsiveness, especially if you run multiple applications simultaneously or use memory-intensive programs.
1. First, determine the type of RAM compatible with your motherboard (DDR4, DDR5, etc.) and the maximum amount of RAM your system can support.
2. Once you know the specifications, buy the RAM modules that match your system's requirements. Check out our list of the best RAM for some suggestions.
3. Power down your PC and unplug it. Open the case and locate the RAM slots on your motherboard. If you're adding to existing RAM, remove the old modules if necessary. Align the new modules with the slot, ensuring the notch on the RAM matches the slot, and press down firmly until the clips snap into place.
2. Switch from Hard Disk to M.2/NVMe Solid State Drive

Replacing an HDD with a SSD offers a substantial performance upgrade. The two most popular options are M.2/NVMe SSDs and SATA SSDs. We'll cover upgrading to a M.2/NVMe SSD in this step and upgrading to a SATA SSD in Step 3.
Other kinds of SSDs include PCIe (Peripheral Component Interconnect express) and U.2 SSDs.
Choosing the right SSD involves assessing your system's compatibility, your performance needs, and your budget. Always double-check compatibility with your motherboard and system specifications to ensure a smooth upgrade process.
To switch from a hard disk to a M.2/NVMe SSD, you'll need to do the following:
1. Confirm that your motherboard has an M.2 slot that supports NVMe SSDs. Note the length and width supported by your motherboard to ensure compatibility.
2. Utilize cloning software to transfer your operating system, applications, and data from the HDD to the M.2/NVMe SSD. Depending on your setup, you may need to use an external adapter to clone to the M.2/NVMe SSD if you cannot connect it directly to your motherboard alongside the HDD.
3. Power down and open your PC. Locate the M.2 slot on your motherboard. Remove any existing modules if necessary. Insert the M.2/NVMe SSD into the slot at about a 30-degree angle and gently press down. Secure the SSD with the screw provided.
4. Turn on your PC and access the BIOS to ensure the M.2/NVMe SSD is selected as the primary boot device. After saving your changes and exiting BIOS, your system should boot from the M.2/NVMe SSD, ready to deliver top-tier performance.
3. Switch from Hard Disk to SATA Solid State Drive

SATA SSDs are slower than M.2/NVMe SSDs but will still outperform a hard disk drive. They are compatible with most computers and also tend to be the cheaper option when comparing solid-state drives while being big enough for most general computing needs such as such as web browsing, office applications, and watching videos.
To switch from a hard disk to a SATA SSD, follow the steps below.
1. Ensure the SSD is compatible with your motherboard's SATA interface. Check for size (2.5-inch is standard for SSDs) and ensure your system has an available SATA port.
2. Use cloning software to copy your operating system, applications, and data onto the SATA SSD. You can do this by connecting the SSD to your PC using a USB to SATA adapter, especially useful for laptops or PCs without extra internal drive bays.
3. Power down your PC, open the case and locate your HDD. Disconnect and remove the HDD, then install the SATA SSD in its place using the same SATA and power cables. Secure the SSD in the drive bay.
4. Power on your PC and enter the BIOS to ensure the SATA SSD is set as the primary boot device. Save changes and exit BIOS. Your PC should now boot from the SATA SSD, resulting in a significant performance improvement.
4. Upgrade Graphic Card

A new graphics card can significantly enhance your PC's gaming performance, support for multiple monitors, and improve overall visual performance in graphic-intensive applications.
1. Ensure your PC's power supply can handle the new graphics card's power requirements and that there's enough physical space in your case.
2. Power down and unplug your PC. Open the case, locate the graphics card, remove the screws and any power connectors, and carefully pull it out of the slot.
3. Insert the new graphics card into the PCIe slot, secure it with screws, and connect any necessary power connectors. Close the case, power up your PC, and install the new drivers.
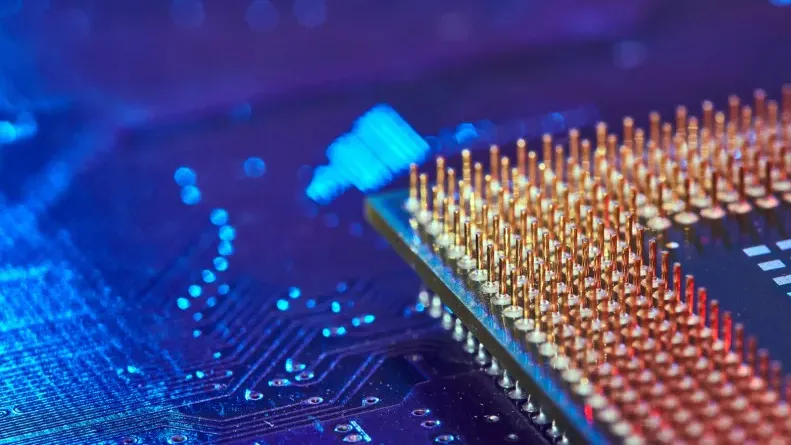
5. Upgrade CPU

Upgrading the CPU is a less common solution than the other steps we have covered here. This is down to stringent compatibility requirements with motherboards and the complex and expensive nature of the upgrade.
CPU upgrades are typically considered only when the current processor is the clear bottleneck, or if you're planning a significant system overhaul.
If you want to upgrade your CPU, follow the steps below.
1. Ensure your new CPU is compatible with your motherboard. Check the CPU socket type and chipset, and verify that your motherboard's BIOS is up to date.
2. Power down and unplug your PC. Open the case to access the motherboard. You might need to remove other components or cables that block access to the CPU socket.
3. Carefully remove the CPU cooler (the fan and heatsink) from atop the CPU. You may need to twist gently or unclip a retention arm to release the cooler. Then, gently lift the CPU out of its socket by unlocking the socket's retention arm (no force should be needed).
4. Place the new CPU into the socket, aligning it correctly with the socket's notches or marking (CPUs only fit one way). Lock the CPU in place by securing the socket's retention arm. Apply thermal paste to the top of the CPU if it's not pre-applied on the cooler. Then, reattach the CPU cooler, ensuring it's securely fastened.
5. Reassemble any components or cables you had to move or remove during the CPU upgrade. Close up your PC case, plug everything back in, and power up your PC. You may need to enter the BIOS to verify the new CPU is recognized and configure any new settings.
How to upgrade your PC: final thoughts
We have covered the primary methods of upgrading your PC. However there are a couple of other options that you may need to consider.
If you're adding components that require more power, like a high-end graphics card, you may need to upgrade your power supply to meet the new demands.
More powerful components can generate additional heat. Consider upgrading your cooling system with better fans or a liquid cooling solution to keep temperatures down.
Overall, upgrading your PC is a cost-effective way to extend its lifespan and enhance your computing experience. Whether you're upgrading for better performance, increased storage, or improved graphics, it's essential to research and ensure compatibility before purchasing new components. Always back up your data before making any changes, and if you're not comfortable performing the upgrades yourself, seek assistance from a professional.
