How to set up your new gaming laptop
How to set up your new gaming laptop to perform its best
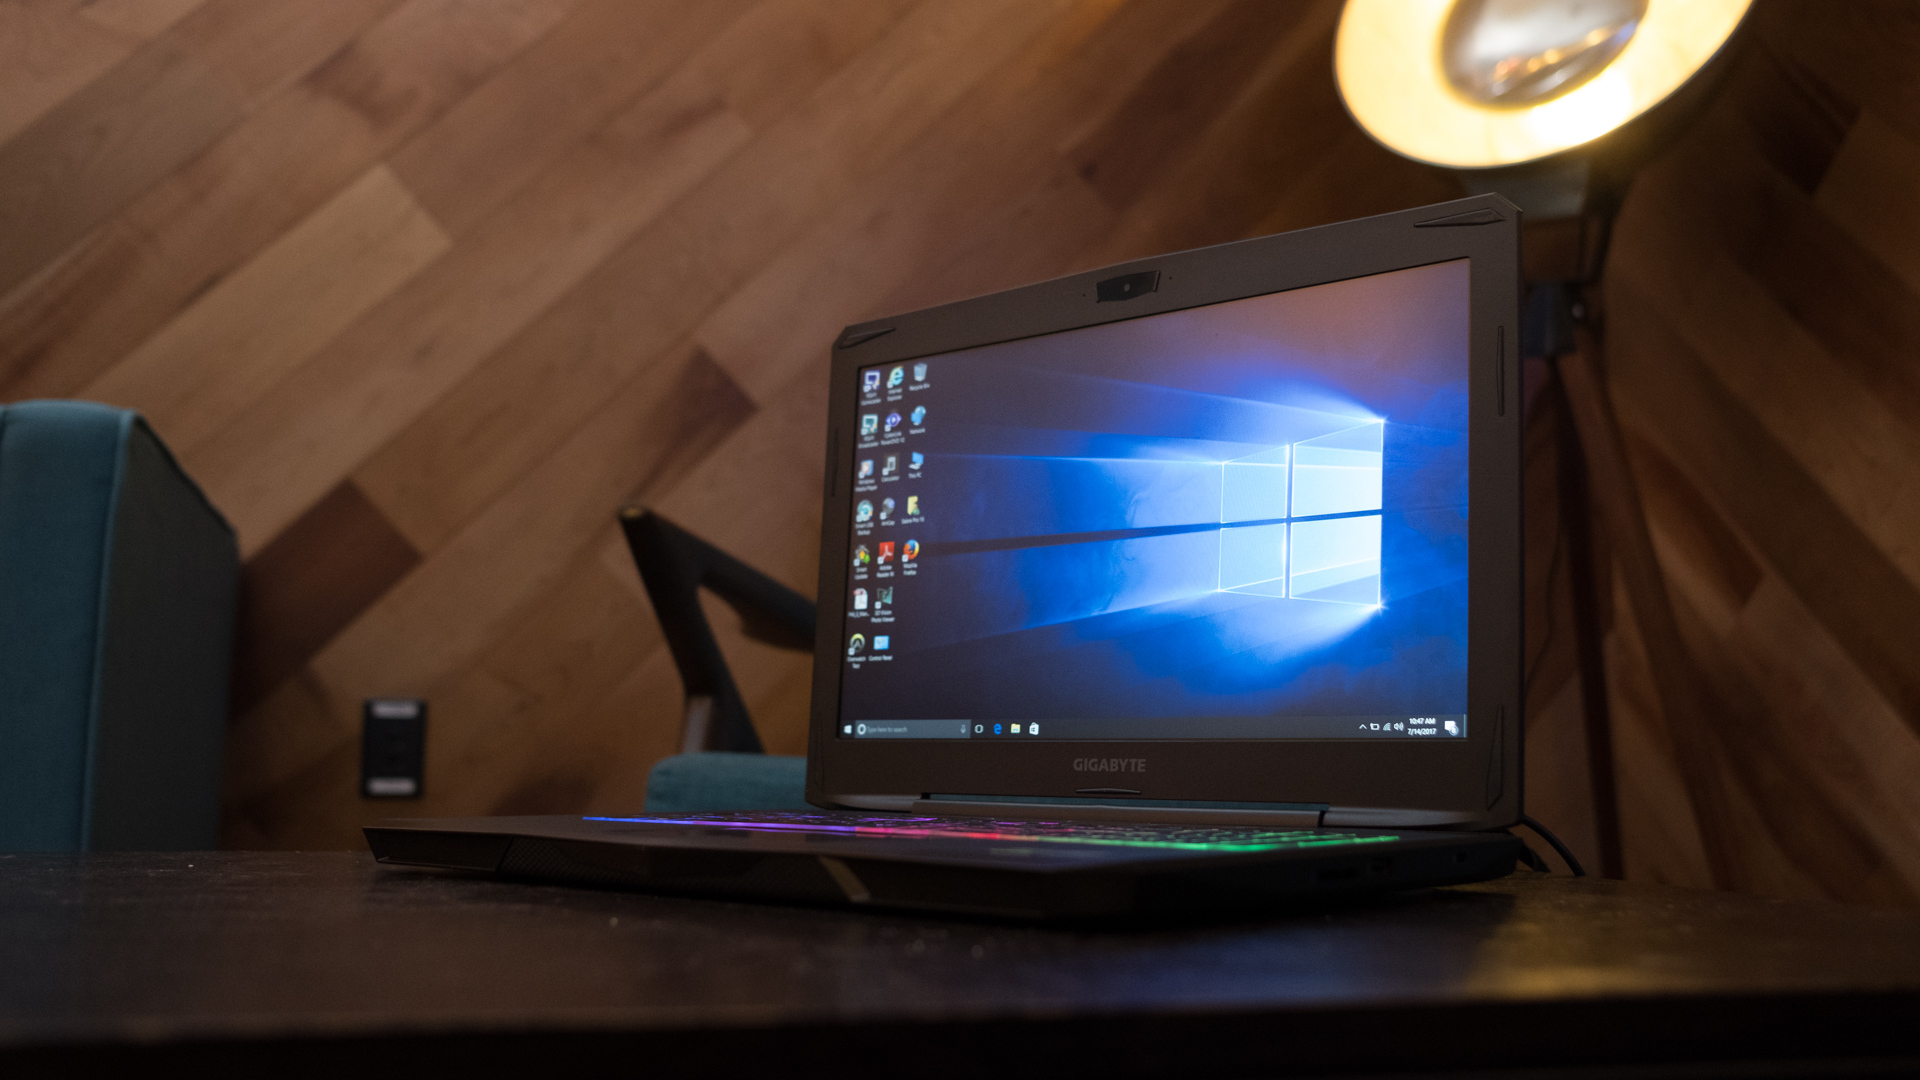
So, you’ve taken advantage of a recent Black Friday deal and just unboxed it to find a brand-new gaming laptop. It’s one of the best gaming laptops outfitted with one of the best graphics cards, a lovely display, and plenty of other high-end specs that make it one formidable and portable gaming beast. Now it’s time to start playing some games.
But hold up just a second. Before you start booting up the latest and best PC games from across the world, you’ll need to take a quick and excitable breather and read our guide to configuring Windows 11 for your gaming needs and the best tools to download.
With these at your disposal, your interactive escapades will be even better, and you'll be able to run any PC title at the most optimal settings possible. Because we all know that crafting the best possible experience, whether playing casually or esports, is the whole point of PC gaming.
Steps for how to set up your new gaming laptop
- Adjust your laptop settings
- Connect with friends on Discord
- Overclock and optimize with software
Tools and Requirements
- A gaming laptop
- Windows 11 OS
- MSI Afterburner
- Razer Cortex: Game Booster
Step by step guide for setting up your new gaming laptop
1. Adjust your update options
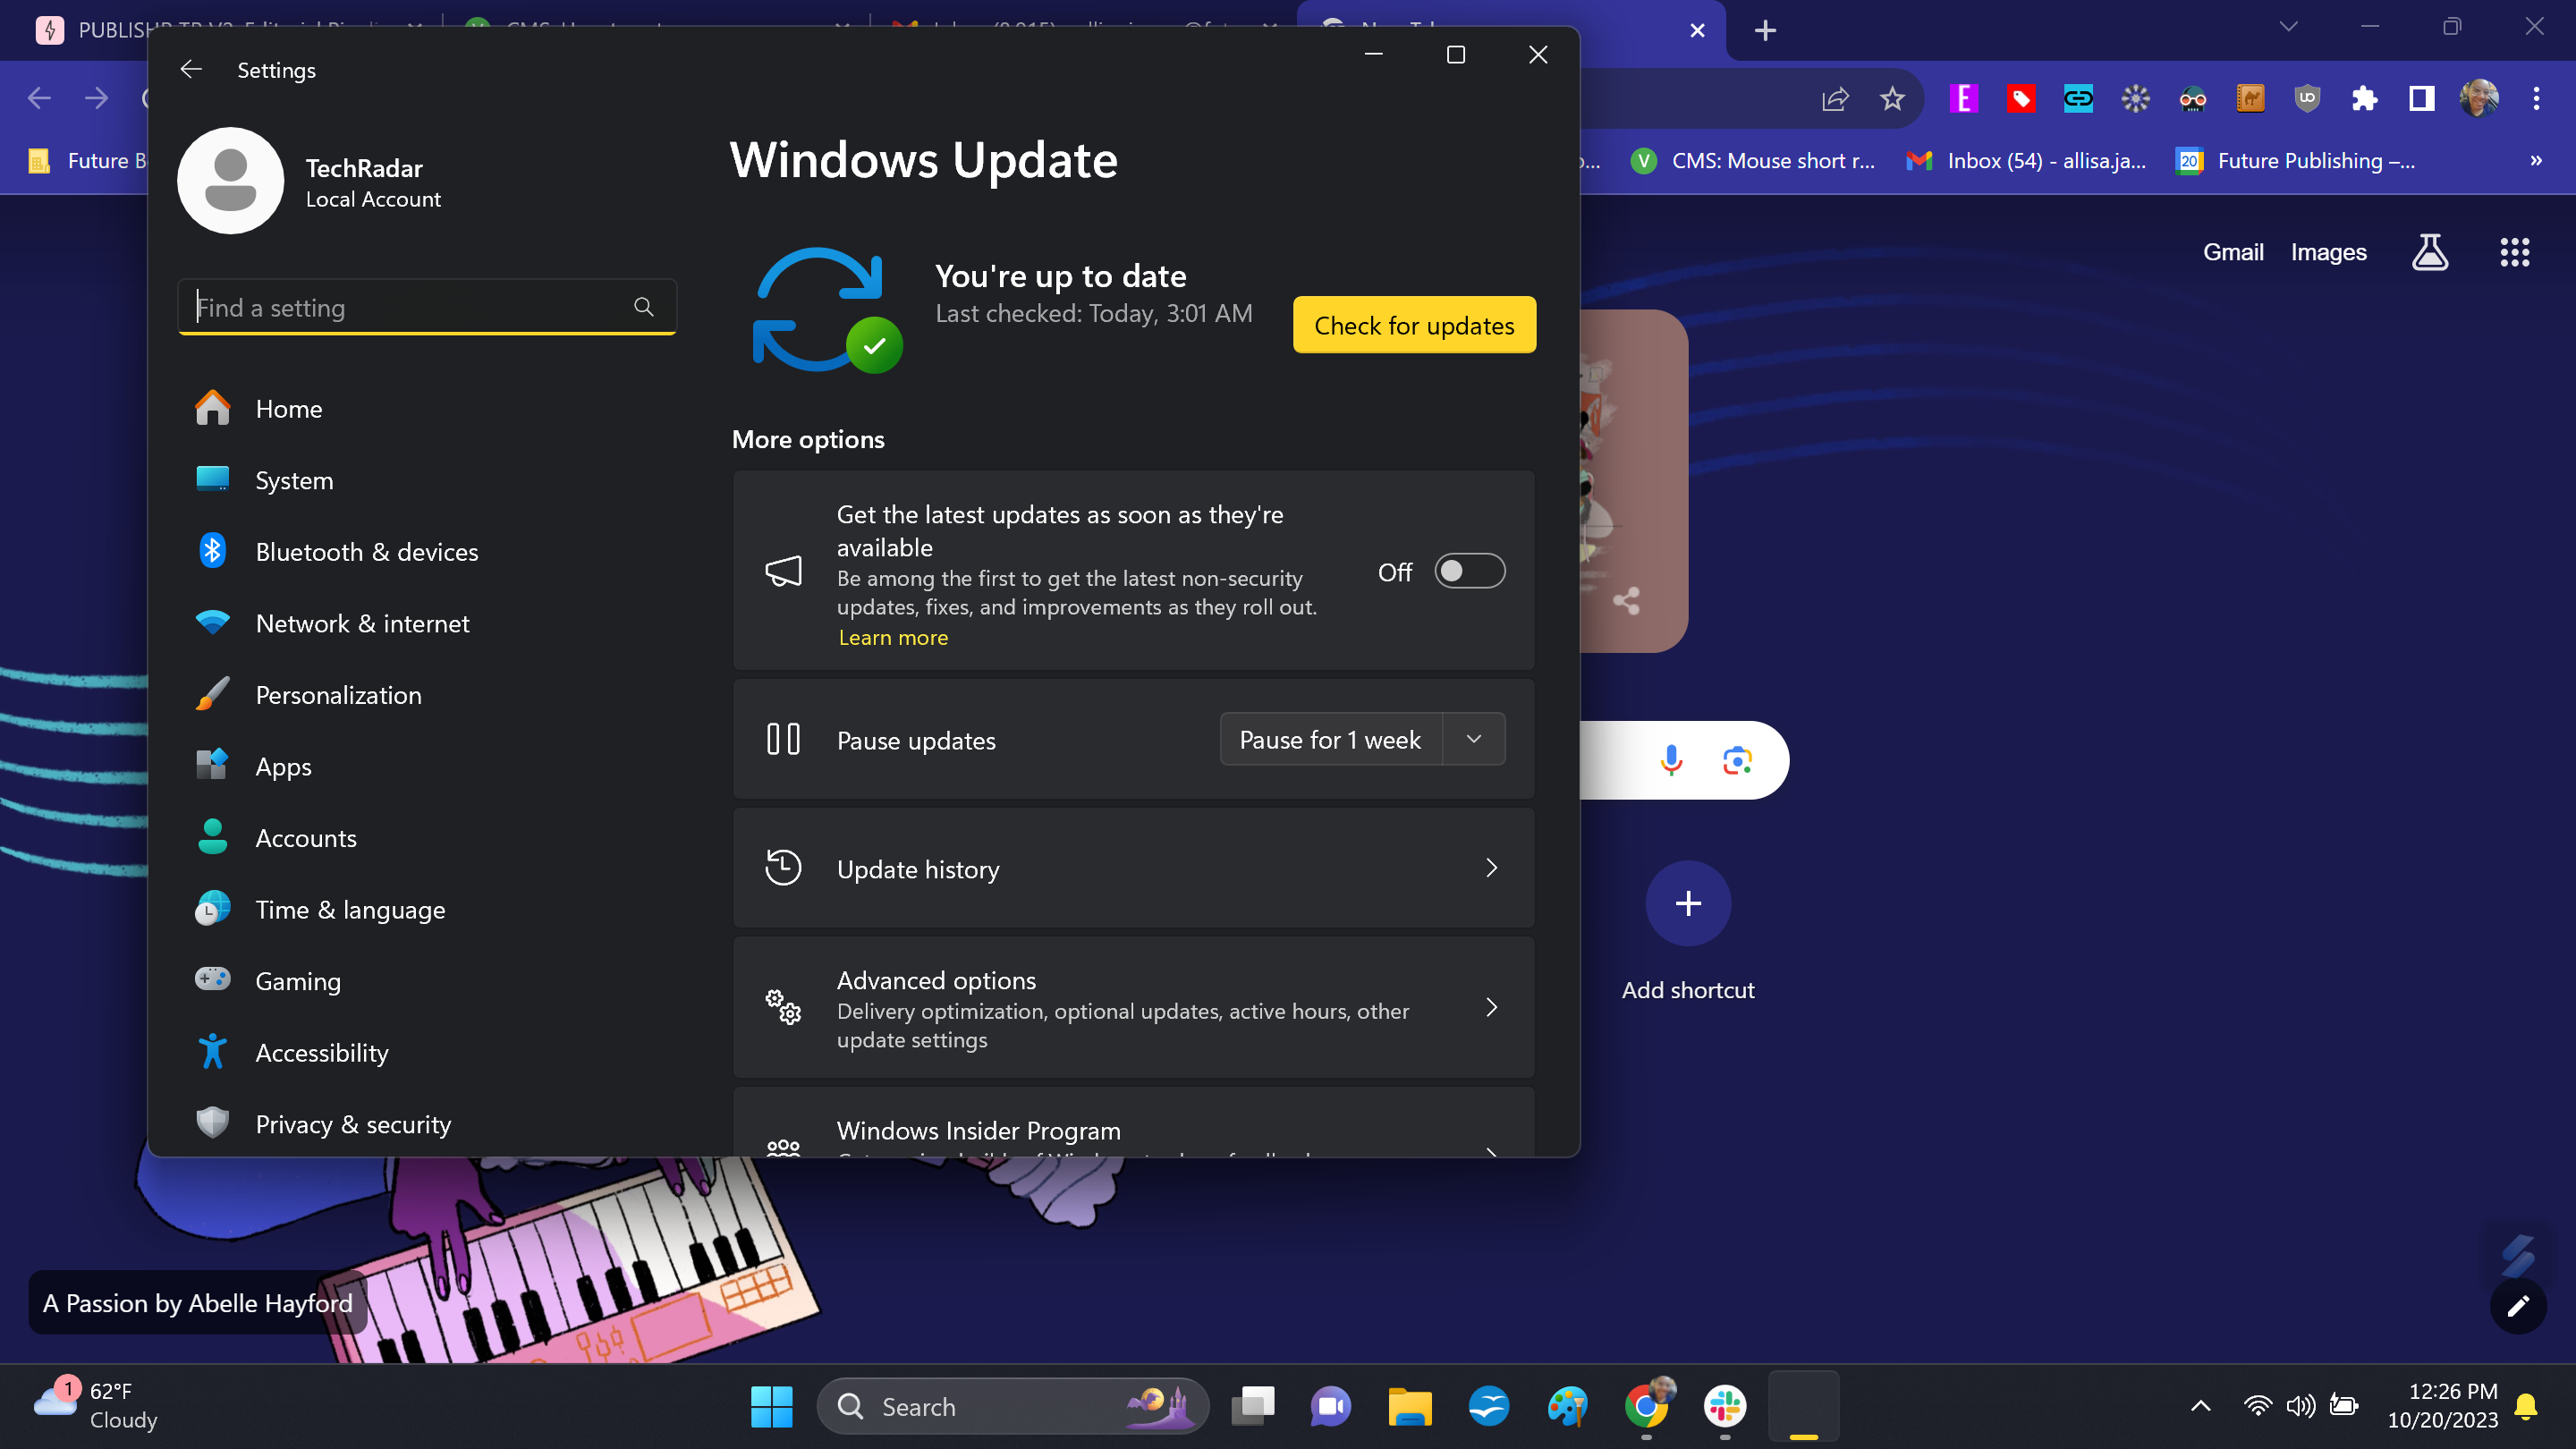
Whatever your gaming pleasure, no one wants to find themselves about to win a match in a hero shooter or amid the endgame in an RPG, only for your laptop to suddenly power down as it starts downloading and applying the latest updates for Windows 11.
To stop this irritating and needless experience, open the Update & Security menu (press ‘Windows’ + ‘Q’ and type in Updates) and select Windows Update.
From here you can adjust your Active Hours (so any updates are applied outside these hours) or click Advanced Options and select Pause Updates to halt them.
2. Turn off mouse acceleration

Windows 11 comes pre-optimized with all manner of features right out of the box. While many of them genuinely make the operating system a more enjoyable experience, they don’t help if you want your machine to be a gaming hub.
One of these utilities, known as mouse acceleration, can affect the sensitivity of your mouse in-game, so play smart and turn it off.
To do this, press ‘Windows key’ + ‘Q’, type Pointers, and select Change the mouse pointer display or speed. From here, uncheck Enhanced pointer precision.
You can now adjust the speed of your mouse movement in the respective menu of each game, without an external set of settings influencing its performance.
3. Update GPU drivers
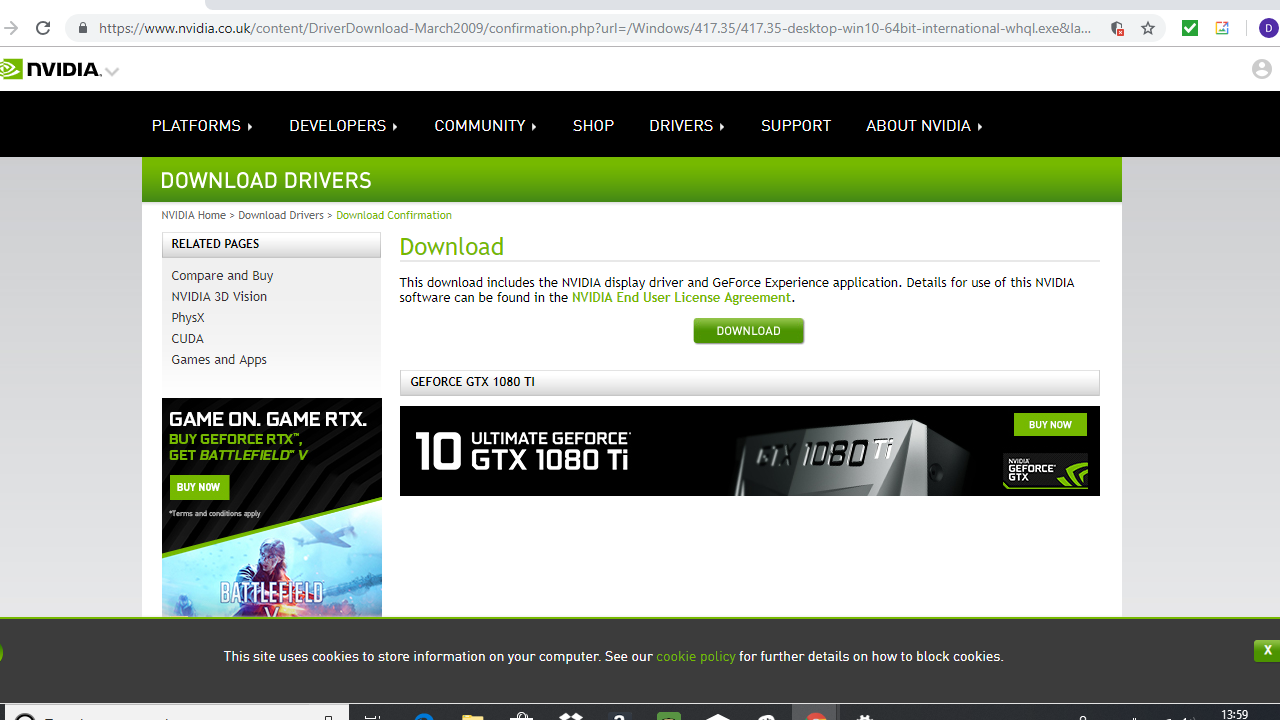
When your gaming laptop boots up for the first time, it’ll have all its factory settings in place as default. That includes the standard drivers that ship with your GPU and those will almost certainly be out of date and in need of an update.
Because if you try and play a game without it, your GPU won’t be performing anywhere near the level it should.
Depending on whether you have an AMD or an Nvidia graphics card on your machine, you’ll need to visit one of those two links and download the latest patch.
Make sure each driver is applied, then you’ll be able to get that gaming laptop playing the best games money can buy.
4. Switch off Windows 11 visual effects
Windows 11 is a huge step forward for Microsoft’s long history of operating systems, but certain features are just a drain on processing power.
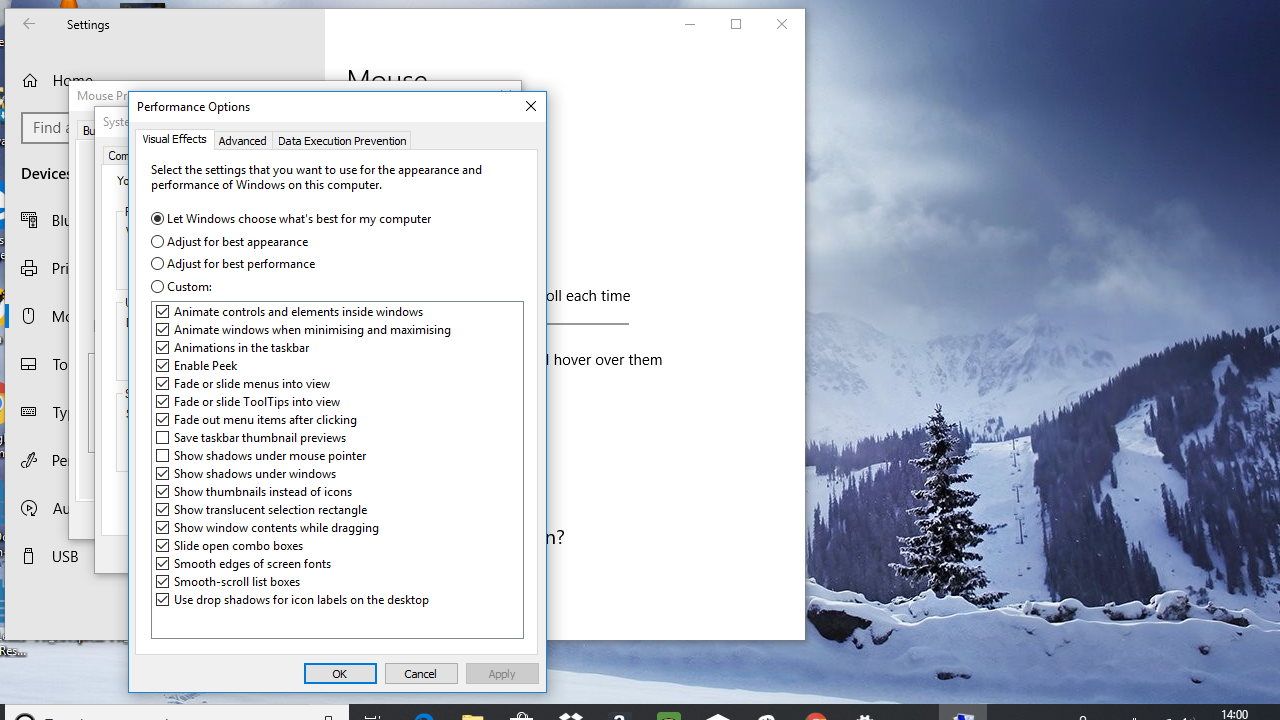
The visual effects that are active by default are one such issue, so you’ll need to switch them off if you want to avoid needless slowdown and frame rate drops.
Press ‘Windows key’ + ‘Q’. type Advanced settings and click View Advanced System settings. From there, select Performance options > Visual effects and Custom. You can now uncheck everything from removing thumbnails to smoothing window edges, and save all that unnecessary UI window dressing.
5. Turn off Wi-Fi Sense
You’ve bought a gaming laptop over a full PC setup for a reason, and you want to head out into the real world and enjoy some gaming goodness wherever you can.
However, a certain feature in Windows 11 will automatically attempt to connect you to the nearest Wi-Fi signal or hotspot — even if it’s not secure.
Considering the amount of money you or your loved ones have just dropped on a laptop, this is the last thing you want to risk.
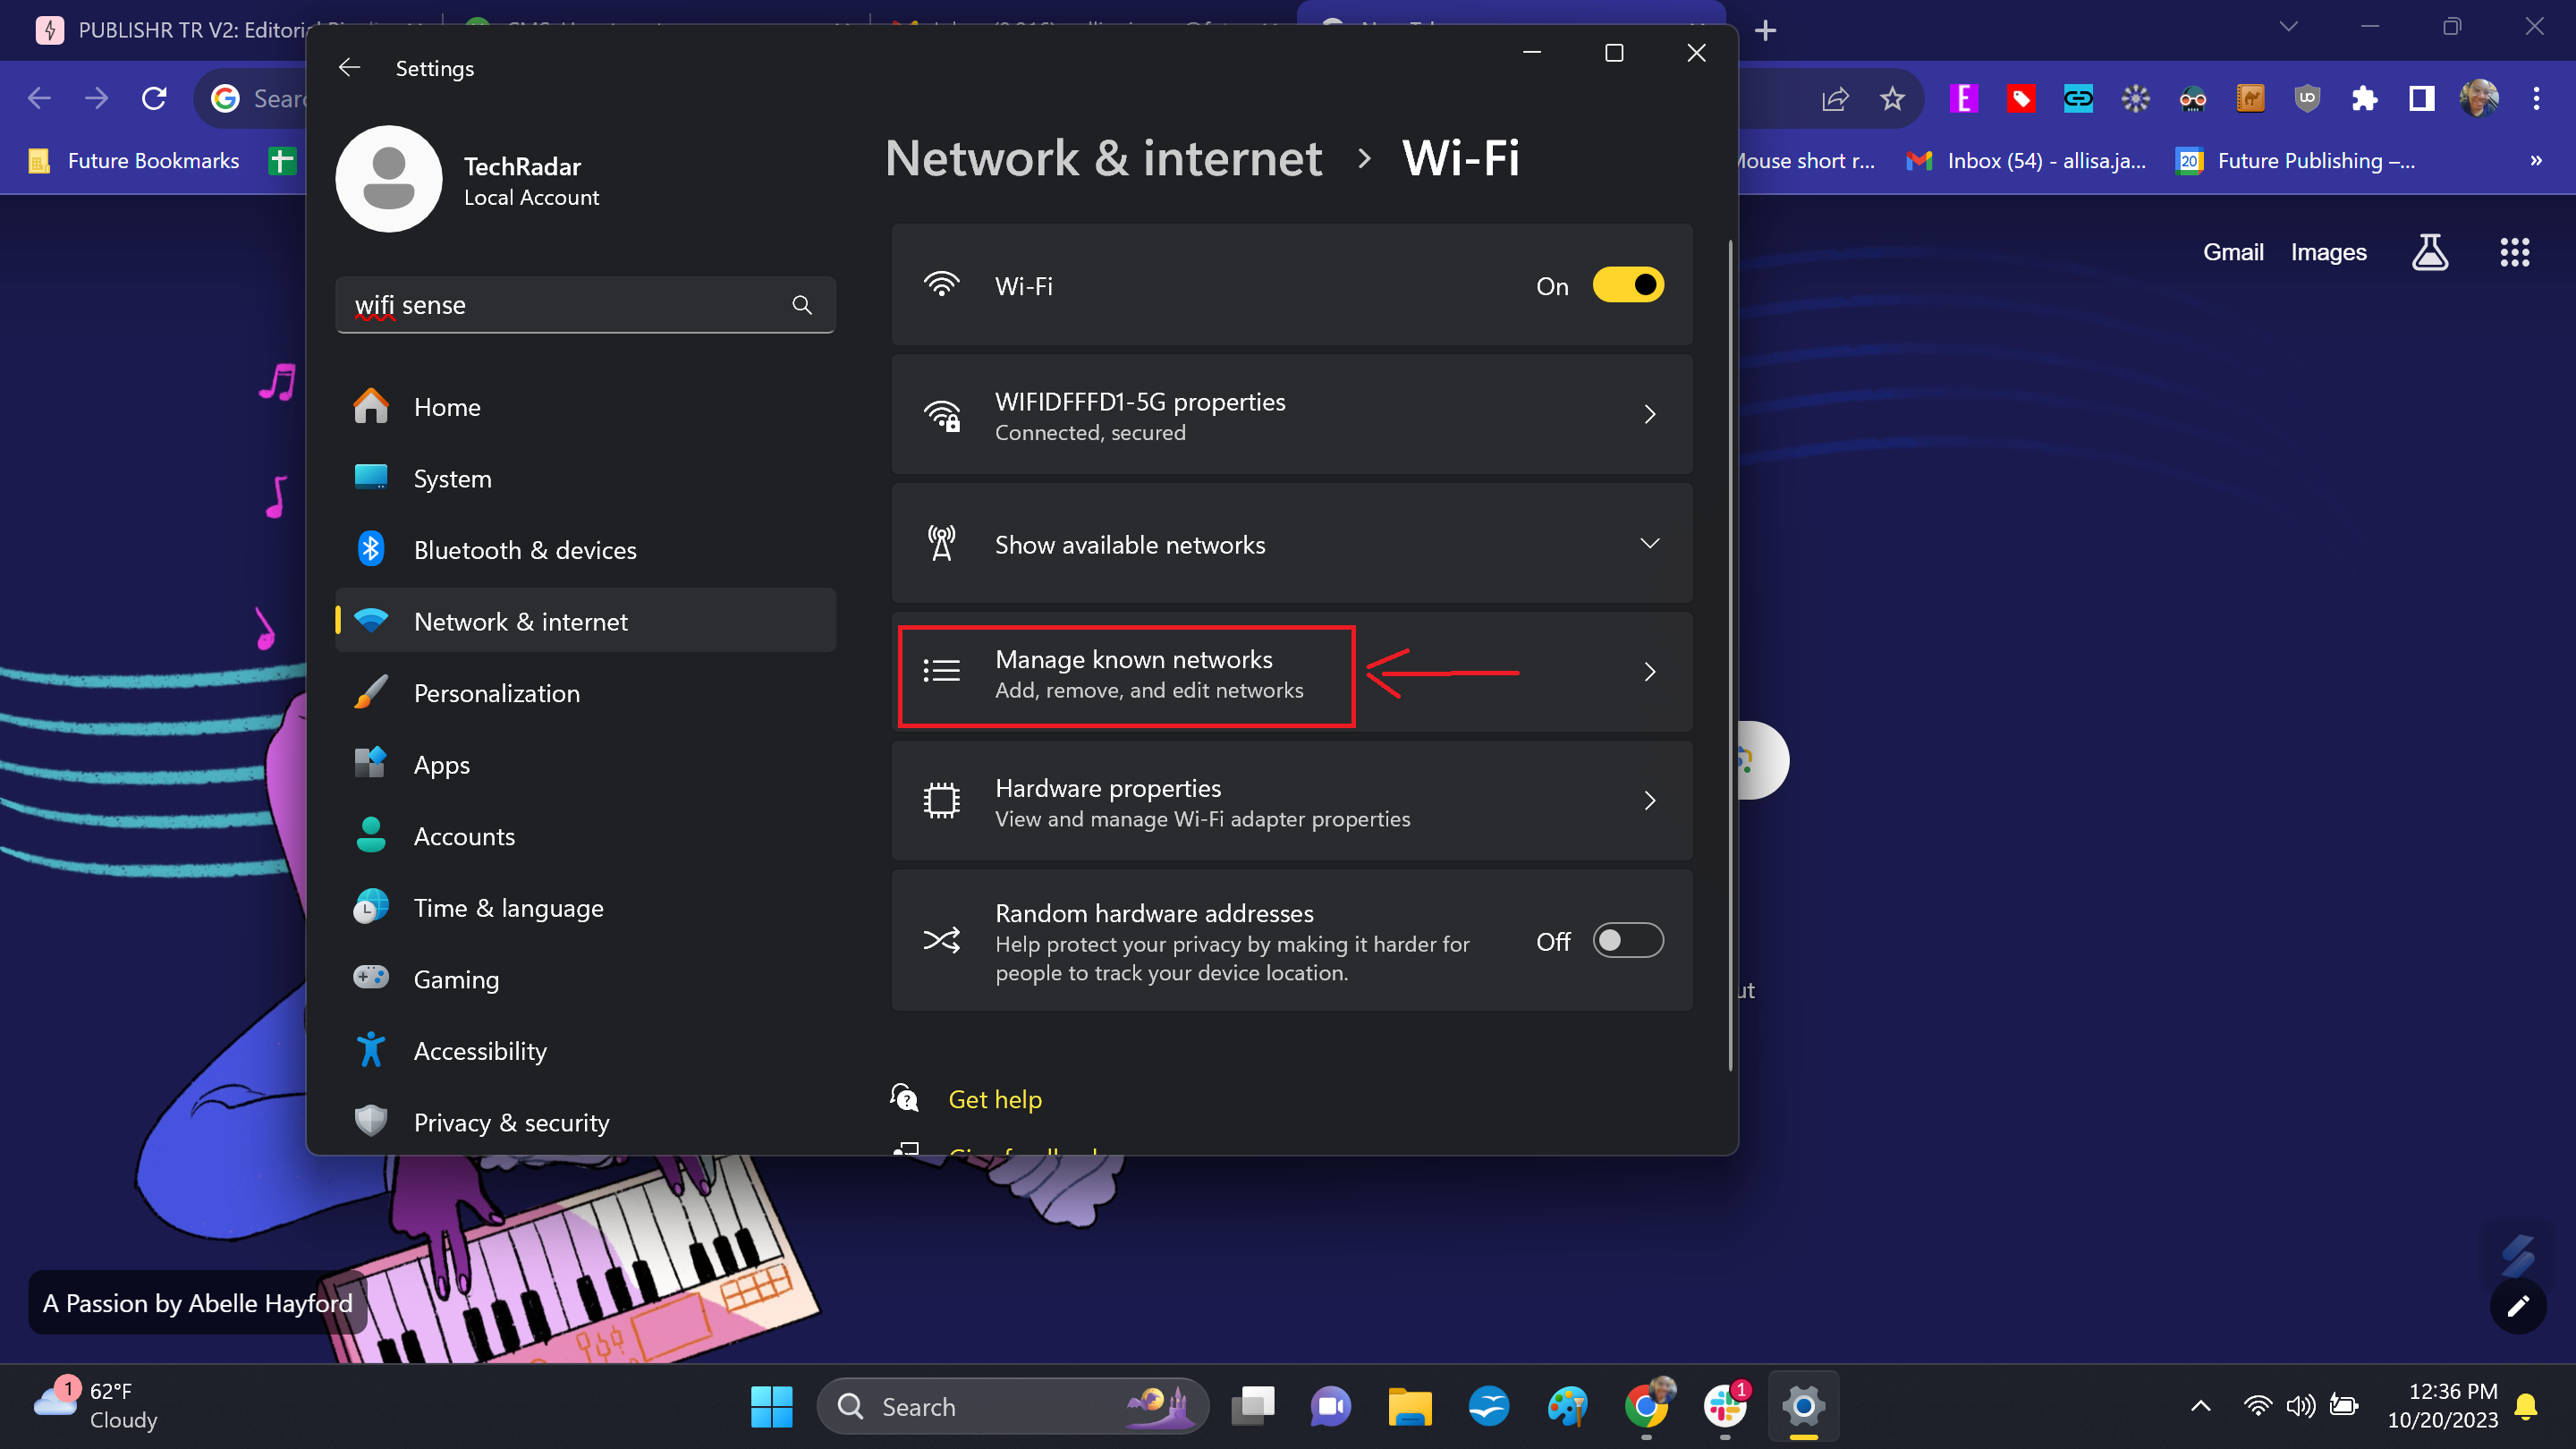
The feature that causes this issue is called Wi-Fi Sense, and to disable it you’ll need to press ‘Windows key’ + ‘I’ and select Network & Internet. Choose Manage known networks on the right side, click on a Wi-Fi network, and then remove the tick from the Connect automatically when in range checkbox
6. Download and sign up to Steam
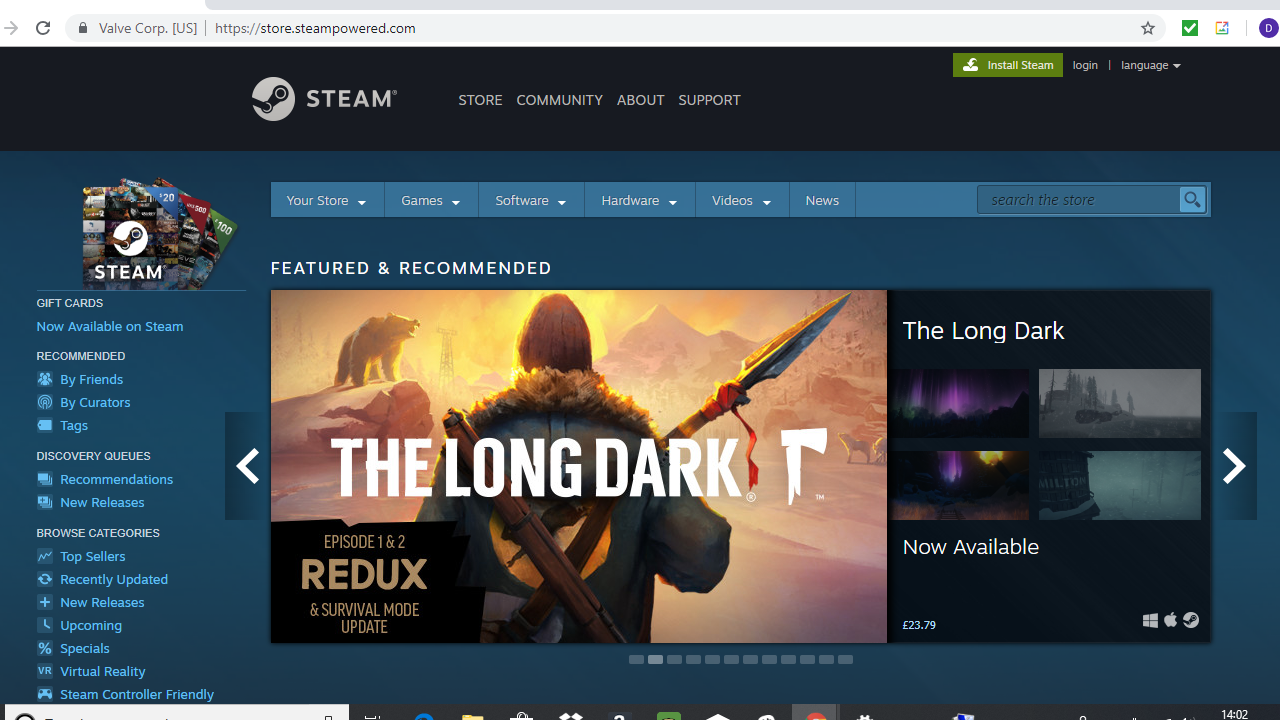
While there are more delivery platforms than ever for PC gamers, Steam remains the largest and most popular. And for good reason too.
There are thousands of games to choose from, ranging from indie hopefuls to the biggest AAA fare. You’re bound to find plenty of games to give your gaming laptop a serious workout.
Head on over to the main Steam page and download the Steam client to your desktop. Not only will this ensure the platform is always up to date, but it provides a way to access all your games from one central library.
You’ll need to sign up to use it, but it’s free and well worth the short questionnaire it takes to do so.
7. Set up Steam Guard
Whether you’re new to Steam, or a long-term user, your library of digital games is going to grow (especially with those ridiculous Steam sales), so you need to make sure those titles are protected from hackers.
To do this, you’ll need to take advantage of an additional service known as Steam Guard.
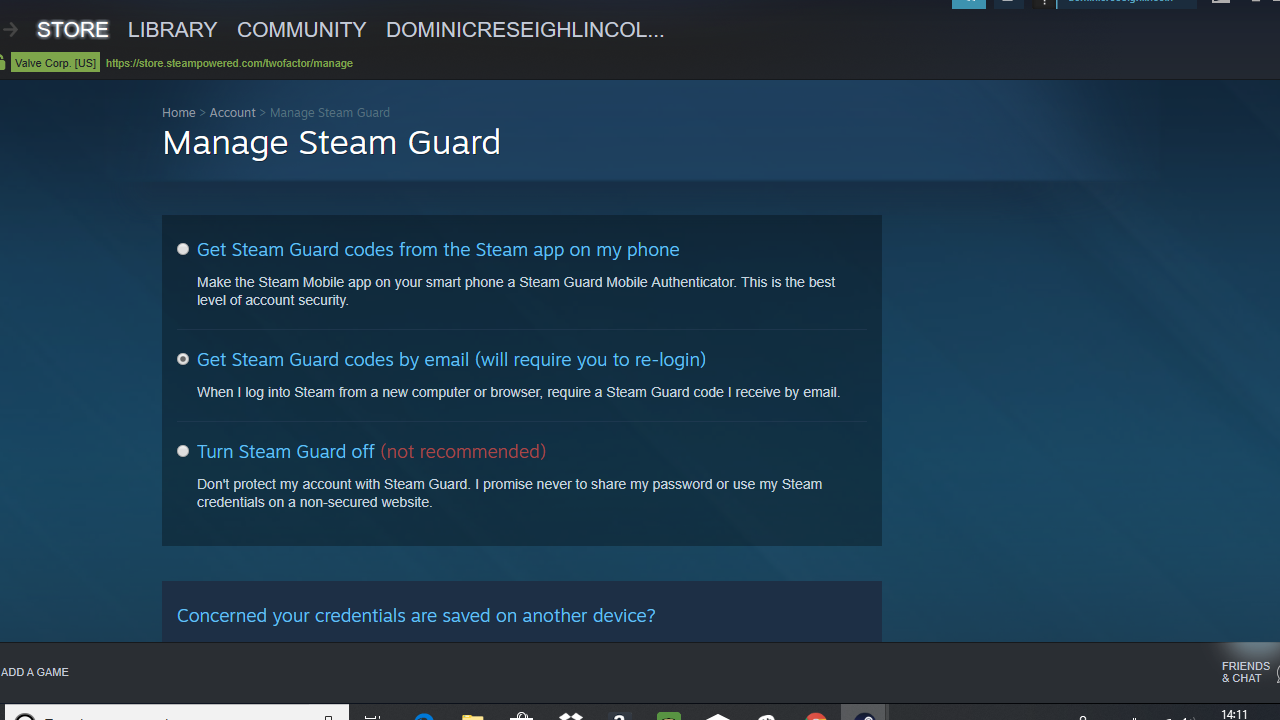
To activate it, open Steam then select ‘Settings’ > ‘Account’ > ‘Manage Steam Guard Account Security’ and click ‘Steam Guard’.
This will add two-step authorization for your account, which will drastically reduce the chance of anyone accessing your library without your permission. You will need to download and use Valve’s Steam app as well to complete the setup.
8. Connect with friends on Discord
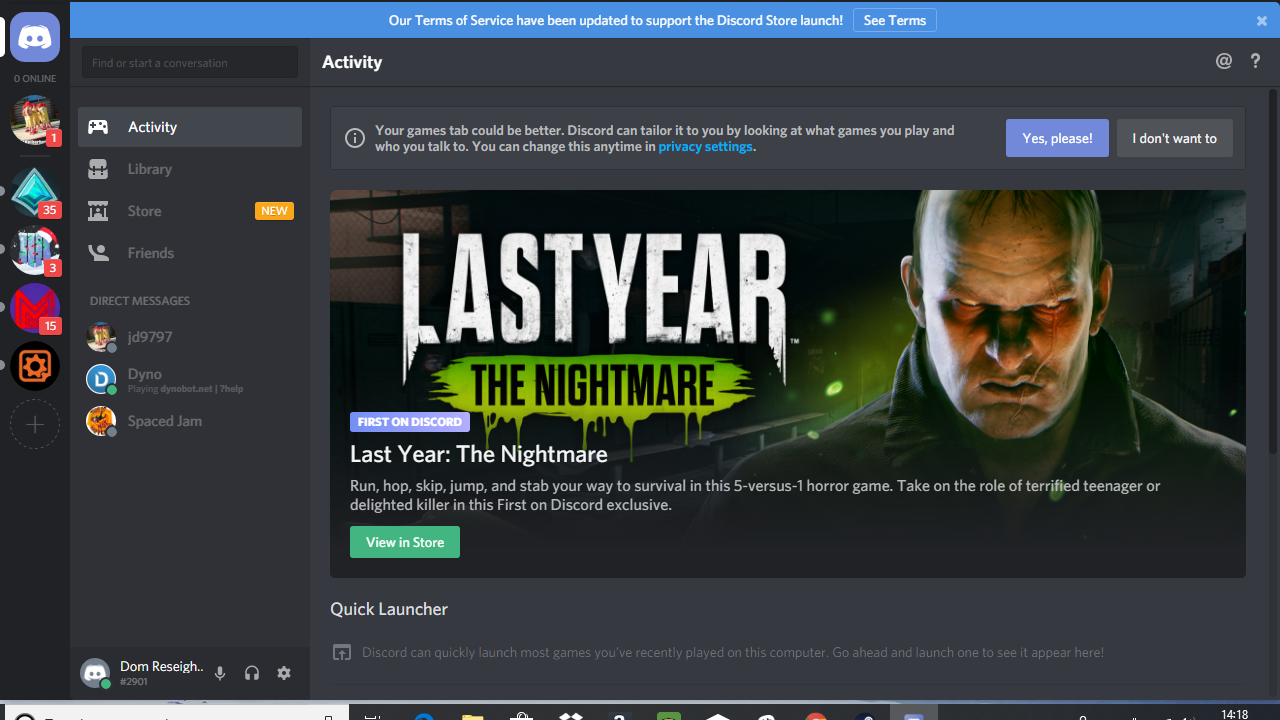
While Skype and most other video chat services are just about hanging in there for business use, any PC gamer worth their salt used Discord as a way to party up and chat with friends.
It’s just such an easy service to use, with plenty of customization options, that it’s an absolute must if you want to create friendly chat rooms and VoIP-based parties.
You can download Discord for free, but you will need to sign up before you can use it (don’t worry, it’s free to use as well). You can set up your own group, but to join existing ones you’ll need to be given a specific invitation link. It’s an ideal app to have set up, and a must for your PC gaming laptop.
9. Overclock with MSI Afterburner
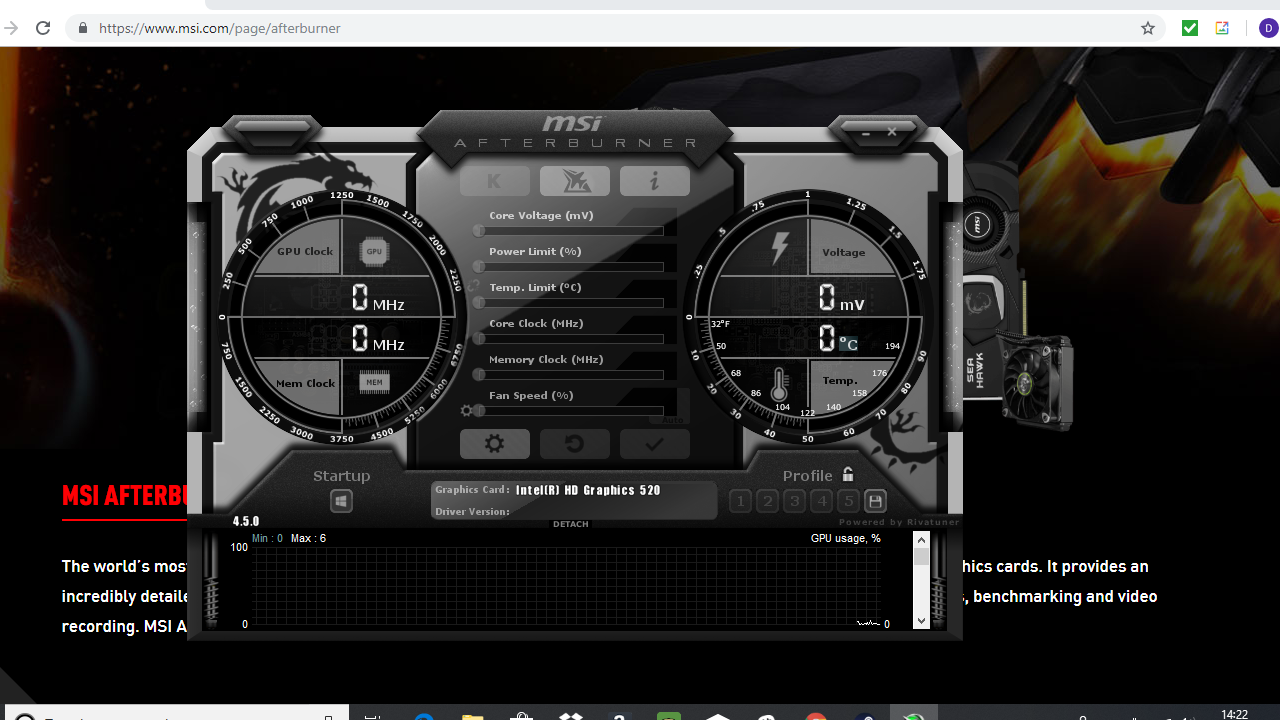
You’ve got a beefy GPU in your new gaming laptop, and it’s time to squeeze as much juice out of it as you can.
If you want to enjoy the likes of Cyberpunk 2077 or Hitman 3 at their most gorgeous and smooth, you’re going to need a piece of software designed to overclock your GPU to its fullest potential. Enter MSI Afterburner.
It works with most brands including the best AMD graphics cards and the best Nvidia GeForce graphics cards, and effectively enables you to control and increase the voltage of your card. This can increase the performance of your GPU, giving you more juice for your games.
Just be careful, as adjusting these settings can seriously heat up your GPU, so use in moderation.
10. Optimize with Razer Cortex: Game Booster
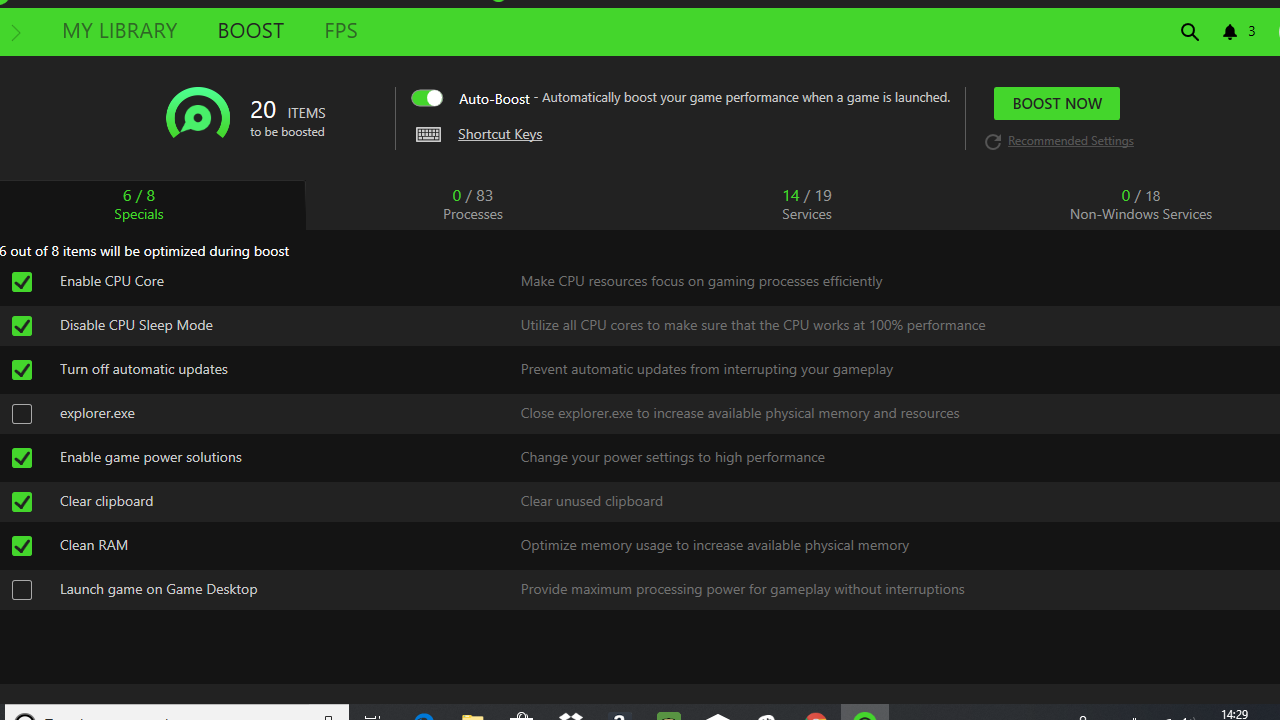
Another really clever little piece of free software is the Razer Cortex: Game Booster, which enables you to optimize your new gaming laptop for the better.
Despite being made by peripheral manufacturer Razer, the app can be used with any gaming PC or laptop and will automatically scan your machine and adjust your GPU, CPU, and memory settings to configure for stronger performance.
It’s really easy to use, and while there are the occasional adverts for Razer’s own products and premium services, you can easily ignore them and make the most of this little gem of a tool.
Final thoughts
Considering all the ways to boost your gaming laptop experience, one of the most underrated steps listed here is creating your own community. When playing multiplayer titles like first and third-person shooters, sports games, arena games, and more, the kind of community you foster is incredibly vital in making the experience as fun and engaging as possible.
And while there are plenty of games that are about single-player gameplay, having others you can share gameplay experiences, tips, tricks, stories and characters you love and hate, etc. enhances how you interact and enjoy those titles as well.
Outside of playing games, fostering a community based on the hardware you use means you now have resources for buying, repairing, and even building your own rigs, what kind of software to use, how to customize your gaming laptop, and even just showing off new purchases or customizations.
Sign up for breaking news, reviews, opinion, top tech deals, and more.
- Allisa JamesComputing Staff Writer