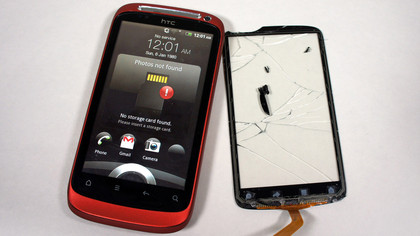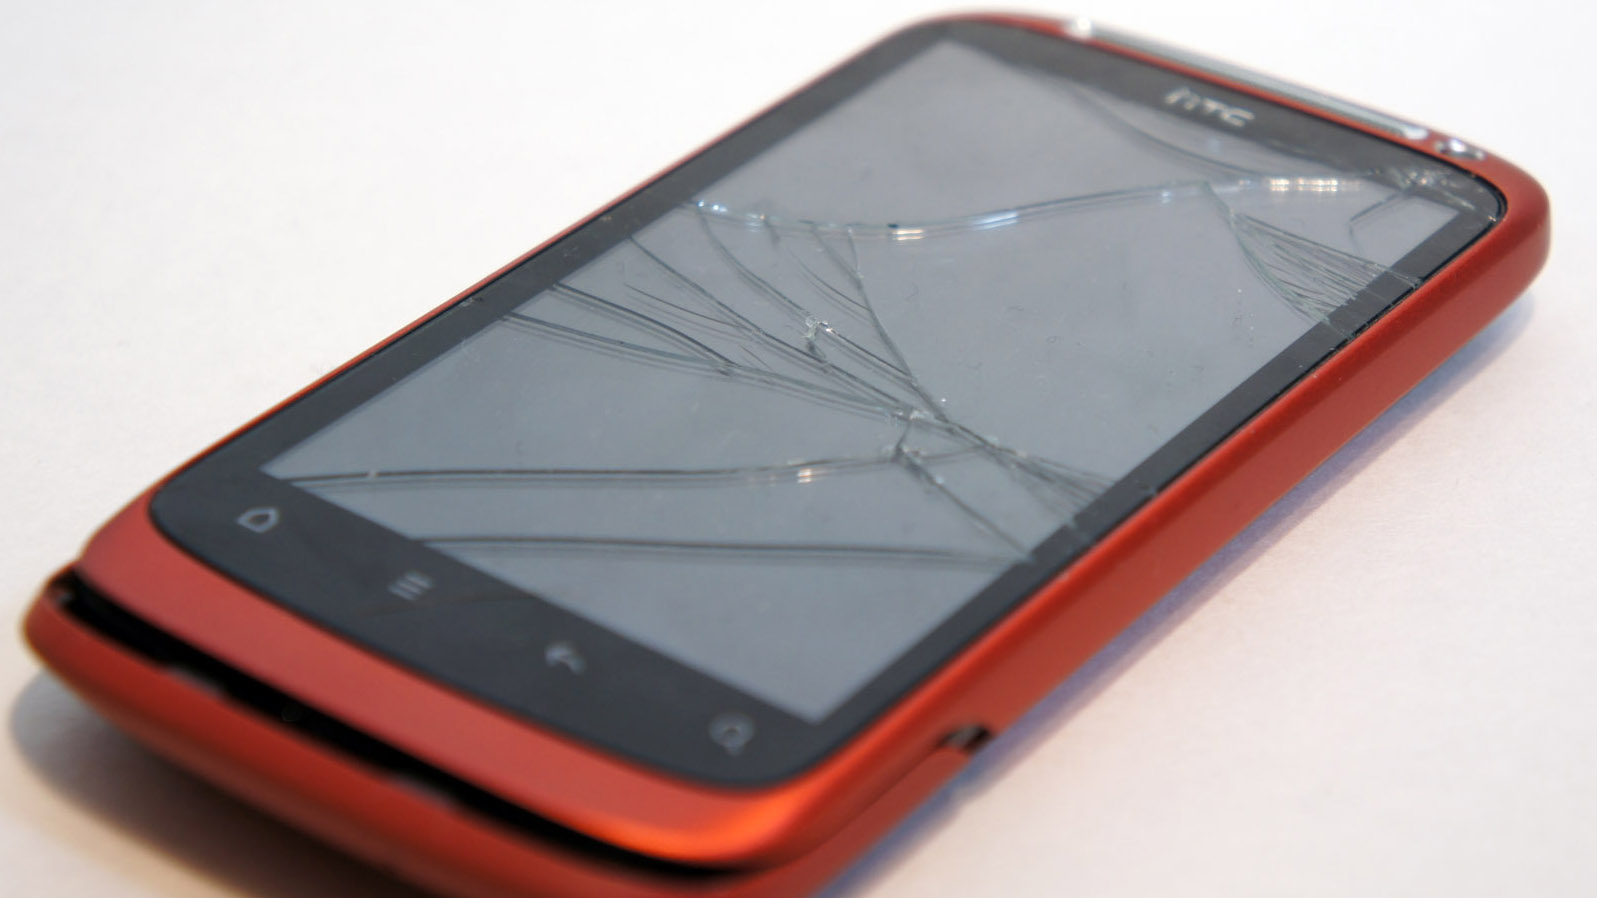
It's the modern nightmare: a slip of the hand, an absent minded moment and a split second later your life lies there shattered on the floor.
As desperately depressing as a broken phone screen may look, it may not be as terminal or as expensive as it looks.
All phones are obviously different, but many use separate elements for the touch-sensing component called the digitser and the actual LCD/OLED display.
The digitiser sits at the front and often when dropped it's this that shatters rather than the display.
A broken display usually results in rainbow effects and the display not working in sections. A broken digitizer will continue to work, just with the nasty cracks.
NOTE: Future Publishing Limited provides the information for this project in good faith and makes no representations as to its completeness or accuracy. Individuals carrying out the instructions in this project do so at their own risk and must exercise their independent judgment in determining the appropriateness of parts, equipment, sealants and other adhesives for a particular use.
1. We're going to look at replacing the HTC Desire S digitiser element, while not identical it'll be a similar process on many other models. These cost as little as £10 and should come with a suitable pry tools. You'll also probably need a jeweller screw driver set and ideally a set of Torx (star shaped) drivers sized 4 to 7.
Sign up for breaking news, reviews, opinion, top tech deals, and more.
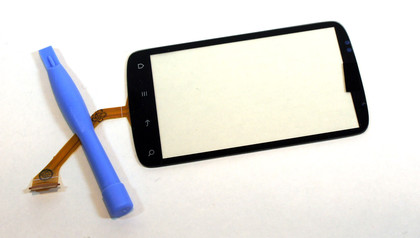
2. Clear the work area and light it well. We're going to be dealing with tiny screws that you should arrange in order, as you remove them. To begin remove any cover, battery, SIM and SD cards.
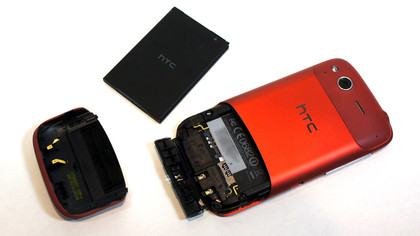
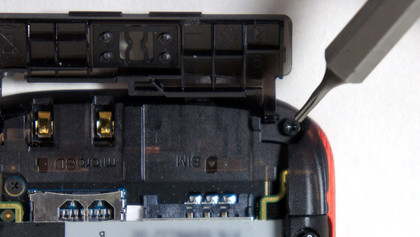
3. For the HTC Desire S we start by removing four size 5 Torx screws from the base around the battery cover. If in doubt it's a good idea to photograph your device as you go along.
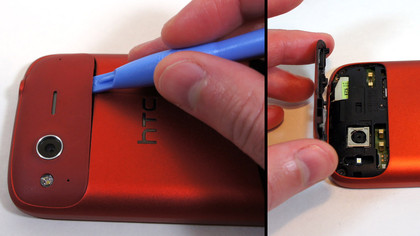
4. The HTC Desire S is pretty forgiving there's only one area that needs the pry tool and that's the top camera cover. Some devices need their entire backs removing with the pry tool. These are tricky to use but start at a corner and try and work the pry tool under the edge. Once in work along the edge popping out the clips and lift away the cover.
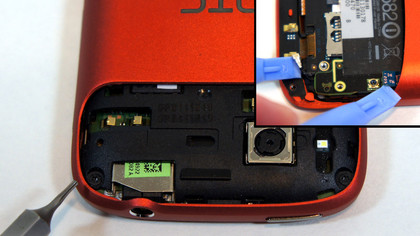
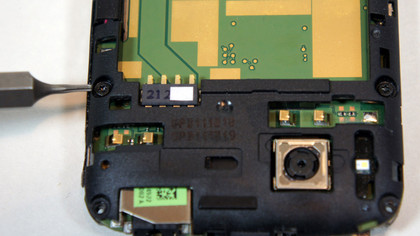
5. Remove two more size 5 Torx screws that are revealed. Any visible connections can also be unclipped, on the HTC Desire S there are two at the base.
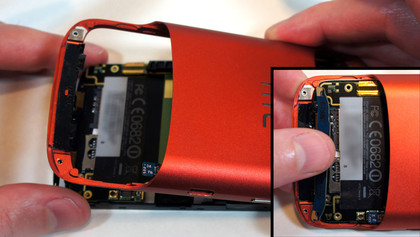
6. We can now carefully "push" the main device out of the metal chassis screen first. Be careful here to bend up the lower PCB, as it'll catch on the rear of the chassis. You shouldn't need to force it at all.
7. Remove two more size 5 Torx screws at the top and remove the plastic bracket that this releases. It'll just lift away.
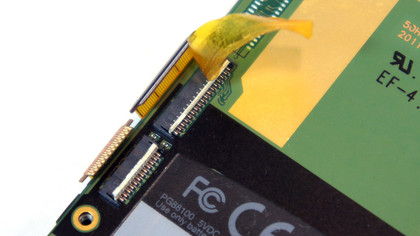
8. At this point we're working towards separating the display elements from the phone motherboard. On the HTC Desire S spot the two ribbon cables coming in to the side, these are the digitizer and display connections. Using the pry tool remove any tape but save this. Lift up the white locking element and using the help of a small screw driver remove the ribbons.
9. We're now free to part the display and the motherboard. As with many tablets and phones these are glued together, using the pry tool carefully and slowly start to separate the two, the glue will give you just need to take your time and work around the edge.
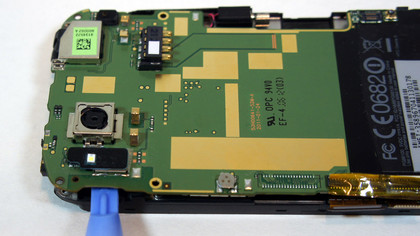
10. Carefully fold open the phone and disconnect the final two connecting elements. Leaving you with the display section and the motherboard section.
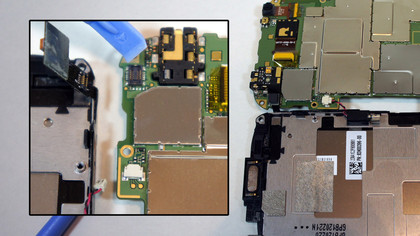
11. This is the hardest part of the whole tear-down. An adhesive gasket binds the digitizer to the display chassis. This needs to be heated to loosen the adhesive and using the pry tool separate the digitizer from the display. We strongly recommend using a hair dryer, too much heat will damage the display. So point it away from the centre and just at the edge of the display. You can use a hot-air gun but be extra careful, use the lowest setting and keep it moving.
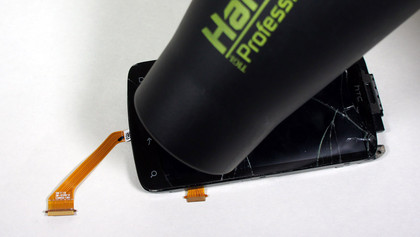
12. Start on just the bottom edge or the least broken section. Use the pry tool to test how "sticky" the adhesive is and reheat, repeat until it starts coming away. Move on to the next small section and repeat. Eventually you'll lift the entire digitizer out. The process takes a while but if you can save the gasket it'll help avoid the next step.
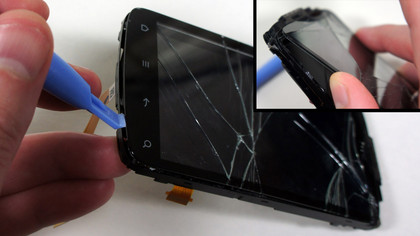
13. If you've damaged the adhesive gasket or part has some away, this will need to be replaced with 1mm or 2mm adhesive tape designed for phones. Ebay and Amazon has vendors that sell this. If any area of the digitizer touches the display or chassis it'll short and you'll get false-positive touches, sending the touchscreen crazy.
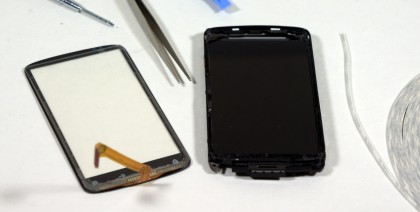
14. Remove any protective film on either side, feed the new digitizer's ribbon through the lower hole and carefully from the base, angle it back into place firmly pushing it down to make sure the adhesive holds well. Feed the ribbon along the back of the display and reverse this process to carefully rebuild your phone.
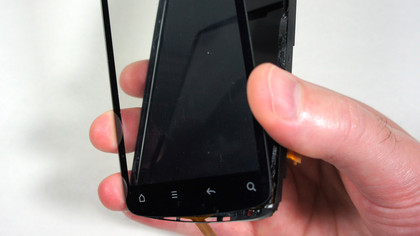
15. Cross your fingers and press the power button. If all has gone well your phone will spring back to life and the display will be sensing your touch again.
