If you've just bought a new Apple Watch or received one as a present, then the first thing you probably want to do is rip it out of the packaging and try it out right away. But there are a few steps to run through before you can get it up and running, which is why we've put together this helpful guide for when you're setting up your new Apple Watch for the first time.
Below we'll talk you through the whole process of setting up the smartwatch and how to start using it. It's fairly straightforward, but there are some things that are worth knowing and watching out for - all of which we'll talk you through and flag below.
No matter which Apple Watch you have, whether it's the latest Apple Watch 7, the affordable Apple Watch SE, the older Apple Watch 3 or any other model, this guide will talk you through how to set it up, as it's almost exactly the same process for all of these devices.
Just remember, you'll need an iPhone to set up your new Apple Watch, and it should be running the latest version of iOS (which at the time of writing is iOS 15). If you haven't updated, now is the time.
Before you set up Apple Watch
Resist the temptation to put it on straight away. Before you strap your Apple Watch around your wrist, flip it over and spot the two small indents next to the straps.
These are the band release buttons, press and hold one and slide the band out sideways to remove it. Check in the Watch's packaging and you'll find another band (you get one large and one small). Try both and see which fits best.
Now lay your Watch on a flat surface; this makes the automatic sync with your iPhone easier (try to avoid manual pairing if possible). Make sure your iPhone has Bluetooth turned on and that it's connected to a local Wi-Fi or cellular network.
Locate the side button (shaped like a pill) on your Apple Watch and press it to turn it on. The Apple Watch pairing screen should appear on your phone, in which case tap Continue when it does. Or, failing that, launch the Apple Watch app on your iPhone and tap All Watches followed by Pair New Watch.

Next, tap Set Up For Myself (assuming you're setting it up for you and not a family member), and when prompted, line the Apple Watch up so that it appears in the viewfinder of the Apple Watch app on your iPhone. This will pair the Apple Watch with your phone.
Then, if this is your first Apple Watch, tap Set Up as New Apple Watch. If this isn't your first one then instead choose Restore from Backup.
You might then be asked to update to the latest version of watchOS if a new version has come out since your Apple Watch model was released.
Next you'll need to read and agree to the terms and conditions. You may then be asked to sign in with your Apple ID password, which can be done later but certain features relying on your cell number will be locked until you do.
You'll also be asked to turn on Activation Lock if Find My isn't enabled on your iPhone.
Now you'll pick settings, including which are shared with your iPhone. If you activated certain features on your iPhone, like Find My or Location Services, these will be automatically turned on for your Apple Watch upon setup.
For older models, during setup you'll be asked to specify which wrist you'll wear the Watch on. This doesn't affect the orientation of the Watch's display incidentally, which is set separately. Combined, these choices tell the Watch the direction of movement that should cause its display to turn on when you raise your wrist.
Don't worry if you're unsure because all these settings can be adjusted later from the iPhone app.
For security in case your Watch is stolen, you'll also be able set up a passcode during the initial setup process. The Watch uses the sensors on its back to determine when you've taken it off, after which the passcode must be entered to use it.
Note that you don't have to set up a passcode, but we'd recommend you do, and it's necessary for Apple Pay.
The default passcode is four digits long, but tapping Add a Long Passcode enables you to enter a 10-digit number. This is much harder to bypass, but only use it if you are truly security conscious.
Additional protection and finalizing features
On the security front, you might also want to turn on the Erase Data setting, which is done in the settings menu on your Apple Watch after initial setup. Just tap Passcode, then toggle Erase Data. When this is on, the Watch erases its contents after 10 incorrect passcode entries.
Getting back to setting up, you'll next be able to set up Apple Pay and other features such as automatic updates, Activity, and - on cellular models - mobile data. Just follow the instructions on your device for all of this, and skip anything that's not relevant or that you don't want.
Then you'll be asked whether you want to install all available apps from your iPhone, but we think it's smarter to install them later to speed up the setup process. Besides, installing every available app can make the Watch's home screen overly busy.
Finally, the Apple Watch syncs with your iPhone and you can use it as soon as that finishes (it takes a few minutes). Strap on the Watch, tap the screen and enter your passcode. Now when you raise your wrist, the screen will spring to life.
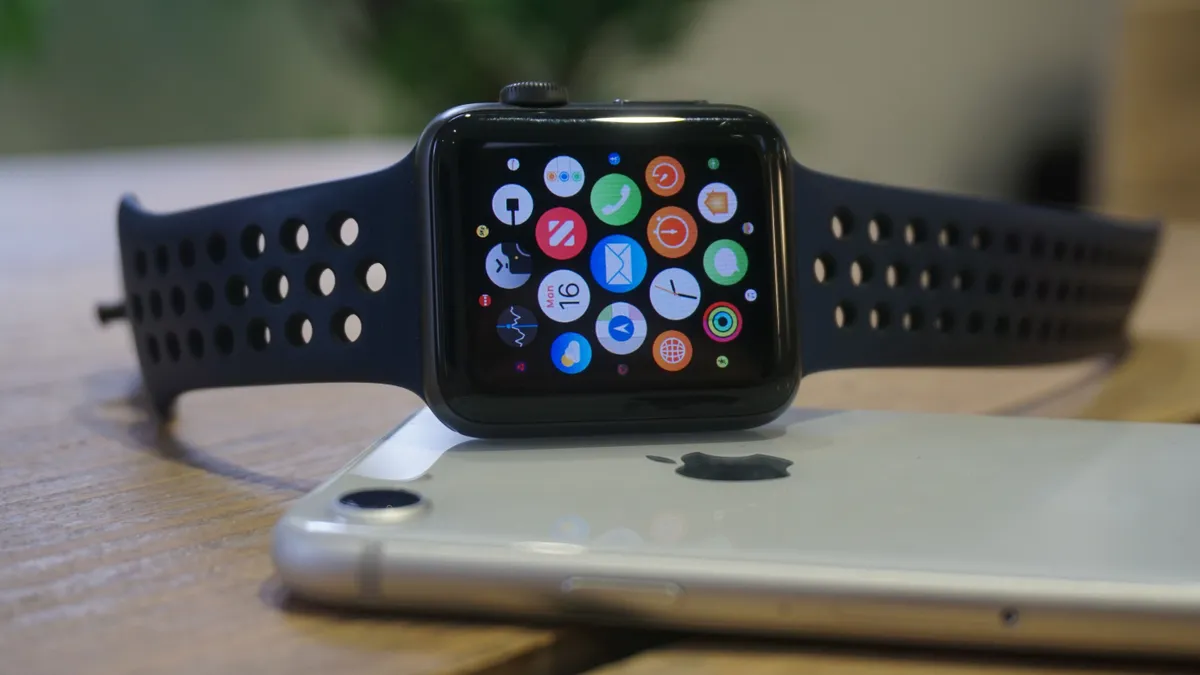
Setting up the home screen
If you didn't install all your iPhone apps on your Apple Watch during the initial setup, then you can now manually decide which ones to add.
Just find the Available Apps section in My Watch on the Apple Watch iPhone app, and select the ones that you want to install.

Apps can be rearranged (and third-party ones removed) directly from the Watch's home screen. Tap and hold an app icon and then tap Edit Apps, then you can drag apps to new positions. To delete a third-party app, tap the X that appears on its logo.
It's a lot easier to arrange apps in the iPhone app. To do this, tap My Watch > App View > Arrangement and then drag app icons around to rearrange them; the layout on your Watch refreshes a moment later.
- Want to start over? How to reset your Apple Watch
What settings will you want to change right away?
The Apple Watch is a vastly more complex creature than you might imagine, with myriad options spread out across several areas.
The first thing to know is that there are two places to configure settings. On the Watch's home screen you'll find a Settings app that contains fundamental settings.
The Apple Watch app on your iPhone presents many more when you tap My Watch, making it the best place to start.
Limit interruptions
Receiving many notifications on the Apple Watch soon becomes overwhelming. Calm things down by tapping Notifications in the My Watch tab on the iPhone app to view the settings for each app. They might offer different settings, but most include two options: Mirror my iPhone (the default) and Custom.
If you select the former, the phone's options are summarized below; to adjust them, go to Settings > Notifications on your iPhone.

Customize notifications
Tap Custom to choose an app's notification behaviour on your Watch. Three options are available: Allow Notifications means that notifications will appear in Notification Center and your Apple Watch will alert you, Sent to Notification Center will send them there without the Watch alerting you, and with Notifications Off you won't get any notifications for the app in question.
Some apps have more complex Notifications. For example, Activity presents separate controls for stand reminders (so you can stop your Watch telling you to stand up and move around) as well as progress updates during the day, daily goal completions, long-term achievements and a weekly summary.
Get rid of the red dot
If you miss a notification a red dot appears at the top of the watch face. Turn off Notifications Indicator from the Notifications screen on the Apple Watch iPhone app if you find it annoying.
Increase your privacy
While the Watch's small screen makes it fairly private, you might want to hide the content of alerts. From the My Watch tab in the Apple Watch app on your iPhone you can turn on Tap to Show Full Notification, from the Notifications screen.
Do this and you'll only see the type of alert and the person it's from, and you'll only see the full details if you tap the alert.

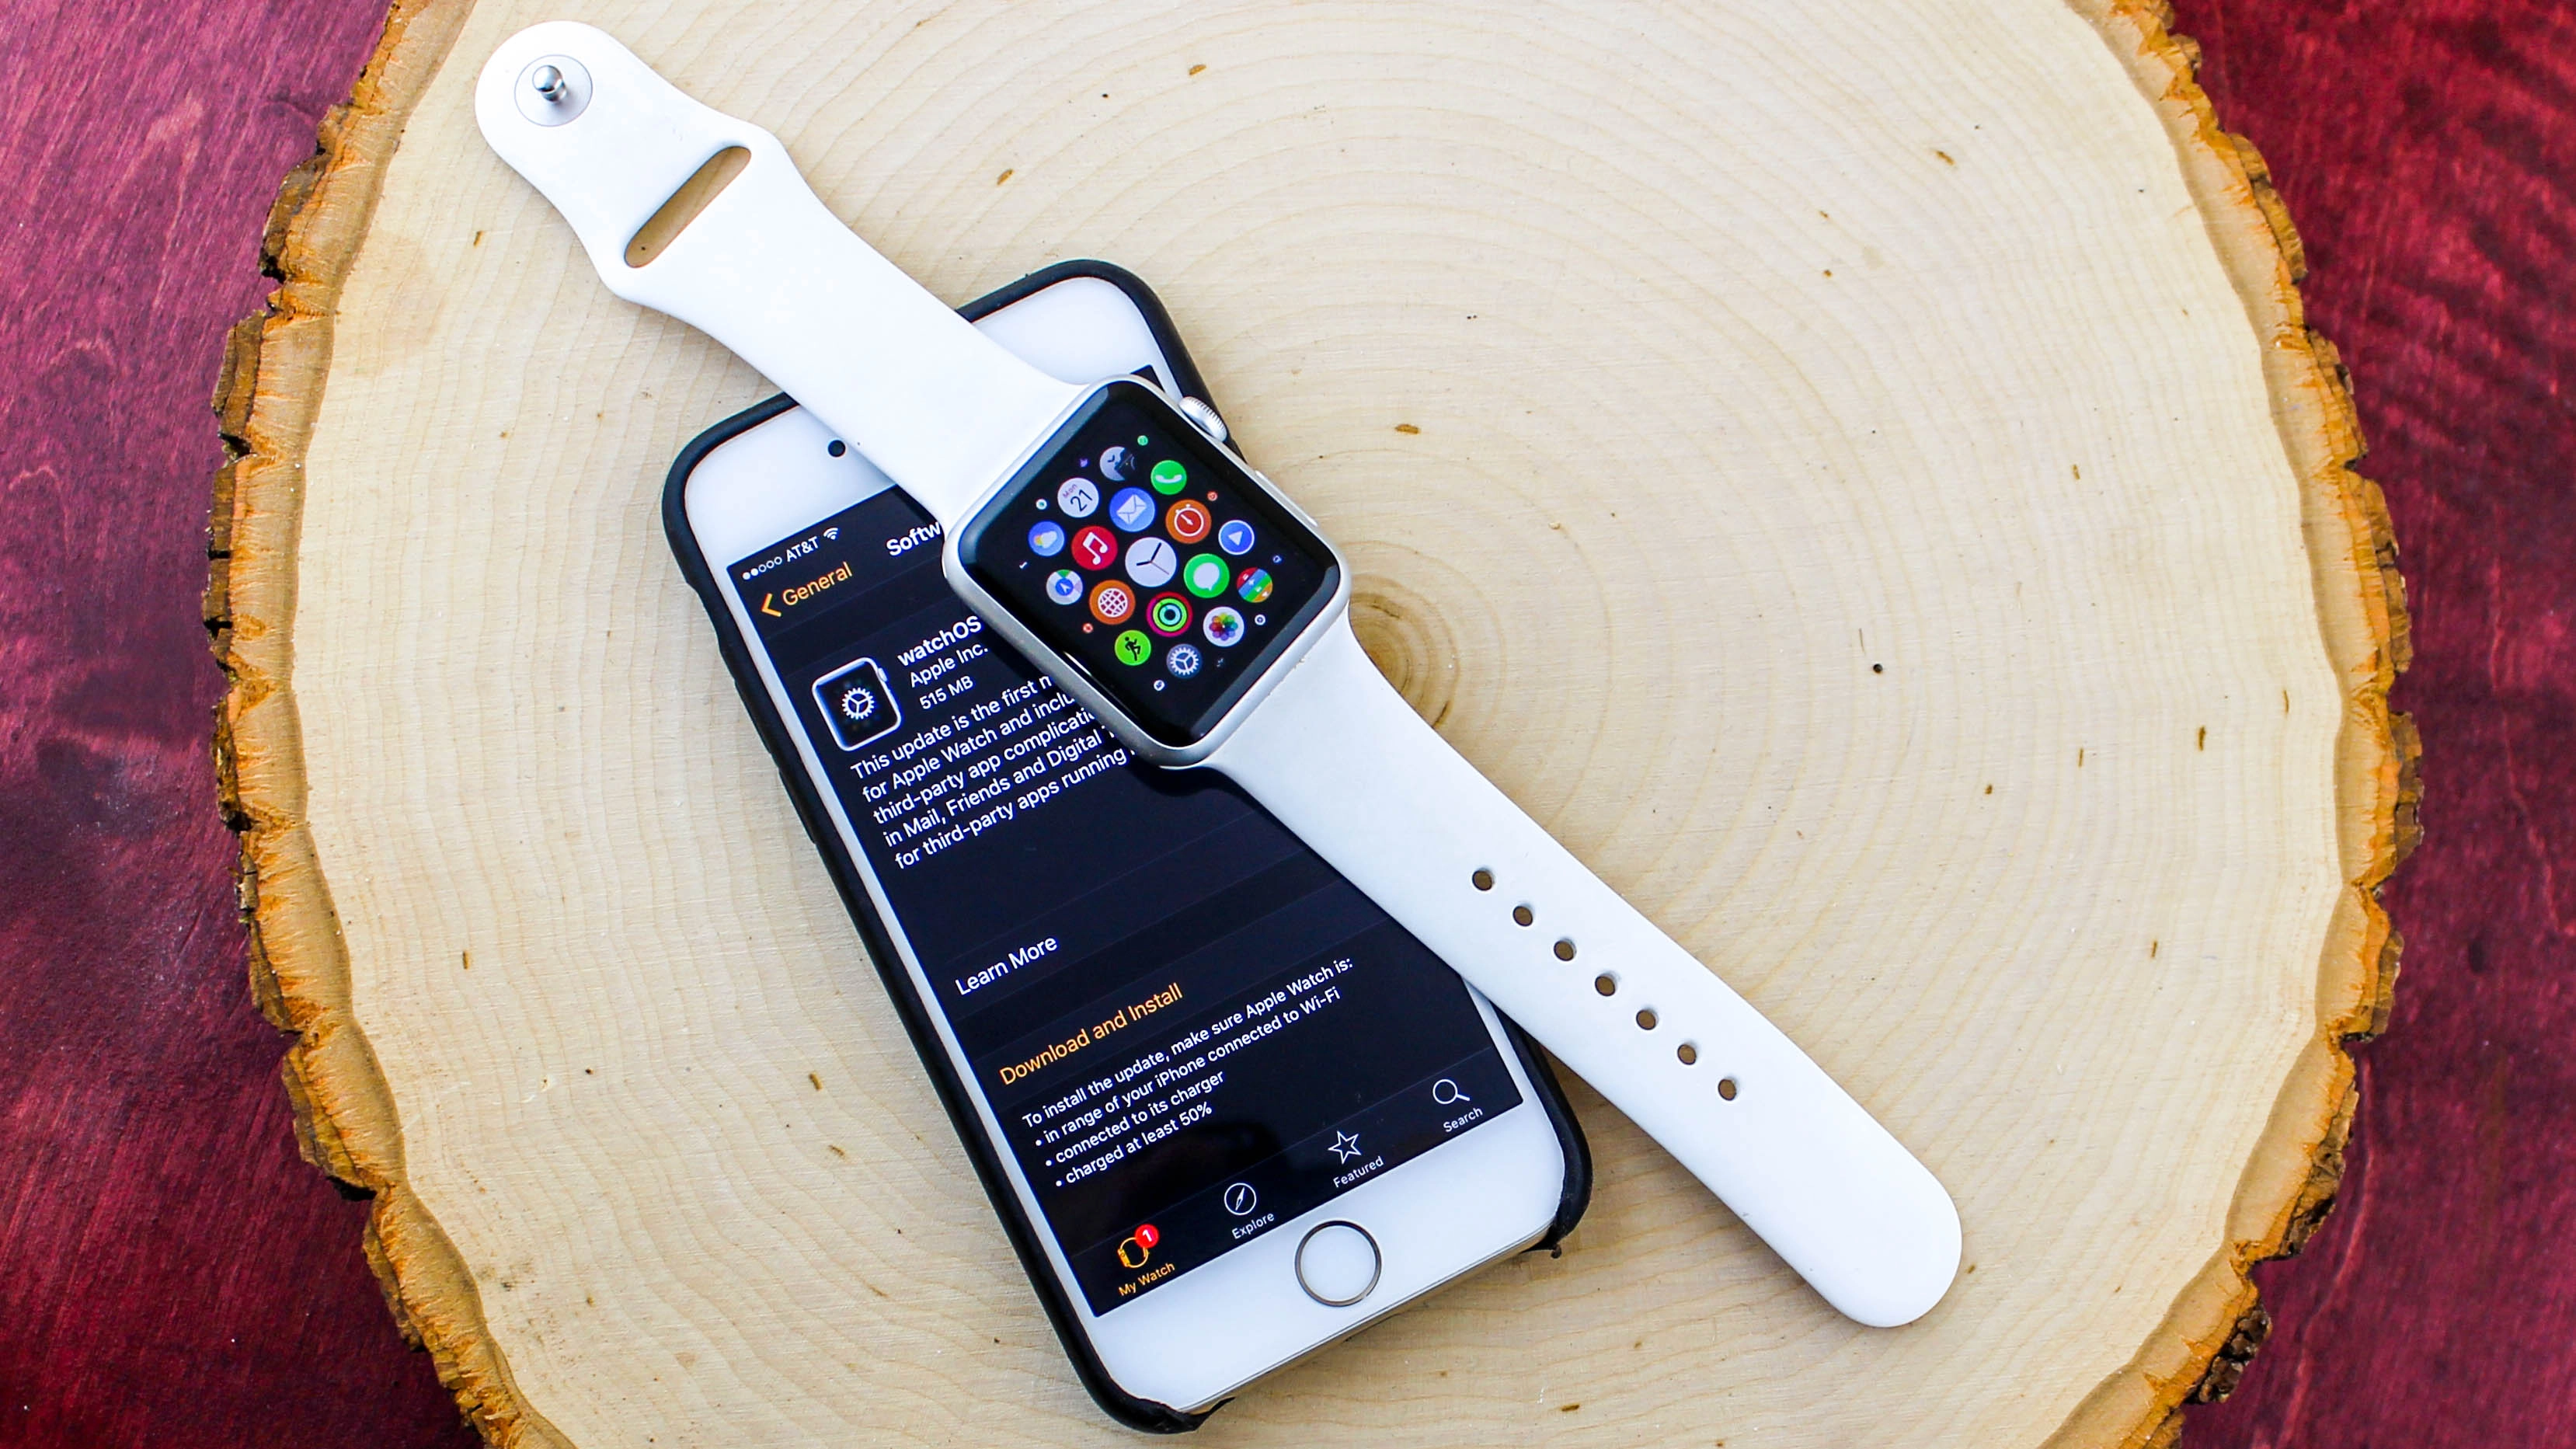
Check for updates
One important feature found in the Apple Watch app that isn't on the device itself is software update. Go to General > Software Update and the app will check if a new version of watchOS is available and enable you to install it.
Your Watch will need to be charging and have at least 50% battery power though. The latest software is currently a version of watchOS 8, which you should be able to download to all versions of the Apple Watch apart from the first two.
If you're buying an Apple Watch now though, it's likely you're going to be buying the Apple Watch 3 or above.
Auto update apps
To save having to remember to install new apps, from the iPhone app tap My Watch > General, and switch on Automatic App Install if it's not already enabled.
Now when you install an iPhone app with an Apple Watch component, it'll automatically appear on your Watch's home screen.
Check the usage
Older Apple Watch models only sport 8GB of storage, which might quickly fill up because only 5.9GB of it is available to you. The Series 4 has 16GB and Series 5 onwards have up to 32GB, leaving more space for local media. You can see what is eating up space in General > Usage.
Fast-forward the time
If you like to set a watch slightly ahead of time, tap Settings on your Apple Watch's home screen and choose Clock. Tap where it says '+0 min' and rotate the Digital Crown to determine how far ahead you want to set the time, then tap Set.
This only affects the watch face; the actual time is displayed elsewhere.
Find your iPhone
Not a setting as such, but this is worth knowing. If you've ever misplaced your iPhone then your Apple Watch can help. Just open the Find Devices app on your Apple Watch, then tap the missing device and tap Play Sound to make it emit a noise so you can locate it.
You can also view the device on a map from here if the app can locate it.
