
 Become a TechRadar Insider


One of the best things about open-source software development is that anyone with the inclination and a modicum of talent can have a go. You don't need expensive software, you don't need developer accreditation and you don't need planning meetings.
With Linux, coding is as easy as installing a development environment and firing up a text editor – as long as you can program, of course. Linux itself is the result of this anarchy, but there are thousands of other apps that have grown from similar origins.
Audacity, GIMP, Inkscape, Pidgin, Scribus, Ardour and numerous other applications have all been through the porting process to bring some of their goodness to Windows. But earlier this year, something far more ambitious happened: a large chunk of the KDE desktop was ported across.
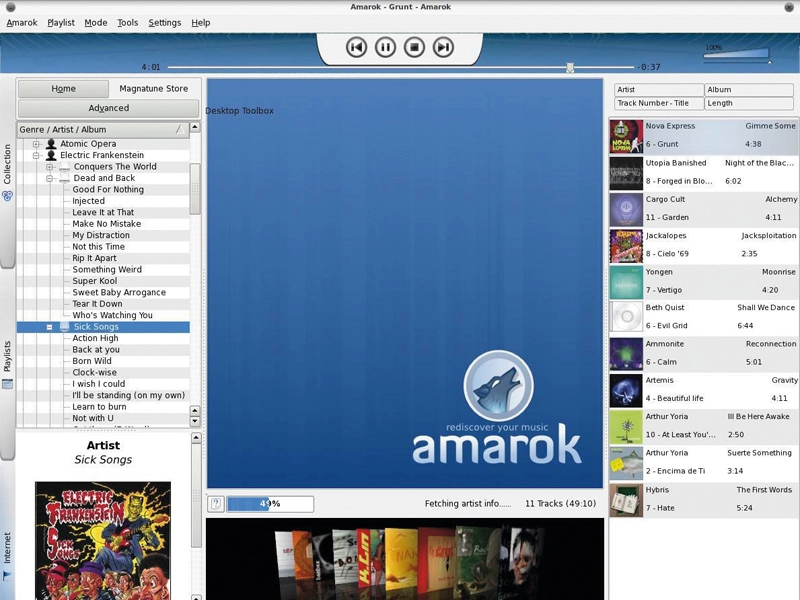
KDE is one of the two most frequently used Linux desktop environments, and it includes desktop widgets, an instant messenger client, multipaned file and web browsing, the Amarok music player and the Digikam photo manager – some of the best that open source has to offer.
KDE has accumulated a huge userbase, and the last 18 months have seen it move from version 3.5 to version 4.2. The toolkit that has always provided most of the functionality behind KDE is called Qt, a commercial suite of libraries and APIs released using both open-source and proprietary licences.
Fourth-generation KDE applications use fourth-generation Qt, and part of that upgrade involves a commitment to cross-platform compatibility. Despite the fact that Qt has been mostly cross-platform for some time, it still takes a considerable amount of effort to create portable KDE applications out of the older code base.
That's why the move to true portability has taken so long, and why the February release of KDE is so significant.
Getting started with KDE
1. After obtaining the KDE installer and launching it, you have the option of either installing from online package repositories or using packages within a local directory. You can also download the packages without installing them, which is handy if you're going to install KDE on several machines.
The download location for these files is one of the options in the configuration panel. After clicking on 'Next', you'll be asked for KDE's installation directory. This can safely be left at the 'Program Files\KDE' default.

The next page asks whether you want an End User installation or a Package Manager installation. The first option is the most straightforward, as it's for people who just want to use the KDE desktop; you should only select Package Manager if you're intending to build your own packages for the Windows project.
The installer can also create a GCC-based tool chain for compiling your own software; you can select between the two supported compiler modes in the section in the lower half of the window. You should only attempt this if you're a competent C++ programmer and understand something of the KDE/Qt APIs.
For the End User installation, select a download path (where the packages will be temporarily stored on your local disk). Skip over the Internet Settings page unless there's something unusual about your connection.
You now need to select a download server as close to your geographical location as possible. Clicking on 'Next' will grab the package list from that server. If successful, you'll see a list of KDE packages you can install. We recommend selecting either 'Stable latest' or 'Stable 4.2.1', the current package at the time of writing.
Installing KDE
2. Clicking 'Next' should now fill the window with dozens of package names. These are the various components of the KDE desktop. The easiest installation is accomplished by simply clicking on the 'Select all' box.

Despite its name, this option won't install everything. For example, it doesn't include non-English spelling and localisation packages, so if you need support for another language, you'll need to add both the spelling and languages packages manually. Click 'Next' a couple more times and the download process will commence.
The time this takes is obviously dependent on your internet connection. If you've selected a complete install, there will be around 130 files, which weigh in at about 270MB in total. After the download has completed, each package will be installed automatically onto your system before a post-processing script configures the KDE environmental variables and adds all the packages to your Window Start menu. That's where you should find the fresh applications of your new KDE desktop after the installation has completed.
If you've not used KDE before, it's worth spending a bit of time learning about a few things that it does differently. An excellent Help file is included in the installation, although it's a little dated for the current release. But before diving into the menagerie of KDE application proper, it makes sense to configure the KDE GUI to improve its look on Windows.
There's a slight problem in the translation between KDE's native widgets and those used by Windows, for example, and the default font also looks a little clunky when compared with other Windows apps. Fortunately, both can be changed quite easily.