Why you can trust TechRadar
Setting up the printer for the first time is relatively simple, and an instruction sheet provided with the device guides you through the process of installing the six different ink cartridges. The print head is already installed so all you need to do is click the cartridges into place. A light on each of the cartridges will come on to let you know that it has been installed correctly and is ready to go.
To access the print head, the front of the printer, including the touchscreen display panel, lifts up, causing the print head to move to the centre for easy access.
There is no USB cable provided in the box, so if you don't have a wireless router in your house, then you'll need to purchase one separately. However, this device has been very much designed with wireless connectivity in mind. Again, setting up the wireless connection is very easy, and the on-screen commands will walk you through the process to get you setup in no time.

After this, you should find that the printer is listed as a device from your computer. Alternatively, if you have an iPhone or iPad, you will be able to print directly using AirPrint. This is a very satisfyingly easy process that requires nothing more than a couple of taps of the screen to get your print. For Android users, the process is a little more complicated, requiring you to download a specialist app, but we are told that development into making quick printing as similarly easy as with iOS devices is on the way.
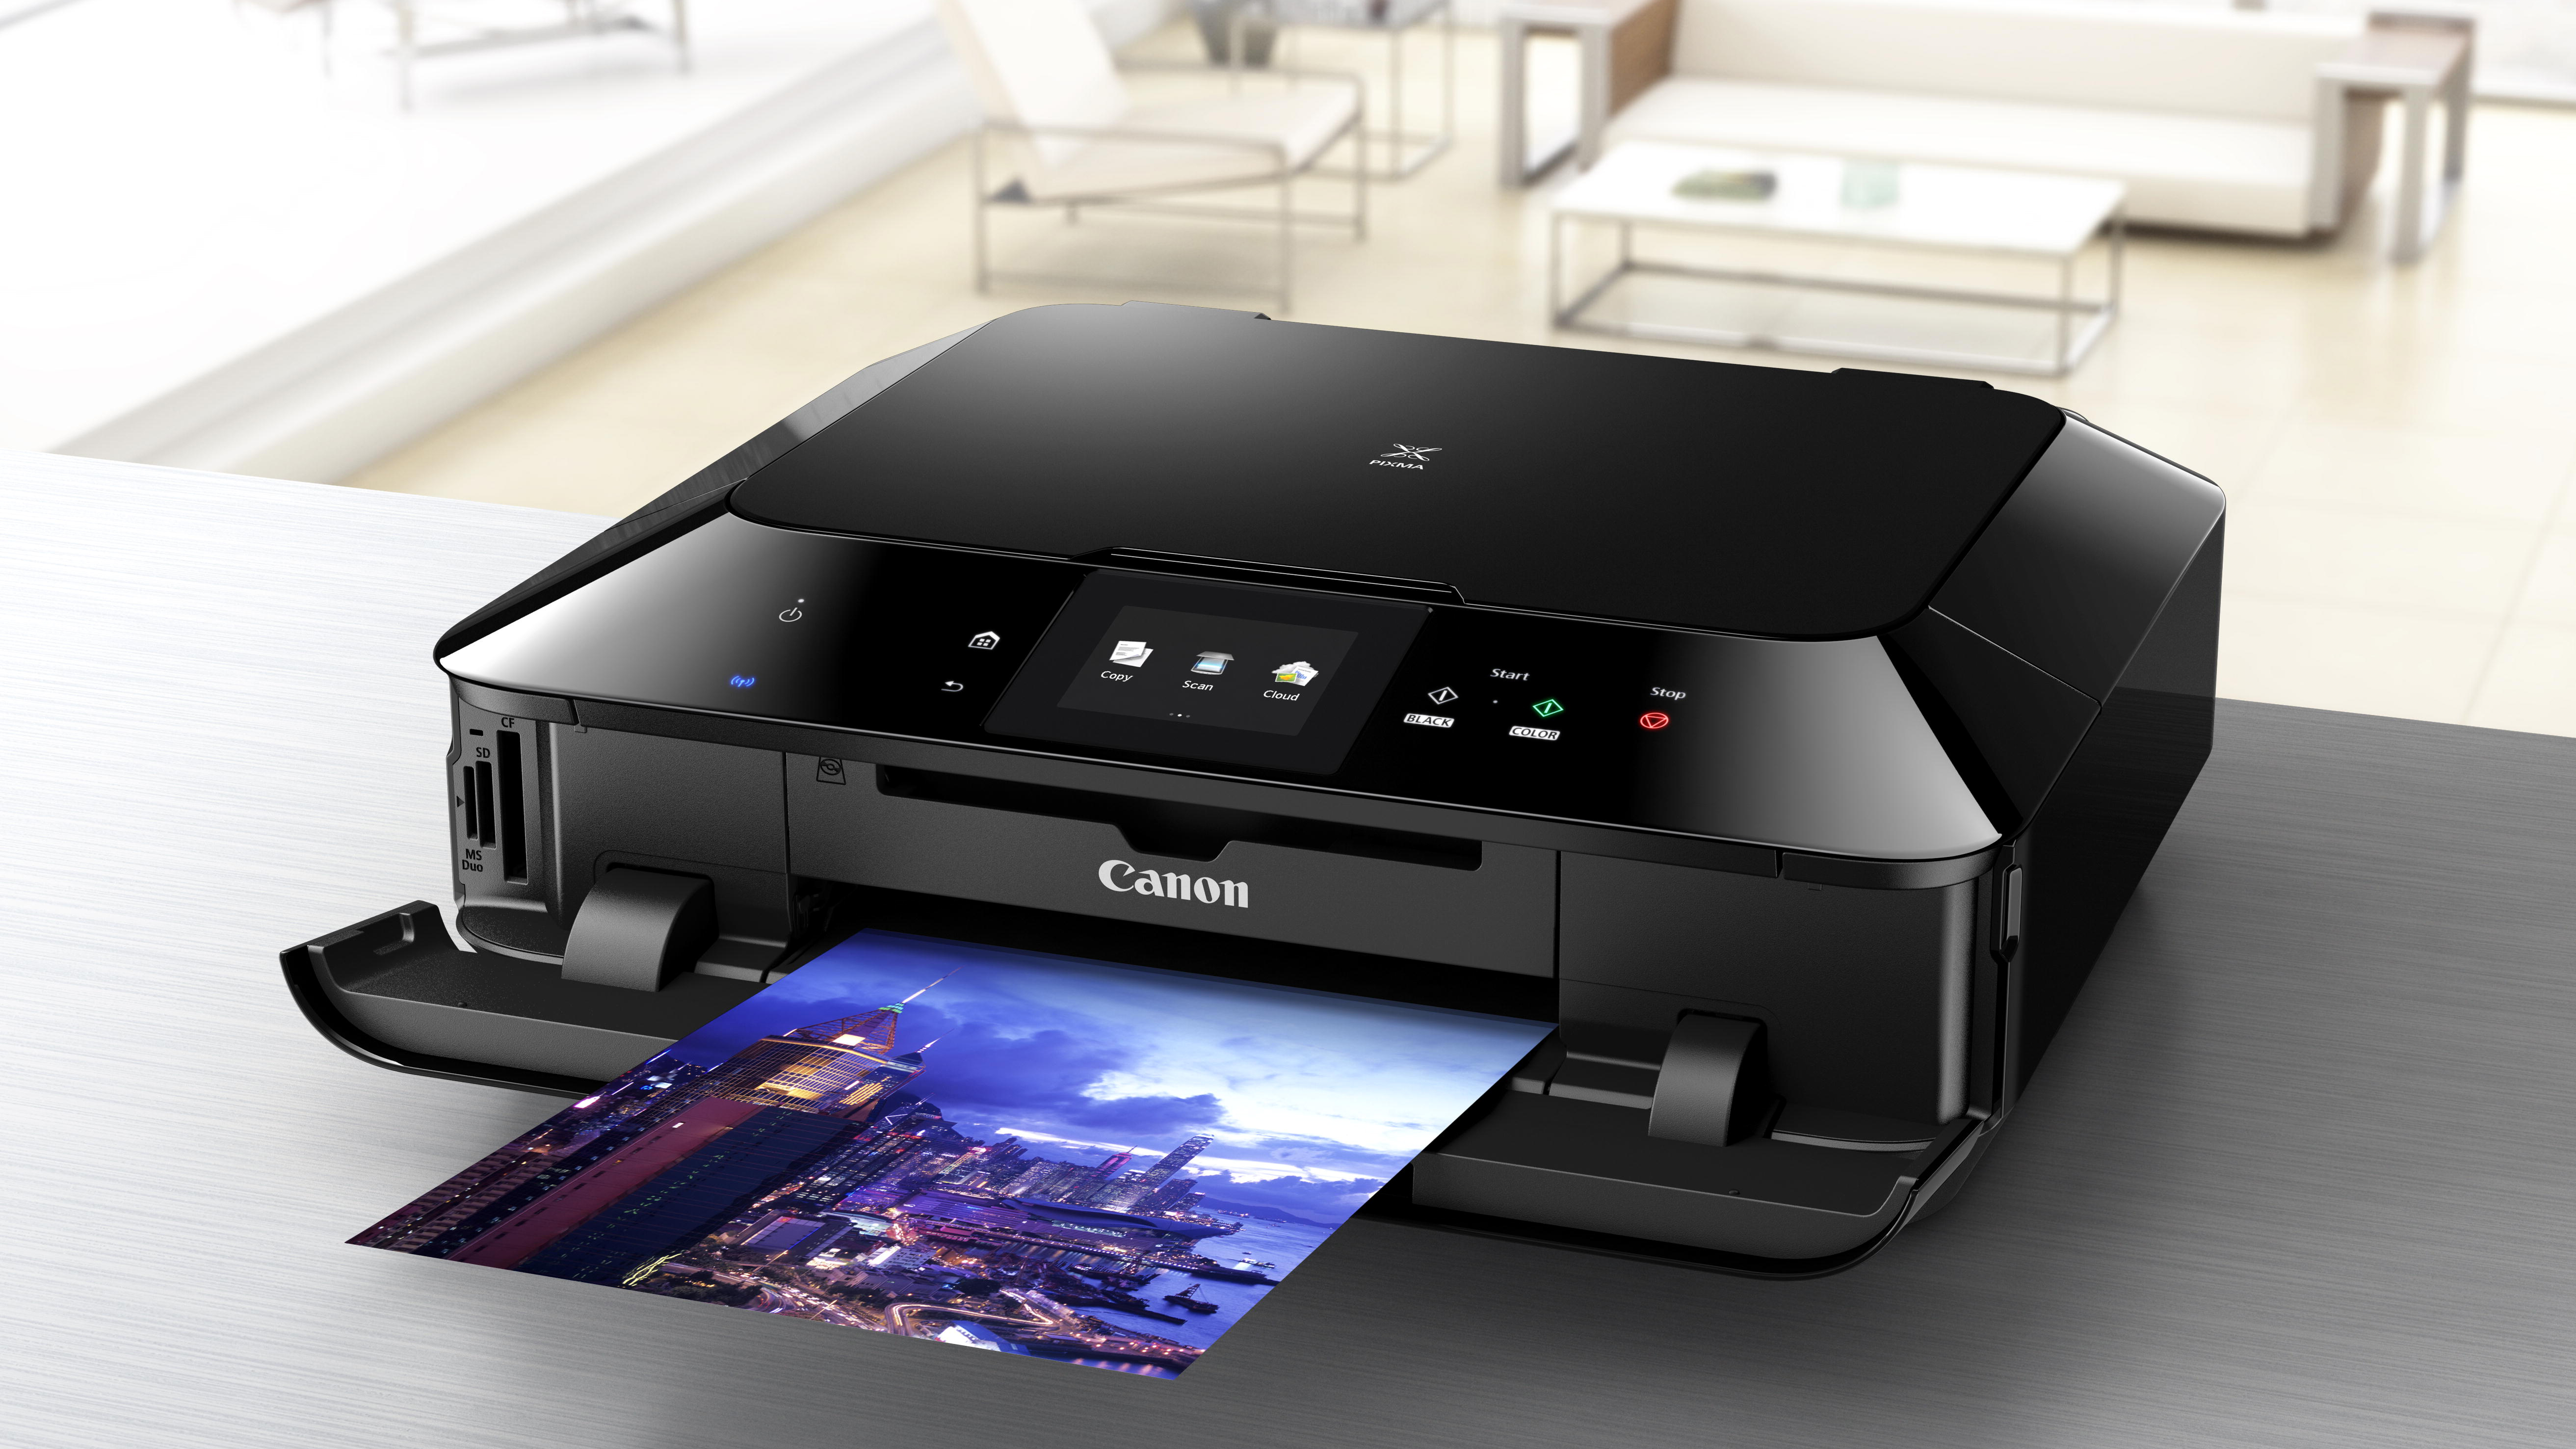
When you want to scan something, again, this is a very easy process thanks to the touchscreen panel on the front of the printer. After placing a document on the scanner tray, tap Scan on the touchscreen panel and the printer will ask you what resolution you'd like to scan it to, and what format (i.e. PDF or JPEG). You can choose to save the scanned document to a memory card which you have placed inside the printer's reader. One thing to watch out for here is when scanning multiple pages - you must tap the "Done" icon before starting a new page, or each scan will be saved with the same file name.

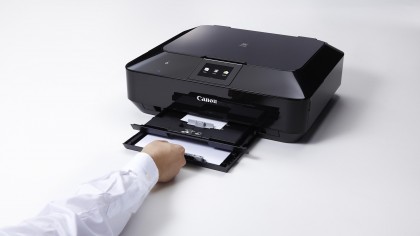
Loading paper in the tray underneath the printer is convenient, and as it's not sticking out of the top of the back of the printer, you'll be able to place the printer on a shelf or somewhere with limited space, which is handy.
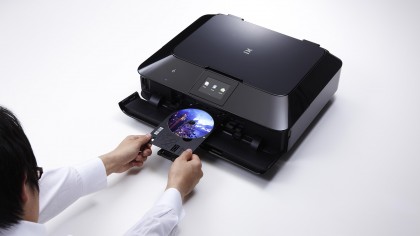
It's a shame not to be able to load two different kinds of A4 paper in the bottom tray, so that you could print documents and photographs seamlessly. At least there is a separate tray for standard photo print sizes of 6x4 and 7x5, which can left permanently loaded with the paper size of your choice ready for quick prints - I found this particularly useful when printing from a smartphone.
Sign up for breaking news, reviews, opinion, top tech deals, and more.
The tray for the printed paper will automatically spring open if you send a document to be printed, which is useful if you're in a different room from the printer, or sit quite a distance from it.
When it comes to checking ink levels, you can either do this through your computer or on the printer itself. Tap the setup menu and tap the check ink levels and it will display all the levels of the inks in the printer, with an exclamation mark over any cartridges which are running low. You can also view the numbers of printer cartridges ready for when you need to buy a new one.

Amy has been writing about cameras, photography and associated tech since 2009. Amy was once part of the photography testing team for Future Publishing working across TechRadar, Digital Camera, PhotoPlus, N Photo and Photography Week. For her photography, she has won awards and has been exhibited. She often partakes in unusual projects - including one intense year where she used a different camera every single day. Amy is currently the Features Editor at Amateur Photographer magazine, and in her increasingly little spare time works across a number of high-profile publications including Wired, Stuff, Digital Camera World, Expert Reviews, and just a little off-tangent, PetsRadar.
