
Do you sometimes get blurred photos from your camera but don't know why? The chances are it's not the camera - it's you! Here are top ten tips for banishing blur from your photos for good.
1. Your shutter speed's too slow

The most common reason why photos aren't sharp is because of camera shake, with the entire image often suffering from a smear-like look. This is because the shutter speed used is too slow, and while you think you might be able to hold a camera pretty still, even the slightest movement can ruin a shot as you press the shutter button.
So what sort of shutter speed should you be using? This is obviously dependent on the creative look you're going for, but a general rule of thumb is to use a shutter speed greater than the focal length of your lens. For example, if you're shooting with a 200mm equivalent lens, you shouldn't shoot any slower than 1/250 sec or you risk camera shake ruining your shot.
Article continues below- Learn more: The A to Z of Photography: Focal length
2. You're placing too much trust in image stabilization

Your camera's image stabilization system, whether it's in-camera or built into the lens can be an incredibly useful piece of tech, allowing you to shoot at shutter speeds much slower than usual. In some cases this can be up to a hefty 5 stops, so if you'd normally need to shoot at 1/250 sec with a 200mm lens, you might be able to get away with a shutter speed as slow as 1/8 sec and still get a sharp shot.
That's great if you're photographing a static subject, but if your subject's moving - the large reduction in shutter speed is going to introduce blur into your subject. To avoid this, make sure you're using a shutter speed fast enough to freeze your subject - you might have to increase your camera's ISO sensitivity to achieve this.
- Learn more: Brand-by-brand guide to image stabilization
3. The ISO you're using is too high

In some instances you'll have to opt for a really high ISO sensitivity to avoid camera shake when you're handholding your camera.
Sensor design has improved dramatically over recent years, allowing you to shoot at much higher ISOs that would have otherwise been possible, but be aware that at the highest settings you will see a loss of detail. This is especially true if you're shooting JPEGs, as the camera uses a noise reduction process to reduce the appearance of noise, which sees fine detail eroded too.
To avoid this, shoot raw files instead and process the images later to get the best results possible.
- Learn more: The A to Z of Photography: ISO
4. Your lens aperture is too small

If you're shooting something like a landscape where in most instances you'll want to capture an image with a large depth of field, a small aperture is a must as this increase the size of the area in focus.
Trouble is, at small apertures an unavoidable payoff is an optical effect called 'diffraction', which sees fine detail start to blur. If you shoot at apertures of f/16 or f/22, your shots can be visibly softer than those shot at wider apertures. This is because light is forced to bend as it passes of the edge of the aperture blades and prevents the light from focusing on the sensor, softening the image.
To avoid this happening, shoot at a slightly wider aperture, such as f/11.
- Learn more: Depth of field explained
5. Your lens aperture is too large

Alternatively, if the part of your image that you've focused on is pin-sharp and the background is blurry, then you've shooting with a shallow depth of field. This happens when you use a wide aperture on your lens, such as f/2.8, and is often desired as it'll nicely isolate your subject from its surroundings. If that's not the look you're after, then all you have to do is increase the aperture, which will increase depth of field and bring the background into focus. Just remember to keep an eye on your shutter speed if you do, as this will get slower as you increase the aperture.
6. You're not holding your camera correctly
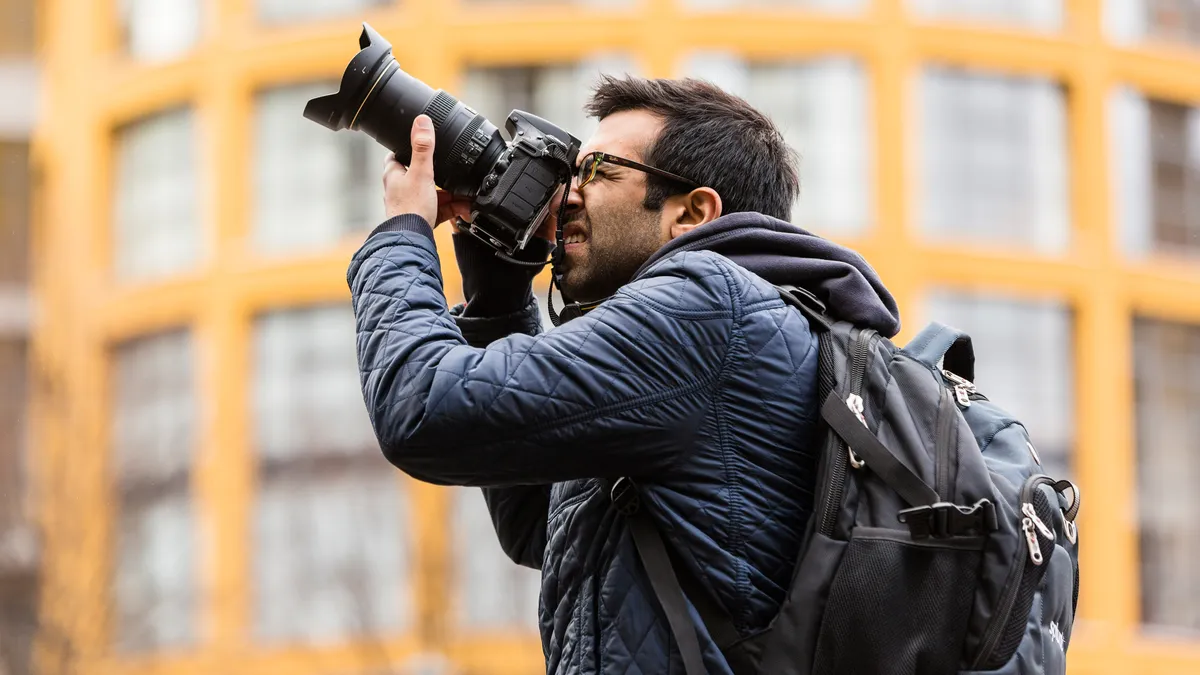
Poor technique can be to blame for a lot of blurry shots. If you're not holding your camera properly and supporting it correctly (many people fall into the trap of holding the camera on its sides), it's all to easy to introduce camera shake. Even if you're using what should be a fast enough shutter speed to avoid this.
Rather than using the rear display to compose and shoot, best practice is to have the camera raised to your eye. By supporting the weight of the lens with your left hand, you'll get a nice stable base from which to shoot.
If you haven't got a viewfinder, don't worry. While you haven't got the added support of the camera resting on your head, the key thing is to support the camera with your left hand while using your right to hold and control the camera.
In some instances, you might want to lean against a wall, or lie on the ground, with your elbows splayed out like a tripod. Speaking of which, in some instances, a tripod will be essential, as the shutter speeds you might need - such as in low-light, mean it's impossible to hand hold and still get a sharp shot.
- Gear guide: The 10 best tripods you can buy right now
7. You're focused on the wrong thing

Most cameras come out of the box with the auto-area AF area mode as the default autofocus setting, which gives full control to the camera, letting it decide on what it thinks it should be focusing on.
This can be fine for a lot of general photography, but it can and will get it wrong - especially if your subject's towards the edge of the frame. It's here you'll want to choose your camera's single-point AF are mode, which allows you to select a specific focus point or area of the frame manually.
8. You need to switch to continuous focusing

If you're going to be photographing static subjects, then your camera's AF-S single-shot focusing mode (known as AI-Focus on Canon cameras) is perfect. Should your subject start to move though, and because the focus is locked when you half-press the shutter button, it won't update the focus and your subject will be out of focus.
To remedy this, you'll need to switch your camera's focusing mode to continuous (AF-C, though Canon call it AI-Servo), as this will see the camera constantly update the focusing as your subject moves, like these cyclists in the shot above.
Remember though, not all camera focusing systems are equal, and for fast moving subjects, your camera may not be able to keep up. Also, if your subject is moving round the frame, you'll want to select your camera's focus tracking mode to follow your subject.
- Learn more: 9 tips for taking sports photos like a pro
9. You need to to take a step back

If you're trying to focus on a subject very close to you, you might find that your photos are blurred. This is often down to the limitations of your lens, as most will have a minimum focusing distance that means you won't be able to focus as close as you'd often like to be able to.
To rectify this, you may need to make a step or two backwards to extend the distance between you and your subject, but that will mean you won't have quite the tight crop as you might like. Alternatively, if you're wanting to regularly shoot close-up subjects, you might want to think about getting a dedicated macro lens, as these can focus much closer.
10. Is your lens clean?

You can have your technique spot-on, but if your kit's not up to scratch, you can still end up with blurred photos. For instance, if you walk into a humid indoor environment, your lens may mist up, producing a blurry, soft-focus effect. It's a similar thing if you go from somewhere nice and warm and then go straight into somewhere cold, you'll experience the same thing.
That's not the only problem. Other causes of blur are greasy smears and fingermarks - so check the front of your lens before blaming the camera.
- Gear guide: 10 essential accessories for your new camera
