How to take Apple TV screenshots on Mac
Snap away on your Mac and Apple TV

Sign up for breaking news, reviews, opinion, top tech deals, and more.
You are now subscribed
Your newsletter sign-up was successful
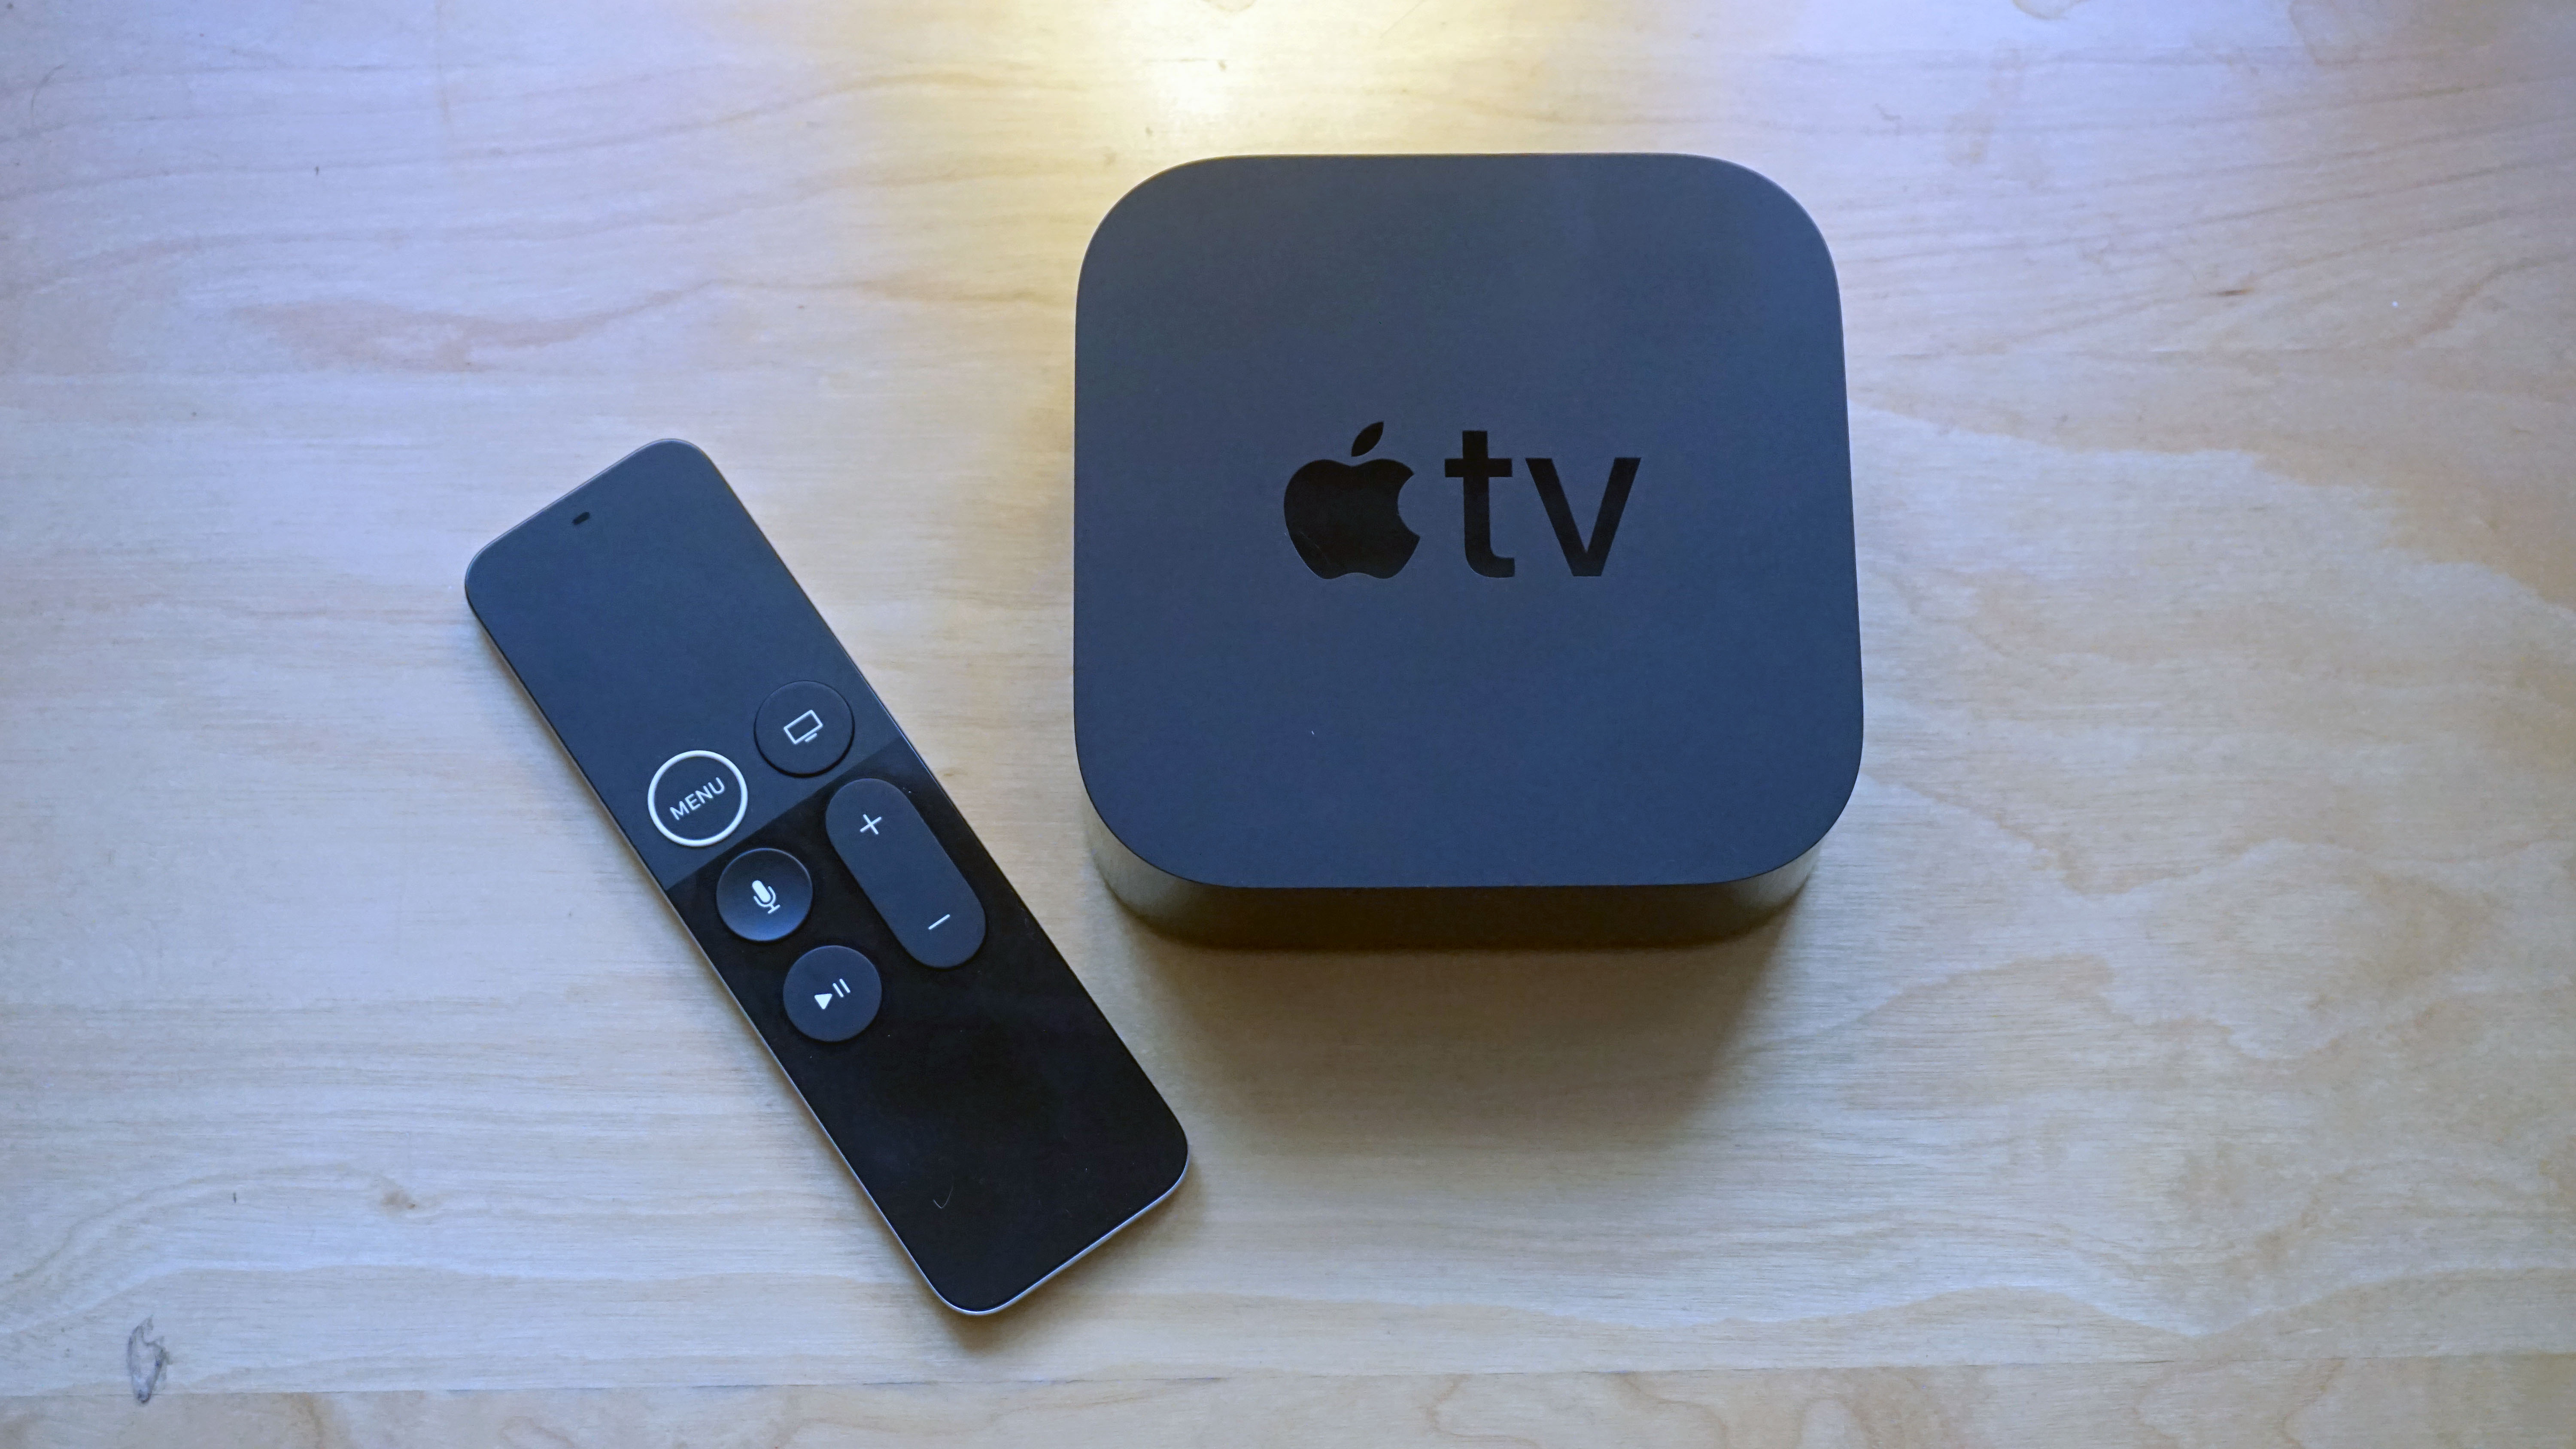
Whether it’s for business or something more entertaining, you can screenshot and record from an Apple TV with your Mac. Doing so requires both devices are on the same Wi-Fi network, and you use macOS’s built-in QuickTime Player app to get the job done.
- Apple TV 4K review
- Our favorite MacBook and Mac desktops on the market
- How to take a screenshot on a Mac

1. Confirm Wi-Fi settings
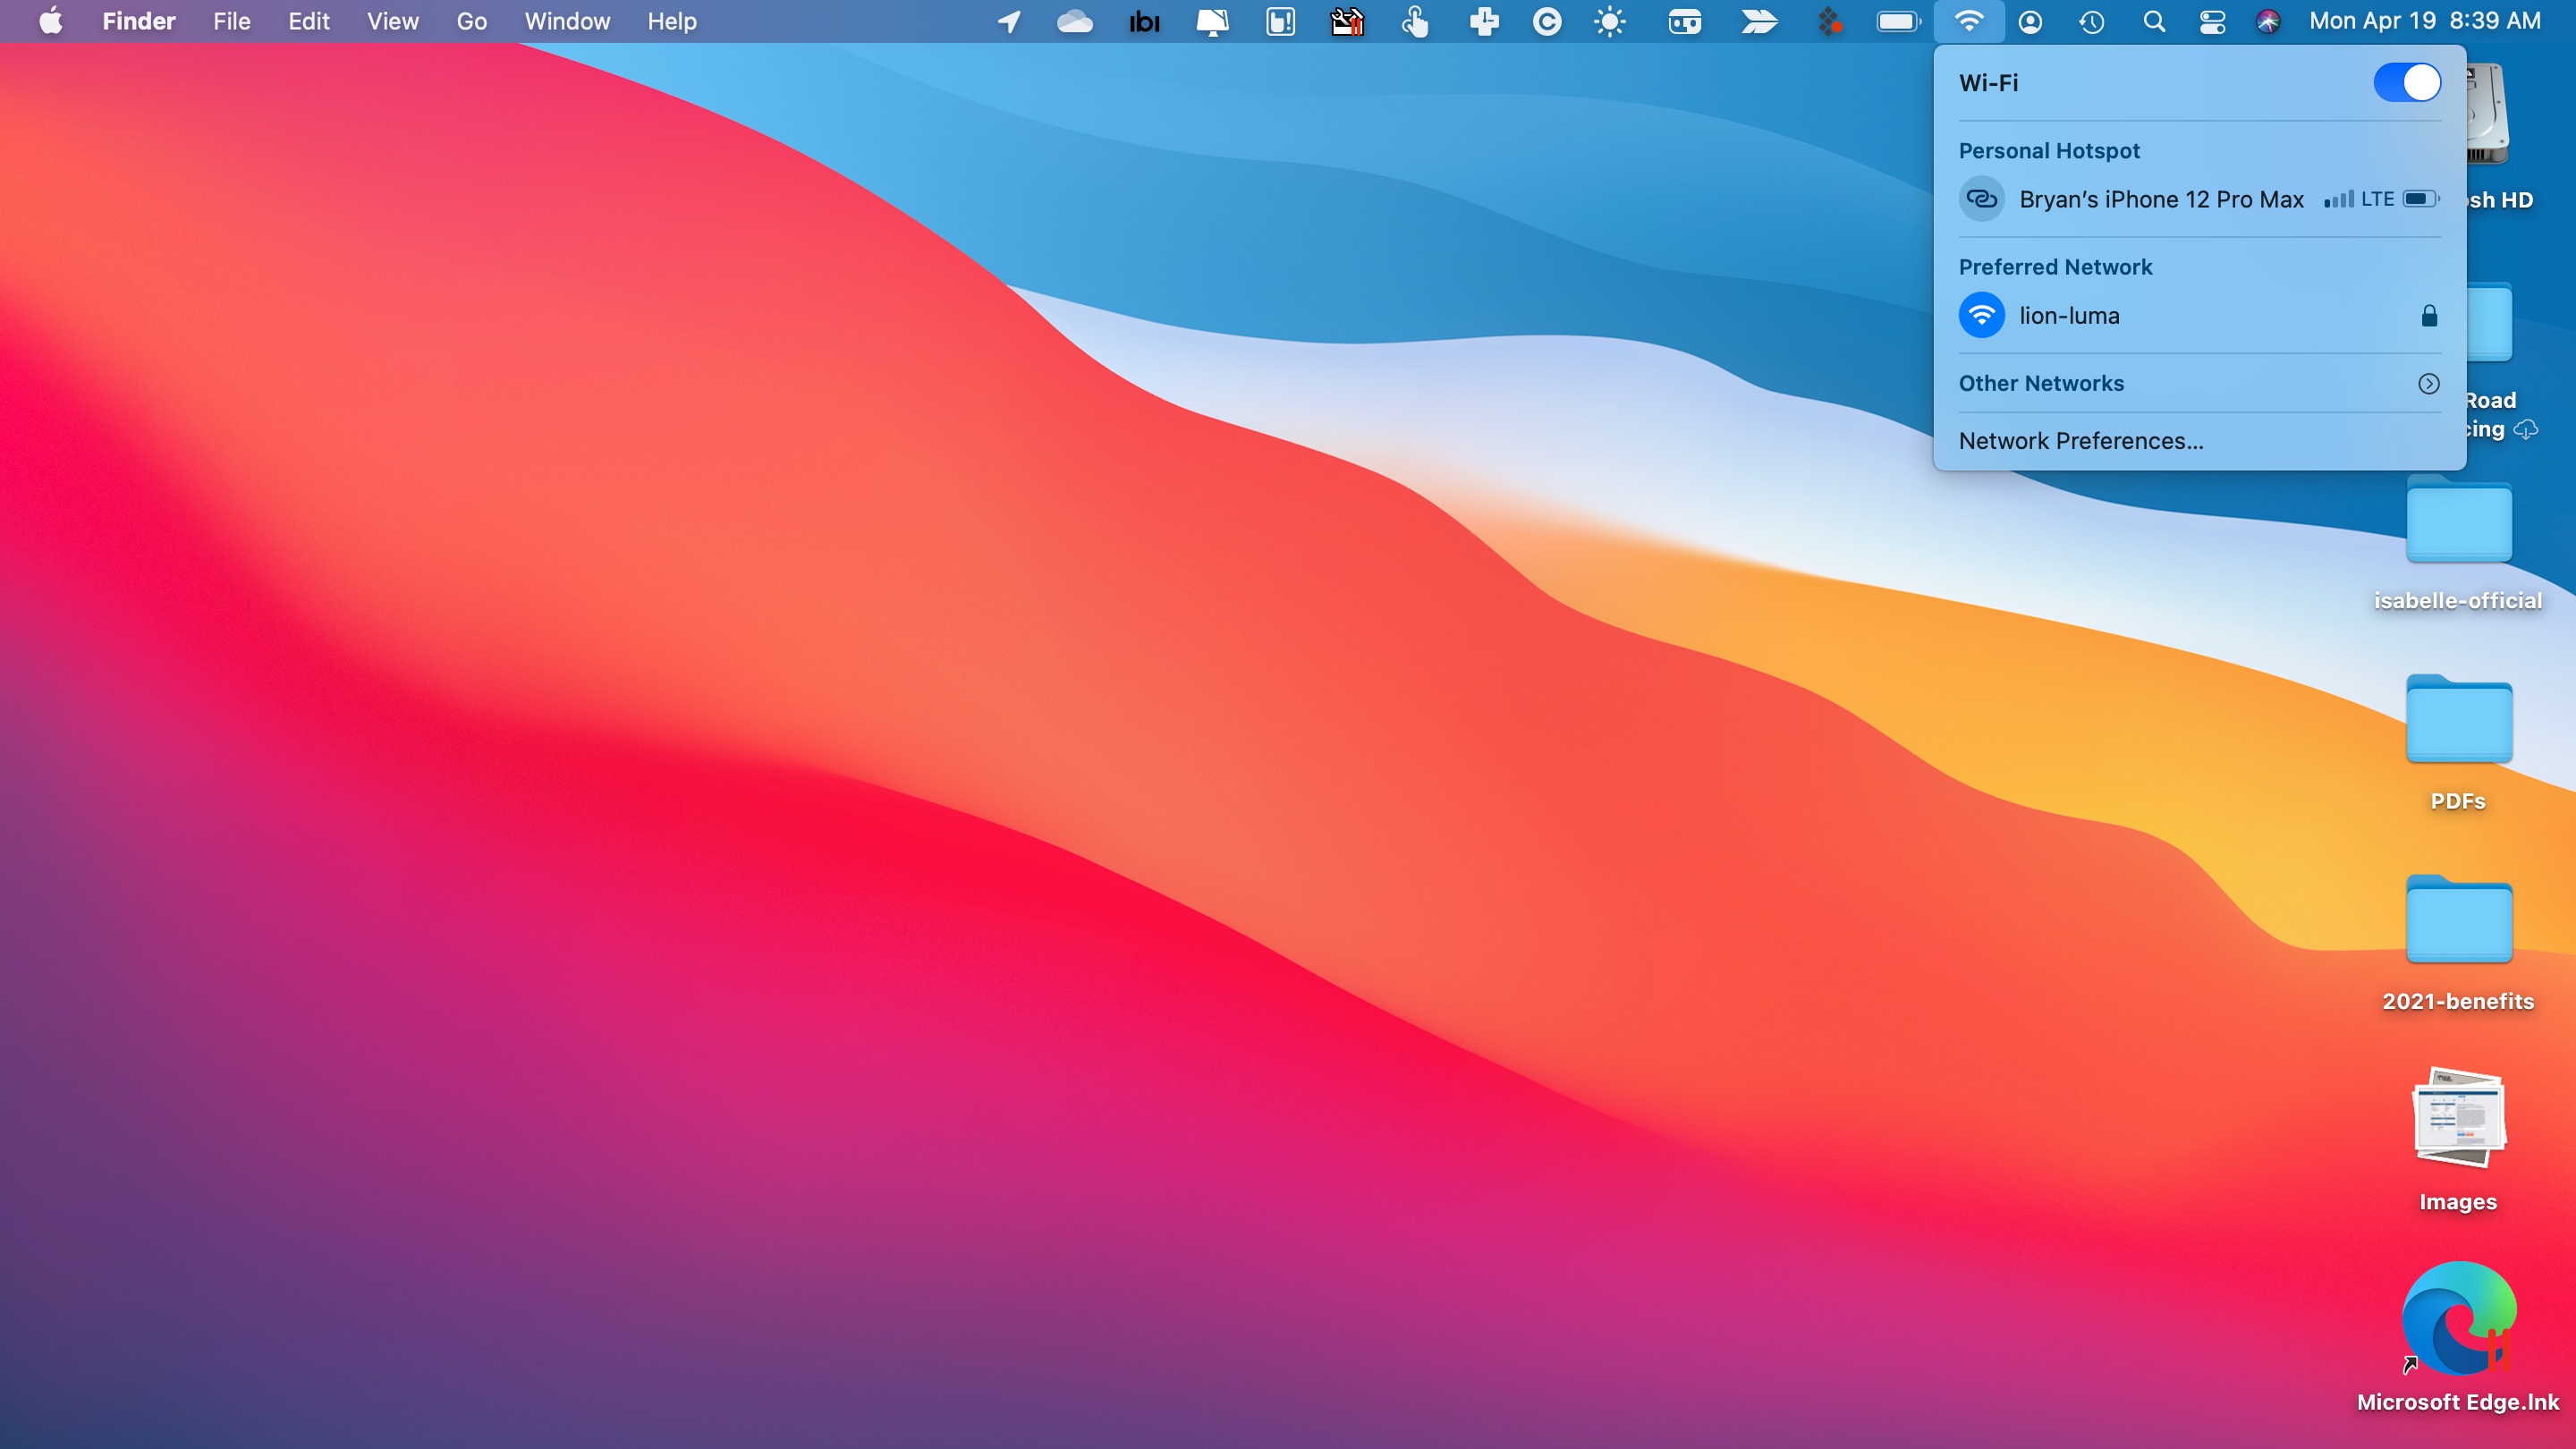
The first thing you need to do is confirm your Mac and Apple TV are on the same Wi-Fi network. In a home environment, confirmation is less important since there’s probably only one network being used in your house. In an office, this is less certain.
On Mac, click on the networking icon at the top right of your computer screen. In the pull-down menu, confirm the active Wi-Fi network. In macOS Big Sur, the current network is shown in blue.
Moving to Apple TV, go into the 'Settings' app, then choose 'Network'. Confirm the Wi-Fi networking under 'Connection' is the same one being used on your Mac. If not, click on the existing connection, then choose the correct one from the list of active connections.

2. Screenshot Apple TV
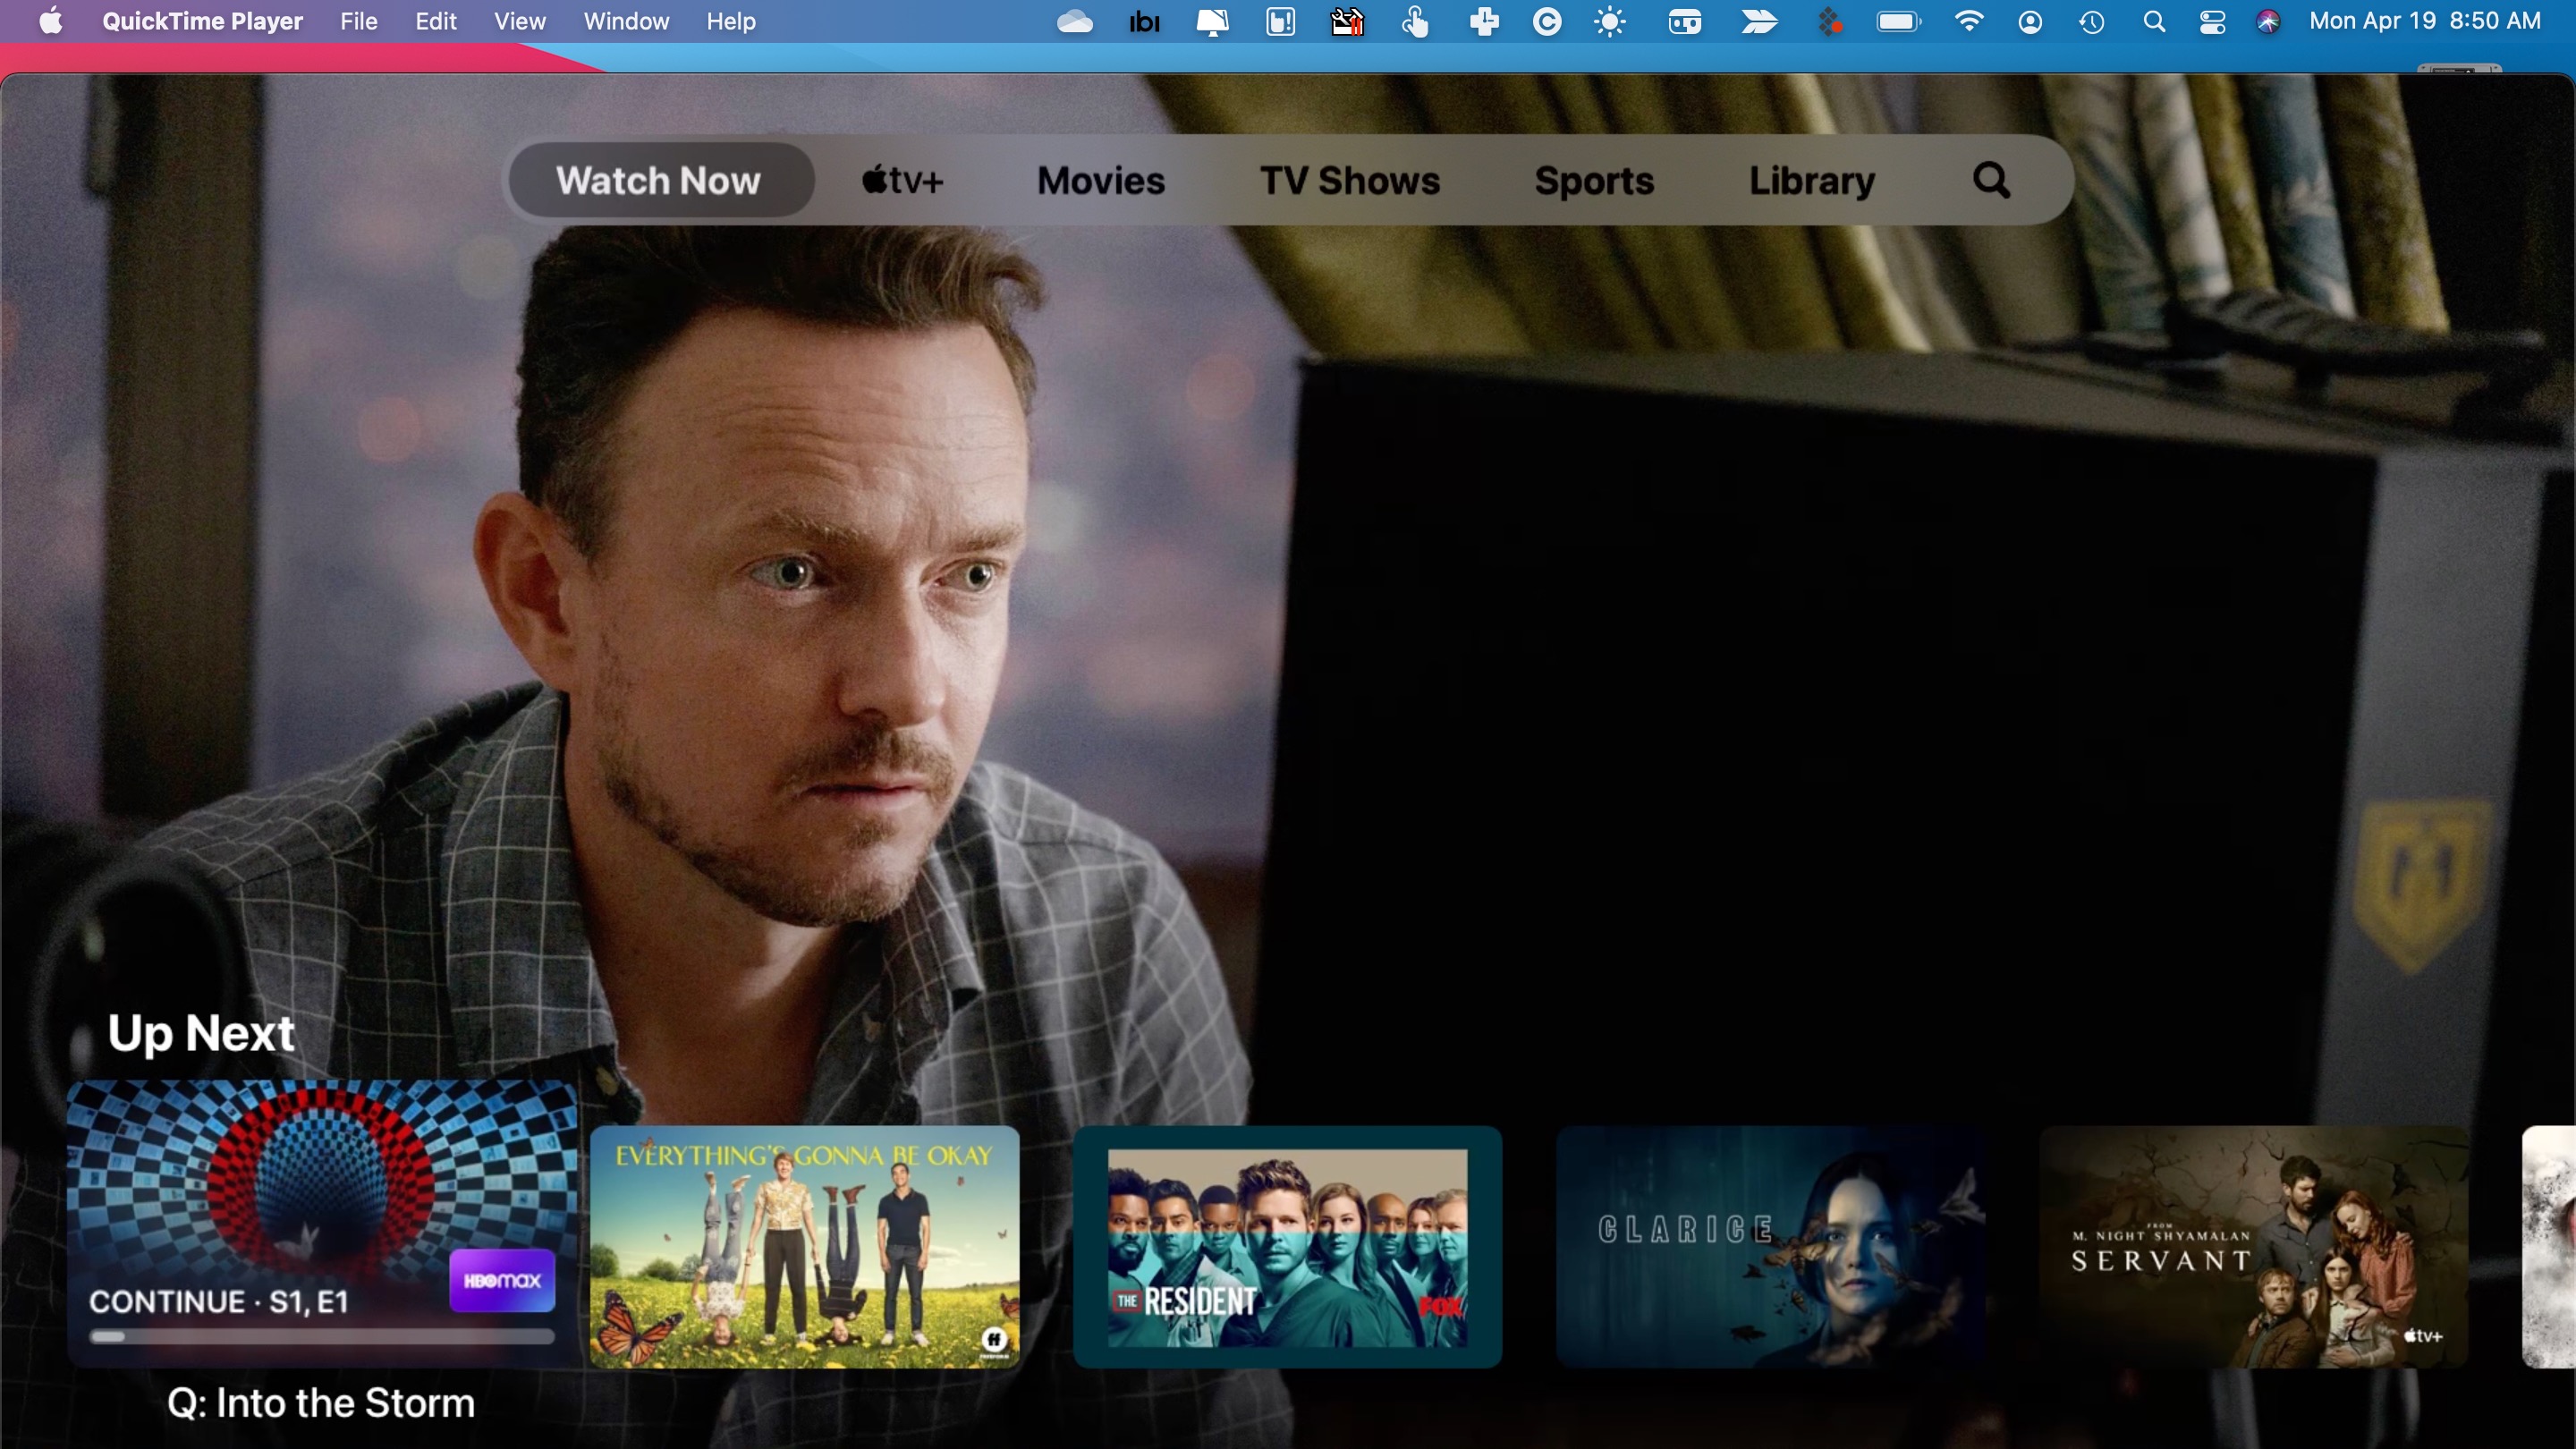
Now it’s time to screenshot Apple TV on Mac. Search and select 'QuickTime Player' from Spotlight, or choose the app under the Applications folder. When in the QuickTime Player app, click 'File' followed by 'New Movie Recording' on the menu bar.
Most likely, you'll now see a photo of yourself being streamed! You need to change this, so the QuickTime Player is streaming the Apple TV screen. Click on the pull-down icon to the right of the record icon in the middle of your Mac screen. Then select your Apple TV as the camera.
In the pop-up box, add the four-digit code that’s shown on the Apple TV display. Then click ‘OK’. This number verifies that you wish to connect the two devices.
Sign up for breaking news, reviews, opinion, top tech deals, and more.
You are now recording your Apple TV. To confirm, you’ll see a red border around the Apple TV screen. To screenshot, go to the location on your Apple TV you wish to snap using your remote just as you always do.
To take a screenshot, press Shift+Cmd+5 simultaneously on your Mac keyboard to bring up the macOS Screenshot tool. We also have an in-depth guide on how to take a screenshot on a Mac for more information.
There are five actions in the Screenshot tool. These actions include capturing the entire screen, capturing a window, or capturing a portion of the screen for screenshots. The choices are to record the entire screen or record a portion of the screen for video recording.
To start a screenshot or screen recording:
- For the entire screen or a portion of it: Click 'Capture'.
- For a window: Move the cursor to the window, then click the window.
- For recordings: Click 'Record'. To stop recording, click the 'Stop Recording' button in the menu bar.
Repeat this process to take additional screenshots from your Apple TV.
3. Copyrighted material
Note that you can't screenshot or record copyrighted content from your Apple TV. In other words, it's not possible to record your favorite TV show or movie, then save a copy through QuickTime. Instead, your screenshot or recording will only show a black screen.
- How to fix the most common macOS Big Sur issues

Bryan M. Wolfe is a staff writer at TechRadar, iMore, and wherever Future can use him. Though his passion is Apple-based products, he doesn't have a problem using Windows and Android. Bryan's a single father of a 15-year-old daughter and a puppy, Isabelle. Thanks for reading!