How to save your Google Photos to iPhone or iCloud
Download snaps from Google Photos to your Apple device
Sign up for breaking news, reviews, opinion, top tech deals, and more.
You are now subscribed
Your newsletter sign-up was successful
Wondering how to save snaps from your Google Photos library to your iPhone’s camera roll? While you can’t set Google Photos to automatically download new images to your iPhone, there are several easy ways to save your favorite shots to your iOS device.
Google Photos is a feature-packed alternative to the Photos app that’s baked into every iPhone. Like iCloud, it features a seamless backup service to keep your snaps safely stashed in the cloud. It also offers smart album suggestions, automated editing tools, and easy sharing options.
Unfortunately, a Google Photos policy change effective from 1 June 2021 means that it will no longer offer unlimited free storage of ‘high quality' photos. Instead, you’ll get 15GB of free storage for new ‘high quality' photos, alongside existing ‘original’ quality images. Anything over that will require a Google One subscription, which starts at £1.59 / US$1.99 per month for 100GB.
So whether you want to clear some space in your Google Photos library or save your favorite snaps before you make a complete switch to iCloud, here’s how to download images from Google Photos to your iPhone or iCloud.
- Here's how to move Apple iCloud photos to your Google Photos account
- Google Photos warns against using its compressed high quality mode
- iCloud Storage: How much do you really need
How to save individual photos to your iPhone
It’s very straightforward to save individual images from your Google Photos library to your iPhone or iPad. If you haven’t already, you’ll need to start by downloading the Google Photos app for free from the Apple App Store.
Open the Google Photos app and locate the thumbnail of the image you’d like to download to your iPhone. Tap to open the photo, then hit the three dots in the top right corner of the screen. You’ll see a readout featuring image details – such as file size and date of creation – as well as a toolbar offering various options. From this toolbar, select the ‘download’ button.
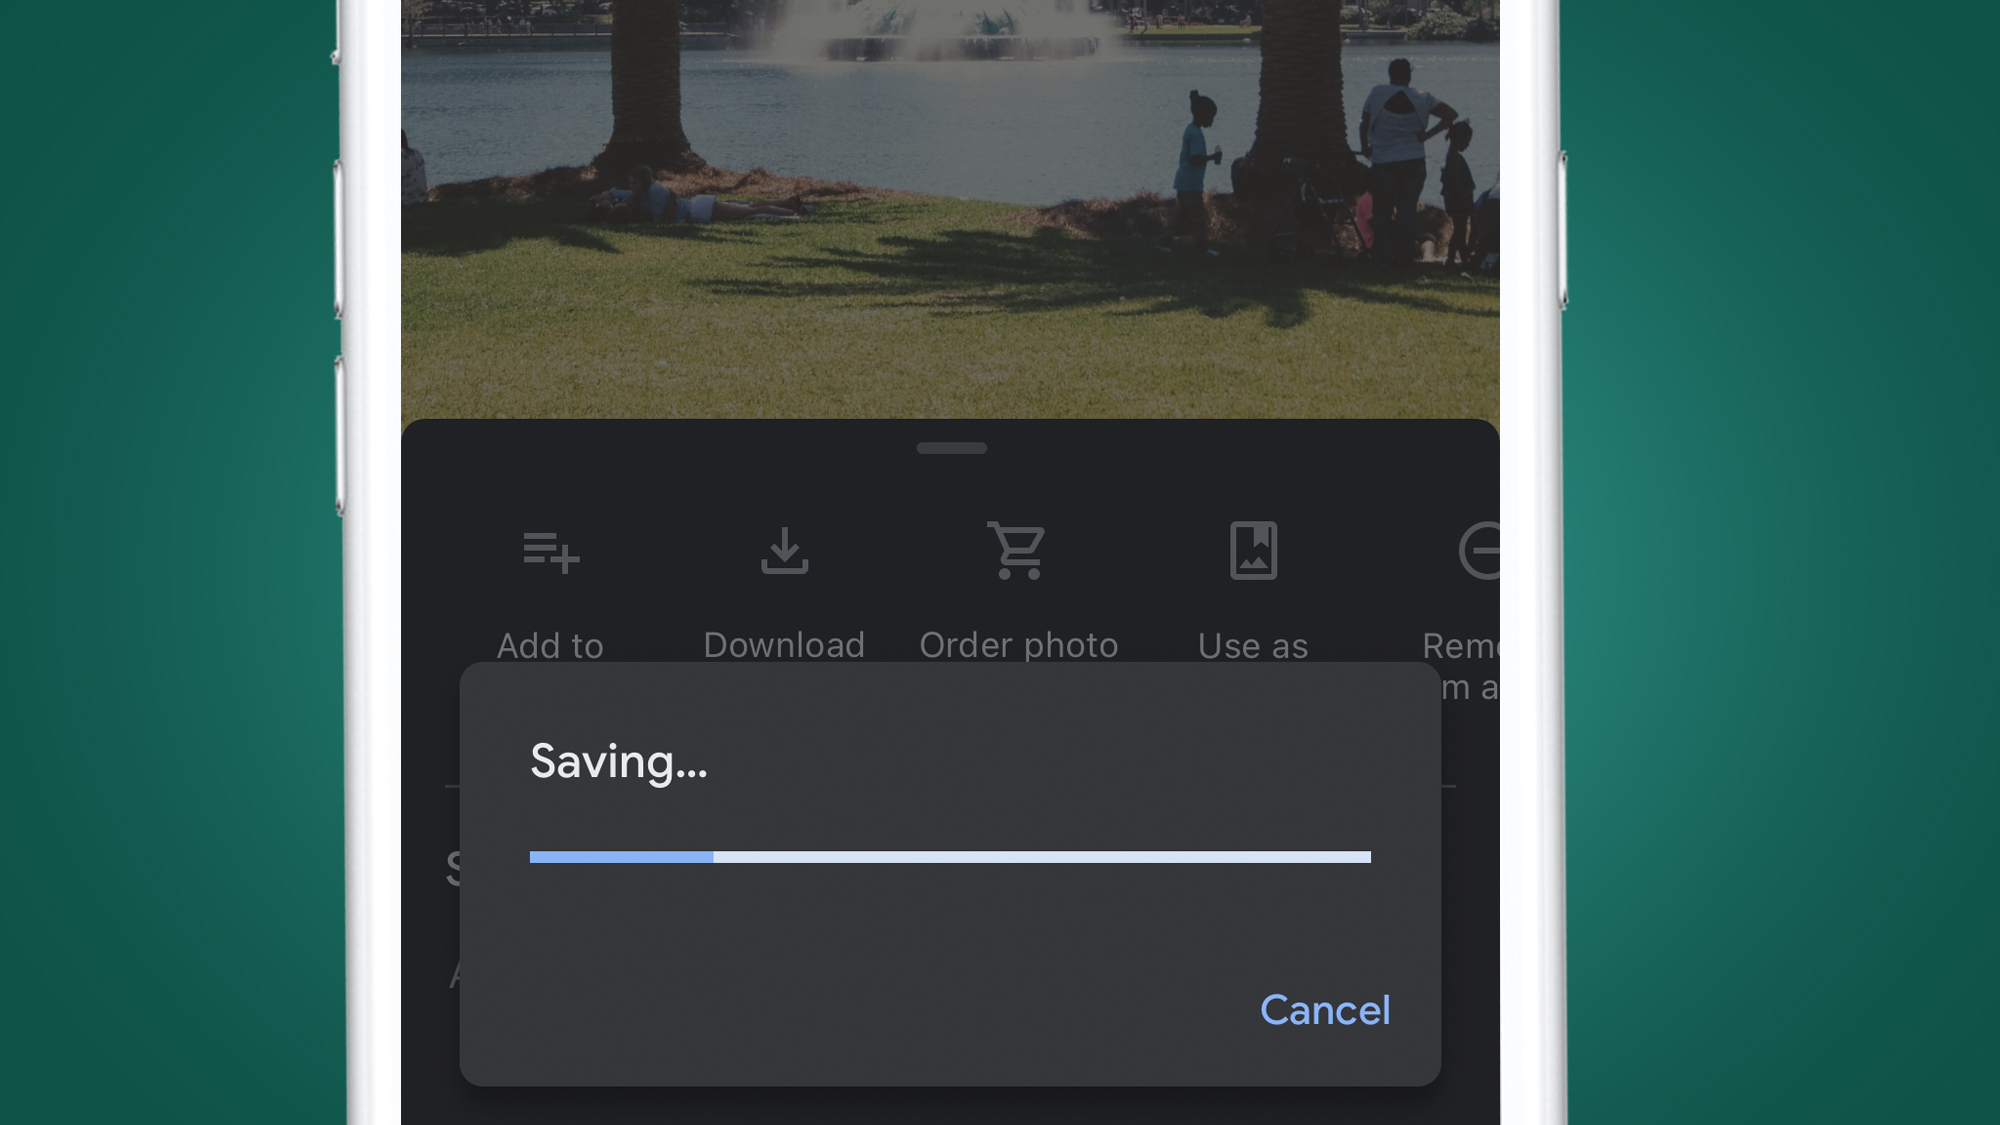
A progress bar will briefly appear, followed by a pop-up that confirms that the snap has been successfully saved to your iPhone’s camera roll. Head to your iPhone’s default Photos app and you should see the photo you just downloaded waiting in the ‘recents’ folder. It’s that easy.
Sign up for breaking news, reviews, opinion, top tech deals, and more.
You don’t need to enable the backup and sync setting to save single shots from Google Photos to your iPhone, but it can be helpful. With the option turned on, Google will check your iPhone’s camera roll to see which snaps are already saved to your device. To help save data and prevent duplicates, the download option won’t appear for shots that you’ve already got.
If you don’t see a ‘download’ option in the toolbar, it’s almost certainly because the image is already saved to your iPhone’s camera roll.
How to save multiple photos to your iPhone
Saving several snaps from Google Photos to your iPhone at the same time is a slightly different process – but just as simple. When looking at the grid of thumbnails in the Google Photos app, press and hold on the first image you’d like to save. The thumbnail will be indented with a blue-grey border and a blue checkmark will appear in its top-left corner. This shows that the image in question has been selected.
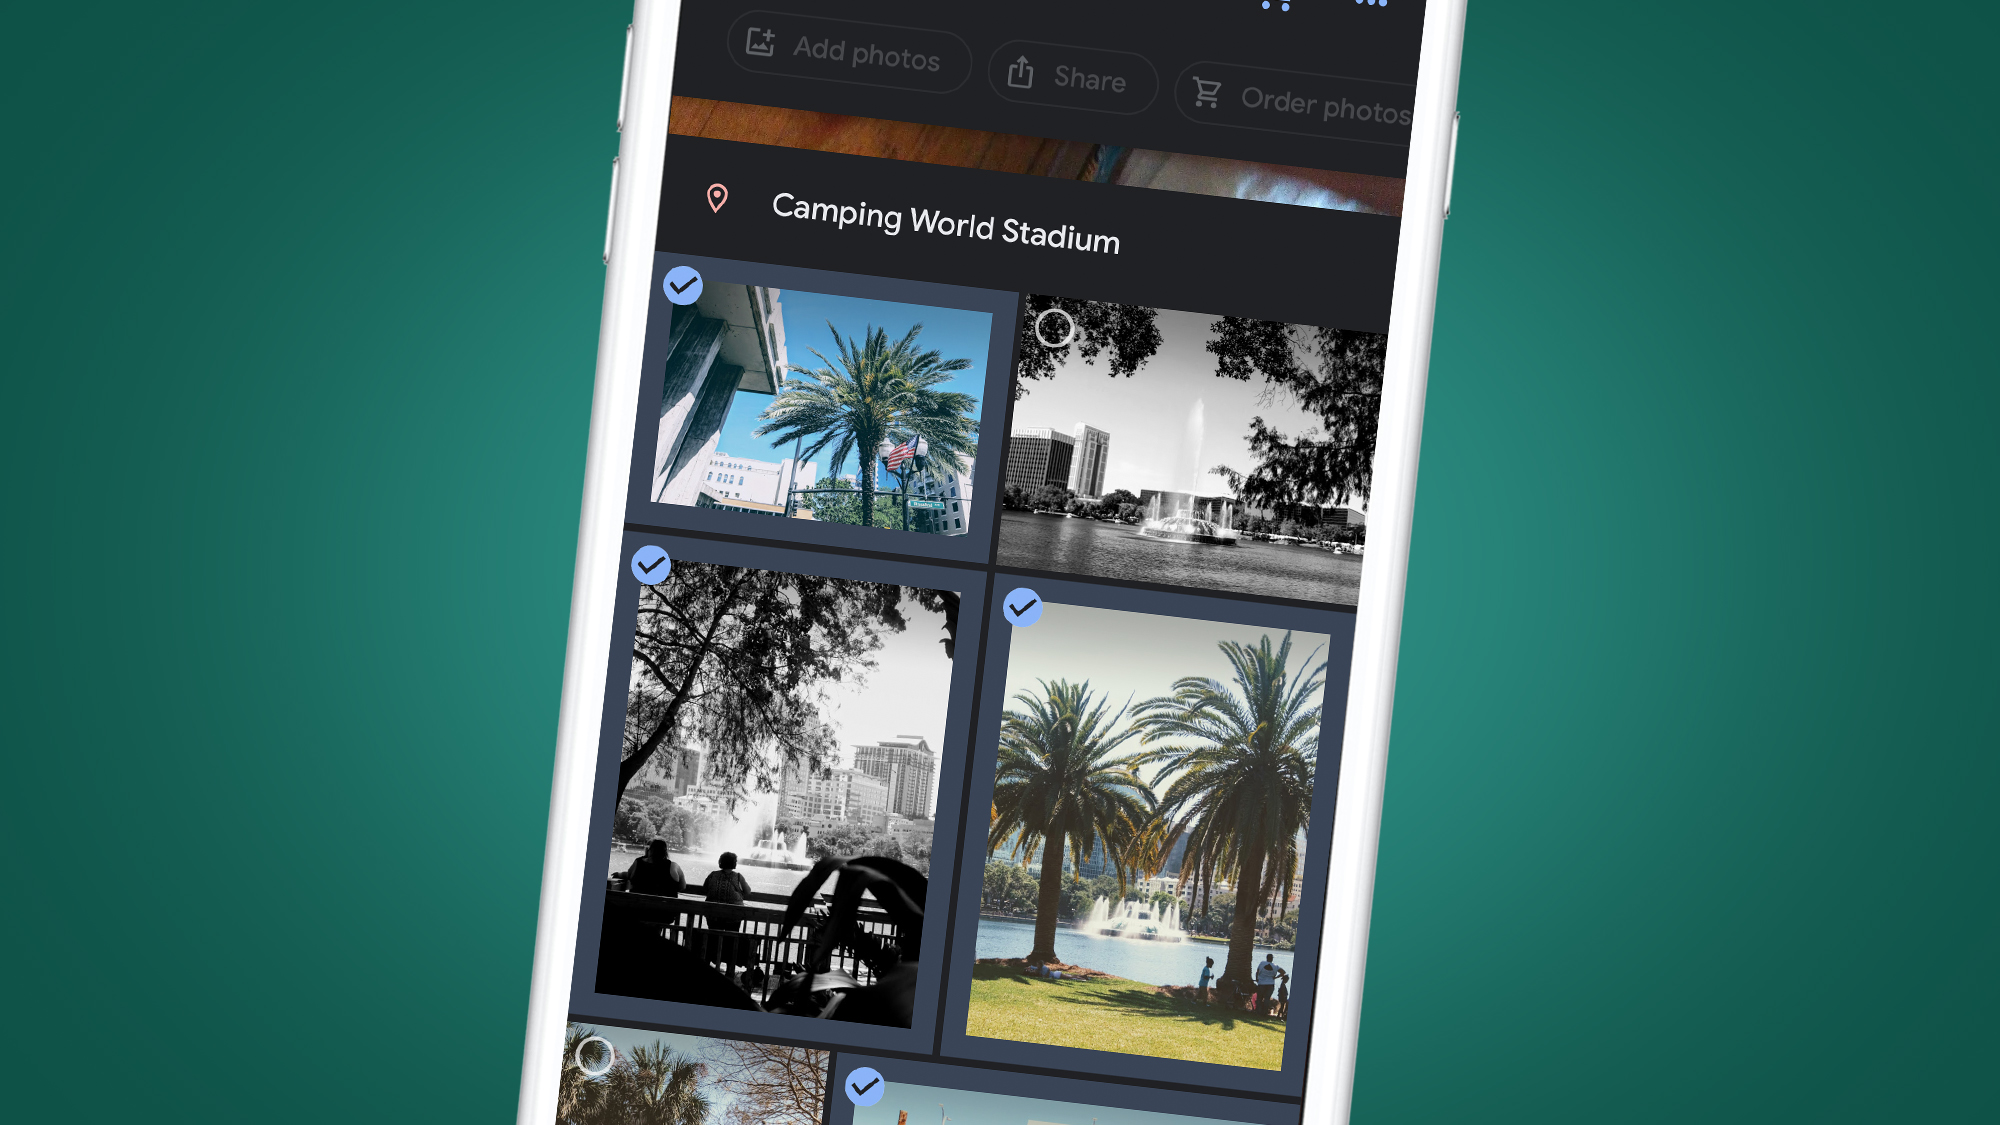
You can then proceed to tap on any additional images which you’d like to save to your iPhone’s camera roll, each of which will be highlighted in the same way. Tapping a thumbnail again will de-select it.
Once you’re happy with your batch selection, tap the ‘share’ icon at the top of the screen (the square containing an upwards arrow). This will bring up a sharing menu, including the option to ‘save to device’. Tap this and, as above, a progress bar will appear.
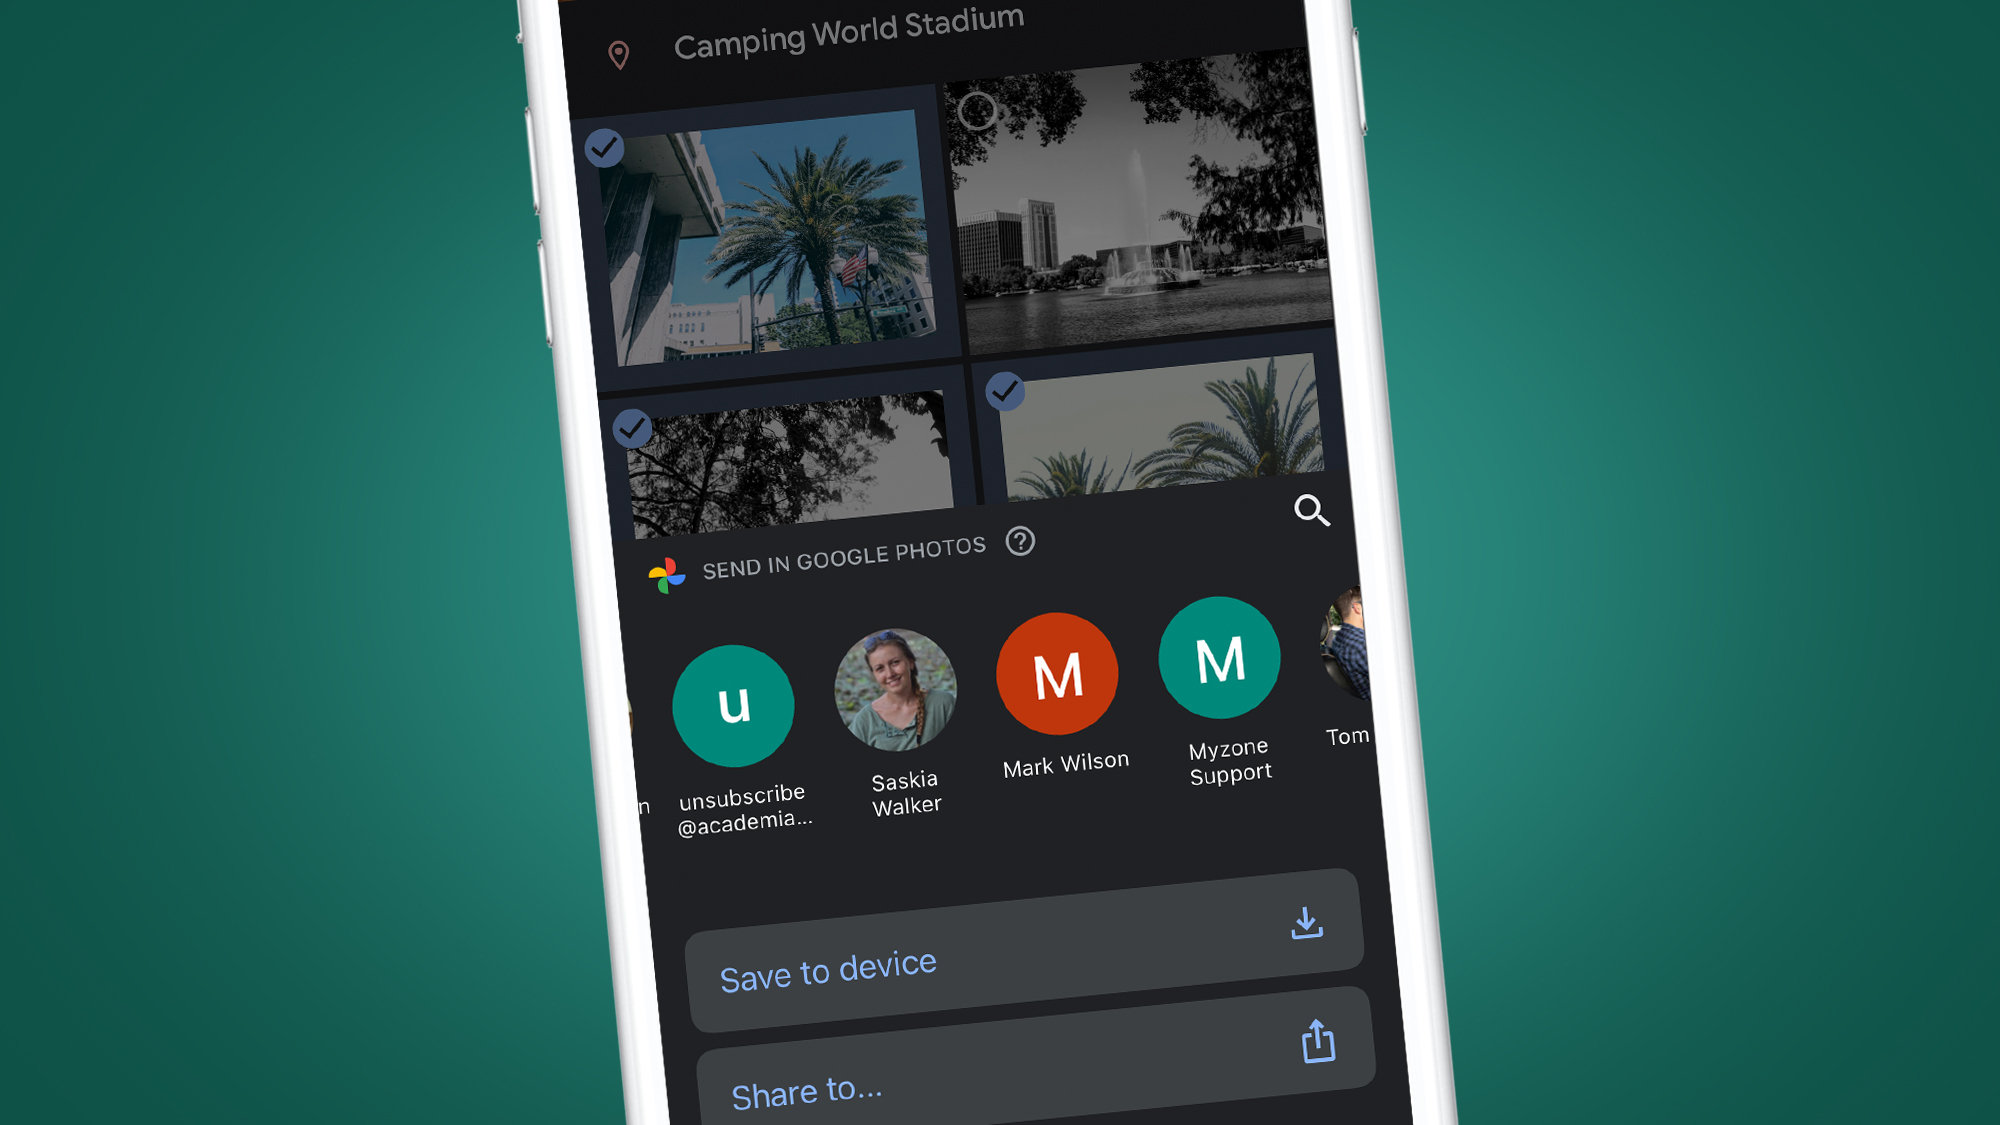
If you’ve chosen to download a significant number of images, it will take some time for the saving process to complete. You can’t use the Google Photos app while images are downloading to your iPhone, so it might be worth saving your snaps in smaller batches. This is also a good idea in case you lose connectivity for any reason, and have to make your selection again.
How to save Google Photos to iCloud using your iPhone
You can export and save your Google Photos library using Google Takeout. The resulting archive can be extracted using your iPhone’s Files app, then backed up to iCloud. The images inside won’t be added to your iPhone’s camera roll unless you manually save each one, but it’s still a useful method of backing up your Google Photos library using your iPhone.
Head to takeout.google.com, then ‘create a new export’. You need to select the content from your Google account that you’d like to download. If you’d just like to save your images, tap ‘deselect all’ then scroll down to the entry for Google Photos. Checking the box next to Google Photos will include your entire image library in the export. Alternatively, tap the button labeled ‘all photo albums’. The resulting pop-up lets you deselect specific albums to exclude from the export. Tap ‘OK’ then scroll down and hit ‘next step’.
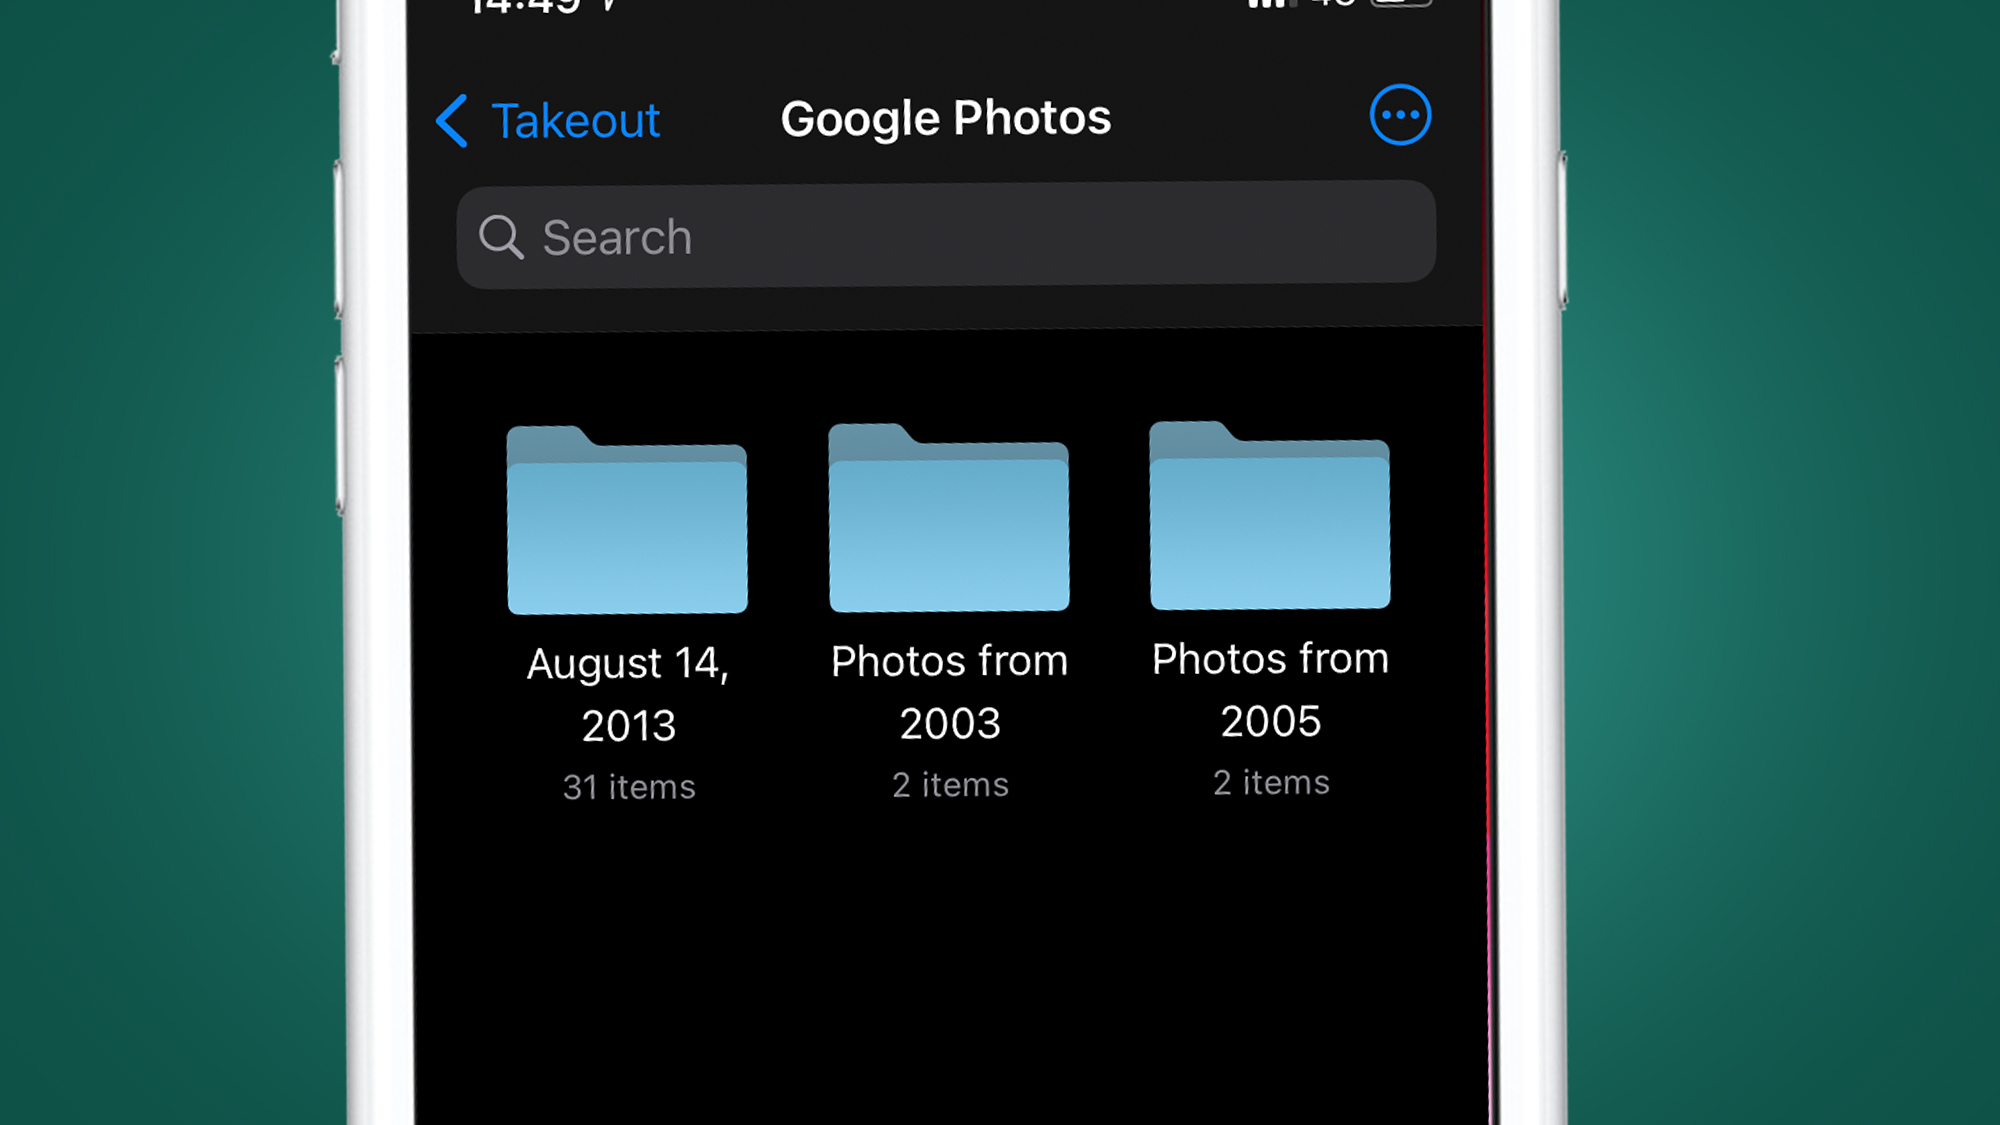
You’ll see a range of export options. Through the ‘delivery method’ drop-down, you can choose to receive a download link via email once the export is ready. You can also select a suitable file type for the archive, including zip format, which can be opened by the Files app.
Additionally, you can set the maximum size of download files. Exports above the chosen threshold will be split into more manageable chunks. Smaller sizes – such as 1GB or 2GB – are sensible if you don’t want each download to be too time-consuming.
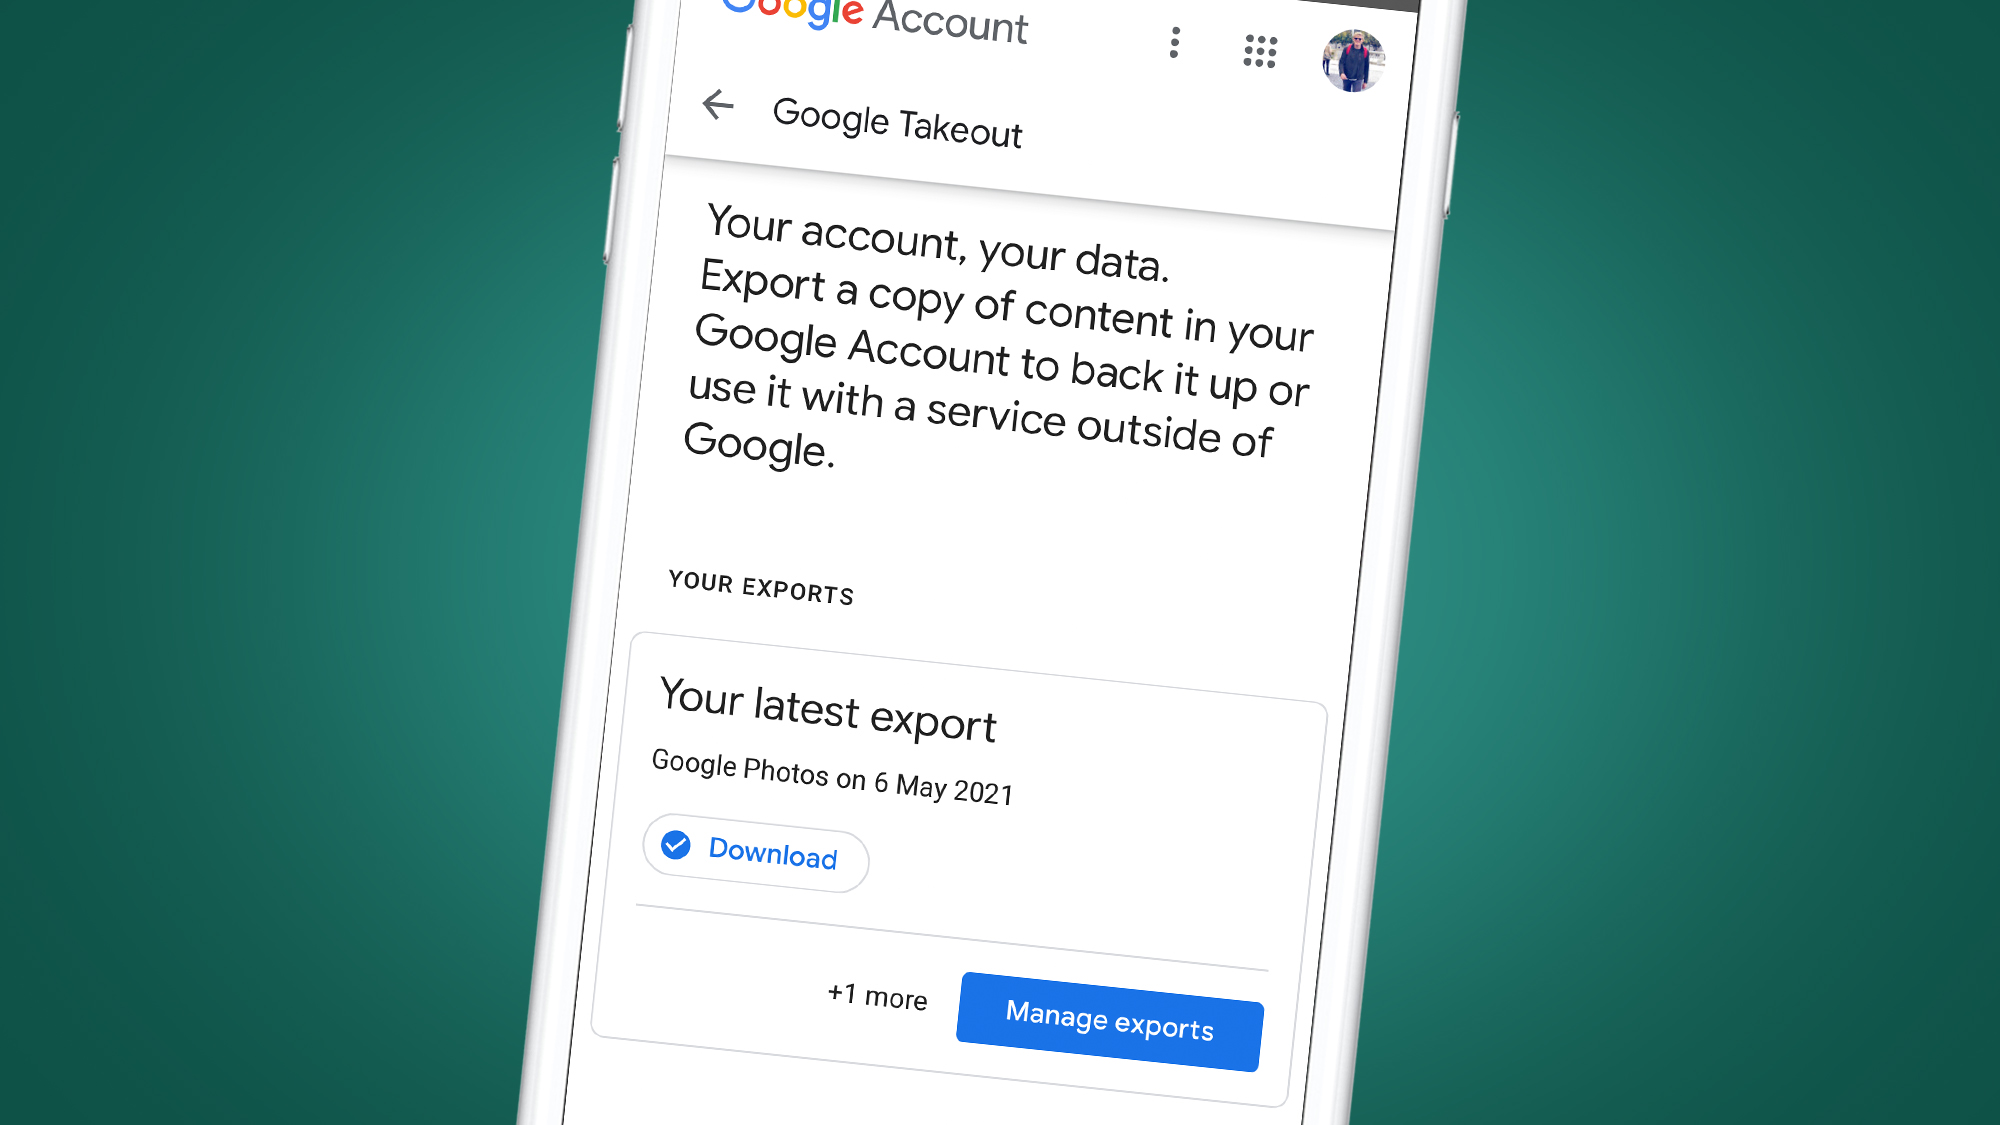
Once your settings are sorted, click ‘create export’. You’ll see a message saying ‘your files are currently being prepared’. Depending on the size of your photo library, this can take anywhere from a few minutes to several hours. You’ll receive an email when your export is ready. Click ‘download your files’ to kick off.
If you’re using Safari on your iPhone, you’ll see the download icon appear in the top right. Tap this to check the progress of your download. Once it’s complete, tapping the file name should take you to the downloads folder in the Files app.
Tapping the archive will extract it to a folder, where you’ll find your photos organized into folders matching the structure of your Google Photos library. To save snaps to your camera roll, you’ll need to open them individually, tap the export icon in the bottom left, then select ‘save image’.
How to save Google Photos to your iPhone via iCloud on PC or Mac
Alternatively, you can save your Google Photos library to your iPhone via iCloud. This method involves more time and effort than the above options, but it ensures that your Google Photos images will be safely backed up and available on any device which is synced with your iCloud.
Instead of downloading the Google Takeout archive detailed above to your iPhone, you can download it to your PC or Mac. Once it’s saved, you can open the Photos app on your Mac or head to icloud.com/photos. You’ll then be able to work through each folder in the archive, dragging and dropping images to upload to your iCloud library.
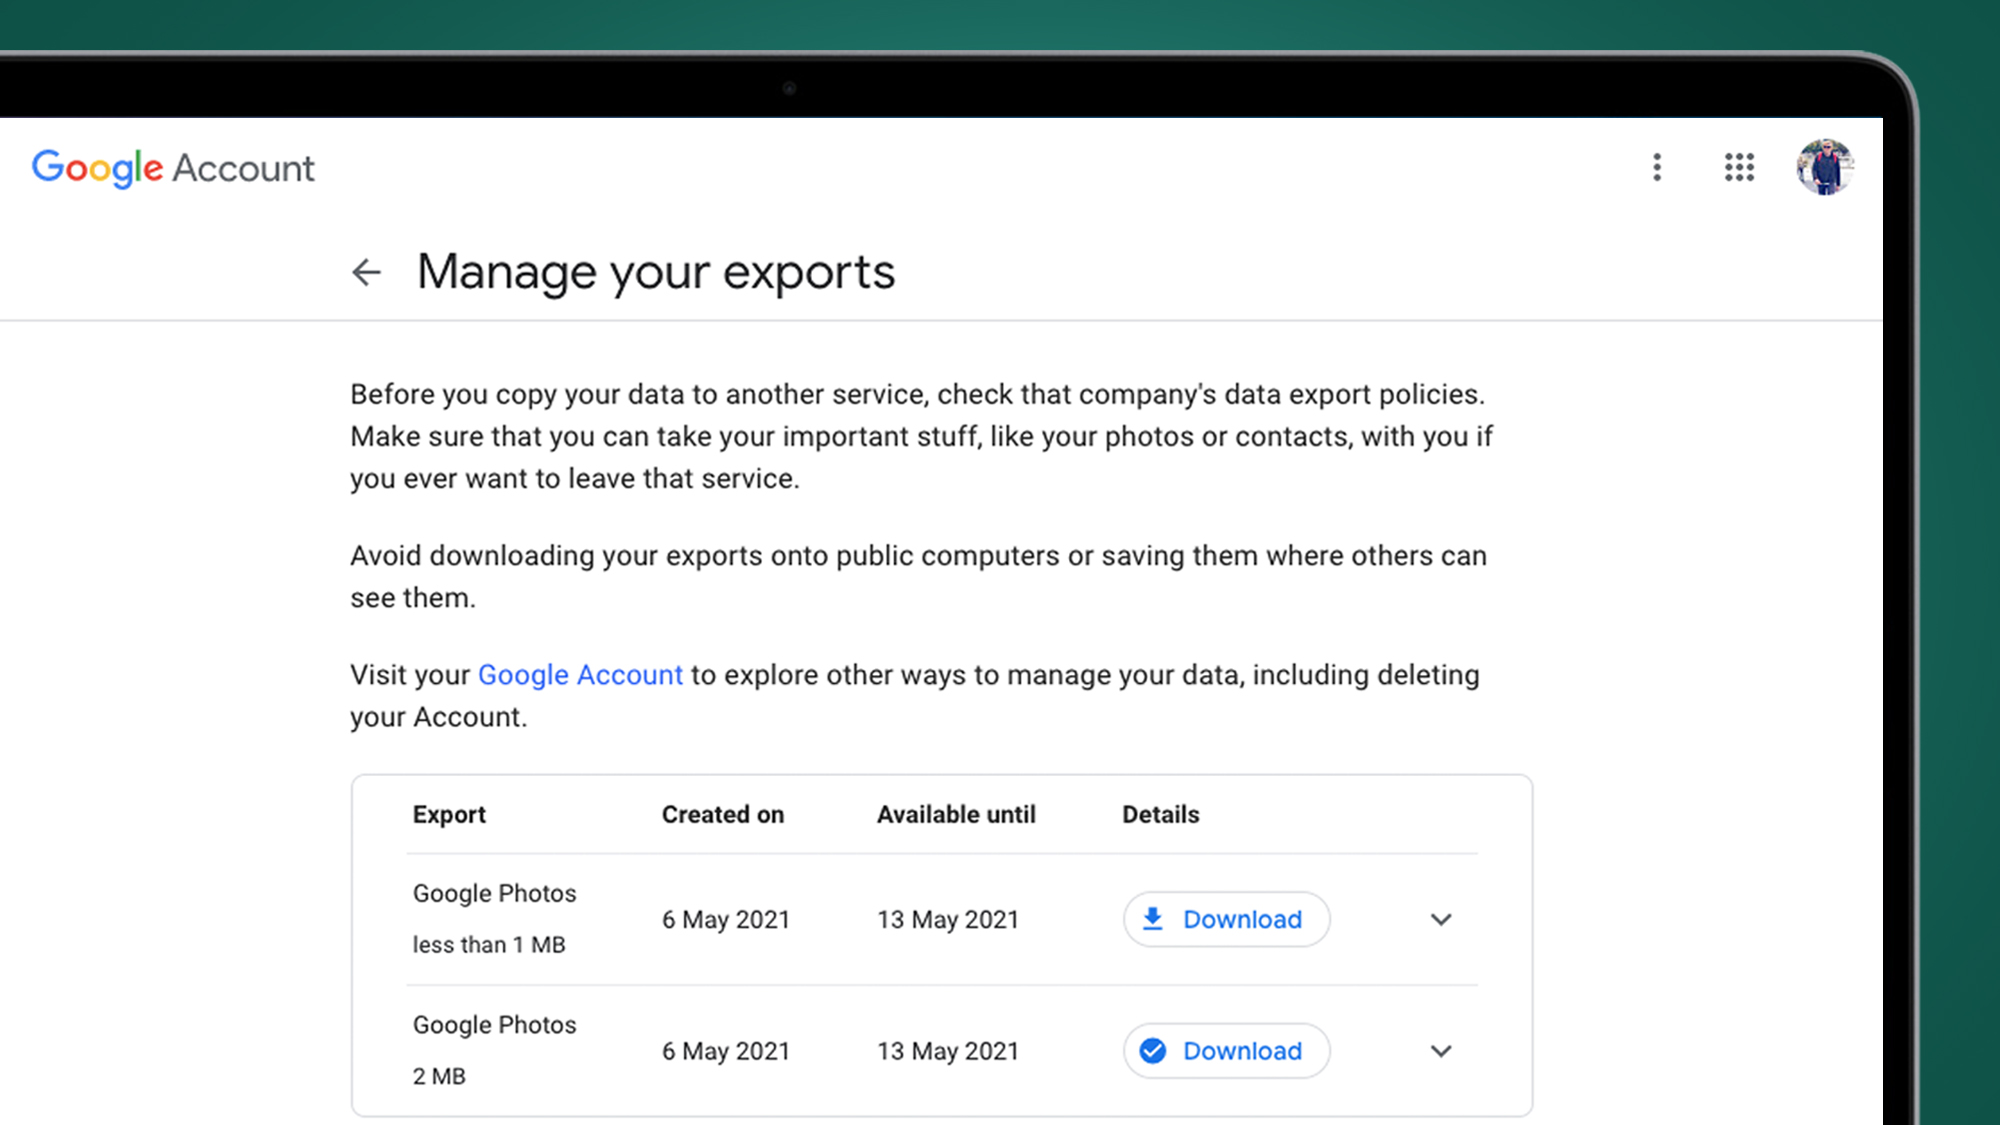
The process itself will be fairly time-consuming for sizable libraries and, depending on your internet speed, the uploads may take several hours. You’ll also need to ensure that your iCloud storage plan is sufficient.
Nevertheless, it’s the only way to transfer your entire Google Photos library to iCloud – and you’ll then be able to access all the snaps on your iPhone.

For more than a decade, Chris has been finding and featuring the best kit you can carry. When he's not writing about his favourite things for Stuff, you'll find Chris field-testing the latest gear for TechRadar. From cameras to classic cars, he appreciates anything that gets better with age.