26 ways to photograph sport and action
Never miss a shot again

Sign up for breaking news, reviews, opinion, top tech deals, and more.
You are now subscribed
Your newsletter sign-up was successful
Shooting sport or action images can be one of the more challenging aspects of photography. Get your technique wrong and you're never going to be able to recover you shots later.
Don't worry though as we're here to help with some essential tips and tricks to help you get your best action shots ever.
1. Look for the passion
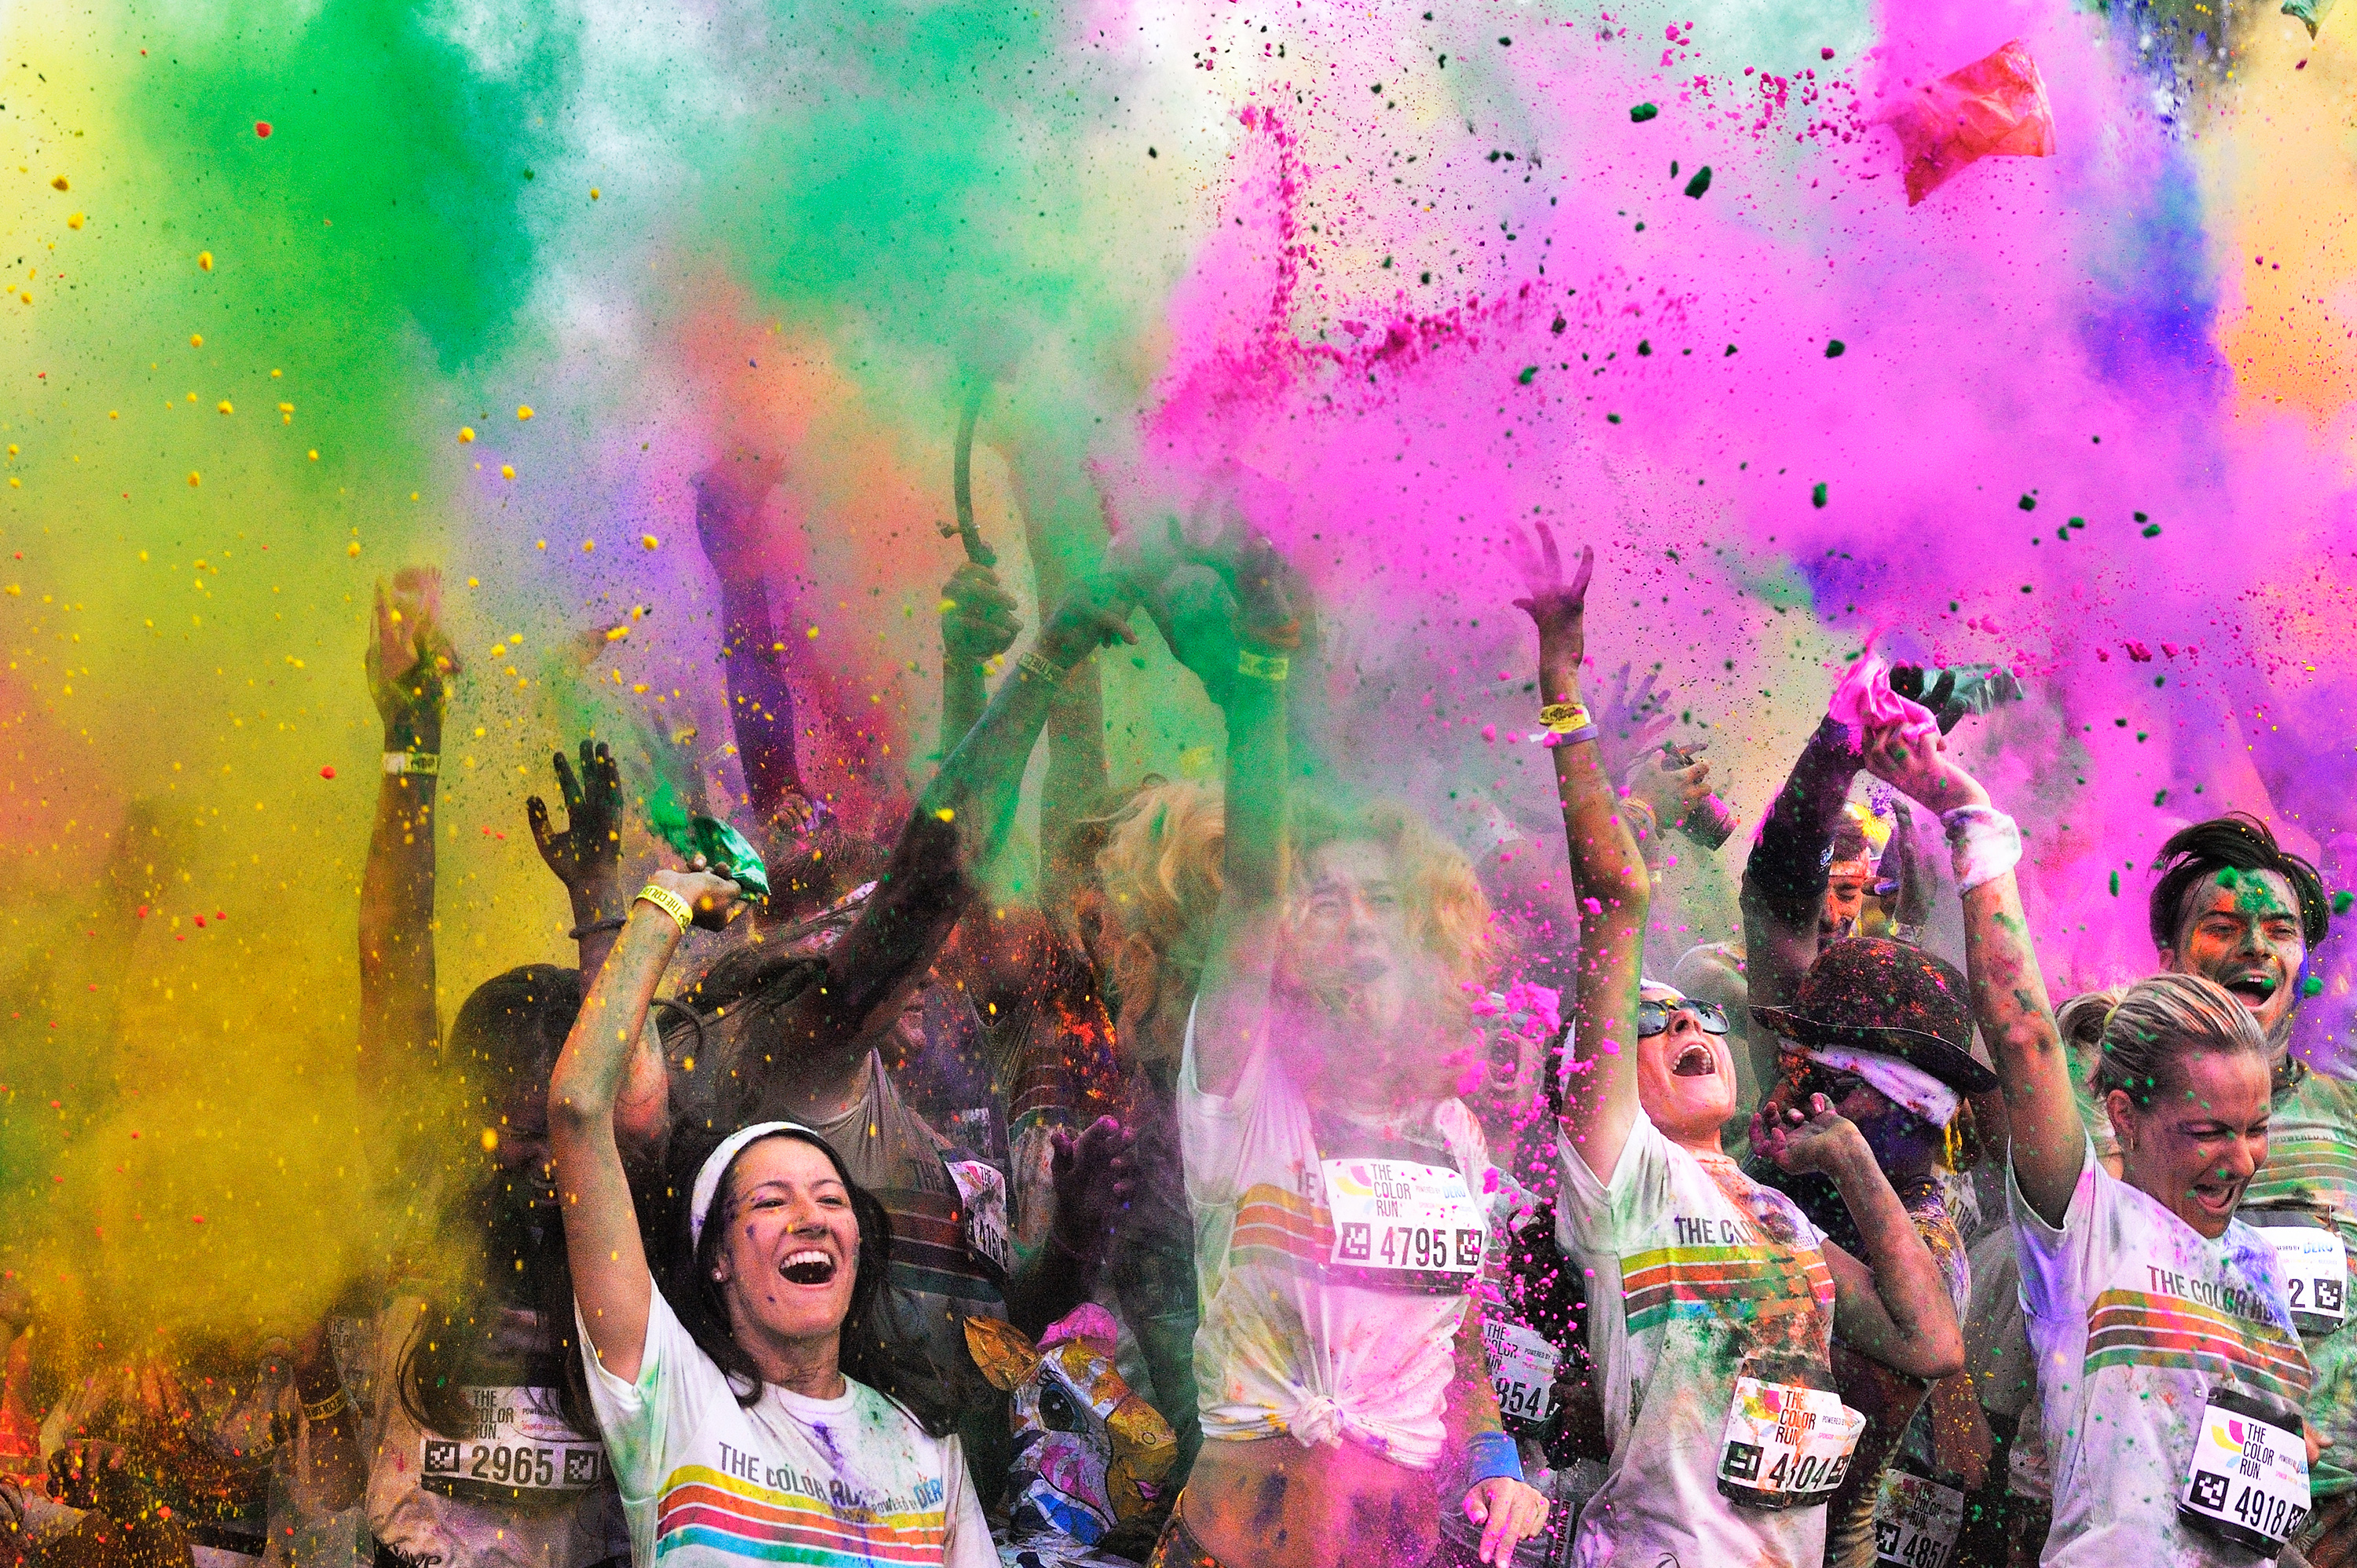
Sport isn’t just about doing the activity: it is also about the passion of athletes and their supporters. It’s your task to capture the emotion of the event. Look for classic winner celebrations, but also turn the camera on the crowd, where colour and chaos often ensues.
2. Resist chimping
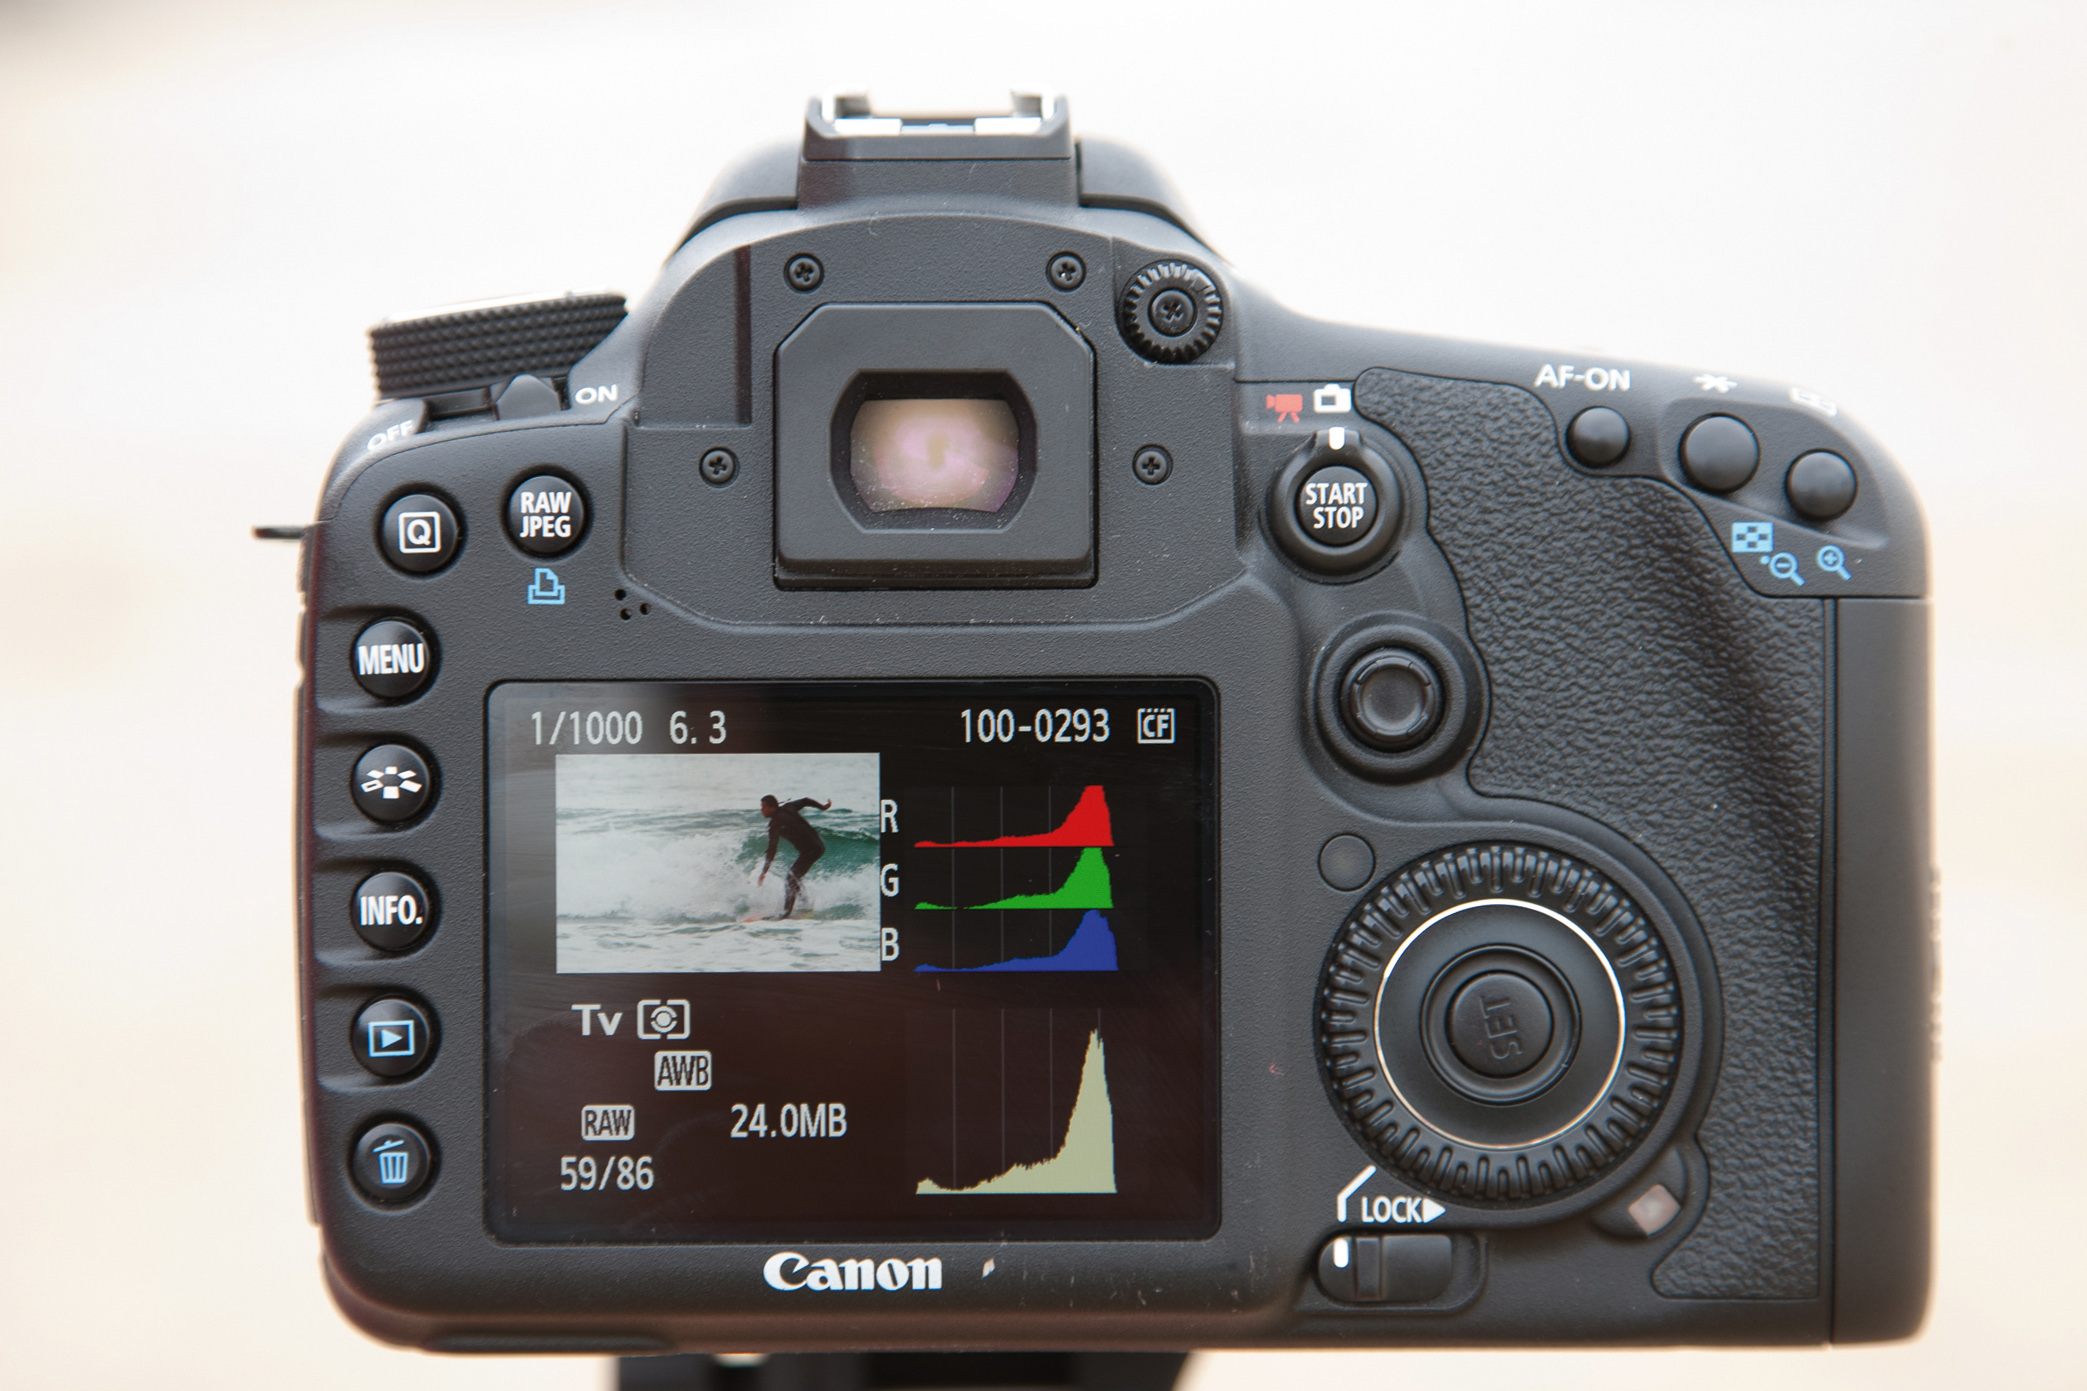
While checking histograms for exposure is useful, don’t do it after every shot – especially at sporting events! While you’re looking at the camera’s LCD, someone scores, a horse throws its rider or two cars collide – and you’ve missed the killer shot!
3. Short bursts are best
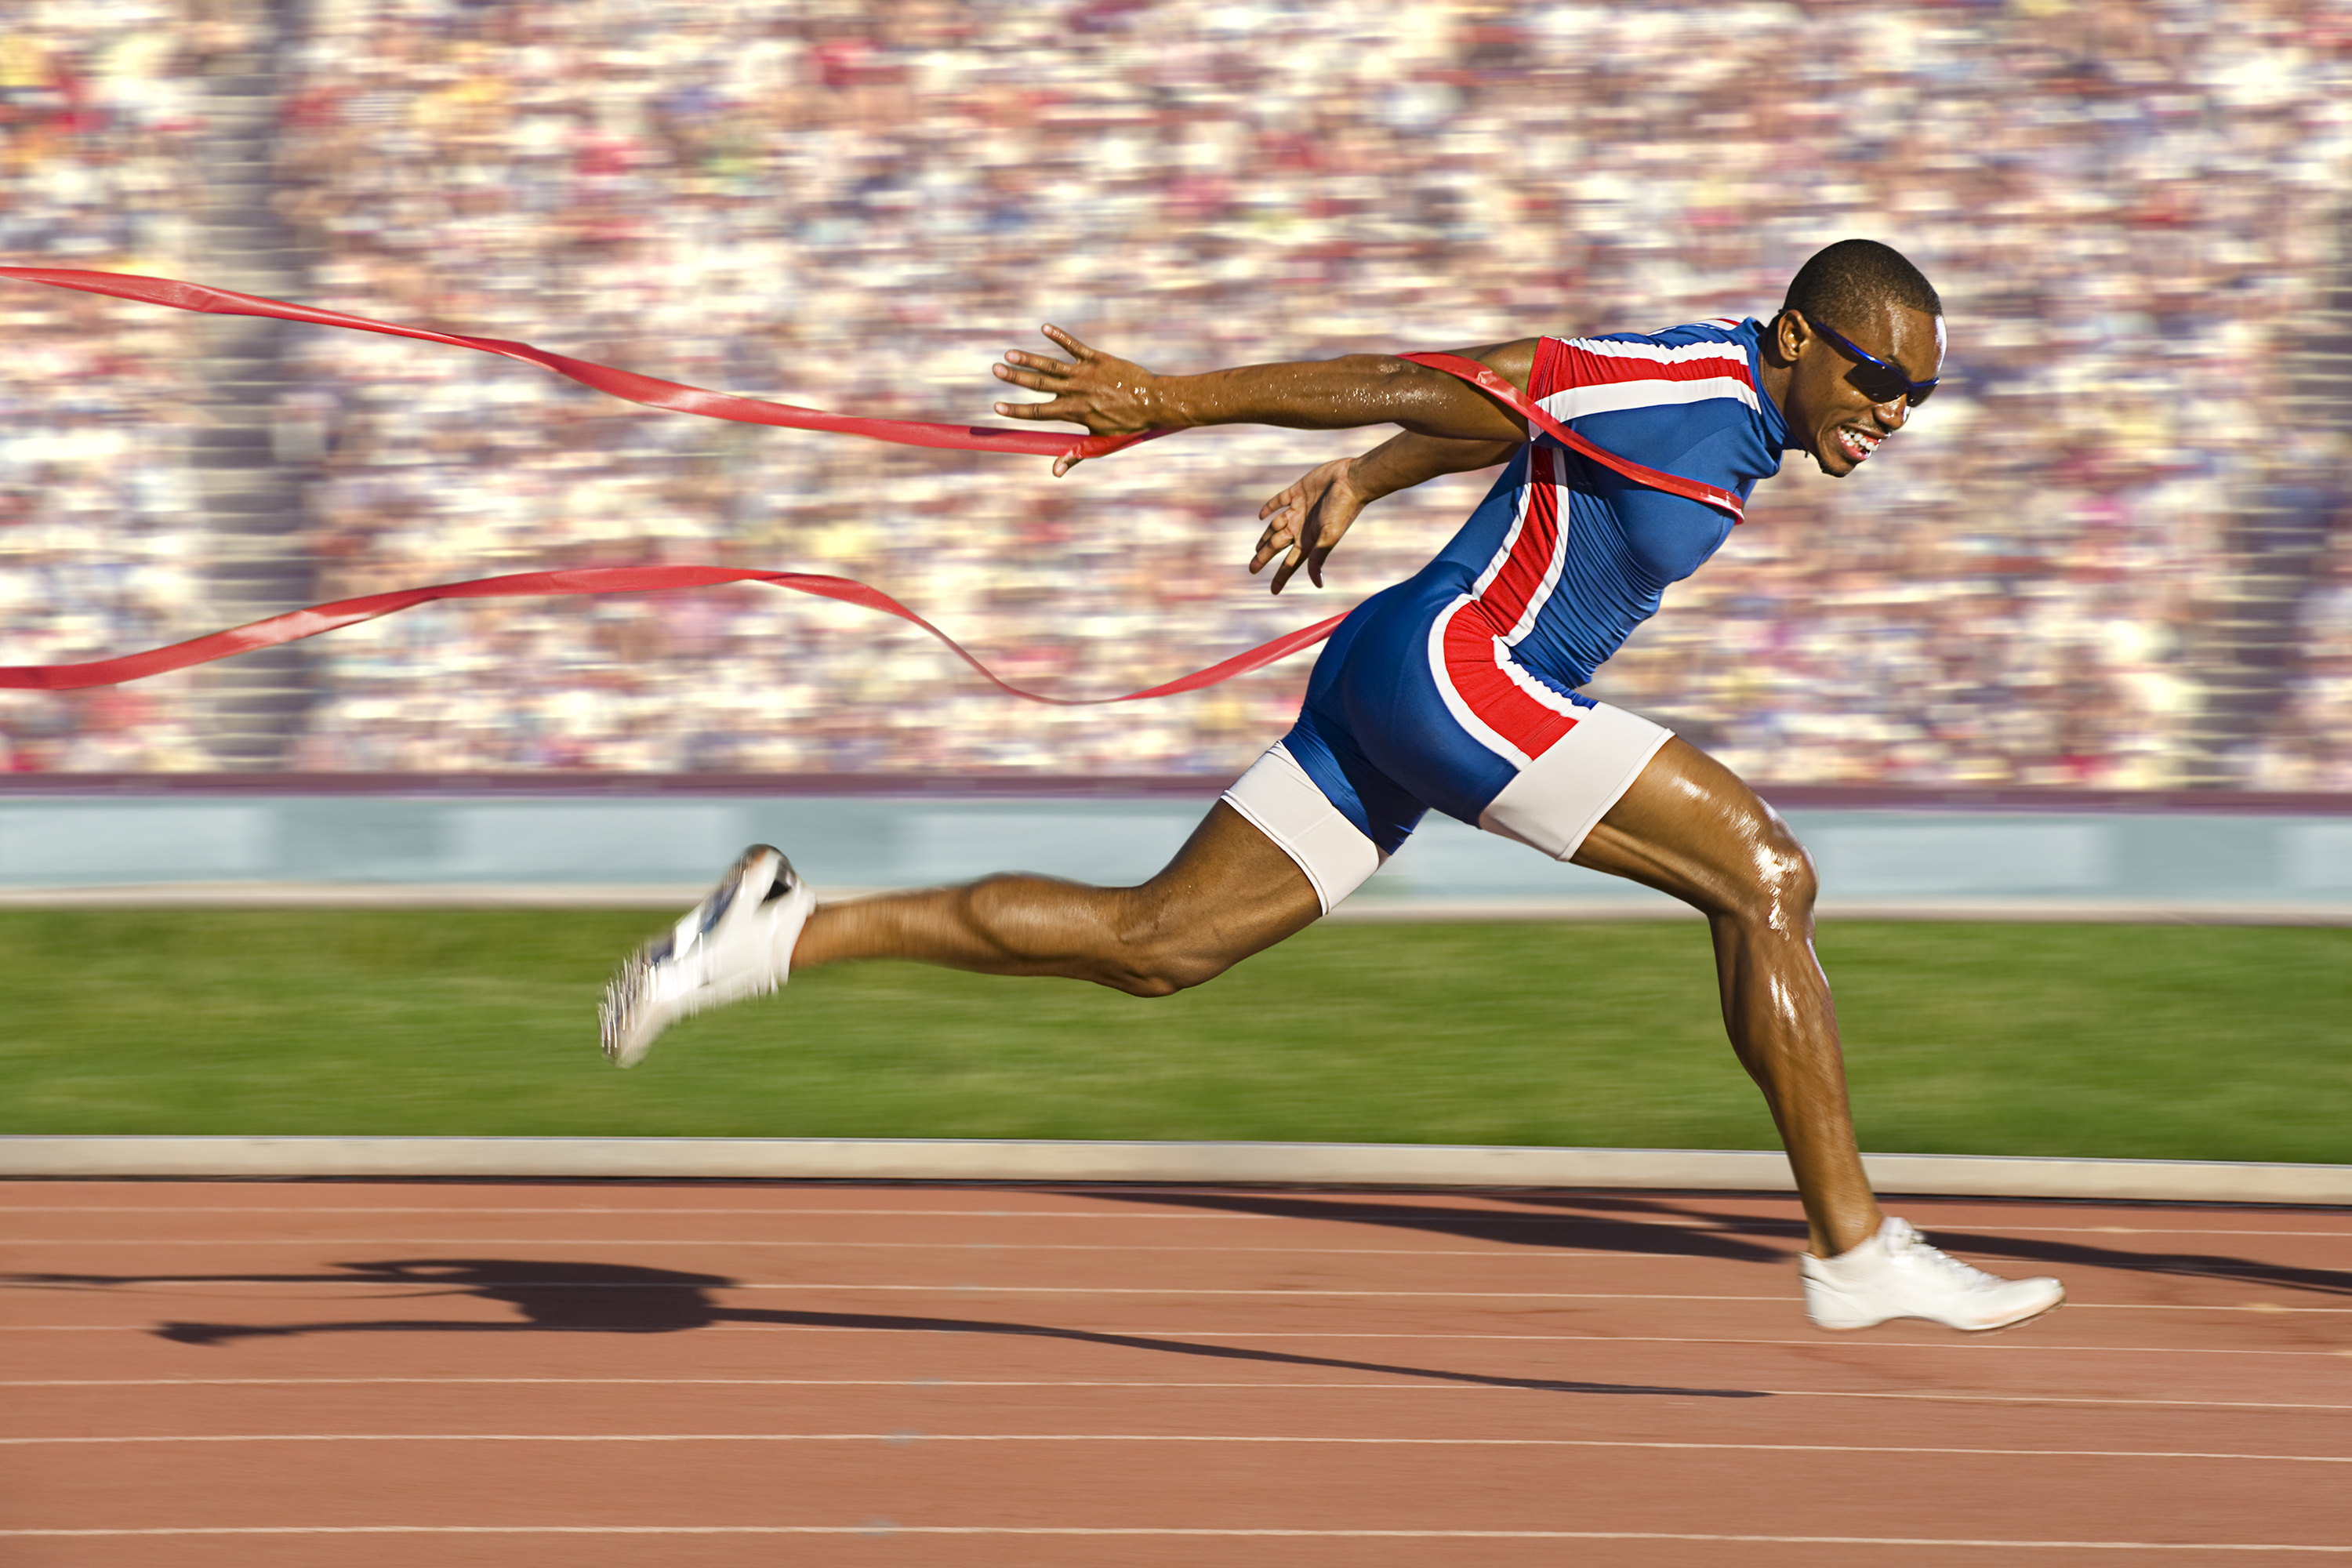
Pro DSLRs have fast frame rates and fire continuously when required. But it’s often best to take shots in short sharp bursts. This will help prevent the buffer locking up on less expensive cameras, and means you have fewer near-identical images to edit through.
4. Use natural light
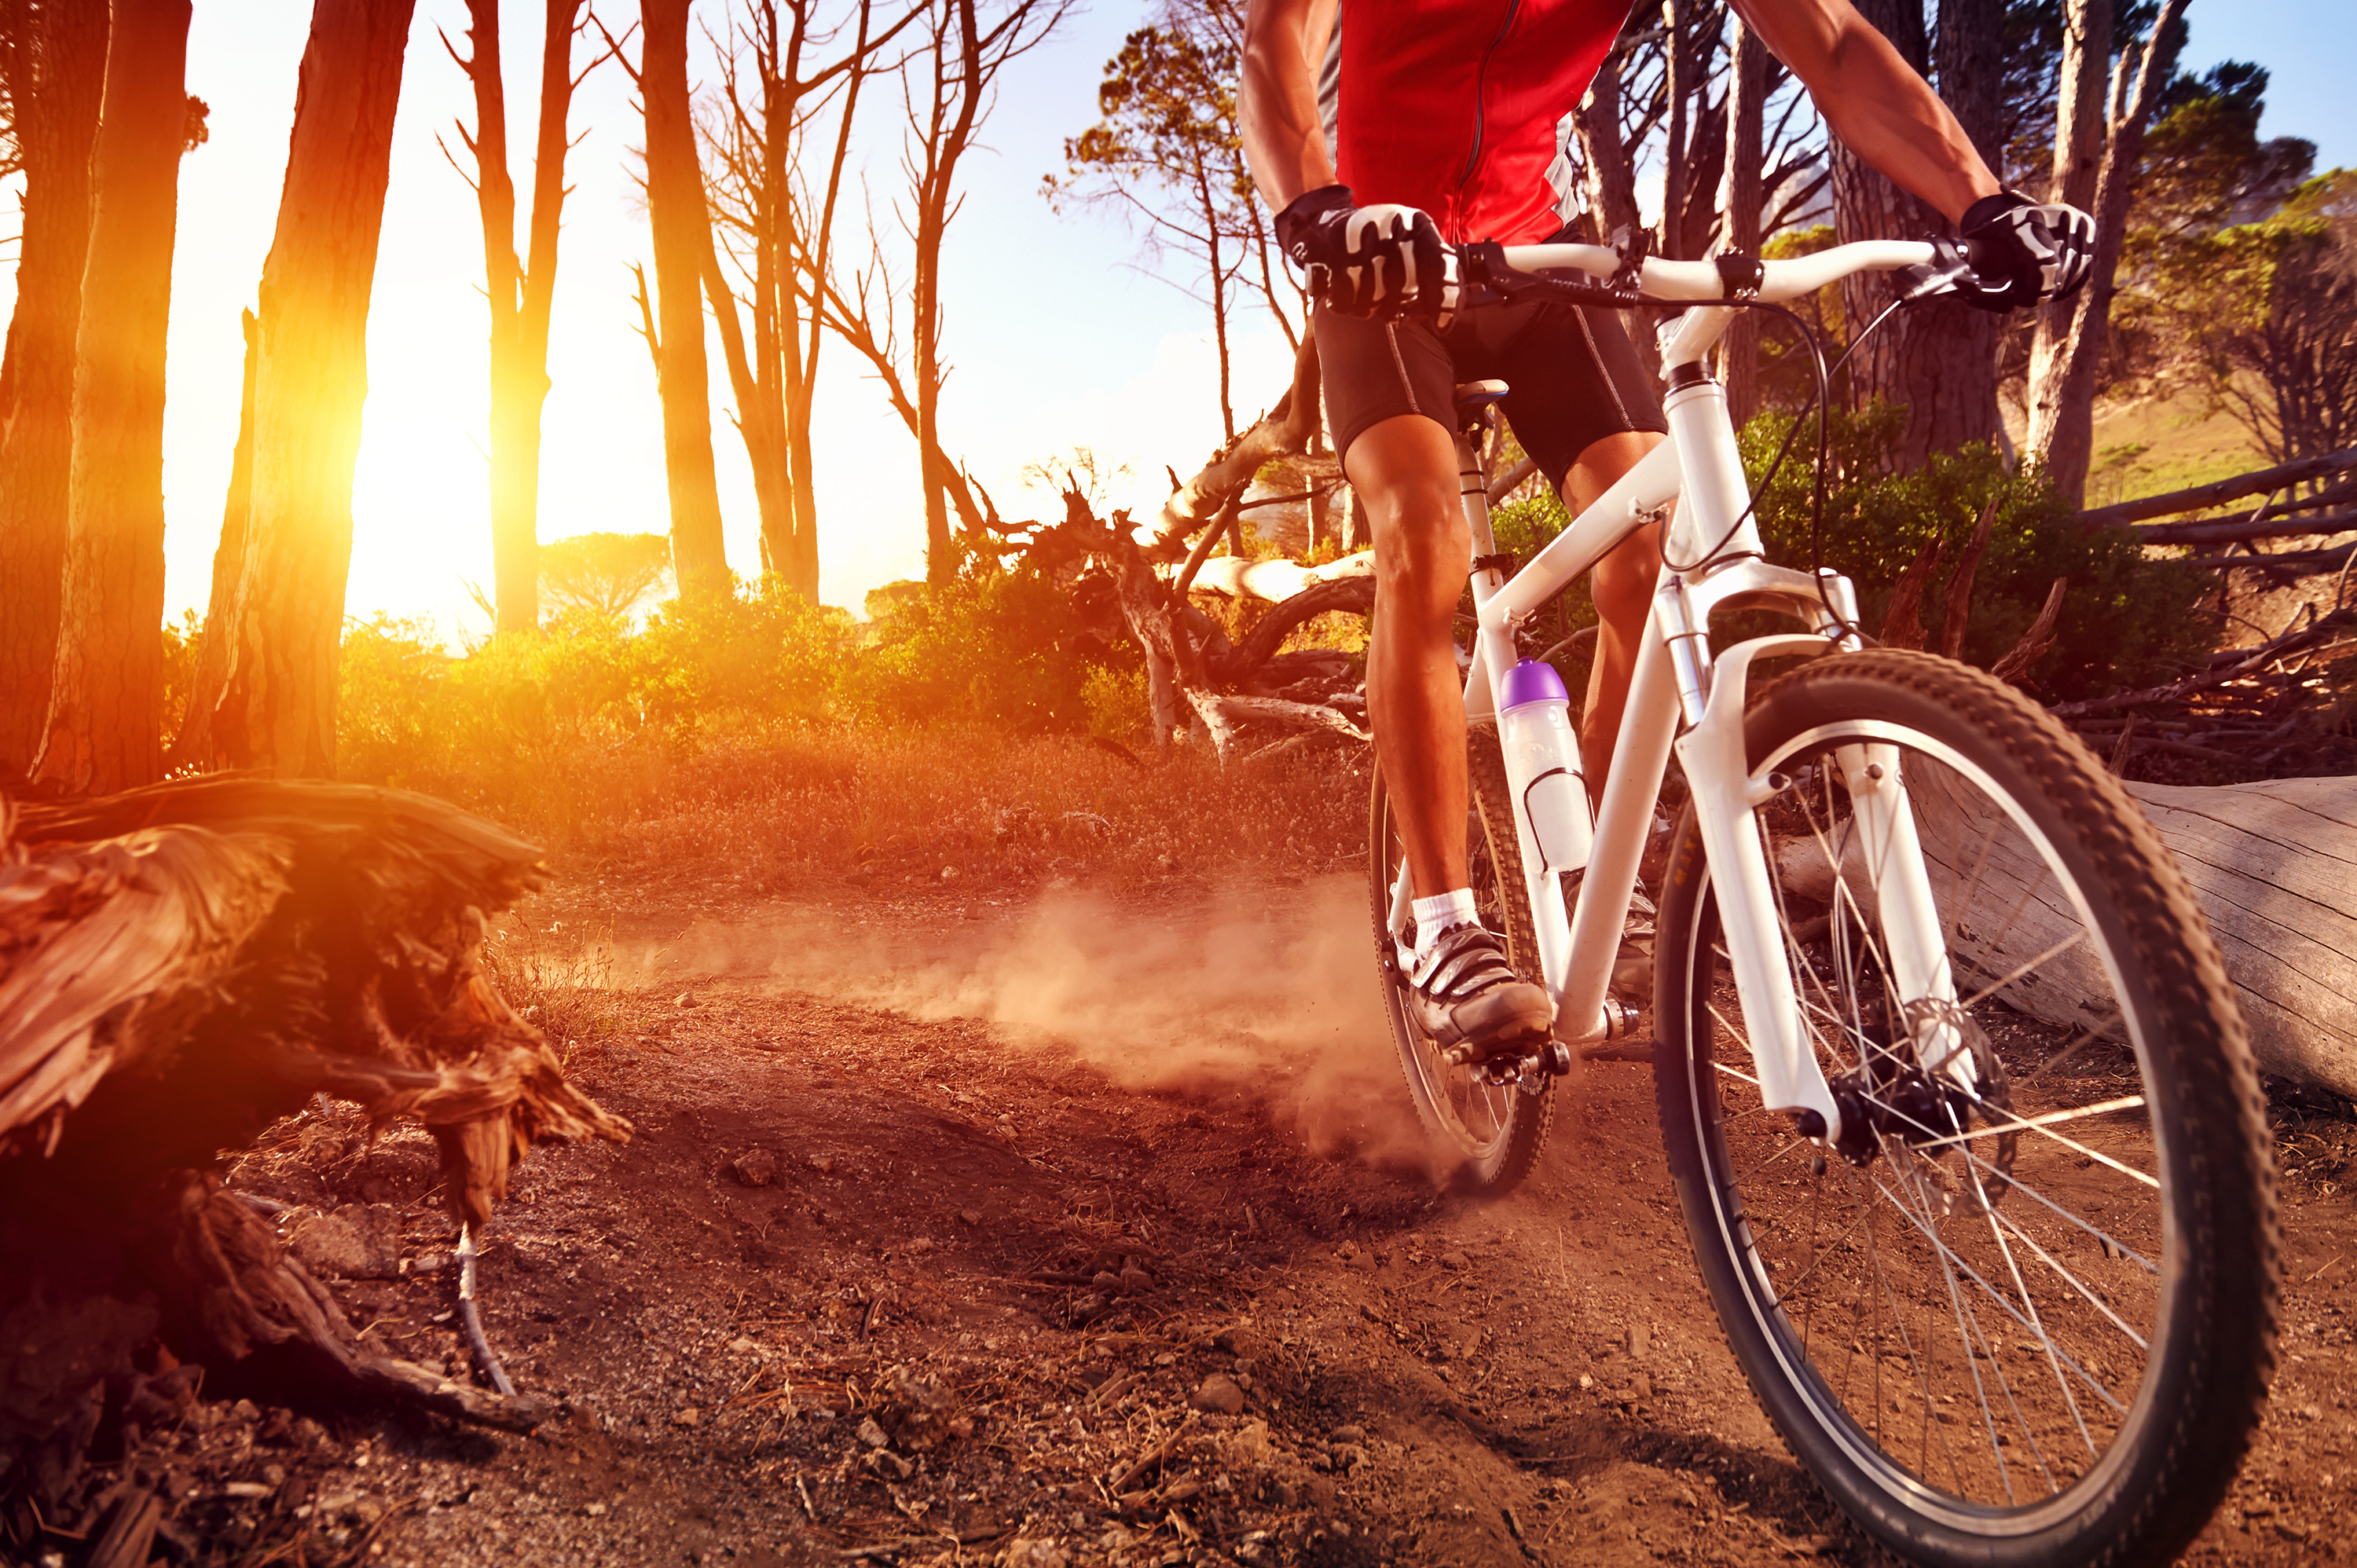
In many sporting situations, you will be dealing with whatever natural light there is. This can be flat, dull, bright, high, low, intense, or whatever other variations nature can throw at us. In most cases, sporting events take place whatever the prevailing conditions are, so you need to adapt to them, with a variety of techniques to control ISO, shutter speed and aperture.
When you are in a situation where the natural light is giving you something a little extra, make sure you use it. Whether you are shooting mountain biking in a forest, a marathon being run through a cityscape or powerboats on the sea, try to use interesting lighting to your advantage. Low sun will throw long shadows and potentially interesting flare into the frame, while storm clouds can add a distinctive backdrop.
Sign up for breaking news, reviews, opinion, top tech deals, and more.
You may need to apply some exposure compensation to find the right balance between your subject and the lighting so, without ‘chimping’ too much (see tip 2), take a quick glimpse at your histogram to ensure there is no over- or underexposure.
5. Use space for impact
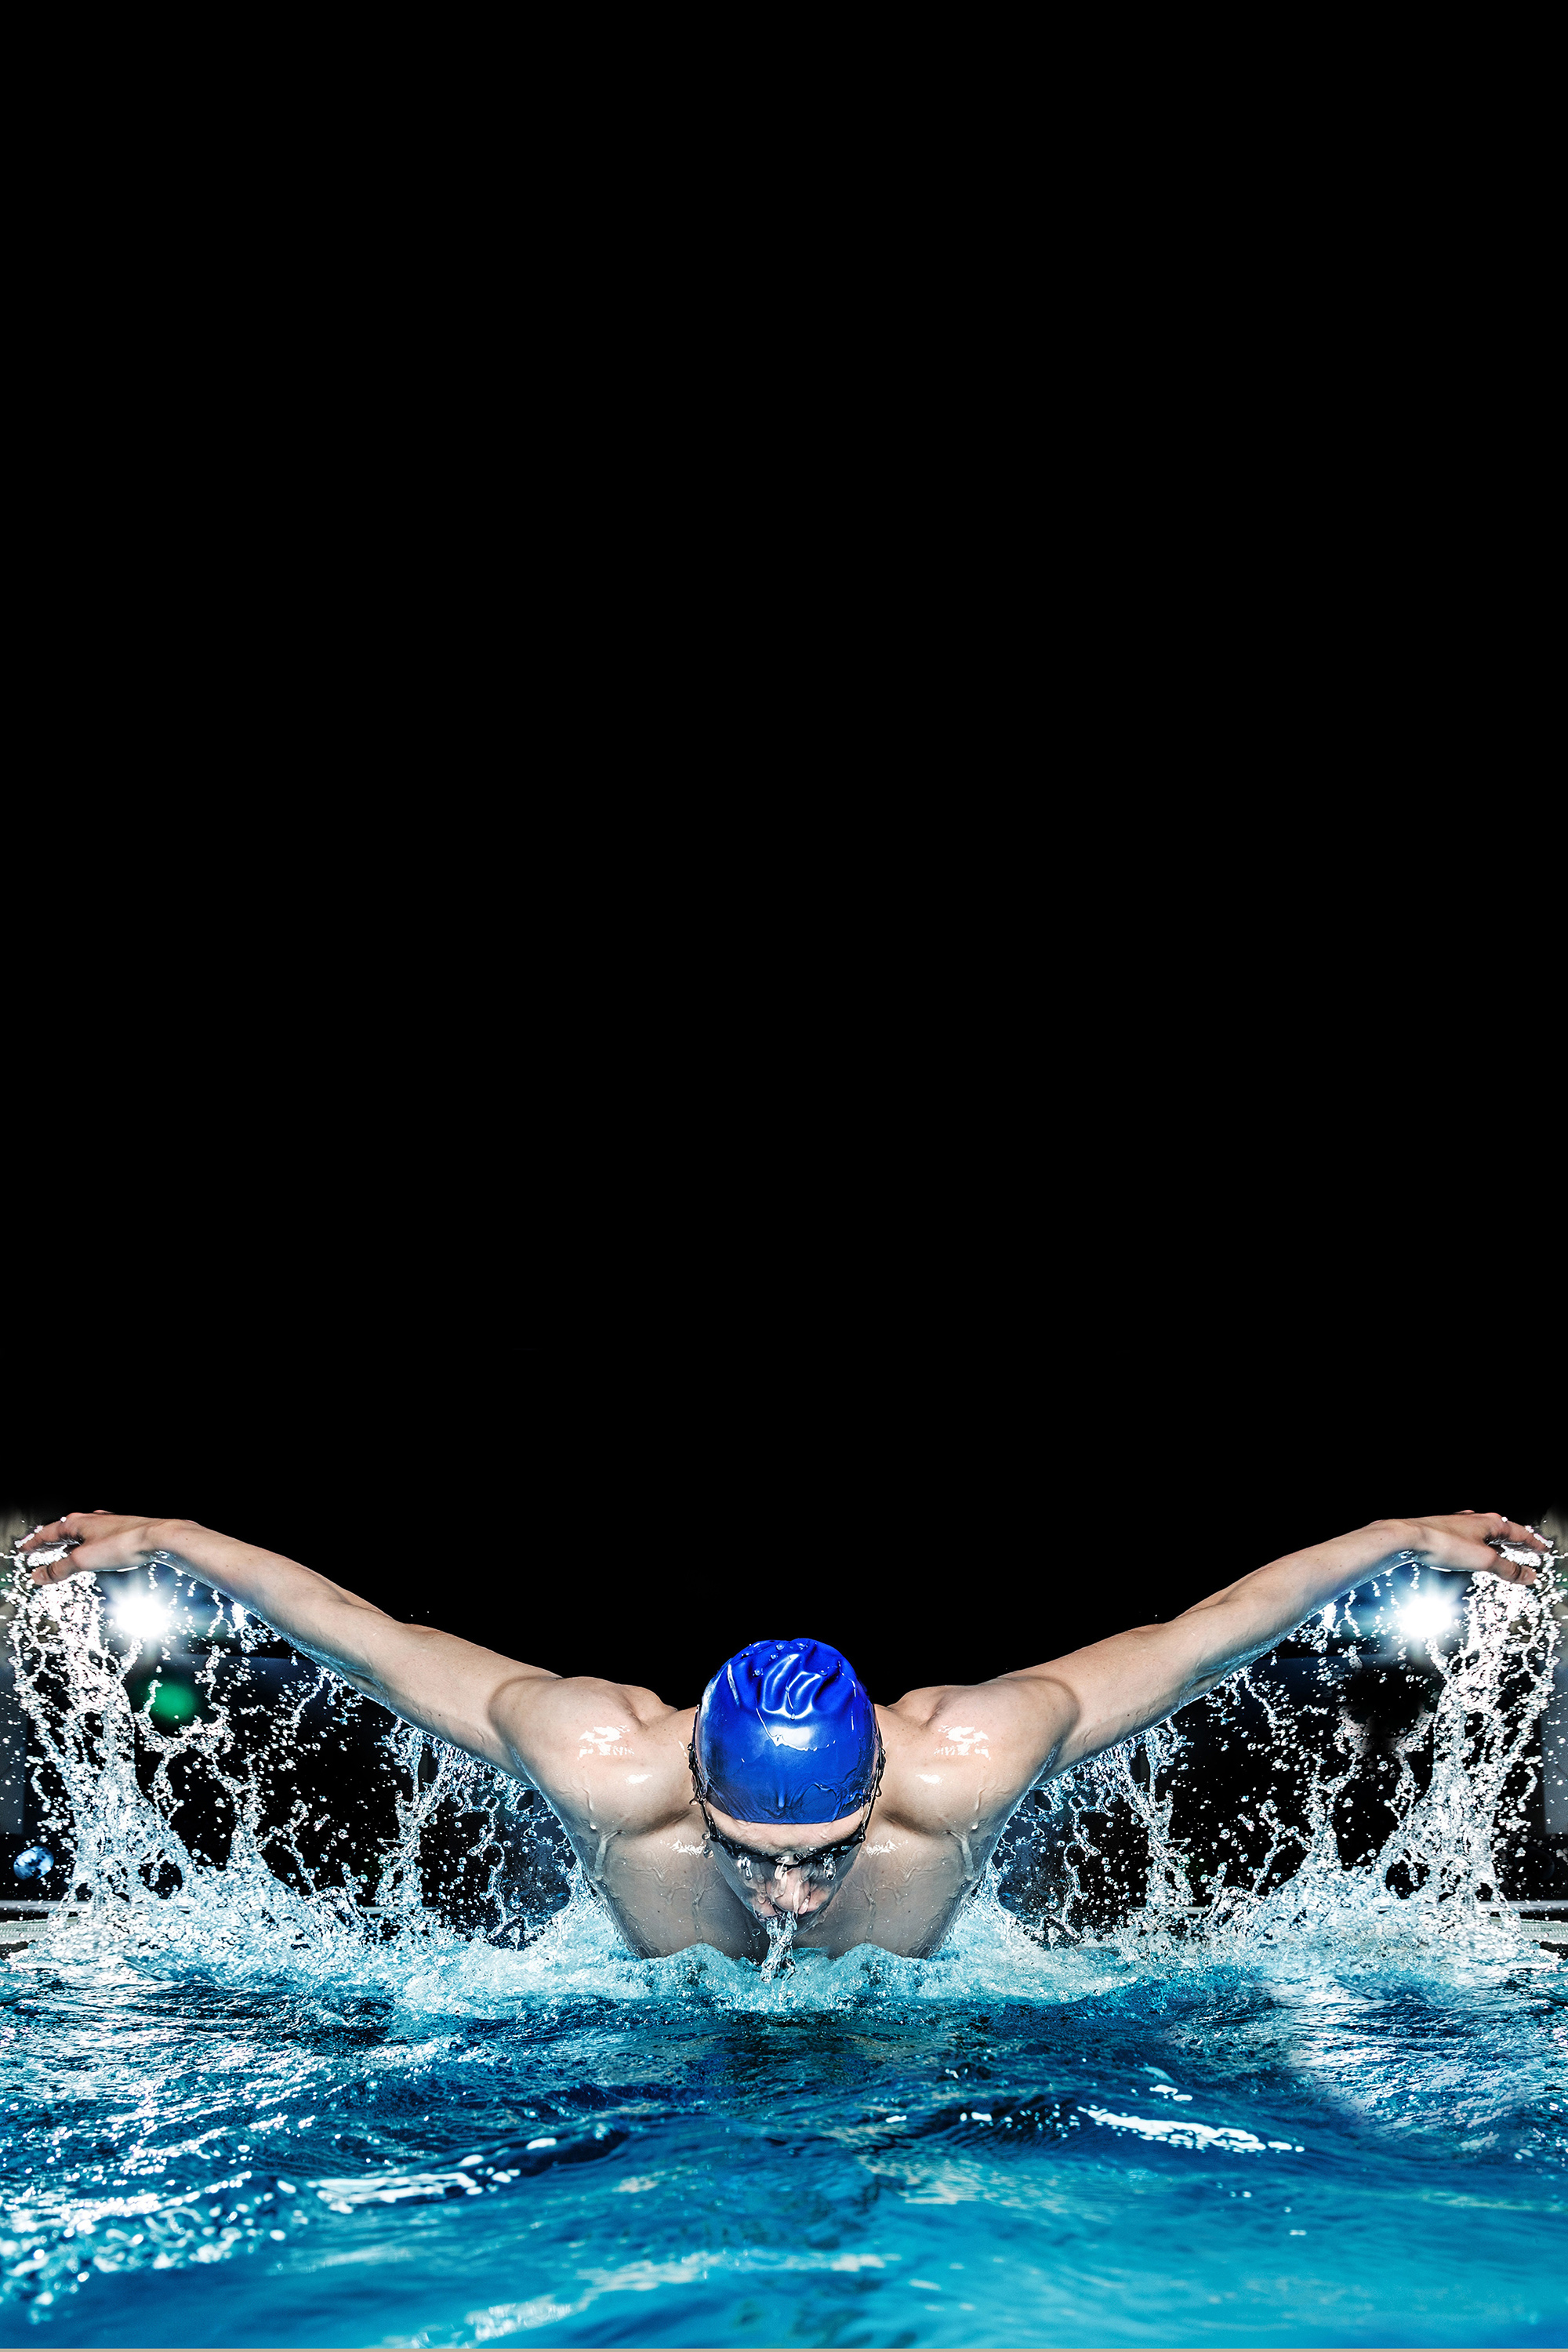
When you shoot sports with a telephoto lens to get close to the action, it is often wise to fill the frame. However, this isn’t the only way to create impact. Using space carefully around your main subject is a great way to make a powerful composition.
The key to this technique is to keep things simple and make sure that the main subject, even though it isn’t big in the frame, is still clearly the target for the eye. You could do this by choosing a shallow depth of field, so that the subject stands clear of both blurred background and foreground; or you could do it by ensuring the background is free of any distractions. In this case, completely black or pure white backdrops can create a strong contrast to the focal point.
This kind of treatment is also great for editorial use – so if you are hoping to sell your images from an event, leaving space within the frame gives designers the opportunity to place headlines, other images and general text over those areas (just as we’ve done here). Taking these types of shots is harder than simply zooming right into the subject, but if you work on your compositions, you are more likely to come up with an image that is unique.
6. Use high ISOs
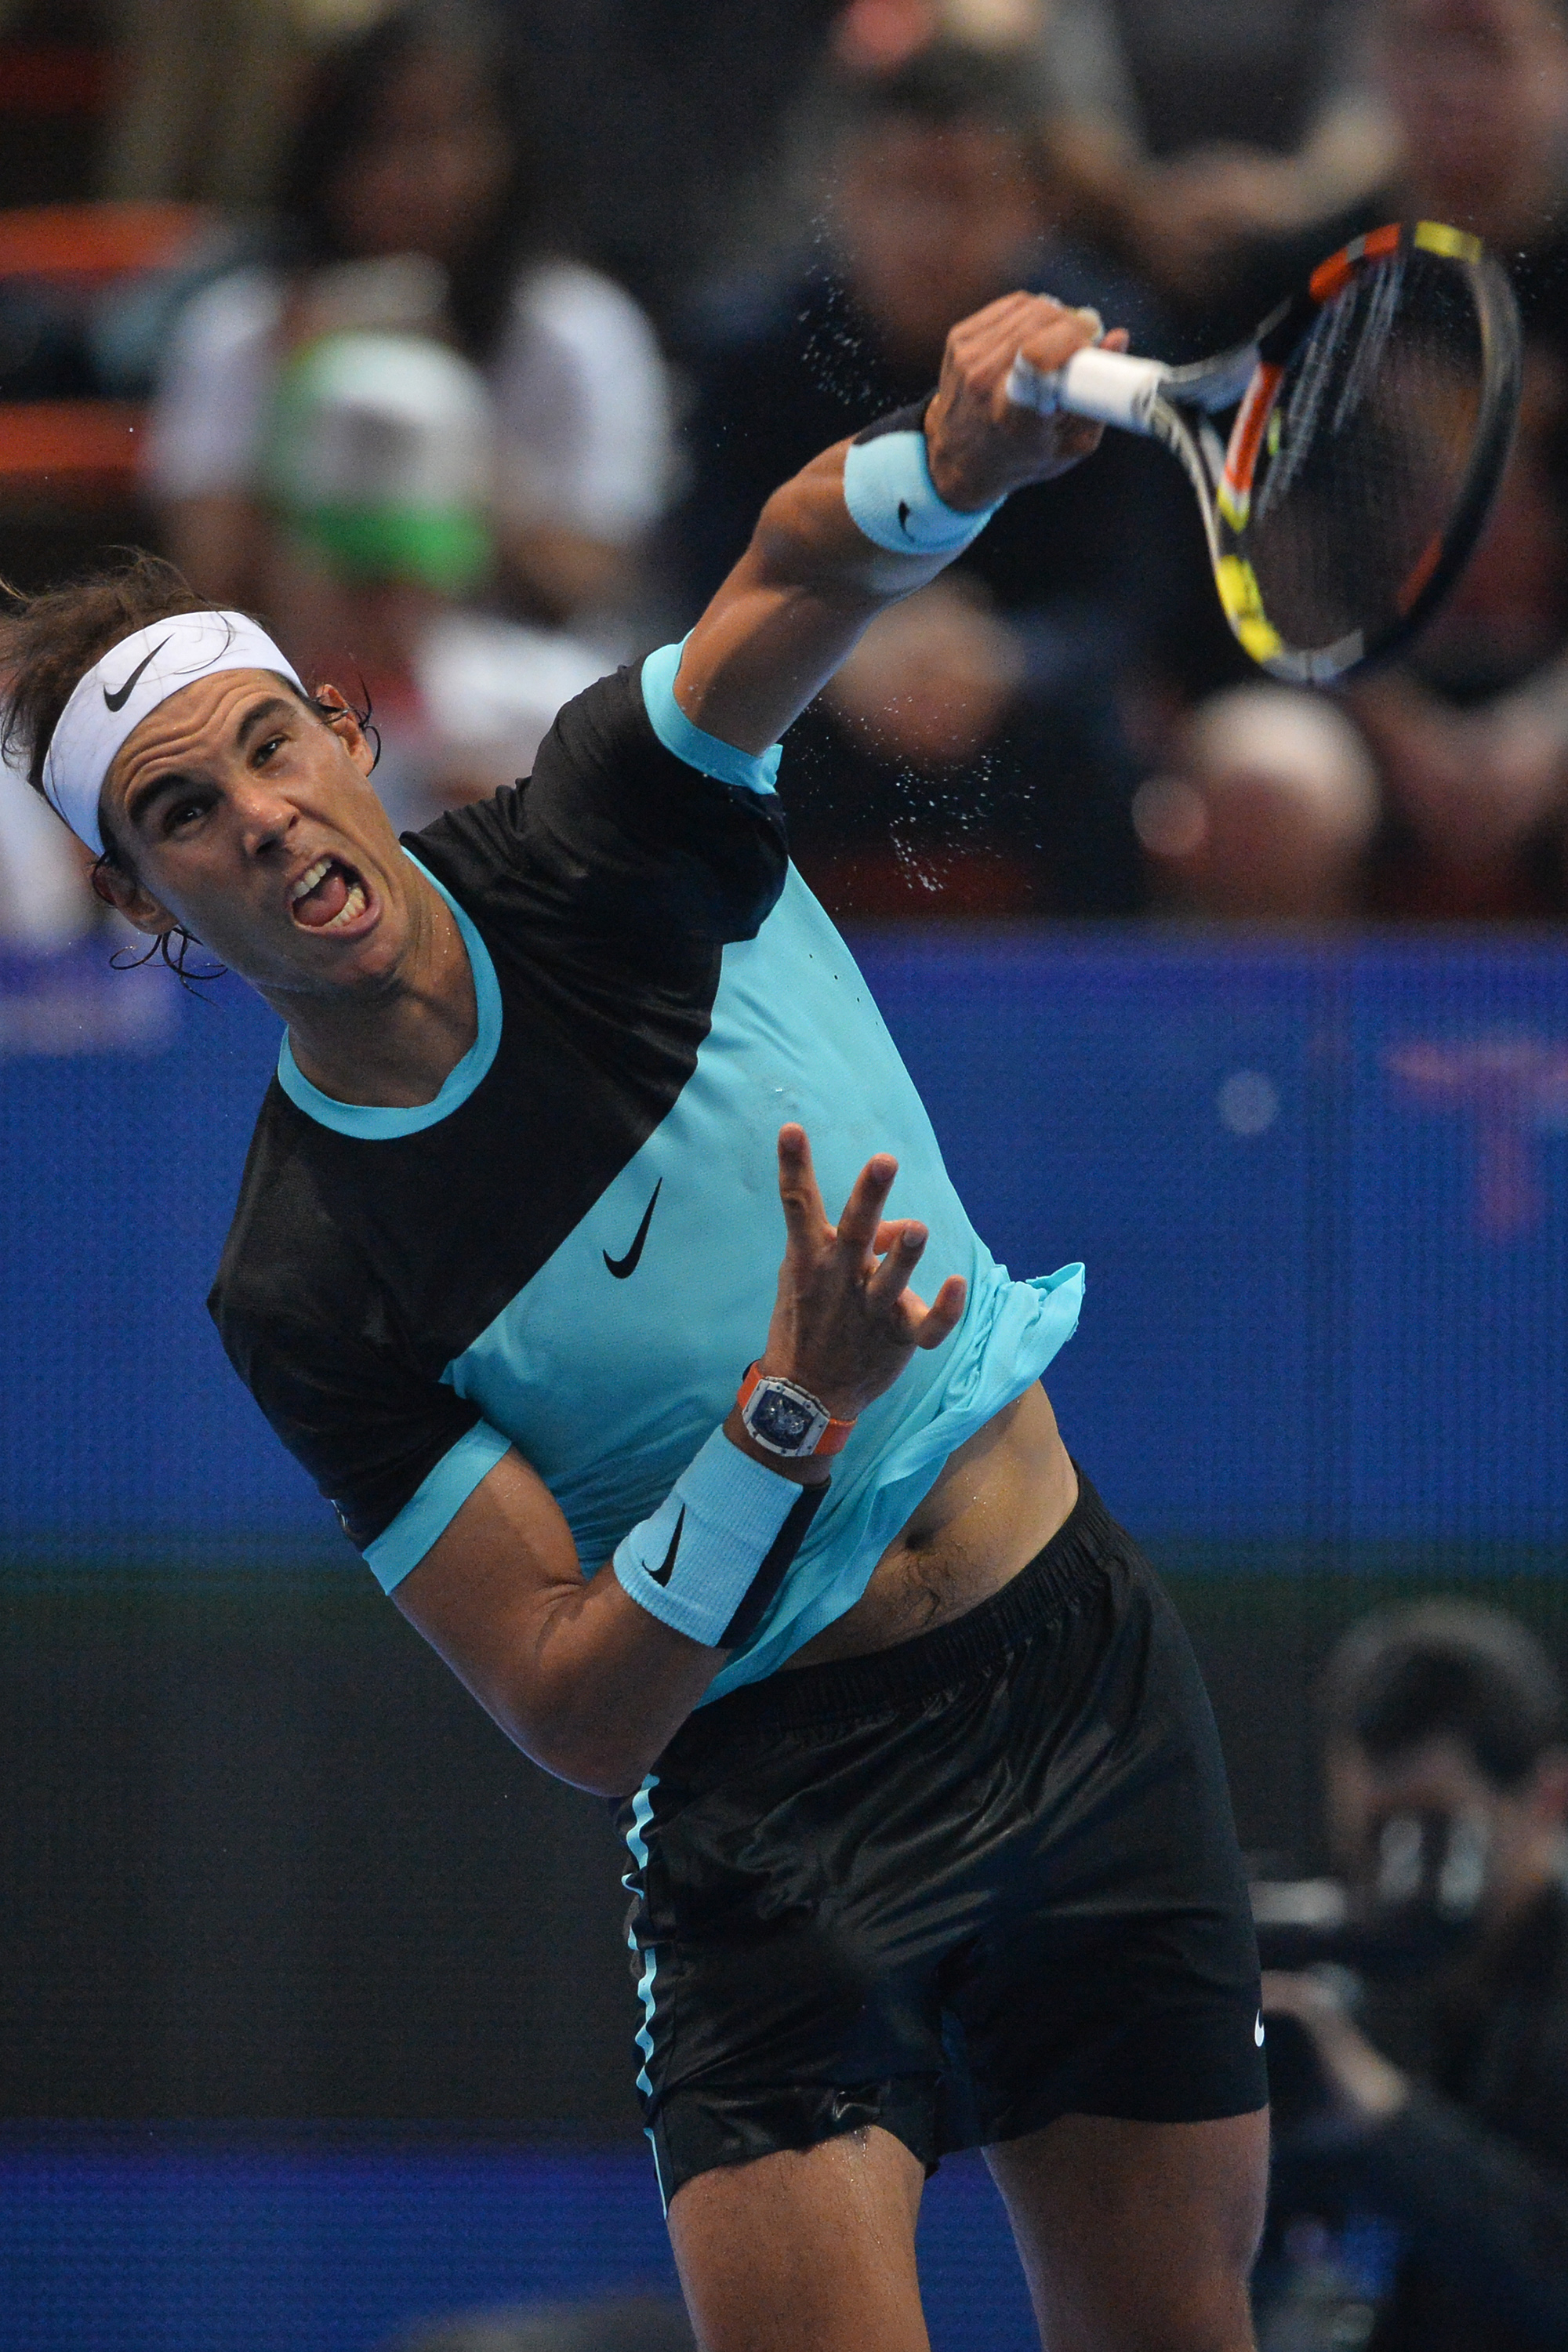
High shutter speeds are frequently the key to great sports shots. For many high-intensity sports, you will need shutter speeds in excess of 1/1,000 sec (see tip 17) if you want to freeze the movement. The basic mantra is ‘the faster the better’.
To achieve these speeds in the many situations where light intensity is low, you’ll need to push your ISO up so the sensor is more sensitive. It’s not uncommon for sports pros to shoot at ISO800 as standard, while frequently pushing to 1,600, 3,200 or higher if there is no other choice. With high ISO come potential noise issues – but if you want a pin-sharp shot rather than a blurred one, don’t be afraid of a high ISO setting.
7. Use a good memory card
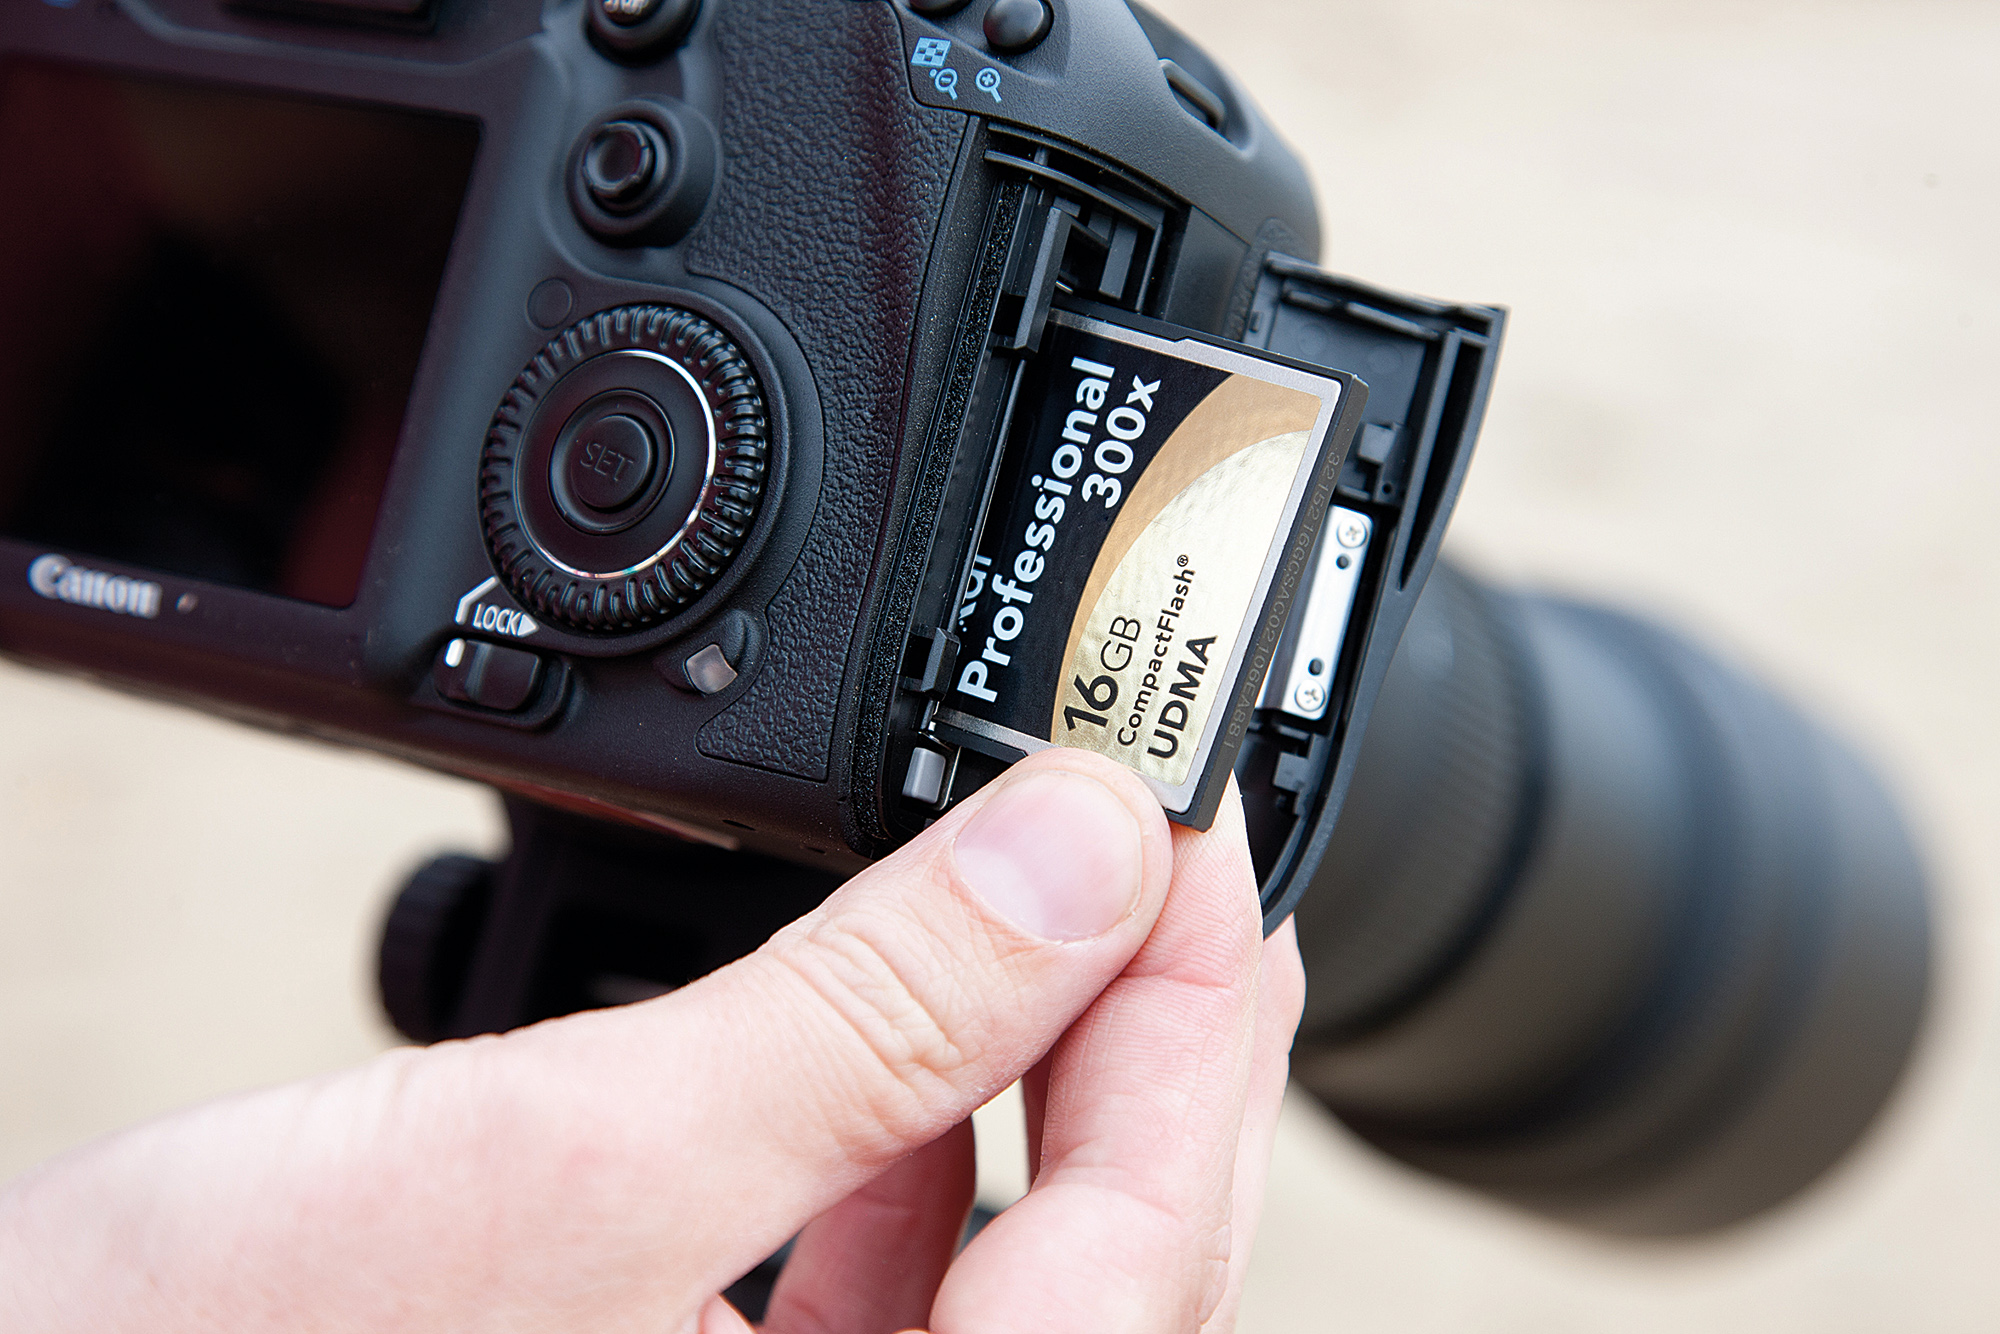
To get the most from your camera when you shoot action, choose a memory card with a fast write time. Anything from 90MB per second upwards will be enough. Slower cards are cheaper, but they’re not as good for action.
8. Use both eyes
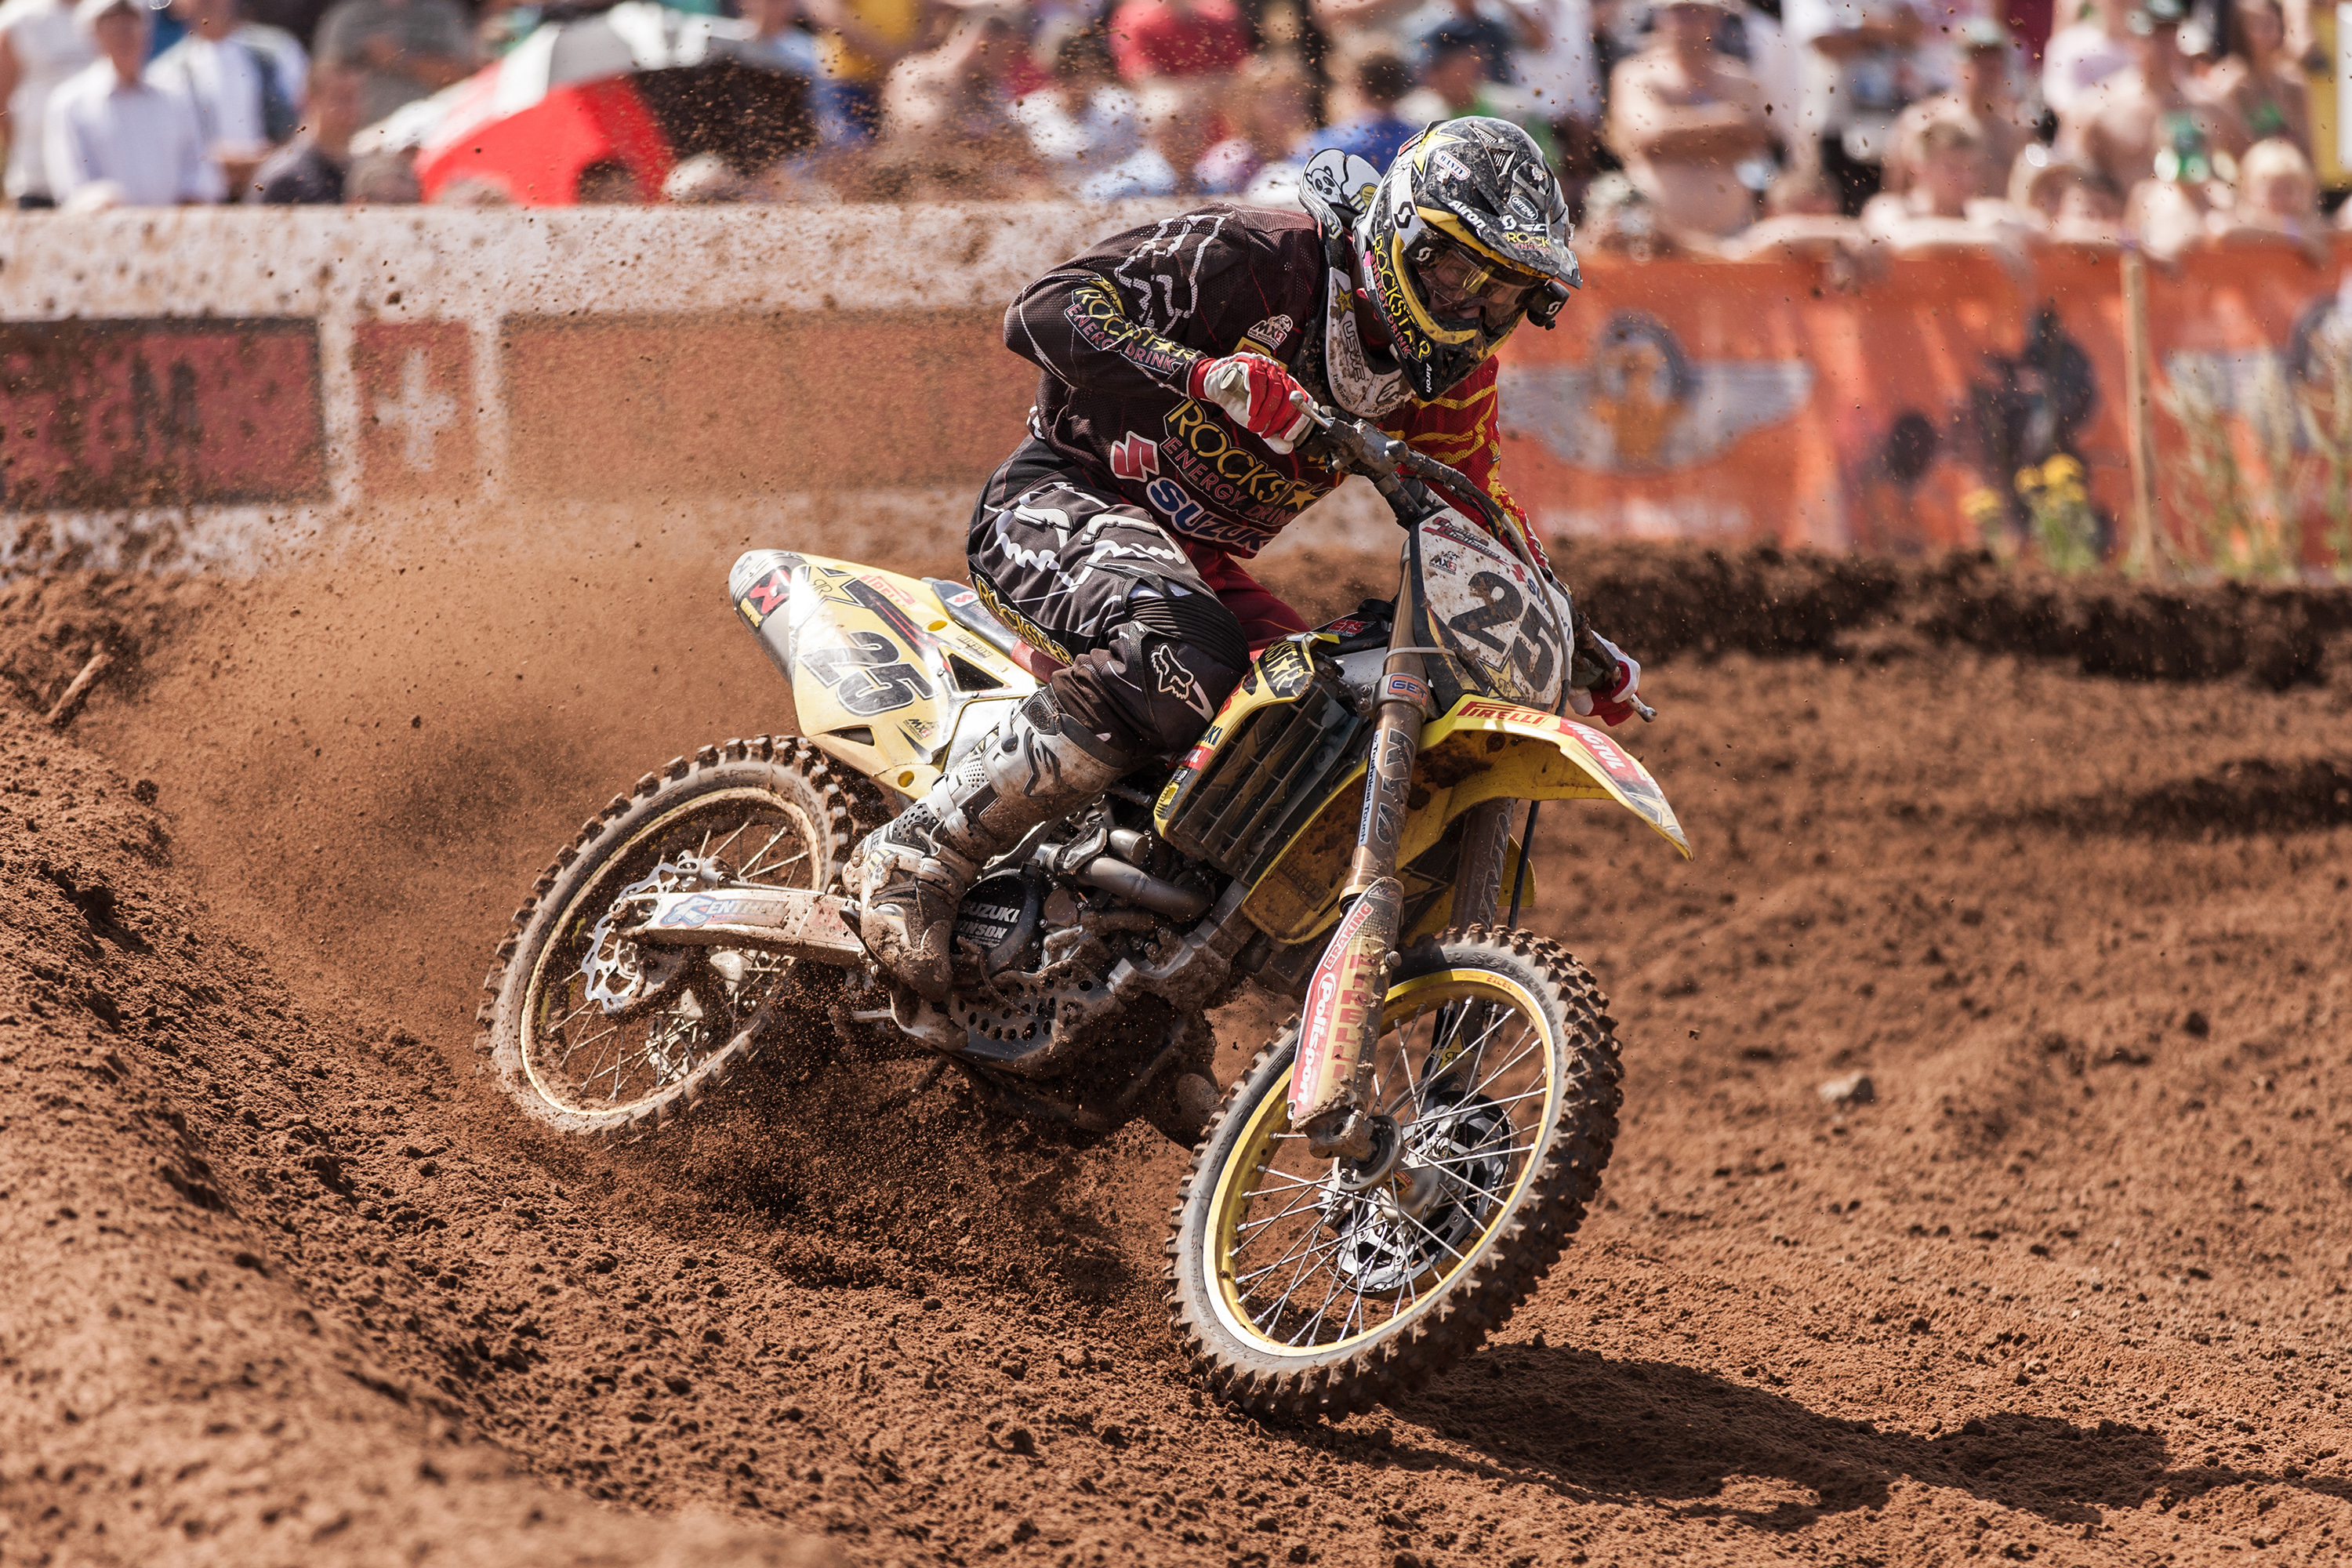
It’s totally natural to shut the eye you’re not using to look through the camera’s viewfinder – but try to keep it open when you shoot sport. This increases your peripheral vision, so you can see more things happening around you.
9. Shoot a silhouette
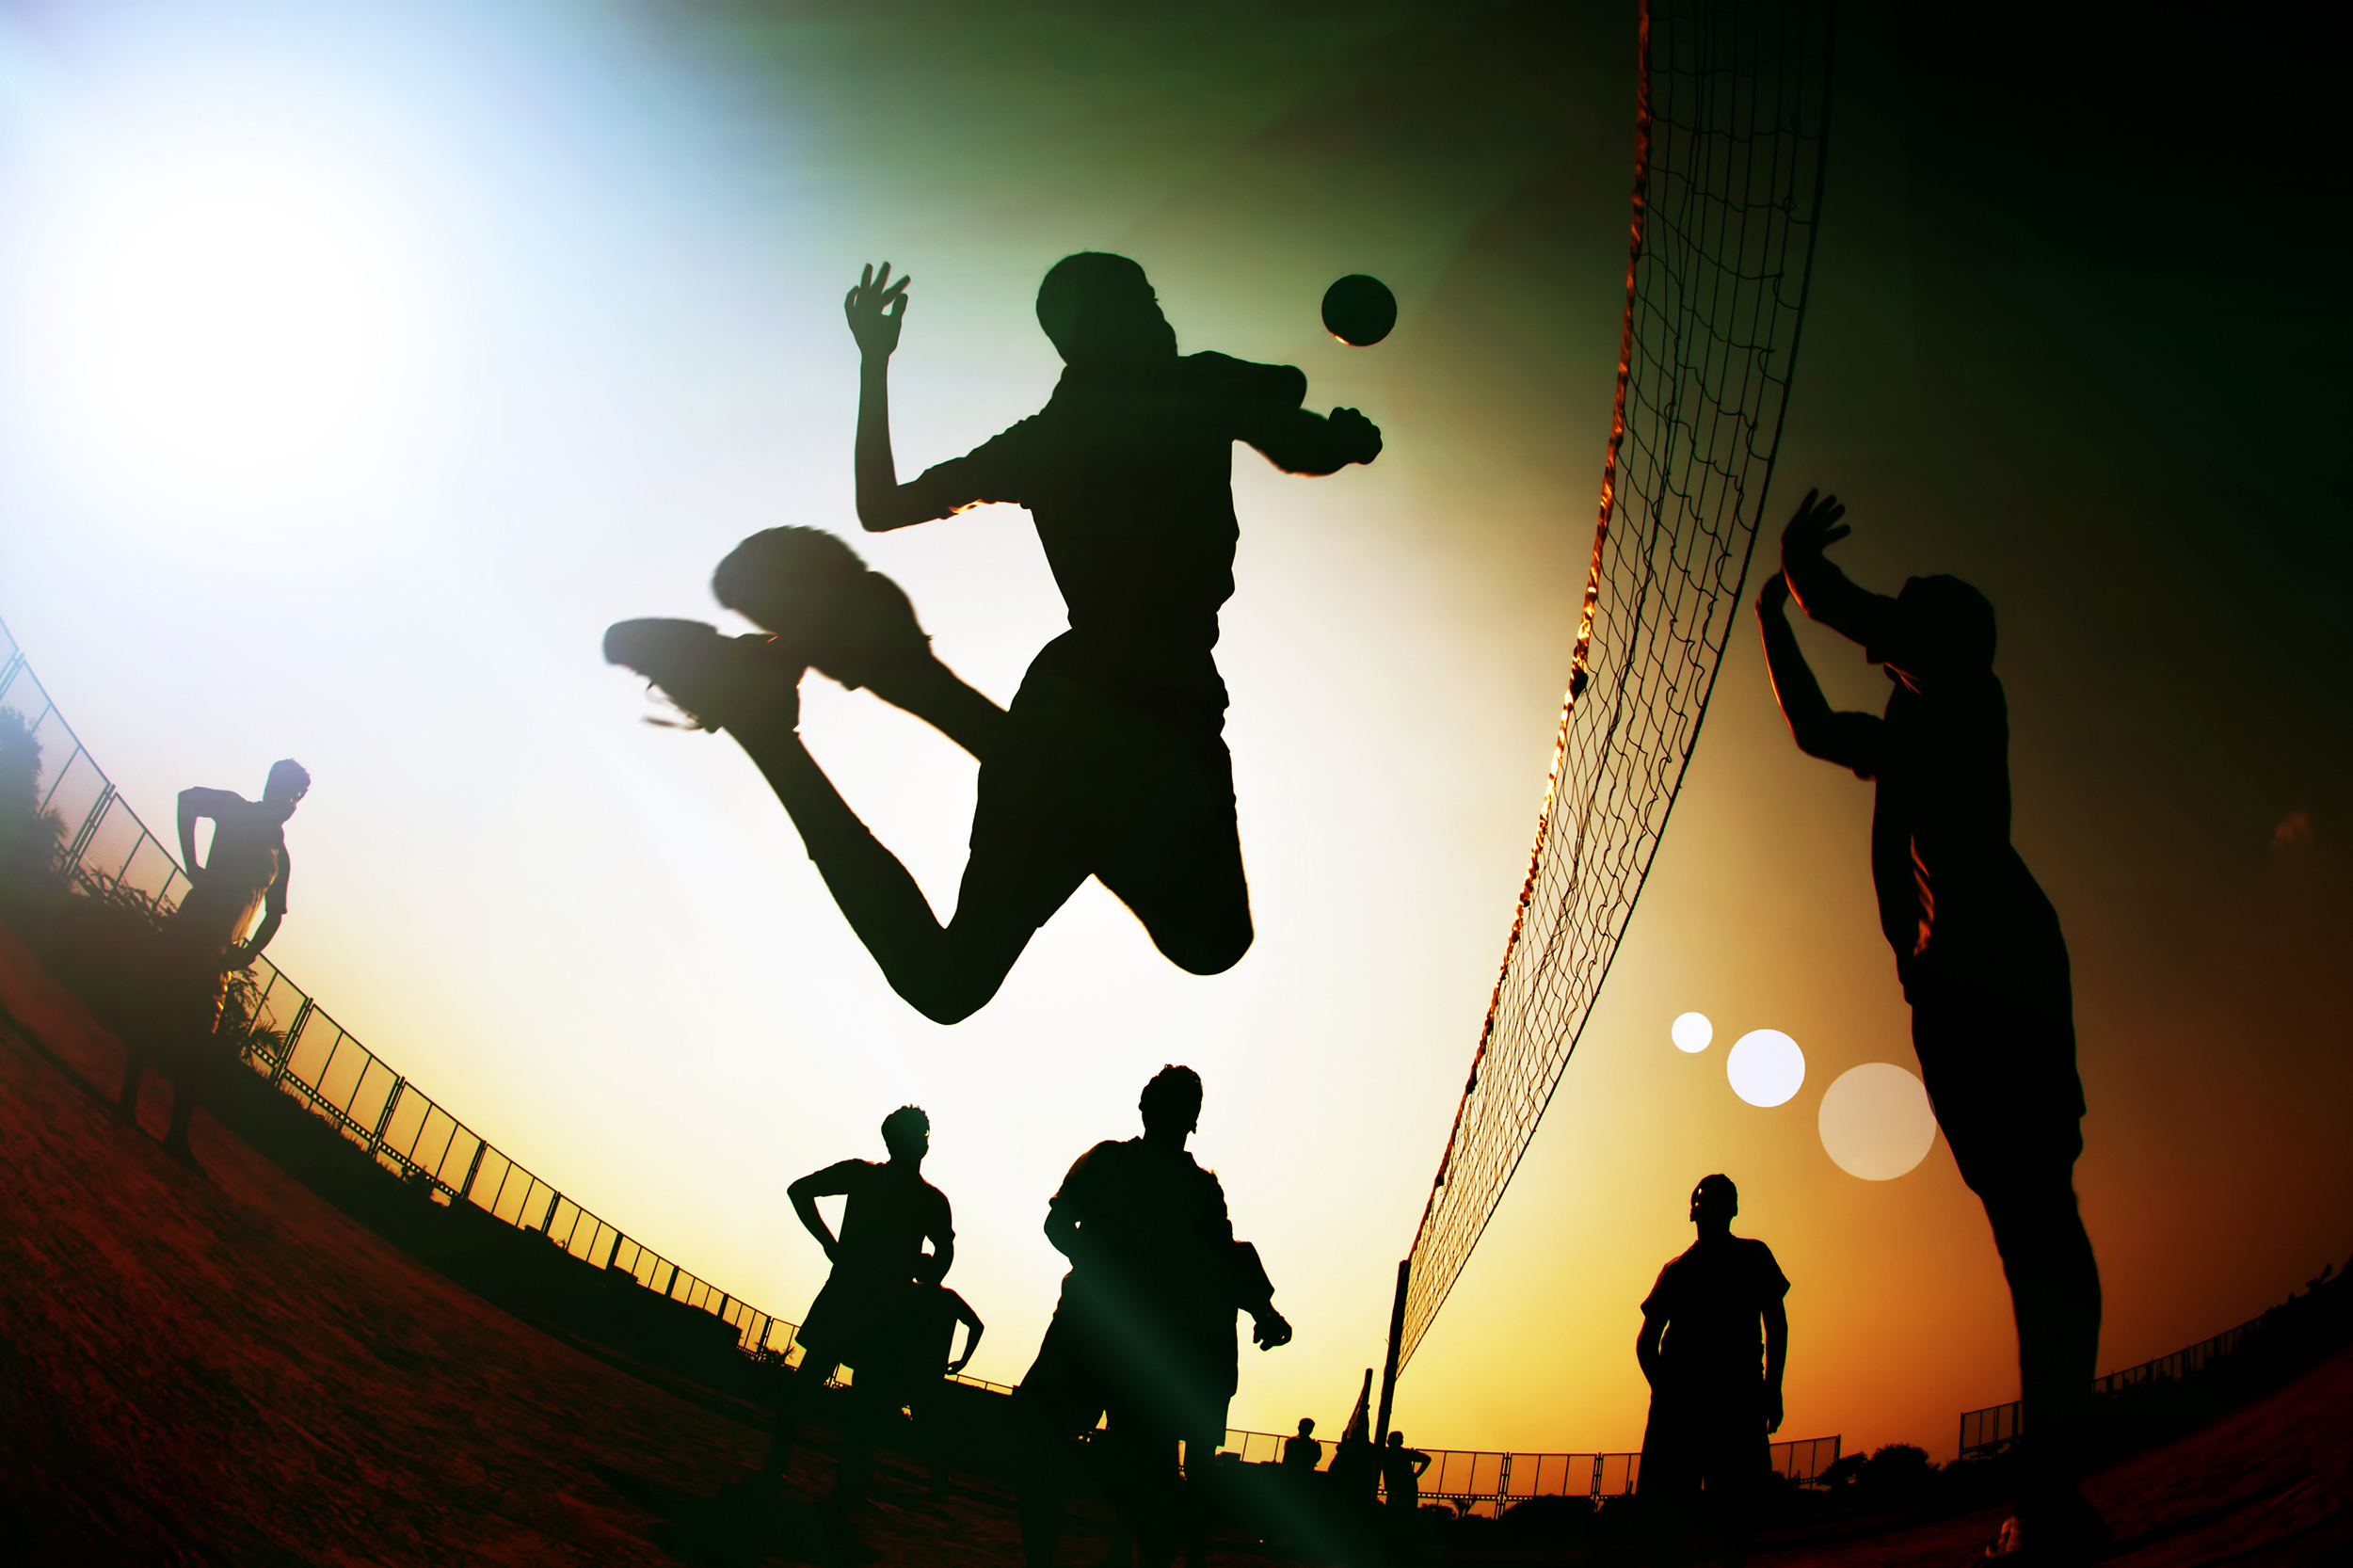
If you have strong backlighting, add drama with a silhouette. Keep the subject simple within the frame so it’s obvious what it is. Because the exposure is being taken from the lightest area, shutter speeds will be relatively high.
10. Panning
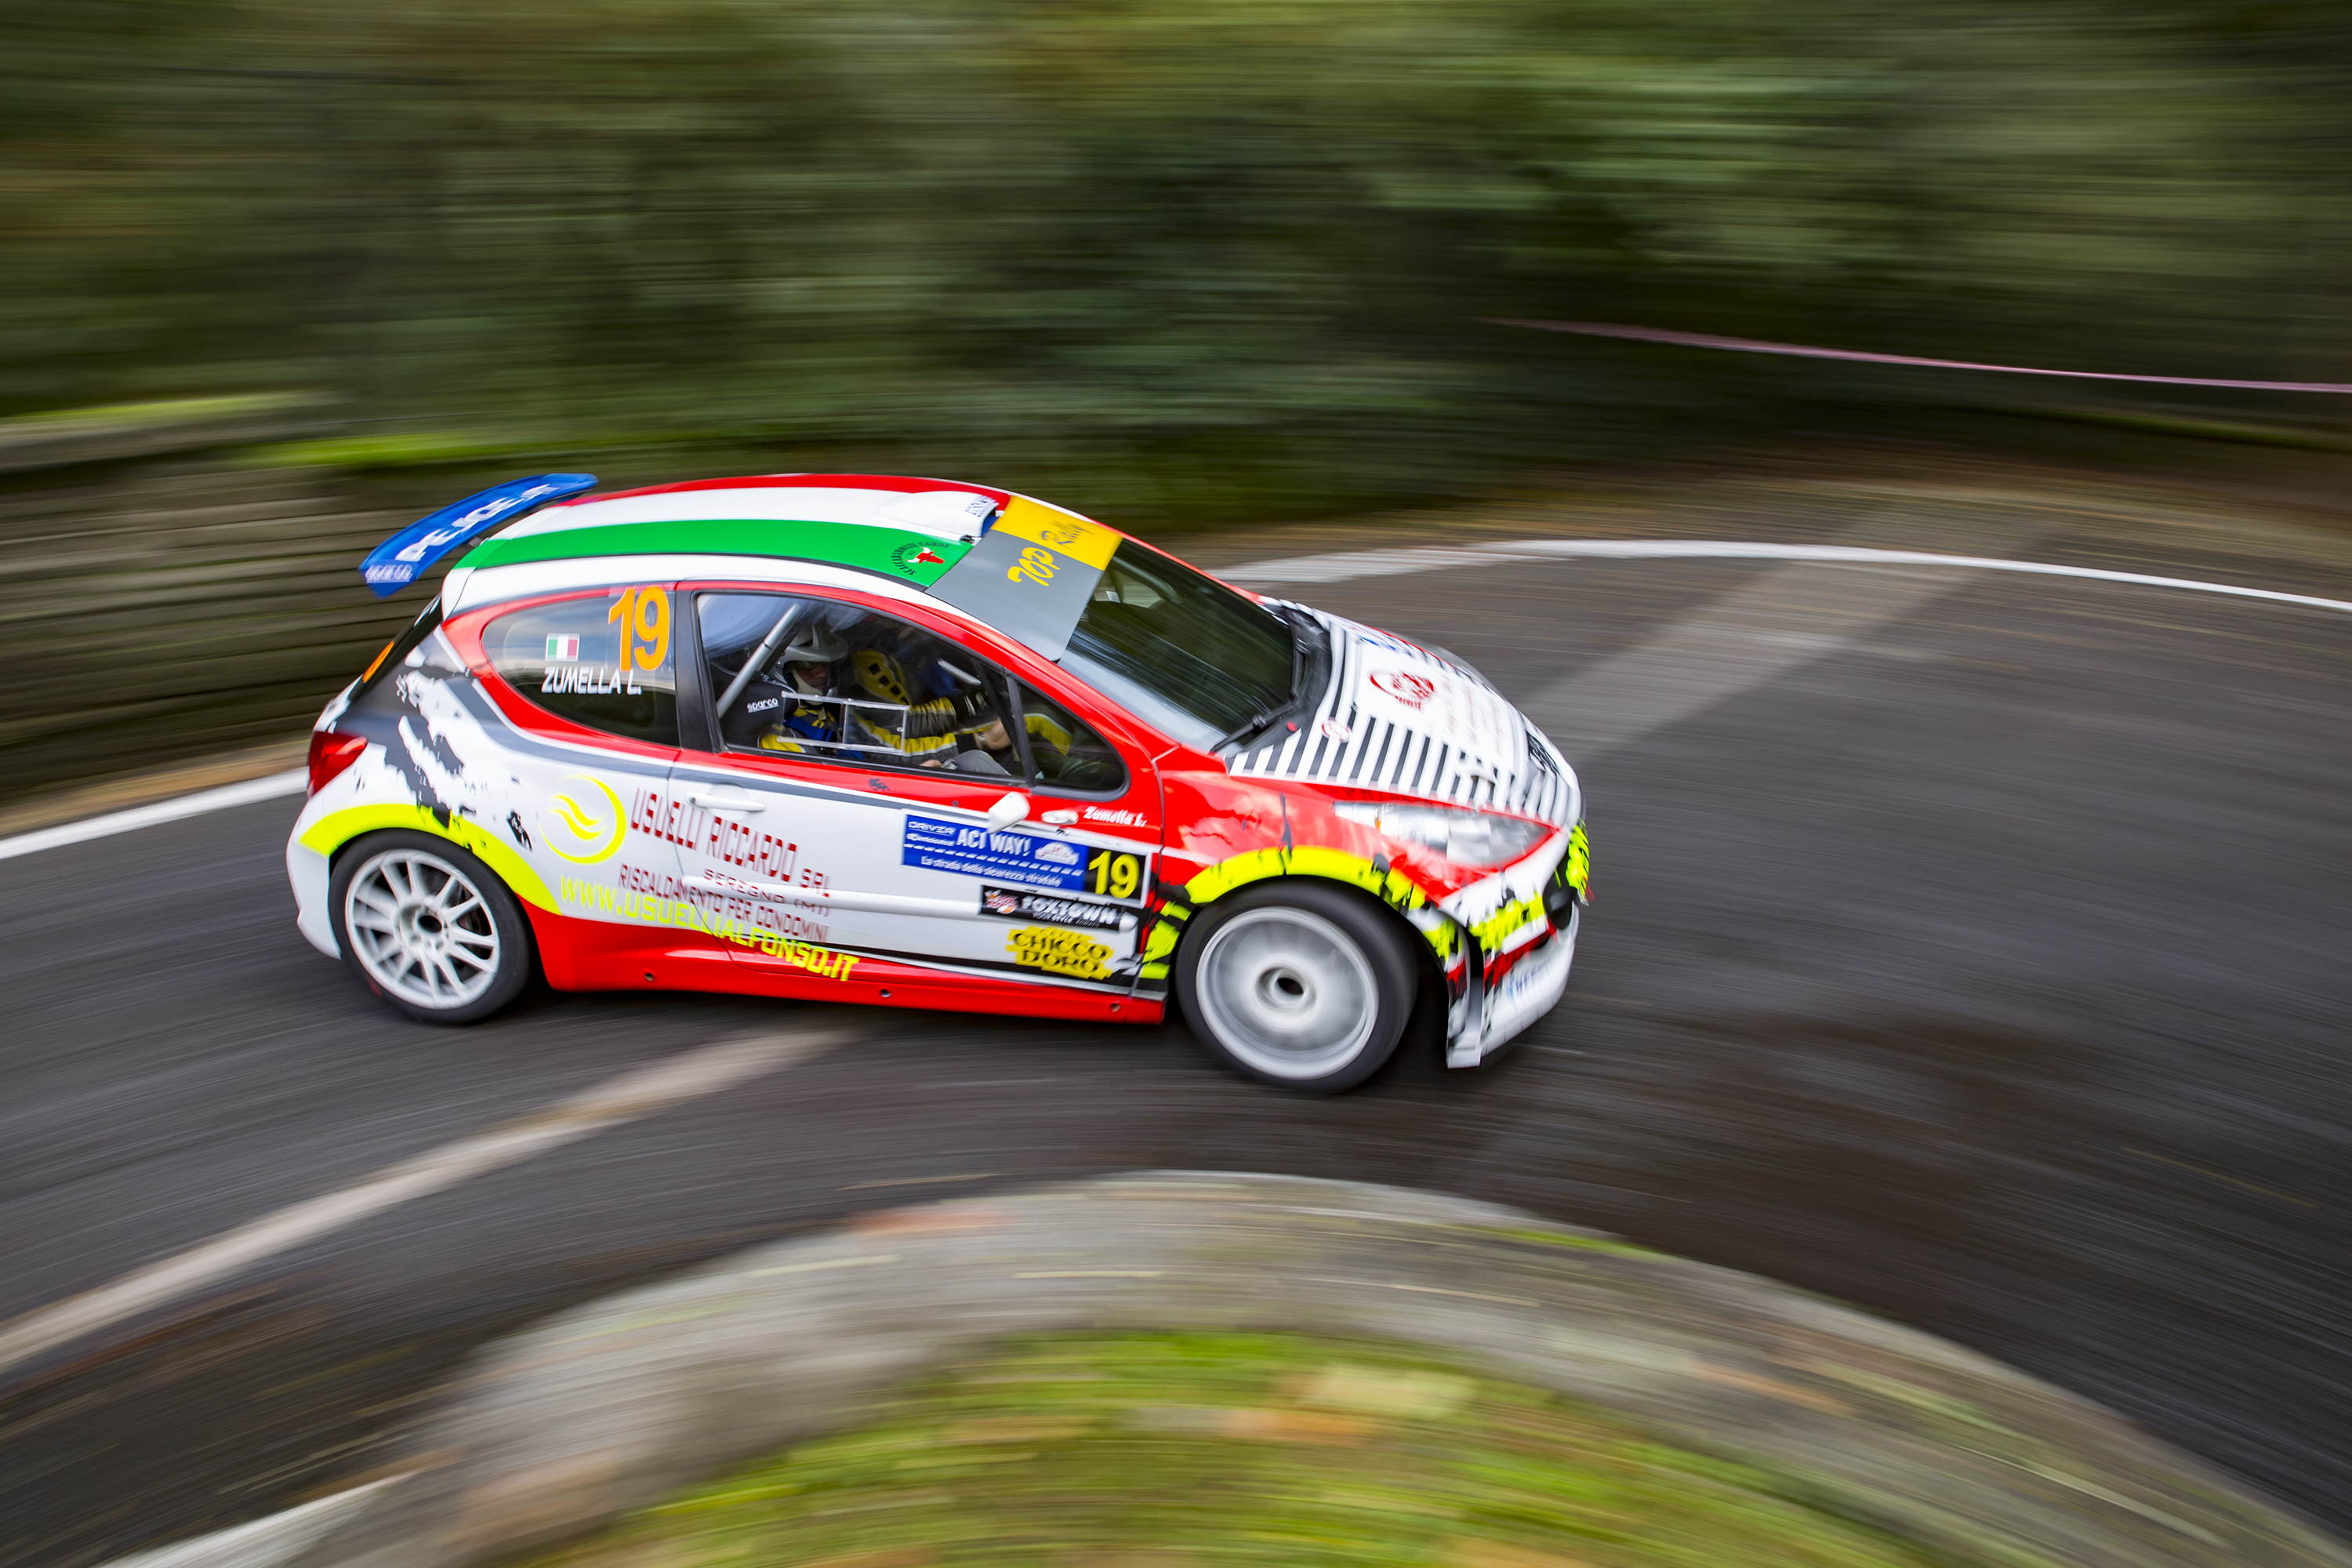
If there’s one basic technique you need to nail for sports, it’s panning! A skilful bit of panning will allow you to combine a sharp subject with a speed-infused background.
Sounds hard? Panning a shot is actually surprisingly easy with a bit of practice, aided by awareness of some relatively straightforward techniques. The main elements you need to think about are the speed of your subject’s movement, your own movement, the shutter speed chosen and what’s in the background.
Let’s start with settings. Unless your lens has an image stabilisation mode specifically designed for panning, you should switch IS off. You’ll also need to lock and keep focus on your subject while it moves across you, so select AI Servo/Continuous AF and make sure you have an AF point group active that will achieve focus at the right place. If in doubt, use a central group or the single central AF point.
Set a slower shutter speed than normal. If you are photographing a car that normally needs a minimum of 1/500 sec to freeze it, for example, change your shutter speed to 1/125 sec. You can use a low ISO setting and a small aperture to achieve this if required.
As the subject comes into view, lock focus and start to pan the camera and lens with it. Your movement needs to be smooth and controlled, like a revolving gun turret. Ideally you will place yourself in a position where there is an interesting background, like vegetation that will ‘streak’ well.
Fire the shutter after your panning movement has started, and keep moving the lens through the arc during the exposure. You may need to change the shutter speed, making it either higher or lower, to find the perfect speed for the subject.
With some trial and error, you’ll soon get the hang of it!