Apple has done a great job making sure Mac OS X is aesthetically pleasing with its Aqua theme, exciting desktop images and clear, eye-catching icons.
Yet out of the box, your Mac looks like every other. To really make it your own, you must personalise it, tailoring it to suit yourself on both a practical and cosmetic level. Change the desktop, use custom icons, install your own alert sounds, and a whole lot more. Here's how…
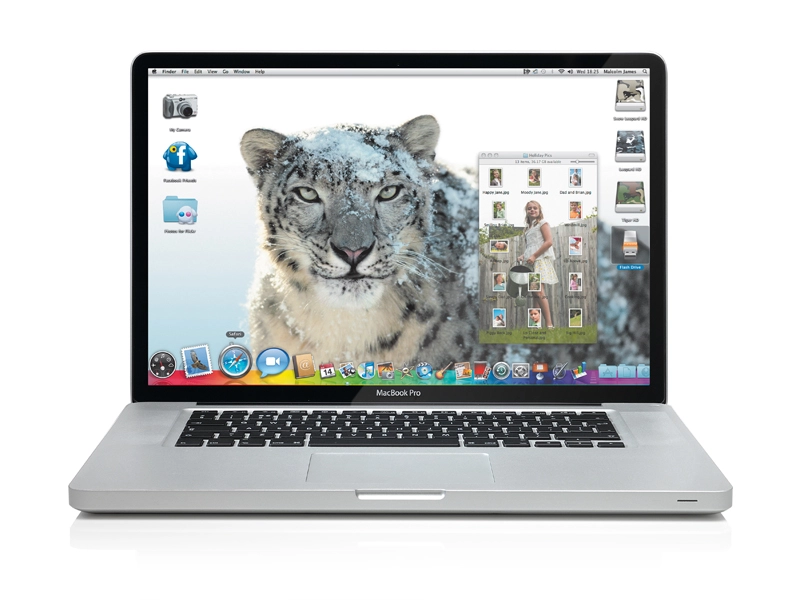
Article continues belowThe easiest way to change over your desktop image is to open up System Preferences (find it under the Apple menu), open the Desktop & Screensaver pane and select one of the designs on offer. If you prefer to work from a plain desktop, you can set it as a solid colour. And if you really wanted, you can even set it up to change the picture at userdefined intervals.

But you're not restricted to using desktop wallpapers supplied with the operating system. You can use a picture stored in iPhoto directly from the Desktop & Screensaver pane, or from iPhoto's Share menu. There are thousands of wallpapers available online too.
Make sure you use the correct size image for your monitor (you can check what size you need in the Display preference pane). Download desktop wallpapers to your hard drive and navigate to them through the Desktop & Screensaver preference pane, or if you're using Snow Leopard, right- or Ctrl-click in Finder and select Set Desktop Picture from the contextual menu.
4. Change account icon
To change your account icon, open System Preferences and select the Accounts pane. Now click on your startup icon and select a new one. Alternatively, select Edit Picture to resize your image, choose a picture from your Mac or take a snap with your iSight camera.
5. Custom logon message
To add a message to your login screen, in the Terminal (Applications > Utilities), type:
sudo defaults write /Library/ Preferences/com.apple.loginwindow LoginwindowText "Your Message"
To remove, type:
sudo defaults write /Library/ Preferences/com.apple. loginwindow LoginwindowText ""
6. The Menu Bar
When Apple released OS X Leopard, its new translucent menu bar proved to be so unpopular, that the option to make the colour solid was added in with the release of 10.5.2.
Open the Desktop & Screensaver preference pane, and check or uncheck the Translucent Menu Bar option. As translucent menu bars can prove to be quite difficult to read with some desktop images, this option is very handy.
7. Menulets
The icons at the right of the menu bar, offering pull-down menus for specific applications and features, are called menulets. Most of these are added to the menu bar using System Preferences or an application's own preference options.
For example, if you want to add or remove Sound, Universal Access, Bluetooth or Time Machine menulets, go to their respective preference panes and check or uncheck the box. Some menulets disappear when their respective app is shut down, while others can be removed by simply dragging them off the menu bar while holding down the Command key.
There are some menulets that are hidden away, and can only be reached by navigating to [Hard Disk]/System/ Library/CoreServices/Menu Extras.
Here you will find plenty of files with the extension '.menu'. Double-clicking on one of these will add its menulet to the menu bar. The Eject menulet is especially useful if you're using a keyboard that has no eject key.
8. Screen Saver
To change your screen saver, open System Preferences, then open the Desktop & Screen Saver pane. Select the Screen Saver tab for a list of all currently installed screen savers and a preview of the one that's currently active.
You can select one, opt for a random saver to be chosen and define a hot corner to manually activate or disable your screen saver. You can set how long your computer must be inactive before the screen saver kicks in too.
To set up a slideshow as your screen saver, choose one of the options listed under Library. Double-click on it for custom options such as cross-fade and zoom, and use the Display Style buttons under the preview window to opt for one photo at a time, multiple rotating photos or a mosaic.
If you've a folder of pictures you want to use in your screen saver, press the '+' button and navigate to it. Experiment with these options and watch the preview.
You can also add a third-party screen saver. If it doesn't have an installer, locate the file with the extension .saver and drag it into the Screen Savers folder at [Hard Disk]/ Library/Screen Savers.
A free utility called Wallsaver lets you use your screen saver as your desktop image. It's very impressive, but you must choose a screen saver within Wallsaver's preferences; it won't simply opt for the one you have currently set up.
9. A 3D Desktop
BumpTop turns your desktop into a cool 3D environment. You can pin files and folders onto the back wall out of the way and even put desktop items into piles on the floor, which work a little like your Dock's Stacks feature. Download the custom themes at www.customize.org/bumptop too; there's a YouTube video on how to install them here.

BumpTop was acquired by Google in April 2010, and the app was withdrawn; it can no longer be downloaded from www.bumptop.com. But all is not lost. It was featured on MacFormat's coverdisc in issue 221, with a full tutorial on how to use it. See page 99 for details on ordering a back issue, but be quick. Stocks are limited, and they're going fast.
10. Customise your keyboard shortcuts
Keyboard shortcuts trigger an action without selecting an option from a menu. Pulldown menus accessed through the menu bar often list keyboard shortcuts as alternatives.

For example, in the Finder's File menu, opening a new Finder window can be achieved using Command+N, a new folder is created with Shift+N and a new Smart Folder with Option+Command+N.
You can also customise keyboard shortcuts or create your own. Open System Preferences and select the Keyboard preference pane. Select the Keyboard Shortcuts tab. To change the inputs for the listed actions, select the one you wish to change, click its keyboard command to turn it into a text field and enter the shortcut of your choice to change it.
To create a new keyboard shortcut, Press the + button. In the dropdown box, select which application you want the shortcut to affect, enter the exact menu option you wish to add a shortcut for and add the keyboard shortcut you wish to use.
For example, in Safari, the History menu gives a Re-open All Windows from Last Session option, but not a shortcut. To create a shortcut that activates this command using Shift+Command+r, press + and select Safari from the pulldown menu.
Under Menu Title choose Reopen All Windows from Last Session, and in the Keyboard Shortcut field, enter Shift+Command+r. Press Add.