How to get the Windows 98 experience on today's PCs
Retro OS
Twenty years ago Windows 98 became available for sale to the general public, yet the operating system enjoyed a mixed reputation. It brought new features and refined the concept of PNP (Plug & Play) devices which could automatically be detected by the system when connected to a USB port.
However, Windows 98 was also famous for being the OS which displayed the BSOD (Blue Screen of Death): fatal errors which often resulted in users having to restart their system and lose any unsaved work.
Yet the platform also supported some of the top games of the late 90's, such as Tomb Raider II.
If you're feeling nostalgic, in this guide you'll learn how to relive your glory days on Windows 98. Some of the steps we suggest are only skin deep, such as installing a 'classic' theme in Windows 10 or Ubuntu Linux. Others will allow you to actually run programs designed for Windows 98 using a virtual machine or an emulator.
How to make Windows 10 look like Windows 98
Previous versions of Windows such as Windows 7 offered a 'Classic' theme for your desktop. This consisted of a more traditional grey Start menu, a vintage icon set and more basic graphics.
However, Microsoft have not developed a Classic theme for Windows 10. But, thanks to the efforts of programmer 'kizo' there is a third party add on which achieves much the same effect.
To get started visit the Deviant Art website and click 'Download' on the right hand side of the screen. The theme file will download automatically.
Sign up for breaking news, reviews, opinion, top tech deals, and more.
Install the theme
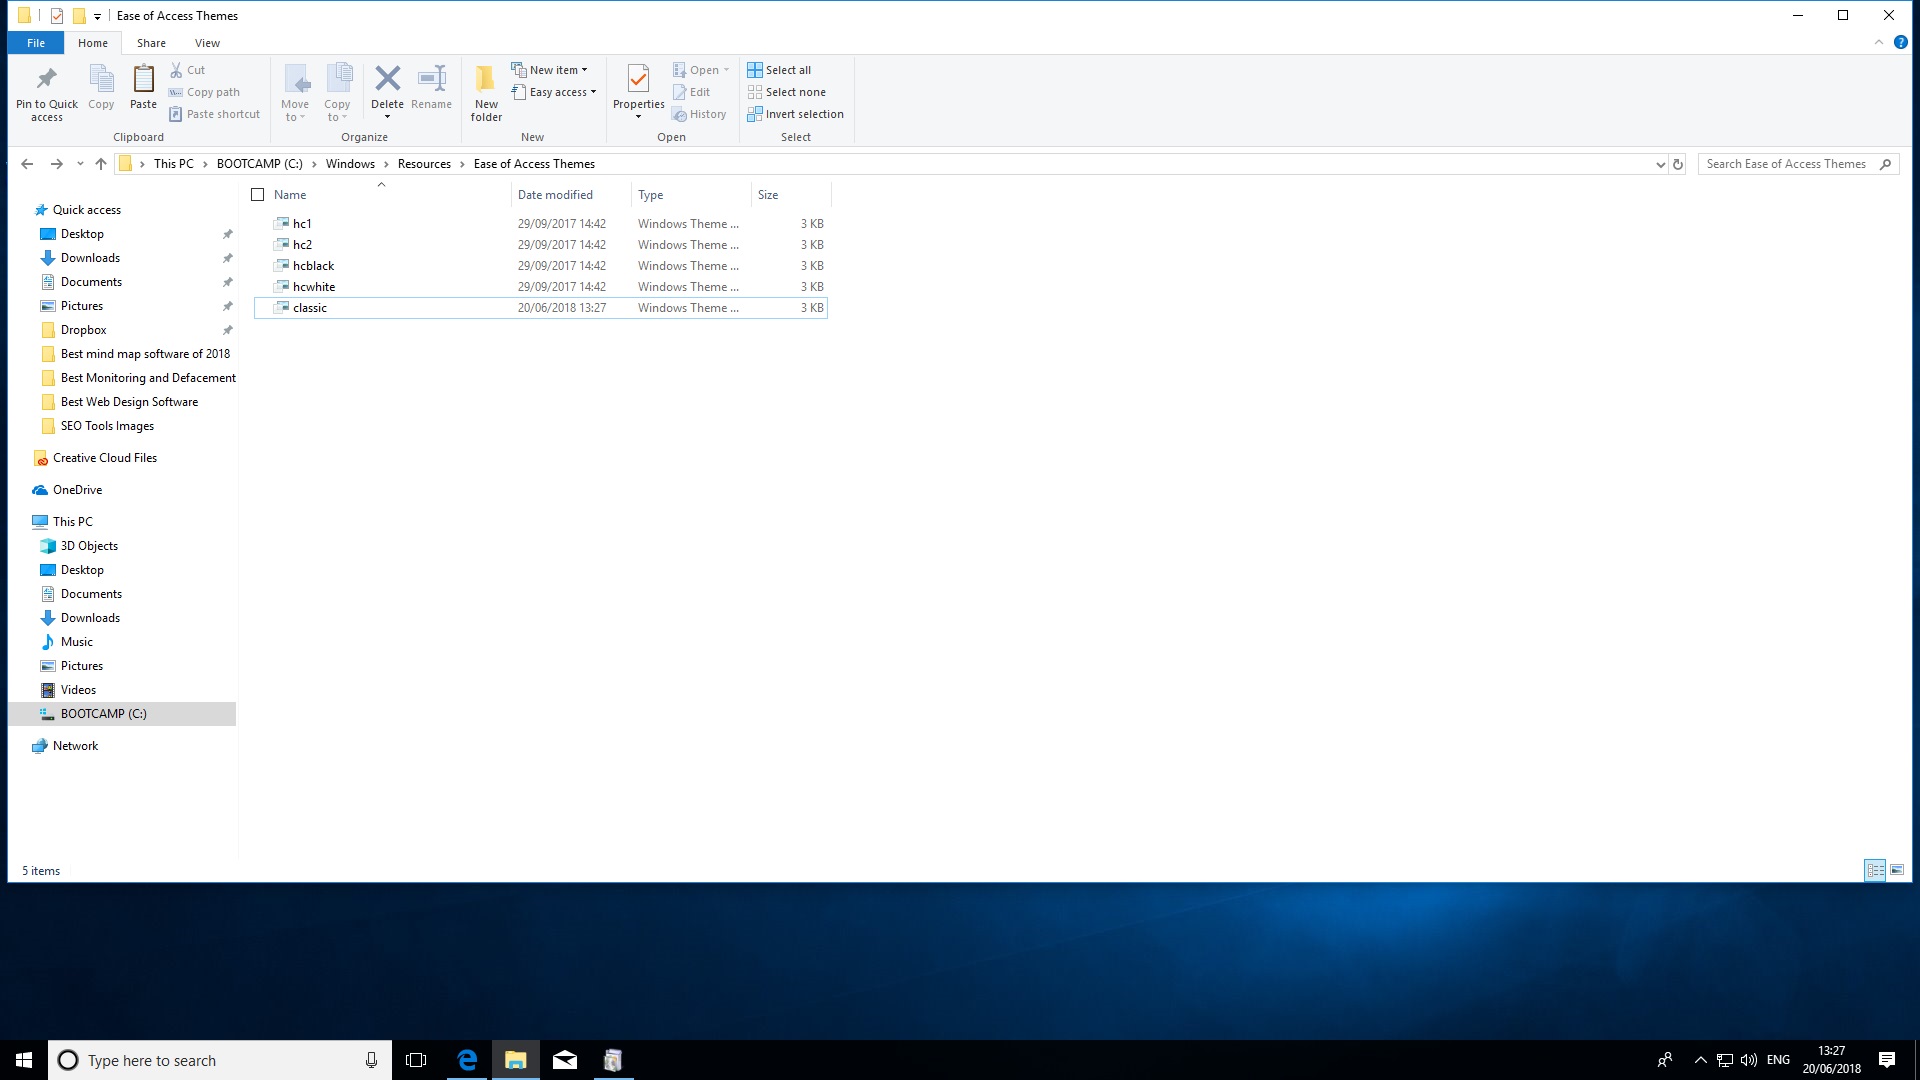
Once the theme file has downloaded, open File Explorer and navigate to the Downloads folder. Locate the file named windows_classic_theme_for_windows.zip and double-click to extract its contents. The theme file (Windows Theme) will appear automatically in the same folder as the Zip file.
Right click the theme file and choose 'Copy'. Next, click the address bar at the top of the File Explorer window and enter 'C:\Windows\Resources\Ease of Access Themes folder'. Right-click anywhere inside the folder window and choose 'Paste'. A tick box named 'classic' will now appear automatically on the left-hand side of the window. Left click on this once to activate the 'classic' theme.
A step further
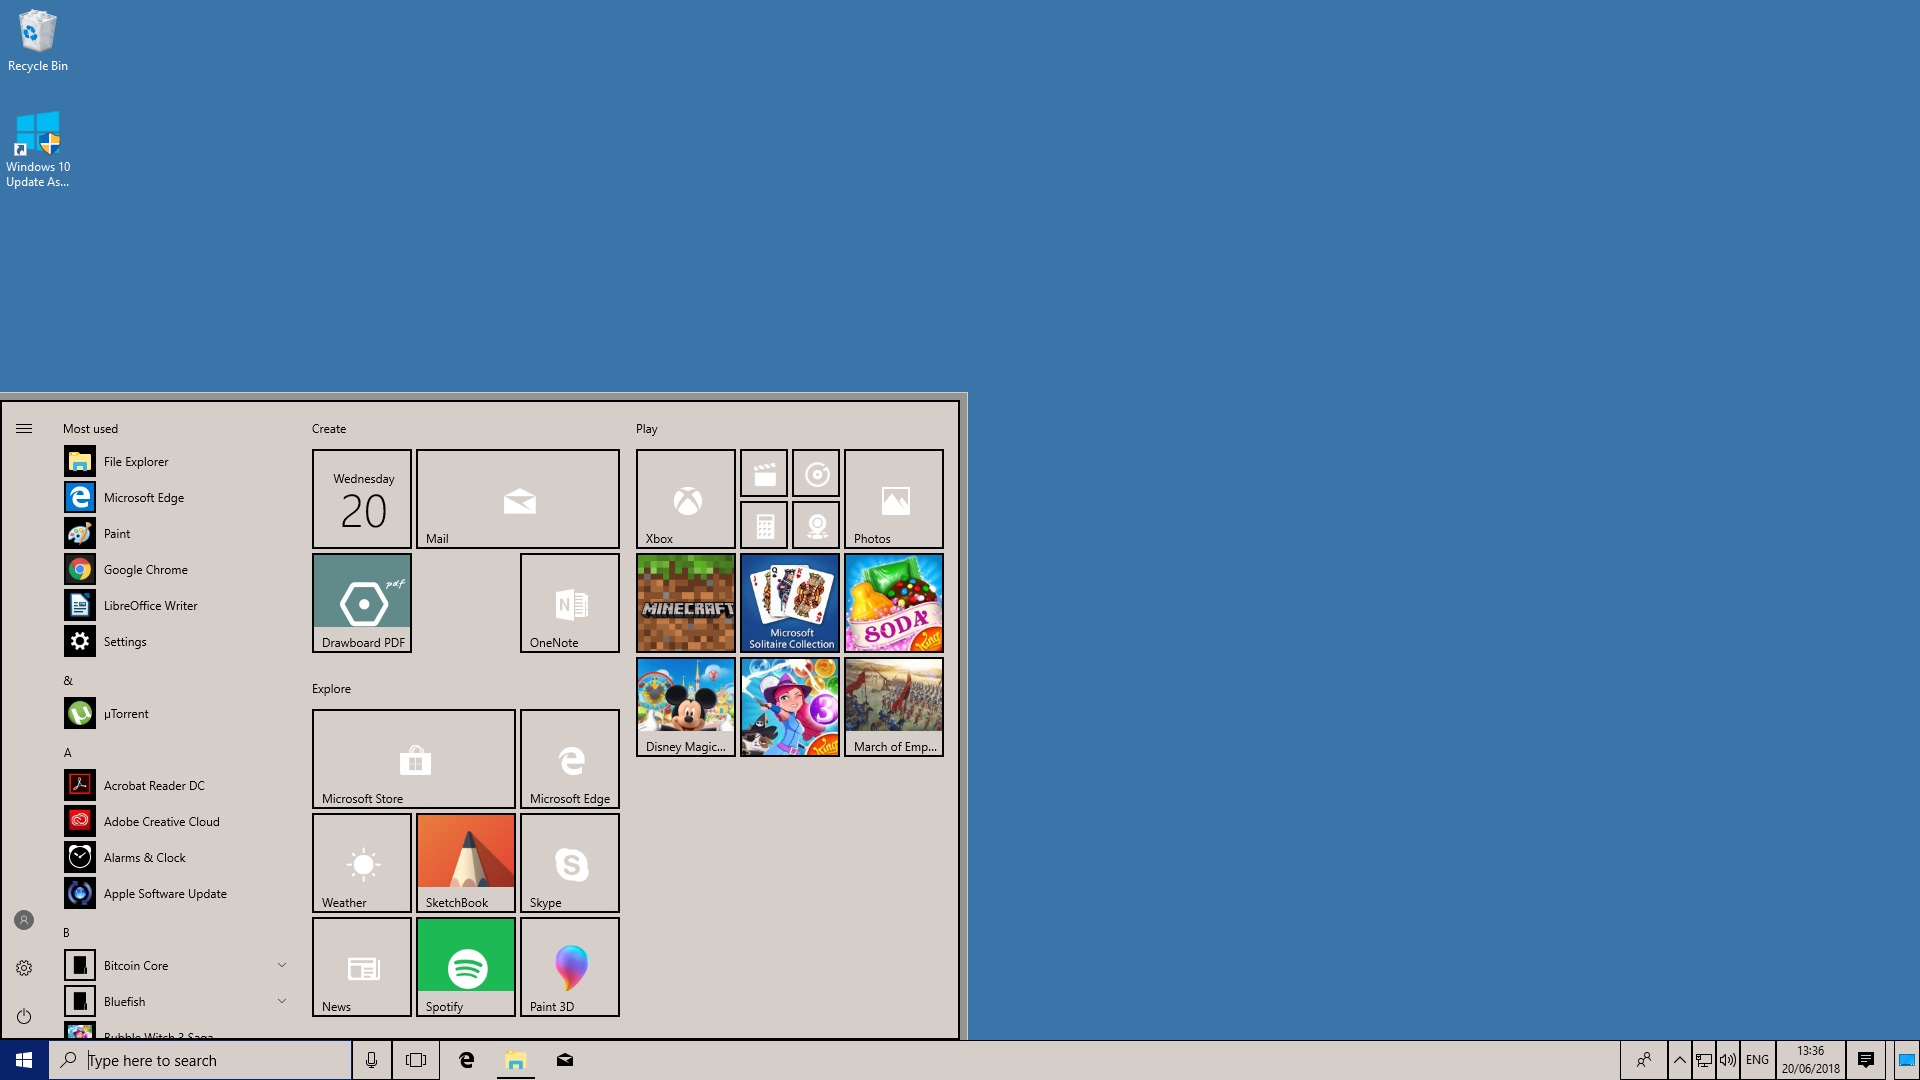
Once the classic theme is loaded, you'll notice that the Desktop background is a rather insipid shade of green which was used in early versions of Windows 98. For users of Windows 98 SE (Second Edition), this may not be too familiar.
Fortunately there are plenty of good quality desktop backgrounds available online which imitate the Windows 98 desktop. To customize the desktop further, first find your chosen image such as this one from www.getwallpapers.com. Next, right-click the image and choose 'Save Image As' to download it to an easy to remember location (such as your 'Pictures' folder).
Once the download is complete, open the Windows 10 File Explorer and navigate to the location of the image. Double-click to open the image in the Photos app. Finally, right-click on the image choose 'Set as Desktop'. The desktop background will now be changed to the Windows 98 image that you downloaded.
Undo your changes
As nostalgic as the classic theme appears, it may not work well with more modern features. For instance, when using the Microsoft Edge browser, the grey look and feel can make individual buttons hard to distinguish.
To deactivate the classic theme, go to the Windows menu and type in 'Themes'. Click on 'Themes and related settings'. From here you can choose a theme more suited for you such as 'Windows 10' theme.
To revert your desktop background, right click anywhere on your desktop and choose 'Personalize'. The 'Background' option should appear automatically. From here you can choose a Windows 10-inspired background.
How to run Windows 98 in a virtual machine
While it's relatively easy to make your Windows 10 desktop resemble Windows 98, this won't change your default system applications or allow you to run certain classic Windows programs. However, you can do this by running Windows 98 as a 'virtual' machine.
Virtual machines are designed to mimic a computer as closely as possible while running inside your operating system. You can manage them via a VM Manager application such as VirtualBox. The downside to using VM's is that they can only use a portion of your PC's resources but as Windows 98 only requires 24MB of RAM this won’t be an issue.
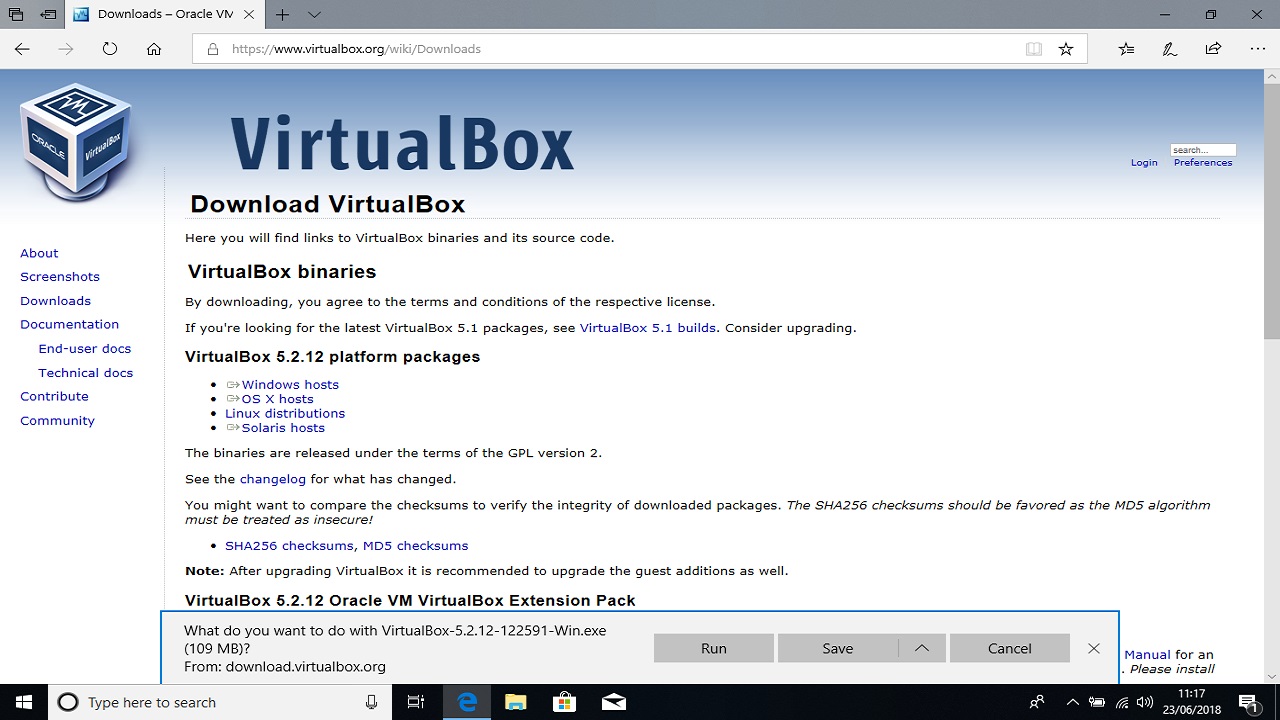
To begin, visit the VirtualBox website and click the link to download. This will take you to the downloads page. Choose the latest version of VirtualBox suitable for your platform e.g. Windows host. Once download is complete double click to launch the installer.
Set up the virtual machine
Once the installer launches, click 'Next' to begin. Click 'Next' again to install default features.
To complete installation, VirtualBox will disconnect your machine briefly from the internet. Save any open files and close your browser before proceeding. Windows 10 may ask you to confirm software installation.
Once installation is complete click 'Finish' and VirtualBox will launch automatically. Click 'New' at the top left hand corner of the window to start creating your virtual machine.
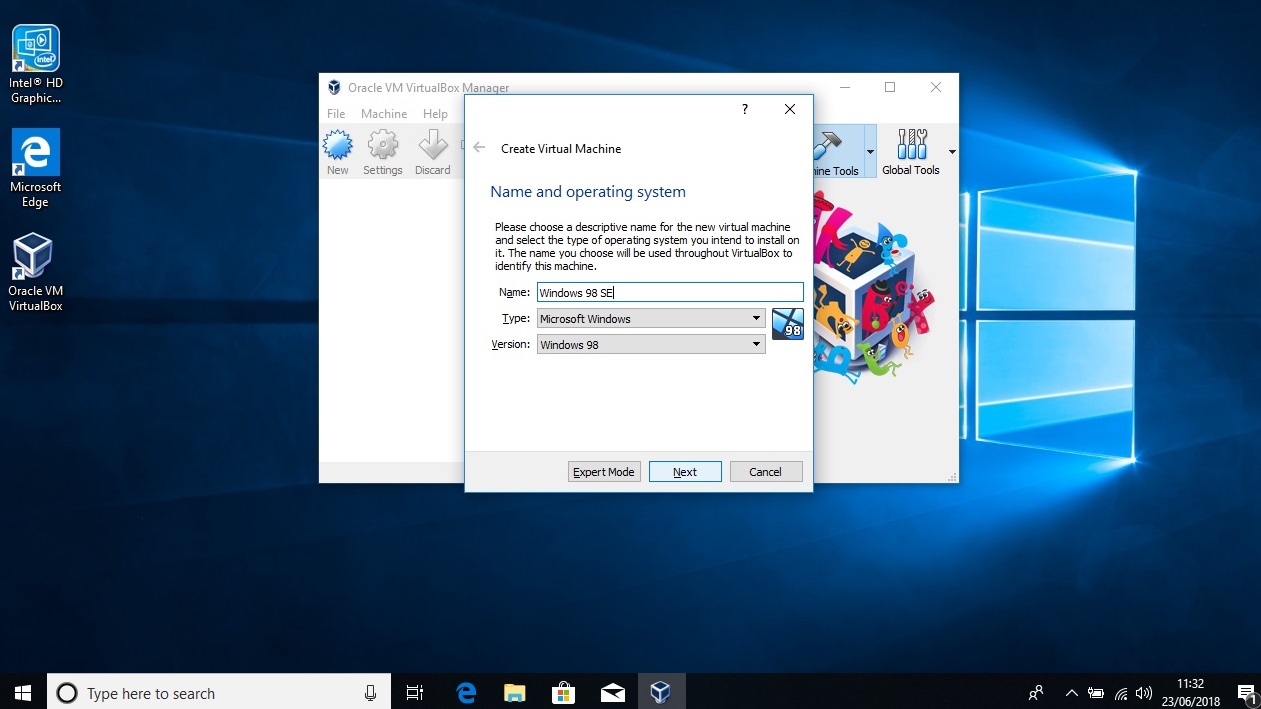
Select the 'Name' field and type 'Windows 98 SE'. VirtualBox will automatically choose the correct OS type for you. Click 'Next' to proceed. Click 'Next' to accept the suggested RAM allocation (64MB).
Do the same in the 'Hard Disk' section to create a virtual 2GB hard drive. Click 'Create' to confirm your VM settings. VirtualBox will now prompt you to choose a Hard Disk type. Select 'Next' to choose the default configuration. Click 'Create' to finalize your virtual hard disk settings.
Install Windows 98
Although you have now created a virtual machine capable of running Windows 98, its virtual hard drive is currently blank. To install Windows 98 you need either an original CD from Microsoft (these are still available from websites like eBay) or a valid ISO file of the same. We recommend using Windows 98 SE, as this version of the OS is designed to be bootable.
Once you've obtained one of these, re-launch virtual box and select your Windows 98 VM on the left hand side. Click the 'Settings' icon at the top of the window. Select the 'Storage' tab. Under 'Attributes' on the right hand side, select the CD icon and 'Choose Virtual Optical Disk File'.
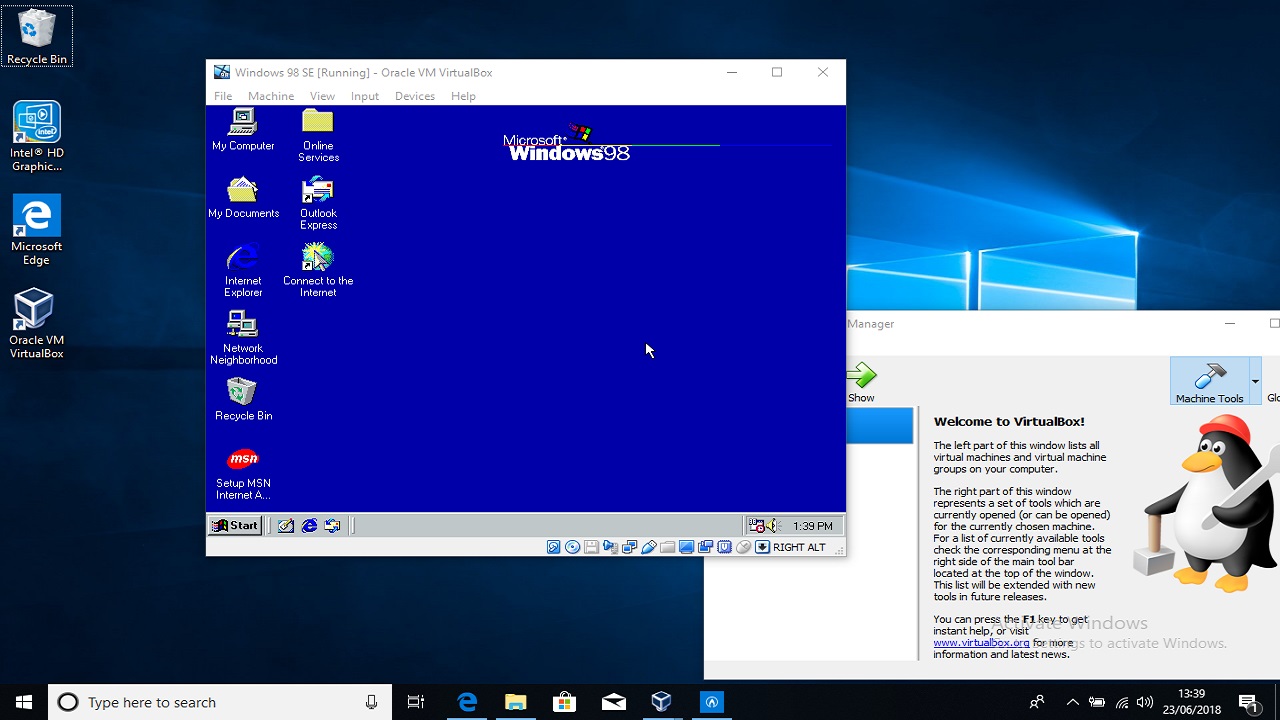
From here you can navigate to the ISO file for Windows 98. Click 'OK' to confirm. Click 'Start' from the main VirtualBox window to activate your virtual machine. The VM will ask you to boot from hard disk or CD-ROM. Press 2 to choose CD ROM. Press return to launch Windows 98 setup.
Windows 98 installation
Once the Windows 98 setup launches, press 'Enter' to begin installation. Press 'Enter' once again to have Windows 98 partition your virtual hard drive for you. Use the 'Down' key to choose to use 'large disk support' and then press 'Enter' again to continue. Press 'Enter' once again to restart your VM.
Once the VM reboots choose to start from a CD. Next, choose option 1 to enter the 'Setup' process. You will then see a screen showing the Hard Disk being formatted. Once this is completed, you need to press 'Enter' in order to initialize a routine system check.
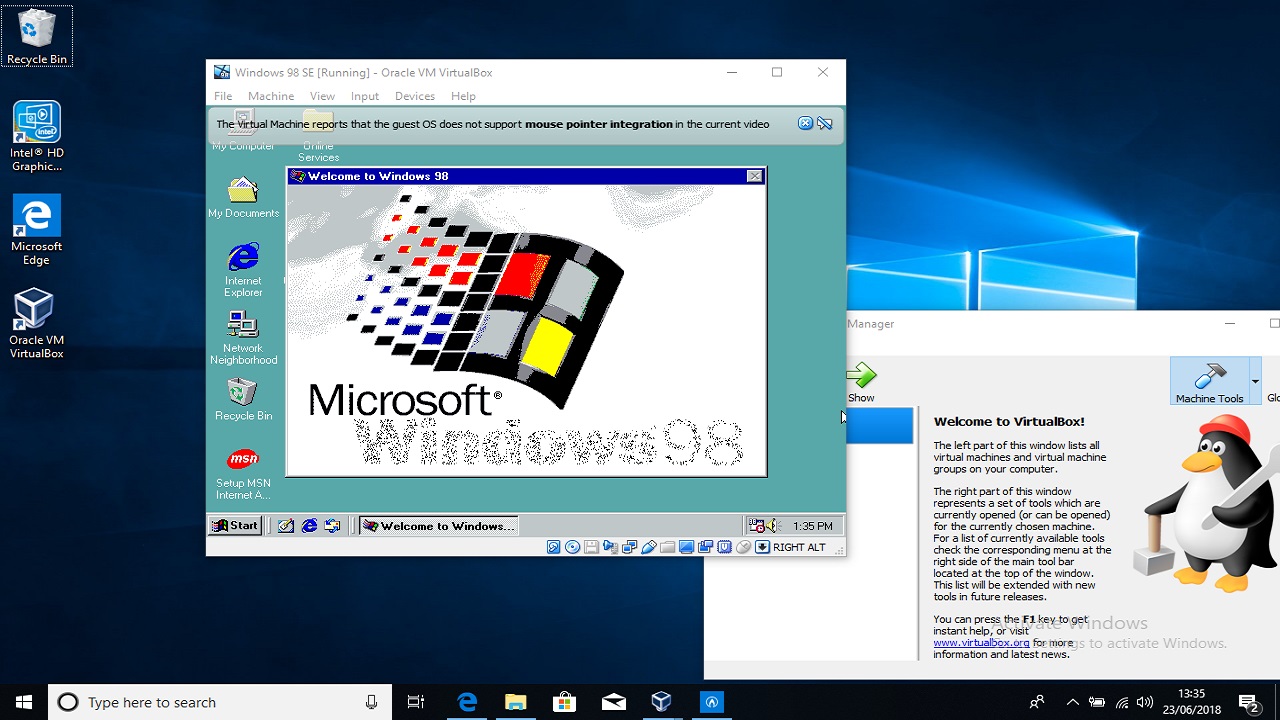
After the system check is complete, a Windows 98 Setup Box will appear. From here you can start the process, which can take between 30 to 60 minutes. Click 'Continue'. The Windows 98 Setup Wizard will now launch.
Complete the Windows 98 installation
Windows 98 Setup will now ask you to enter your name and a company name as applicable. Click 'Next' when you are done.
Choose 'I accept the agreement' then click 'Next' to proceed. Setup will now ask for a product key.
You can find this on the packaging that came with your Windows 98 CD. Product keys are 25 digits long, arranged in groups of 5 e.g. 12345-12345-12345-12345-12345. Click 'Finish' to complete setup.
Current page: Getting Windows 98 in Windows 10
Next Page Transform your Linux desktop into Windows 98Nate Drake is a tech journalist specializing in cybersecurity and retro tech. He broke out from his cubicle at Apple 6 years ago and now spends his days sipping Earl Grey tea & writing elegant copy.