Let's start from the beginning. Windows 8 opens on its lock screen. You can either tap the space bar, spin the mouse wheel or swipe upwards on a touch screen to reveal a regular login screen. Enter your password to begin.
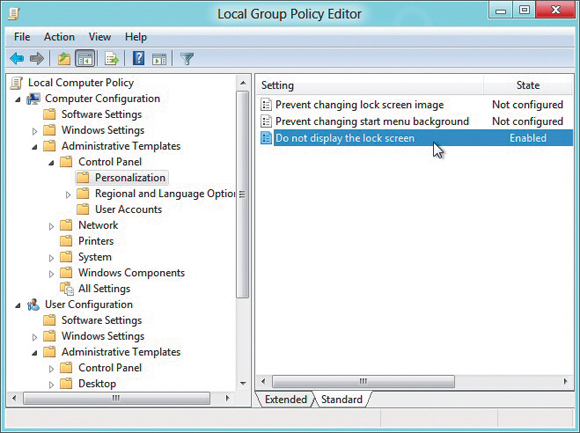
You can later do away with the lock screen; launch GPEdit.msc (the Local Group Policy Editor) and browse to 'Computer Configuration > Administrative Templates > Control Panel > Personalisation'. Double-click 'Do not display the lock screen', select 'Enabled' and click 'OK'.
But the key way to get the most from Windows 8 is to use the keyboard to get around the Metro interface. Press the [Home] or [End] keys to jump from one end of your Start screen to the other, for example, then use the cursor keys to select a particular tile, tapping [Enter] to select it.
It's easy to reorganise, too: press [Win] to return to the Metro screen, then right-click (or swipe down on) apps you don't need and select 'Unpin' to remove them. Why not try sorting your tiles into custom groups while you're at it? You might drag People, Mail, Messaging and Calendar over to the left-hand side, for instance, to form a separate 'Contacts' group.
Click the magnifying glass icon in the bottom right corner of the screen to carry out a semantic zoom, and you can drag and drop the new group around as a block. Right-click within the block (while still in the semantic zoom view) and you'll also be able to give the group a name. This will make it easier to find the tools you need if you go on to add another 20 or 30 apps to your Start screen.
If you're short of time, hold down [Win] and press [Q] (or right-click an empty part of the Start screen and select 'All apps') to see a list of installed applications. Browse the various tiles to find what you need and click the relevant app to launch it. You can also pin these items to the Start screen by right-clicking and selecting the appropriate option. Just type the name of the app if you can't find it in the list.
Master Metro

Metro apps aim to be simpler than old-style Windows applets, which means waving goodbye to menus, complex toolbars and many interface standards. There are usually a few options available on the App bar though, so if you're not sure what to do, right-click an empty part of the screen or press [Win]+[Z] to take a closer look.
Sign up for breaking news, reviews, opinion, top tech deals, and more.
The lack of a taskbar can make it hard to find out what's running. Hold down [Win] and press [Tab] to display a pane on the left-hand side of the screen with your running apps. To see this with the mouse, move your cursor to the top left corner of the screen, wait until the thumbnail of one app appears, then drag down. Alternatively, press [Ctrl]+[Shift]+[Esc] to see all your running apps in the Task Manager.
Metro apps don't have close buttons, but apps are suspended when you switch to something else. If Windows needs the system resources, suspended apps will be shut down automatically and will pick up where you left off when they're relaunched. If you want to close down an app anyway, move the mouse cursor up to the top of the screen.
When it changes from the regular mouse pointer to the icon of a hand, hold the left mouse button and drag it downwards. Your app should shrink to a thumbnail, which you can drag off the screen to close it. [Alt]+[F4] also works.
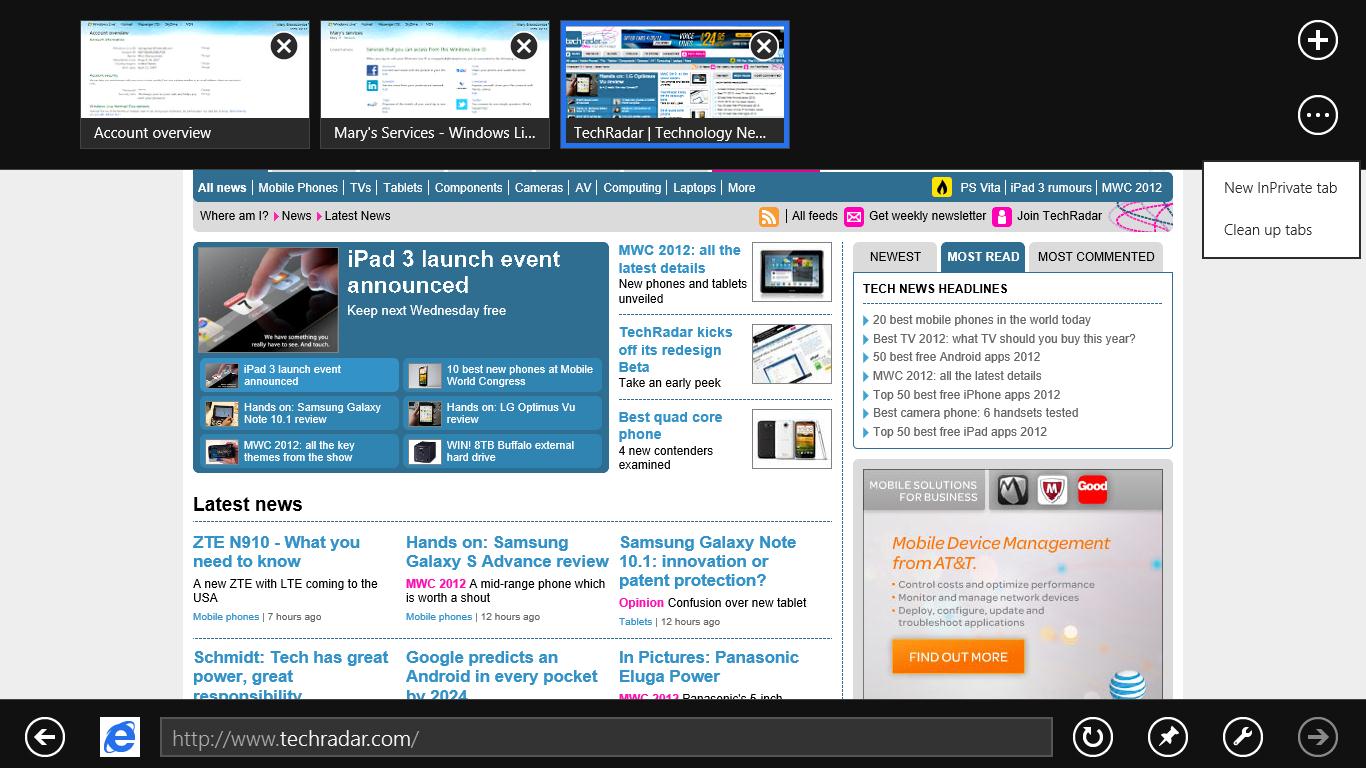
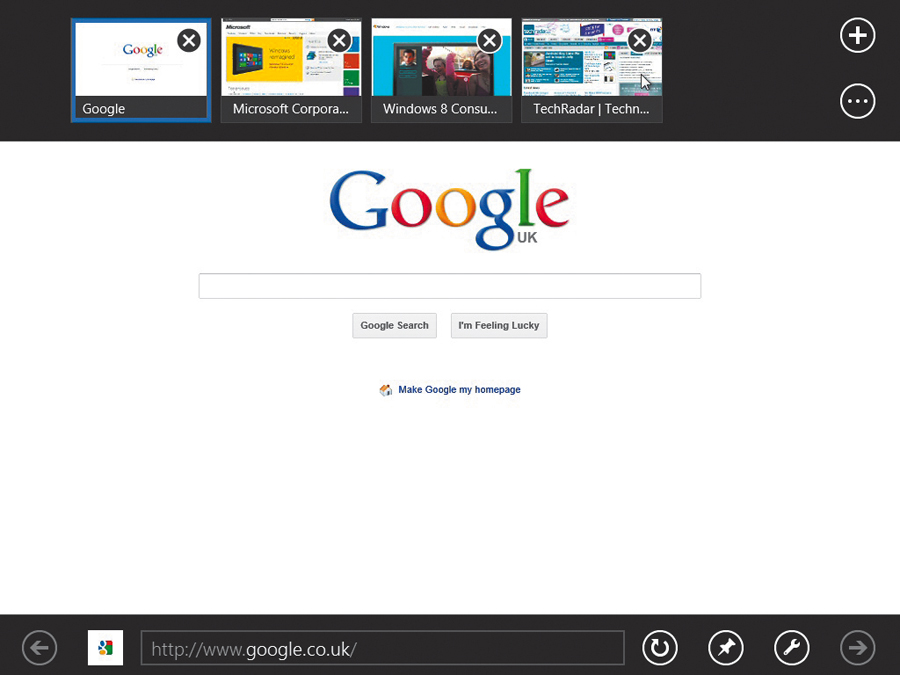
The right-click option is your best friend in Metro. You can use it to get administrator rights, to uninstall apps, and to dismiss applications from the interface entirely. Inside apps Metro's version of Internet Explorer seems to lack a number of major controls. Right-click an empty part of the page and you'll find tabbing options, as well as Refresh, a Find tool, and the ability to pin an internet shortcut to the Start page.
If you're running multiple apps and using a keyboard, use [Win]+[+] to snap an app to the right, or [Win]+[Shift]+[+] to snap to the left. Remember that whatever the interface, you can't snap apps unless your screen resolution is at least 1,366 x 768.
Windows 8 apps can use your name, location and account picture by default. If you're not happy with that, it's easily changed. Press [Win]+[I], click More 'PC settings', select 'Privacy' and click the relevant buttons to disable any details you'd rather not share.
Install anything

Most mobile platforms recommend you only install apps from approved sources, and Windows 8 is the same: it'll only allow you to install trusted (digitally signed) apps from the Windows store. If you're willing to take the security risk (this isn't something to try unless you're entirely sure it's safe), then the system can be configured to run trusted apps from any source.
Launch GPEdit.msc, browse to 'Computer Configuration > Administrative Templates > Windows Components > App Package Deployment', then double-click 'Allow all trusted apps to install' and select 'Enabled > OK'.
While you're at it, open the Metro Settings panel (press [Win]+[I]), click 'Settings', change 'Show administrative tools' to 'Yes' and click on an empty part of the Start screen. It's as simple as that. Scroll to the right and you'll find a host of new tiles for various key applets - Performance Monitor, Event Viewer, Task Scheduler, Resource Monitor and more - ready to be accessed at a single click.