How to create art on your iPhone
Paint a mobile masterpiece using only a phone and your finger
9. Focal point
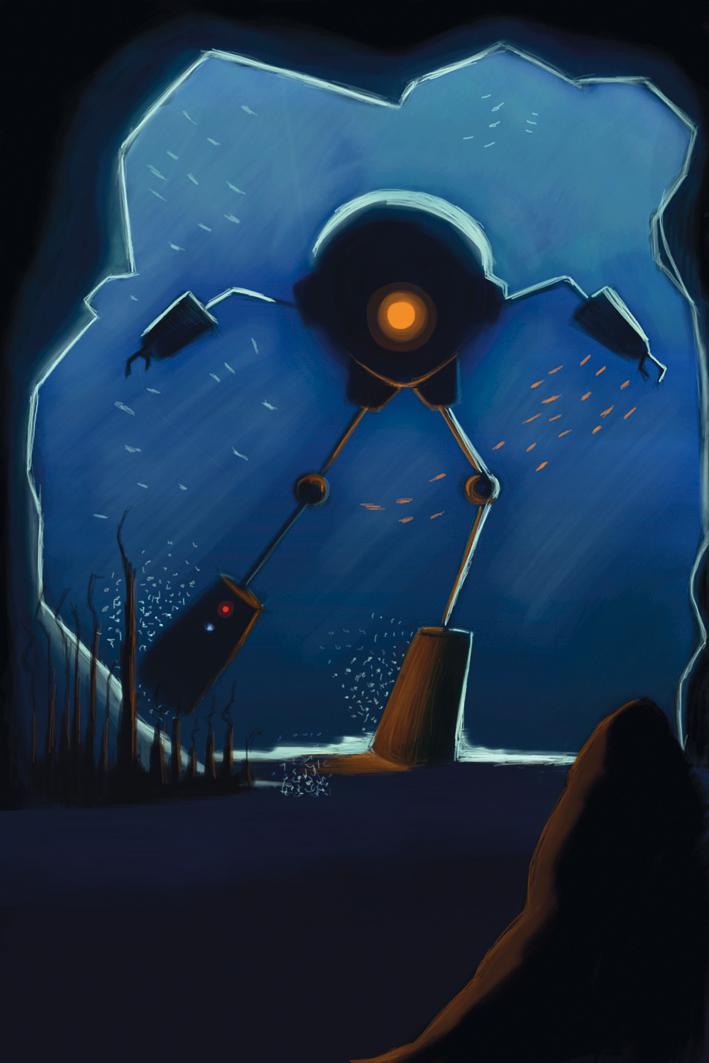
It's important that I don't take the focus away from the main character. In creating the foreground atmosphere, I paint objects that can be easily recognised without much attention being given to them. Placing numerous objects in the foreground can also clutter the painting and distract the viewer from the story being told.
10. Foreground objects
I choose a rocky terrain as my foreground object to go along with my underwater theme. When painting objects in the foreground, I always remember that shades of any colour become much darker, while tints of any colour become brighter. My lines will also appear sharper with the detail I apply. I choose a medium brush and a dark brown (almost black) shade to paint my foreground structure. I choose a brown tint and zoom in to paint my mid-values on the rocks affected by the light. I apply the highlight to the edge of the rock using the colour of the eye.
11. Rock diver
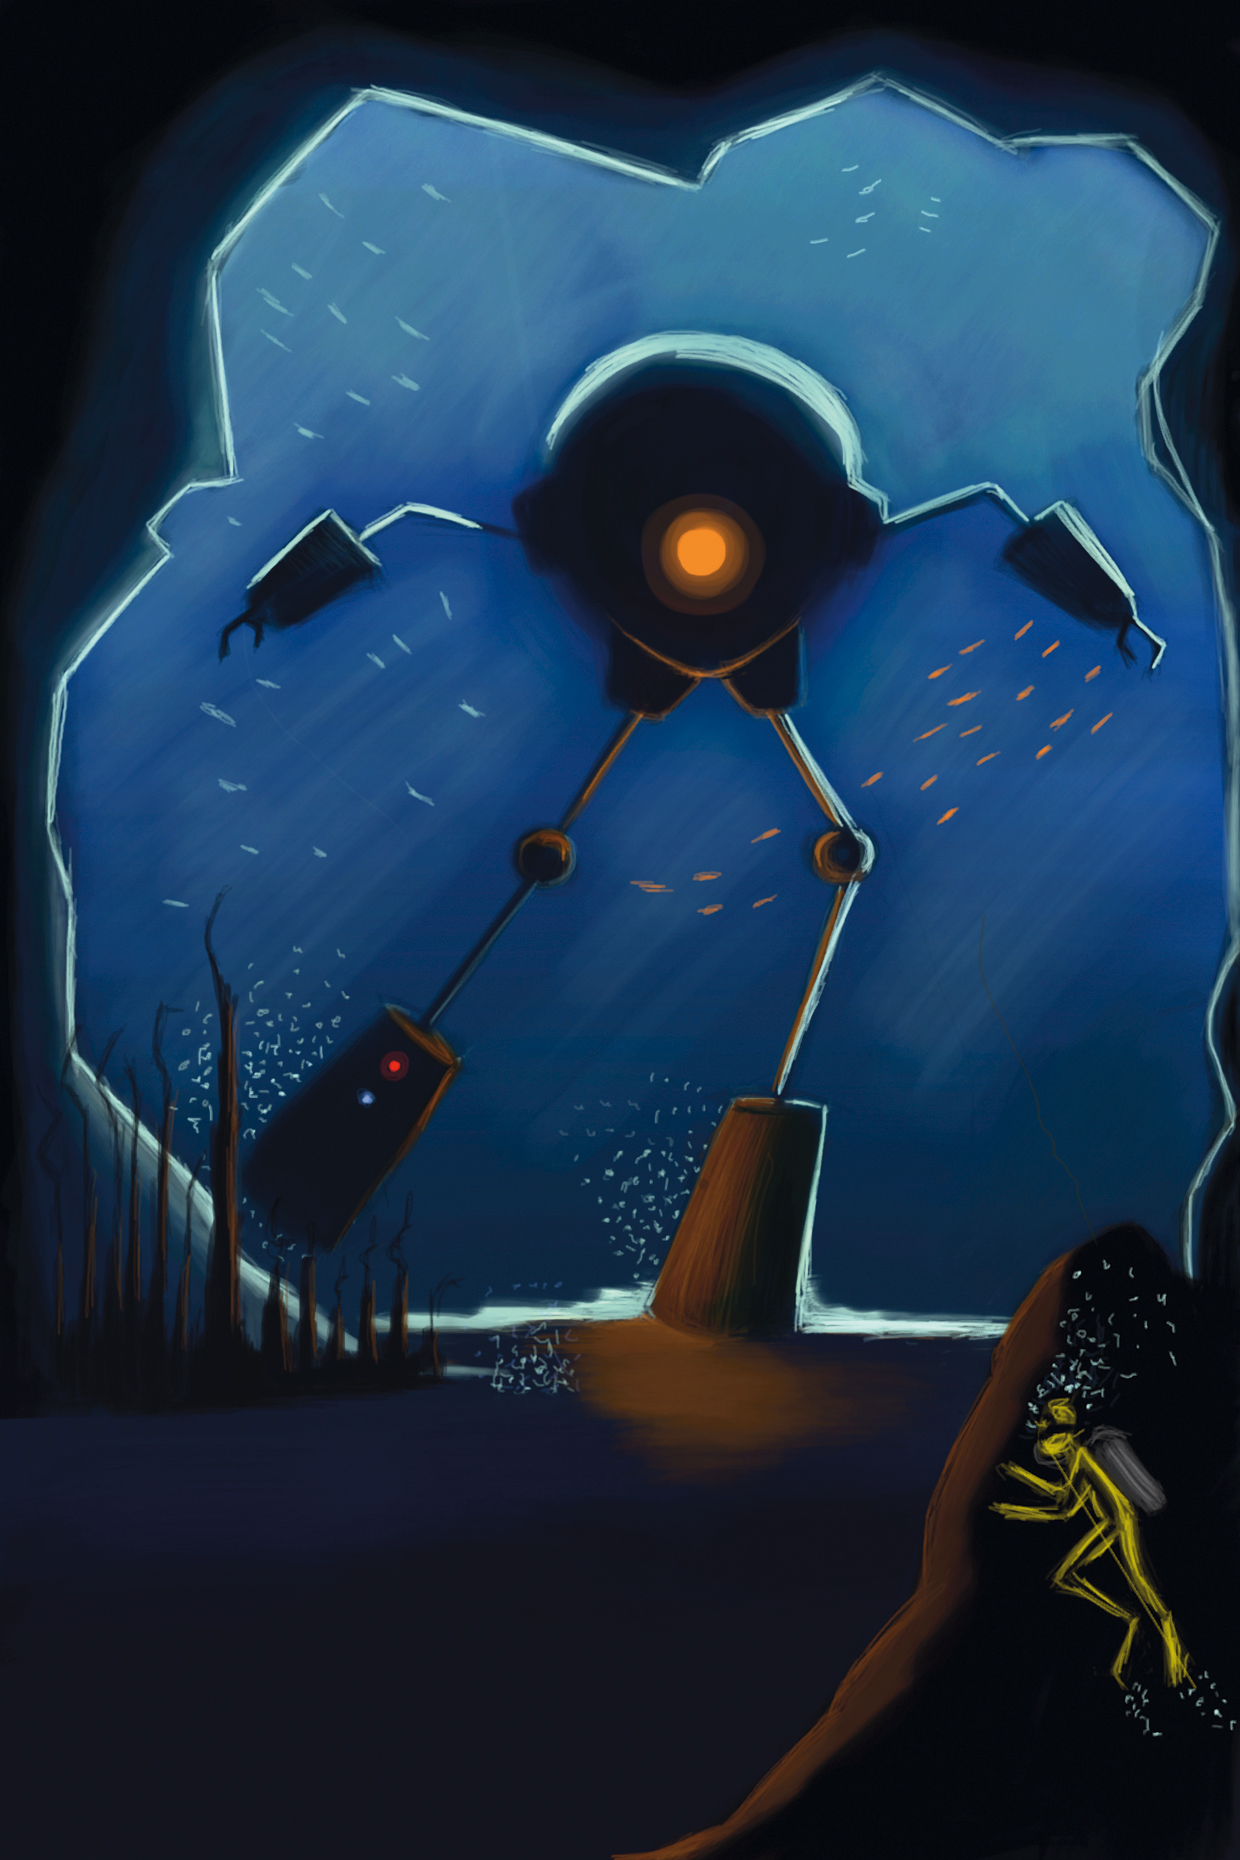
To draw the scuba diver, I use the smallest brush size and paint him hiding behind the rock. While I'm painting the diver, the zoom is at 800 per cent to enable me to paint small details such as the air tank and goggles. I then apply small brushstrokes with a bright blue tint around his face to give a sense that he's breathing underwater.
12. Background detail
Sign up for breaking news, reviews, opinion, top tech deals, and more.
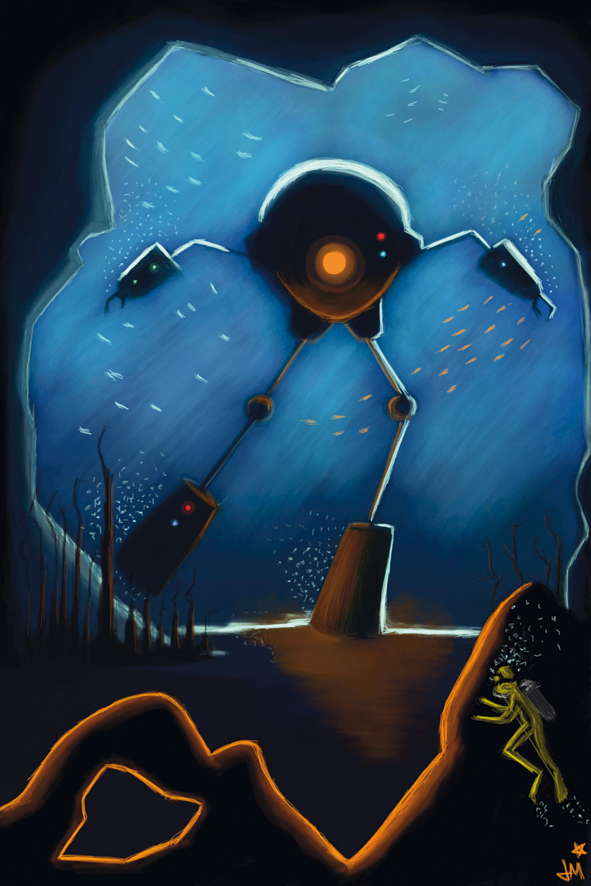
At this point in the painting, I stop brushing and look at which details I can expand on. I increase the intensity of the light source behind the robot by painting with a semi-transparent aqua tint. I then zoom in slightly and increase my brush size to paint around the robot. An ocean needs fish, right? I zoom in to 800 per cent and apply quick brushstrokes at the smallest brush size. I also apply bubbles to the arms and legs of the robot to get a sense of underwater movement.
13. Export your painting
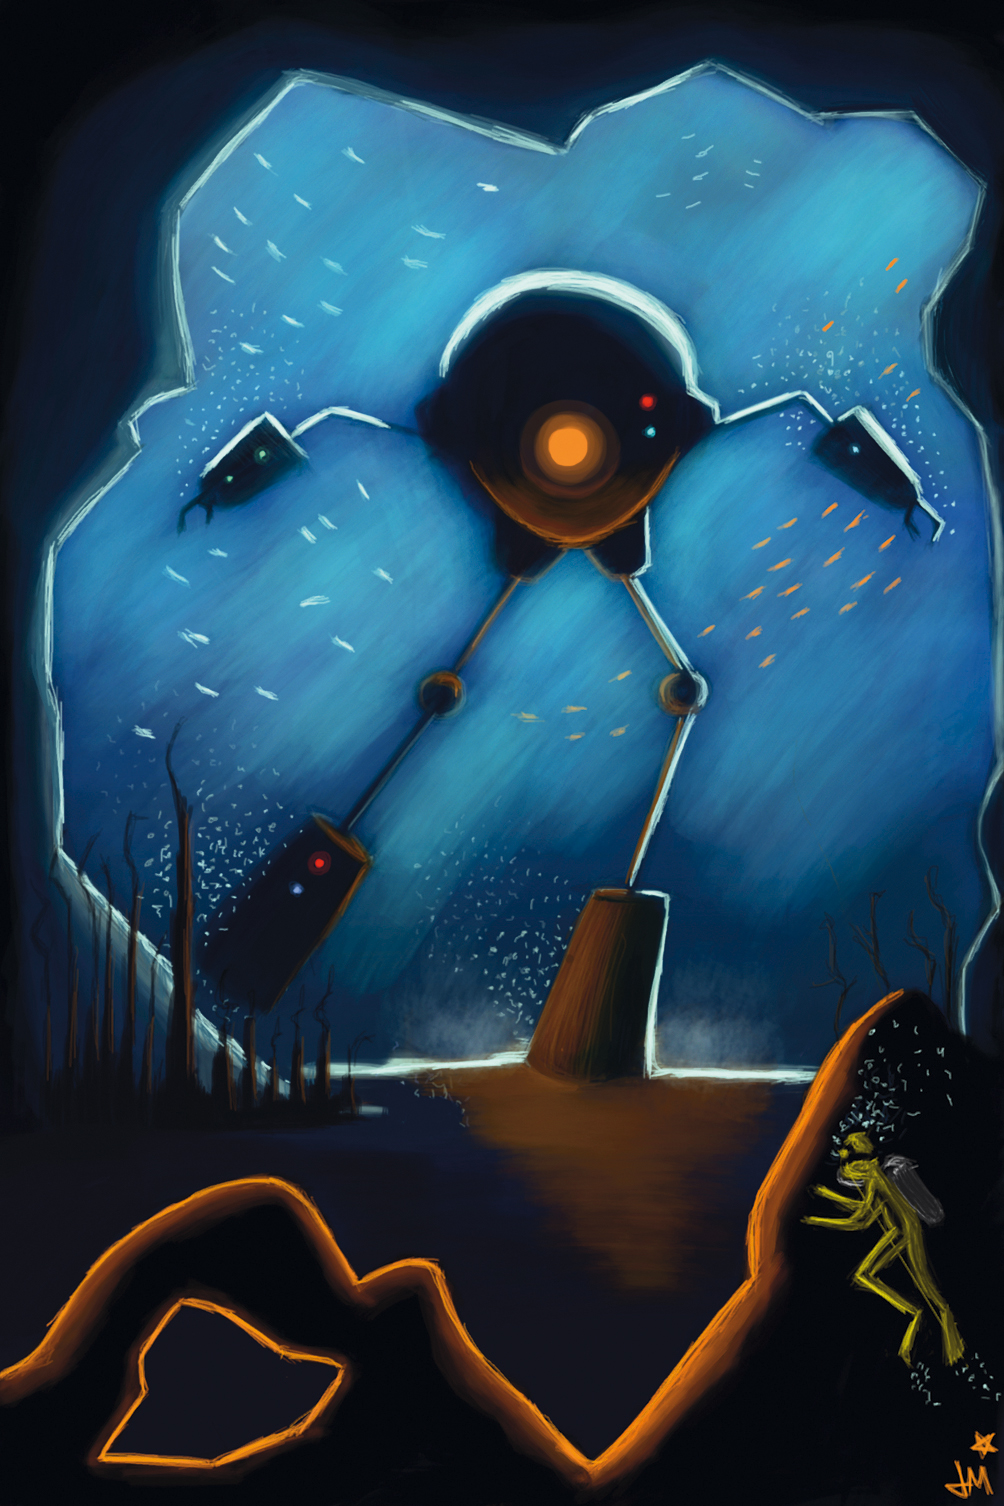
All of the hard work has been completed. I can either take the extra step to push the colours further, or add more detail later. My painting can be exported to a high-resolution image using the Brushes Viewer mentioned earlier. You can also export a movie of your painting process, stroke for stroke, in QuickTime format.
14. Post-production
Brushes was the only application I used to create this painting. To push the intensity of my colour values even further, though, I often use an iPhone application called CameraKit (iTunes link). This is a photography application that functions like a film camera. It has different methods of processing photos to appear vintage, black and white, colour or monochromatic. CameraKit works just like a mini version of Photoshop to adjust lighting in photography. In the Brushes application, I can export my painting to my photo gallery and use them in the CameraKit application.
15. CameraKit features
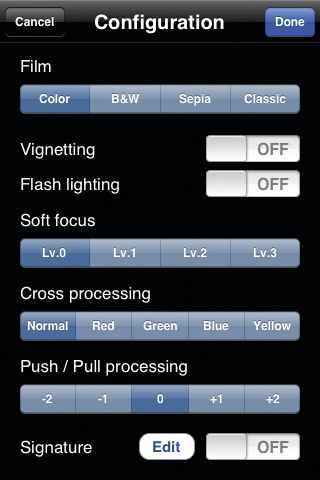
I select my photo from the gallery and tap on the Configure option to view my selections. I use the Push/Pull feature to either intensify the colour values or dull them. I also apply a soft focus that helps create an attractive, subtle blend between colours. There are plenty of features for colour experimentation, so I play around with the options until I see something I like. Once I'm happy with my result, I choose my output resolution and upload the image to my blog. Creating and posting art doesn't get any faster than this!
-------------------------------------------------------------------------------------------------------
This tutorial appears in the current issue of ImagineFX magazine, on sale at all good newsagents now. Also in issue 48: ImagineFX looks at the bigger picture, literally, with its very first gatefold cover, folding out to display the gloriously epic landscape painting of Daniel Dociu.
Within, Alex Broeckel's workshop creates an urban landscape from scratch, ImagineFX looks at the immersive forest and desert environments of film and game man John Dickenson, and takes a look at rising star Paul Chadeisson's futuristic cityscapes.
Javier Molina shows how to create a digital masterpiece on your iPhone, rock out with rock artist Tara McPherson, and Cris de Lara echoes the greats of the past in her contemporary-styled pin-up painting.
There are also useful tips on composition from Drazenka Kimpel, a walk on the dark side with Dave Kendall's sketchbook and Marshall Vandruff focusses his creature anatomy on the front legs and arms, plus $230 worth of software for free on the DVD, and more…
ImagineFX is the only magazine for fantasy and sci-fi digital artists. Each issue contains an eclectic mixture of in-depth workshops from the world's best artists, galleries and interviews, features, community news, software and hardware reviews, and the latest sci-fi and fantasy films and comics.

 Become a TechRadar Insider


