
 Become a TechRadar Insider


We also looked at:
1. How to install Kodi on iPhone/iPad without jailbreaking
2. How to install Kodi on Android and Android TV
3. How to install Kodi on a Fire TV or Fire TV Stick
4. How to install and set up Kodi on Xbox One
5. The best Kodi add-ons and how to install them
6. The best Kodi VPN in 2018
It’s arguably the world’s most versatile media streaming player, but where Kodi really shines is in all its customizable features. From the growing repository of free add-ons to the interchangeable app skins and interactive menus, users can tailor their Kodi device to best suit their needs.
Plus, it’s compatible with virtually every operating system, including tvOS, Mac, Android, Windows, and Fire TV.
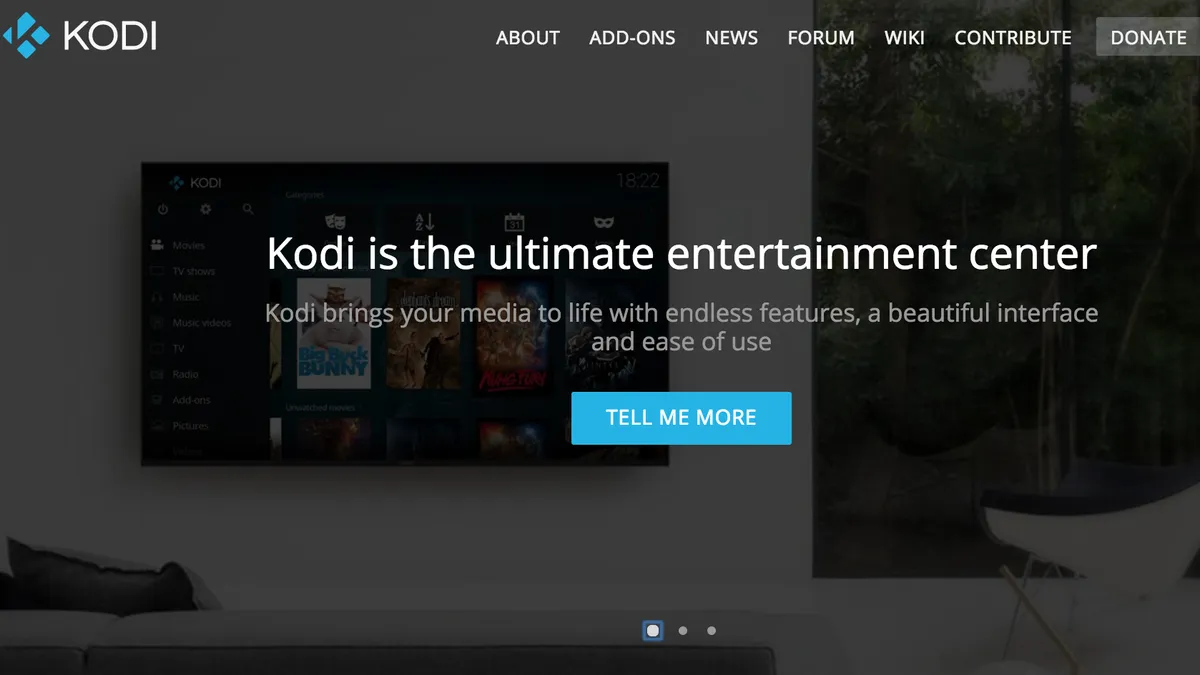
What is Kodi?
Formerly known as XBMC or Xbox Media Center, Kodi is an all-purpose media player that lets you stream movies, live TV, music, and more. By collecting and storing your various media files in one easy-to-access location, Kodi streamlines how you handle your digital media.
Because it’s open source, it’s always being updated and revised. Plus it’s 100% free, so anyone can use it (though there may be some restrictions when it comes to streaming content – more on that below).
The Kodi app is readily available both on the official site and directly through the App Store. Apple users can also download Kodi on their iPhone or iPad without jailbreaking their device.
Note that you’ll need to be using a Mac in order to set up Kodi on Apple TV.
Is Kodi legal?
As an all-purpose media streamer, Kodi is 100% legal. That said, some of the add-ons may not be. Because Kodi is open source, some of the add-ons might not be verified, and therefore may contain either illegal content or malicious ads. We at TechRadar do not condone such content or actions, so we won’t be linking to any potentially harmful add-ons.
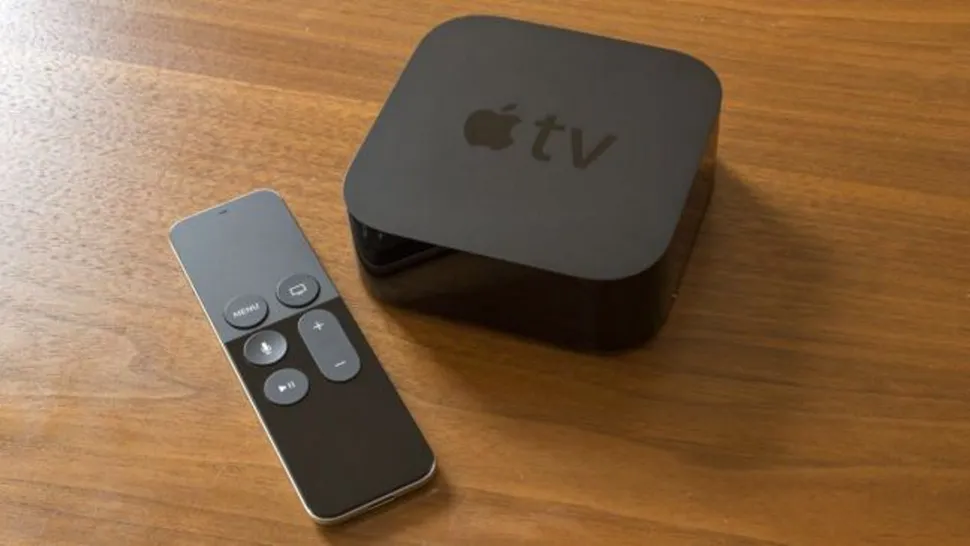
How to set up Kodi for Apple TV
Unlike other operating systems, Kodi’s more difficult to set up on Apple TV. While it may be possible to one day pop over to the App Store and download Kodi, it’s currently not available, which means you have to manually go into tvOS settings and configure Kodi appropriately. Still, Kodi is an amazing service, and being able to enjoy it on your Apple TV makes it even better.
Take note that the process of downloading Kodi to Apple TV is different for each version, which means you’ll need to follow a different download guide depending on whichever generation box you’re using. Also, be mindful that there are a handful of caveats for each version of Apple TV.
So, before you start digging into the installation process (and it can be a doozy), you may want to make sure you have all the tools needed first.
How to set up Kodi on Apple TV 4
When it comes to installing Kodi on Apple TV 4, you have two options: one involves using Xcode to manually sign the app, and the other route is to download Cydia Impactor. Because there have been numerous reports detailing the problems involved with Xcode (not to mention the fact that you need to reinstall the app every seven days), we’re going to solely focus on the Cydia Impactor route.
Note: Because Cydia Impactor is a third-party app, it’s not officially recognized by Apple, therefore we urge caution before deciding to install Kodi on Apple TV.
Before we start, you’ll need to prep a few things:
- Download Cydia Impactor here. (Because Cydia will ask for your Apple credentials before installing, you may want to set up a second account just to keep your original details safe.)
- Download the latest Kodi for tvOS here. (You’ll need to add this later.)
- Finally, make sure you have a USB-C to USB-A cable to connect your Mac to your Apple TV.
Now, log in to Apple TV using your Apple ID (you can find it following the steps here), wait for the installation to complete, and you should be able to use Kodi on Apple TV.
Once you’ve checked off the preliminary steps, the rest is fairly easy.
First, use your USB-C cable to connect Apple TV to your Mac.
Next, find the Kodi tvOS release that you’ve just downloaded, find the Cydia Impactor icon, and simply drag the tvOS file you downloaded into Cydia Impactor.
From there, open Cydia Impactor, scroll down the device list and choose Apple TV as your selection.
How to set up Kodi on Apple TV 2
Yes, we’ve skipped Apple TV 3, but only because it’s not compatible with Kodi. That said, you can still use Apple AirPlay to essentially stream Kodi on your Apple TV 3 from another Apple TV device you own. Sure, it’s not a great solution, but the Apple TV 3 is notorious for being hard to configure…
Apple TV 2 is probably the easiest model to use with Kodi. That said, newer versions of Kodi do not support Apple TV 2, so you’ll need to download an older version of Kodi before you start the setup process. (We recommend going with Kodi Helix, which can be found here.)
First, start by connecting your Mac to your Apple TV device using the USB-C cable.
Next, open your Mac’s terminal and type in the following code:
ssh root@192.168.3.4
Note that you’ll need to replace the last bit of code (‘192.168.3.4’) with your Apple TV’s IP address. You can find that here.
After correctly inputting the code you’ll be prompted to enter your device’s password. This is the same password you use to log on.
From there, you’ll need to enter the following command prompts in succession.
apt-get install wget
wget -0- http://apt.awkwardtv.org/awkwardtv.pub | apt-key add –
echo ?deb http://apt.awkwardtv.org/ stable main? > /etc/apt/sources.list.d/awkwardtv.list
echo ?eb http://mirrors.kodi.tv/apt/atv2 ./? > /etc/apt/sources.list.d/xbmc.list
apt-get update
apt-get install org.xbmc.kodi-atv2
reboot
Once that’s done your Apple TV 2 will automatically restart and you’ll be able to use Kodi.

How to set up Kodi on Apple TV 1
The first-generation Apple TV models come with their own built-in hard drive, making it easier to save and store all your various files directly to your Apple TV. The installation process is fairly simple, though you’ll need to have an unused USB drive handy with a capacity of 1 GB or higher.
Again, this guide comes with a disclaimer: Because the first-gen Apple TV models require you to flash Kodi, you’ll lose all the existing features you have saved. If you’re okay with that, here’s how to set up Kodi on your First Generation Apple TV.
Start by upgrading your Apple TV’s OS to run version 3.0.2.

Next, download the OSMC installer (Open Source Media Center) by heading to https://osmc.tv/download. (Note that unlike the previous walkthroughs, this method can also be used on Windows and Linux.)
As soon as the installation is complete, open OSMC. Because this is not an officially licensed App Store download, you’ll receive a warning message before opening.
Connect your USB device to your computer, select Apple TV from OSMC’s drop-down menu, and hit the forward arrow.
Now, select the most recent OSMC version that includes ‘USB’ at the end and hit forward. On the next screen, OSMC will show you the various download options – choose the ‘SD card’ option and hit forward.
From there, select your USB-DISK location from the list, check the box next to the user agreement, and start downloading OSMC on your USB drive. The entire process should take a few minutes.
After OSMC has been installed onto your USB, quit the installer, unplug your USB drive from your computer and plug it into your Apple TV.
Finally, with your USB drive attached, boot your Apple TV. If OSMC was downloaded correctly it should automatically start installing.
Once that’s done you should be able to use Kodi on your Apple TV 1.
(Note that if you’re having trouble getting Kodi to work you can try changing your Apple TV’s settings: head to Settings > Change Audio & Video Settings, and set the HDMI output to RGB High.)
Using a VPN for Kodi
While Kodi lets users stream live TV, movies, music, and more, some content may be restricted due to geographic blocks. BBC’s iPlayer, for example, is a popular add-on that’s only available for users in the UK. Fortunately, you can use a VPN (virtual private network) to encrypt your Apple TV and stream content securely and anonymously from anywhere in the world.
With the ability to pick and choose where you want to appear online, VPNs open a whole new world of possibilities when it comes to Kodi add-ons. That said, it’s important to look for a VPN that provides both strong encryption and offers servers in locations where you want to connect.
It’s also important to look for a VPN that offers dedicated apps for Apple TV – so you won’t have to worry about having to set up yet another complicated service.
When it comes to value, we recommend ExpressVPN. It’s the highest-rated VPN we’ve tested, and one of the few providers we know to offer a secure, anonymous service.
Plus ExpressVPN offers custom DNS settings for Apple TV, which is definitely a welcome bonus.
- Check out our list of best VPN service providers
