One key component of the smart home is security, but it comes at a cost, particularly if you want to monitor more than one spot in your home.
But why spend hundreds of pounds on cameras when you’ve got the hardware capabilities locked away in an old, unloved iPhone or iPad?
Article continues belowYou’re not skimping on features either – thanks to motion-sensitive recording, alerts and the ability to view and administer your cameras remotely, Manything rivals the likes of the Canary, Arlo Q and other smart security cameras.
Sadly, like most home security systems, Manything doesn’t offer all of its services for free, but its prices are competitive and flexible.
The Basic Free Plan includes live streaming, motion alerts and detection zones with one camera only. To record footage so you can review it, you’ll need one of the paid-for plans, which require two decisions: how many cameras you want to record (one, two or five) and how many days of footage to store in the cloud (two, seven or 30).
Manything’s prices range from £1.99 (around $2.50, AU$3.20) per month for two days’ recording on one camera, to £17.99 (around $22, AU$30) per month for 30 days of recording on up to five cameras – see the price list to find your sweet spot.
However, don’t rush into a decision; when you first install the app, you get a free five-day trial of the full five-camera setup. The cheapest option is to subscribe through the website rather than the app, as the latter adds a premium of up to £1.50 (around $1.80, AU$2.40) depending on the package you choose.
Get started
First, verify your old iPhone is running at least iOS 6.0, or if you have an old Android device it needs to be running Android 4.2 or later, which is the minimum requirement.
That basically means you’ll need at least an iPhone 3GS, iPad 2 or fourth-generation iPod touch to be able to use Manything with iOS.
Assuming your device fits the bill, download Manything from the App Store or Google Play Store, then open the app and tap ‘Sign up’ to create an account.
Enter your email address and provide a strong, unique password, tap ‘Sign up’ again and you’ll be taken to Manything’s main menu.
Next, tap Camera to add the phone you’re using to your Manything account, and then grant the app access to the device’s camera and microphone when it prompts you for permission to use them.
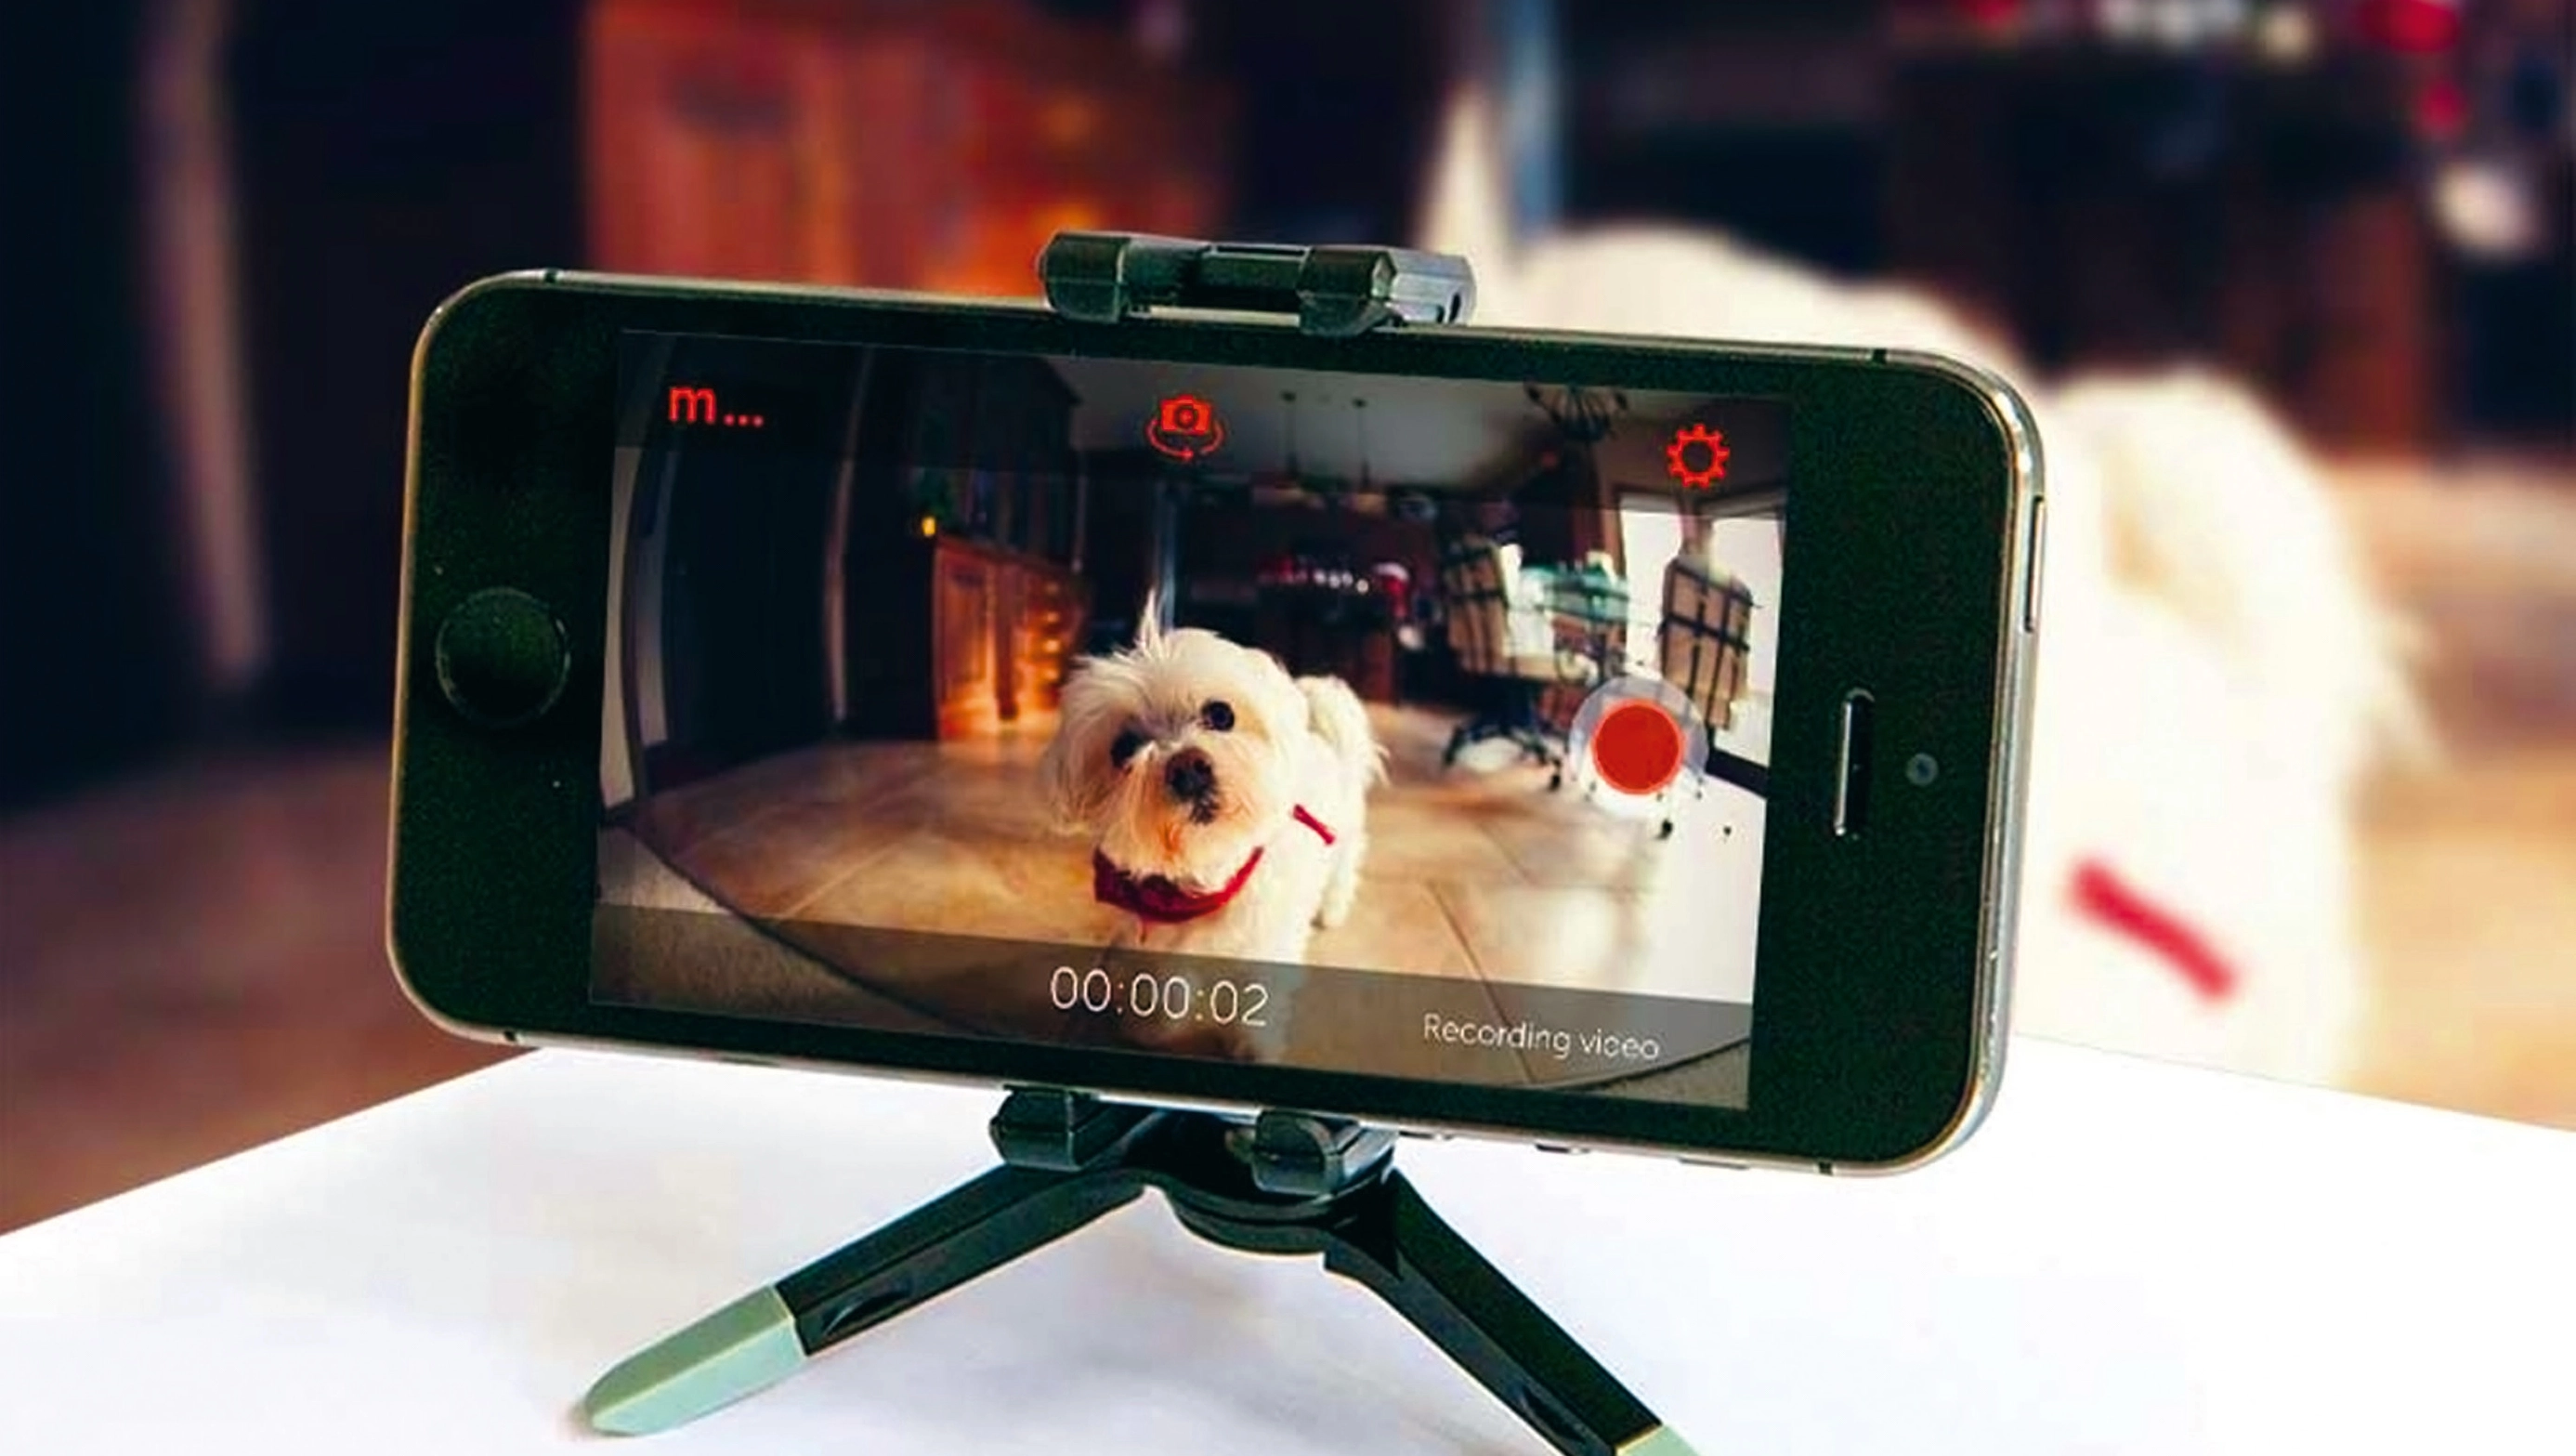
The main screen will appear, showing you what your phone’s camera can see. You’ll be prompted to press the big red button that’s on the right or bottom of the screen (depending on your device’s current orientation) to switch on the camera’s recording capability.
After doing all of this, the app will start to record video whenever it detects motion in front of the camera. (Note that a continual recording option is also available in Manything’s settings). All recordings are streamed or uploaded (in the case of time-lapse recordings) to the cloud, so make sure your device has internet access wherever you decide to place it in order for this to happen.
Position your camera
Placement of your device is, of course, crucial. First, it needs to be positioned next to a power source, so it can be permanently powered from the mains – Manything will keep your phone awake while it’s running, so you can’t afford to rely on battery power for long.
Second, your device will need to be on its side so its camera shoots a landscape view, as this provides a wider field of vision. Search eBay for ‘wide-angle iPhone lens’ to purchase a cheap lens to widen this further.
There’s a slight bowing of the picture at the top and bottom with these lenses, but it doesn’t prevent you from seeing what’s happening, and they should also work with iPad and iPod touch cameras too.
The lens may obscure the camera’s flash, which could be an issue if you want night-time security.
Third, which camera should you use? Ideally the rear-facing camera is best, as it offers a higher resolution and provides access to the flash, which Manything will switch on after dark if noise is detected during night-time (consider switching to Still Shot mode at night using IFTTT – read on for more details about that – as it’ll produce enhanced shots in low light conditions).
Finally, how will you secure your phone in its desired position? If there’s not a suitable spot to prop it up in a discreet fashion – on a bookshelf, for example – you may find some kind of mount or clamp is required.
Once your iOS or Android security camera is installed, repeat the process for any other mobiles you plan to use to complete your security setup.

Monitor your cameras
There are two ways you can keep an eye on your cameras while also administering their settings remotely. The first is through the Manything app itself – choose Viewer instead of Camera mode (tap the ‘m…’ button in the top-left corner of the app to switch between them) and you’ll be shown a live view from each of your cameras, complete with phone status (such as live or standby) and battery life, if applicable.
Tap one of them to contact that camera and view its live feed, then tap Events to review a list of recordings. You’ll see a settings button next to each camera too.
Tap this to tweak the adjacent camera’s settings in the same way you would from the camera itself, working through the step-by-step guide on the next page.
You can also view and manage your cameras on your Mac or PC, in a web browser with the Flash Player plug-in installed, by going to the Manything website.
Advanced features
The Manything app offers all the core functionality you need, but you can exercise even greater control over your cameras by connecting them to IFTTT (If This Then That).
Just add the Manything channel to your account on the IFTTT site and you’ll find a large number of triggers, actions and recipes you can use or adapt to your own purposes.
For example, you might configure certain cameras to only come on at set times of day, or have your camera’s flash switch on at night when it detects sound. You can even link your cameras with other devices – for example, to get around your camera’s struggle to detect motion when it’s dark by pairing it with a SmartThings motion sensor, you can use the SmartThings trigger to detect movement, then pair it with the Manything action that switches on the iOS device’s flash and starts recording.
Manything scores highly on all key levels: its subscription pricing’s relatively inexpensive, and it has all the features you could wish for, is beautifully designed, integrates with other smart home devices, and lets your old mobiles live on in a relevant and helpful way, too. What’s not to like?