Reinstalling Windows isn't always a walk in the park. It can take a lot of time and this is the main reason why many of us put it off for as long as possible. It could quite easily take all day to install updates and drivers, let alone all your favourite applications.
However, with the help of a program called RT7Lite you can create a faster custom installation of Windows that suits you. This enables you to reinstall Windows, its updates and your programs, all in one quick and easy step.
Step-by-step: A faster Windows 7 installation
1. Prepare the files

Before you create your own Windows installation, you need to copy the files from your Windows 7 DVD to your computer. Alternatively, you could create an ISO image if you wish, but this is optional. Following this you have to download Windows 7 Service Pack 1 from here.
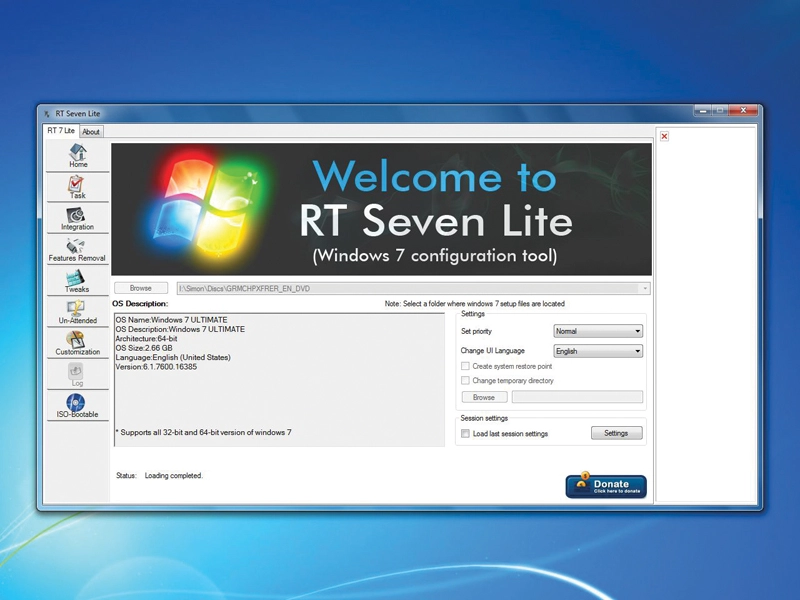
2. Browse for your files

Now download and install RT7Lite - make sure you install the correct version. It should be the version of Windows you are running. Then click Browse to select the Windows set-up files. If you created an ISO, select that option, otherwise select the folder where you copied the files from the DVD.
3. Select a version

Now choose the version of Windows 7 you wish to use. It must the same version that you hold a valid licence for. Once you have selected, be prepared to wait for a while before proceeding with the next step. RT7Lite is loading all the files and this can take a good 10 to 15 minutes.
4. Choose tasks

All the options that were originally greyed out are now live. The Task selection is essentially the list of tasks you want RT7Lite to perform and they are broken down into six different categories. Tick the Select All option and you will be able to perform all the tasks available.
5. Integration

You can add programs, updates and drivers to your Windows 7 installation, saving even more time. Under Integration you can choose the files you wish to add. Click Add to locate the file, such as Windows 7 Service Pack 1. Drivers need to be in the .inf format and they can be converted using 7-Zip.
6. Features and Tweaks

If you want to slim down your Windows installation, you can do this under the Features Removal tab. Some features are highlighted in red and it is advisable not to remove these because they are used by other components.
The fun part of this program is the Tweaks option, where you can choose from a whole host of desktop modifications that will be applied to your installation, including adding new themes and new skins for Media Player.
7. Leave it to get on with it

This is the section that will save you the most time. By filling in all the options provided, you are able to leave installation running unattended. Here is where you need your valid Windows product key and you can choose other options that nag you during a standard Windows set-up.
8. Create your installation

Once you have decided on all of your customisations, you can create your USB bootable installation. Under Mode, select USB Bootable, then in the USB Bootable option, select the device you wish to use, and click USB. Once this has completed, you are ready to reinstall Windows at your leisure.
-------------------------------------------------------------------------------------------------------
First published in Windows: The Official Magazine Issue 60
Liked this? Then check out 50 Windows 8 tips, tricks and secrets
Sign up for the free weekly TechRadar newsletter
Get tech news delivered straight to your inbox. Register for the free TechRadar newsletter and stay on top of the week's biggest stories and product releases. Sign up at http://www.techradar.com/register