How to charge your Fitbit
A charging guide for all models
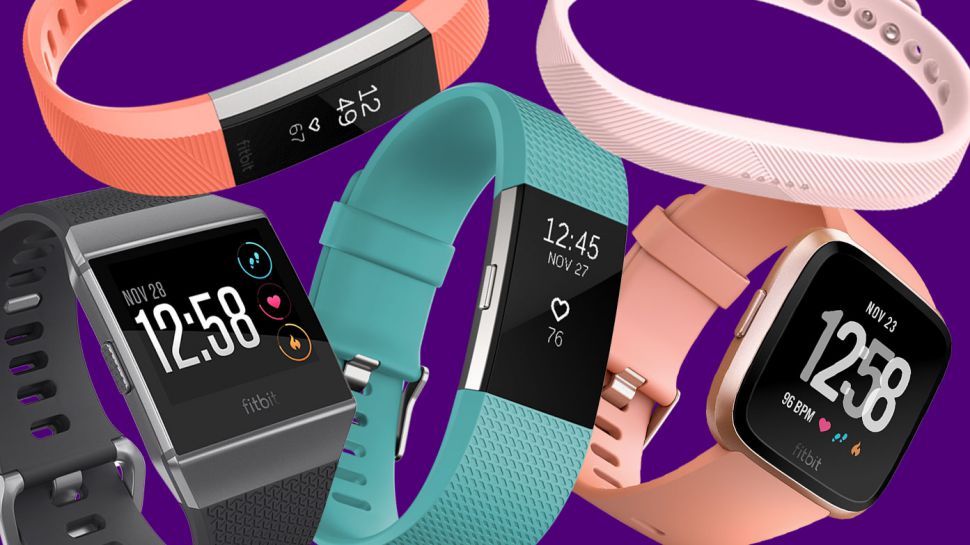
For many devices, being small goes hand in hand with being classed as a wearable, for a piece of tech to live on your wrist or elsewhere, it must be so light and petite as to be easy to forget about. With a tiny form factor comes a significant trade-off however: bespoke charging options.
If the size of the watch, or its shape, doesn't allow for the inclusion of a USB-C or micro USB port, be prepared to deal with some creative alternative options. Each of these tend to involve magnets or charging cradles, and Fitbit is no exception - including a multitude of customized options across its product range.
This means that, no matter what, it is a priority to ensure that you do not misplace your charging apparatus, as there’s no swapping cables in and out like you can do with your phone and an increasing number of other devices.
No, if you lose your Fitbit charger you will need to go straight back to the source, the company itself, and pay an inflated price to have a replacement issued - as these are proprietary there are vanishingly few third-party options available for use.
It is also advisable to make sure that the charging pins both on the charging apparatus and the device itself remain clean and damage-free. These are often surprisingly fragile, and an inadvertent scratch or drop can ensure that your Fitbit ends up as nothing more than a slightly inadequate paperweight.
Read on to find out how to charge your particular Fitbit device.
- Our ranking of the best Fitbits money can buy
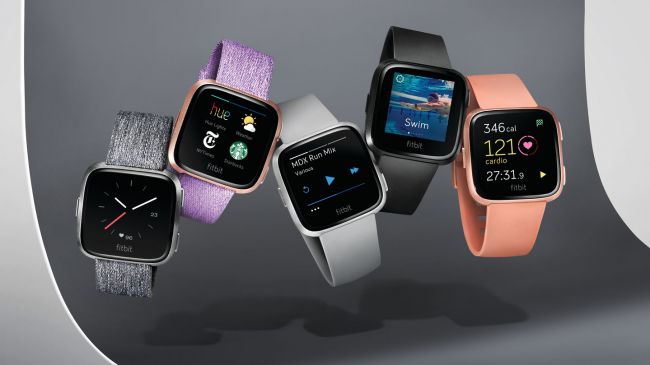
Fitbit Versa and Versa Lite
The Fitbit Versa is a device ‘lucky’ enough to come with its own proprietary charging cradle - this does make charging more secure in some ways, however it also means that any replacements will incur a significant premium.
Sign up for breaking news, reviews, opinion, top tech deals, and more.
In order to charge your Versa, pinch the clip on the charging cradle and then lower the device in, aligning the gold contacts on the bottom of the watch with the appropriate part of the charger. You will know that it is charging when the screen lights up to confirm contact.
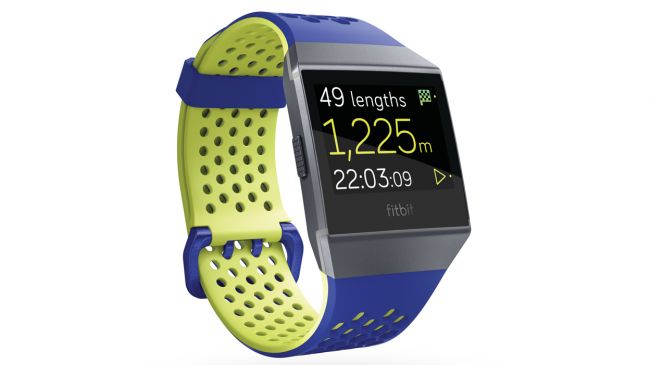
Fitbit Ionic
The Fitbit Ionic also features a custom charging solution, but one which is a little less obtuse than that of the Versa. Instead of a custom charging cradle, there is a custom charging cable with a magnetic tip.
To charge the Fitbit Ionic, make sure that the pins on the charging cable align with the slot on the rear of the watch, allowing the magnets to guide it in. The device will confirm that it is charging through the display of its battery percentage on the screen.
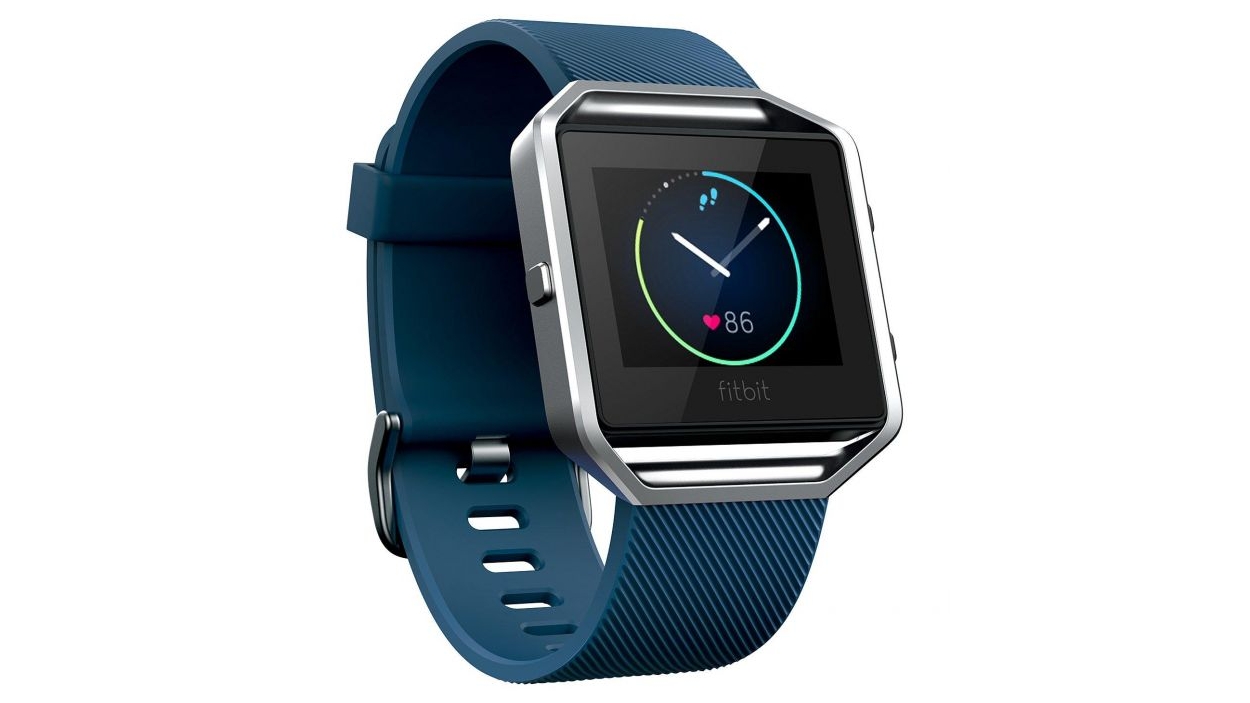
Fitbit Blaze
To charge your Fitbit Blaze takes a little more effort than some of the other offerings from the company. The first step is to remove your device from its wristband, making sure the body of it is free.
Following this, place the watch face up in the charging cradle, making sure that the charging pins on the rear match up with the connector pins. After you have done this, close the cradle and the Blaze will confirm that it is charging by displaying the battery percentage on its screen.
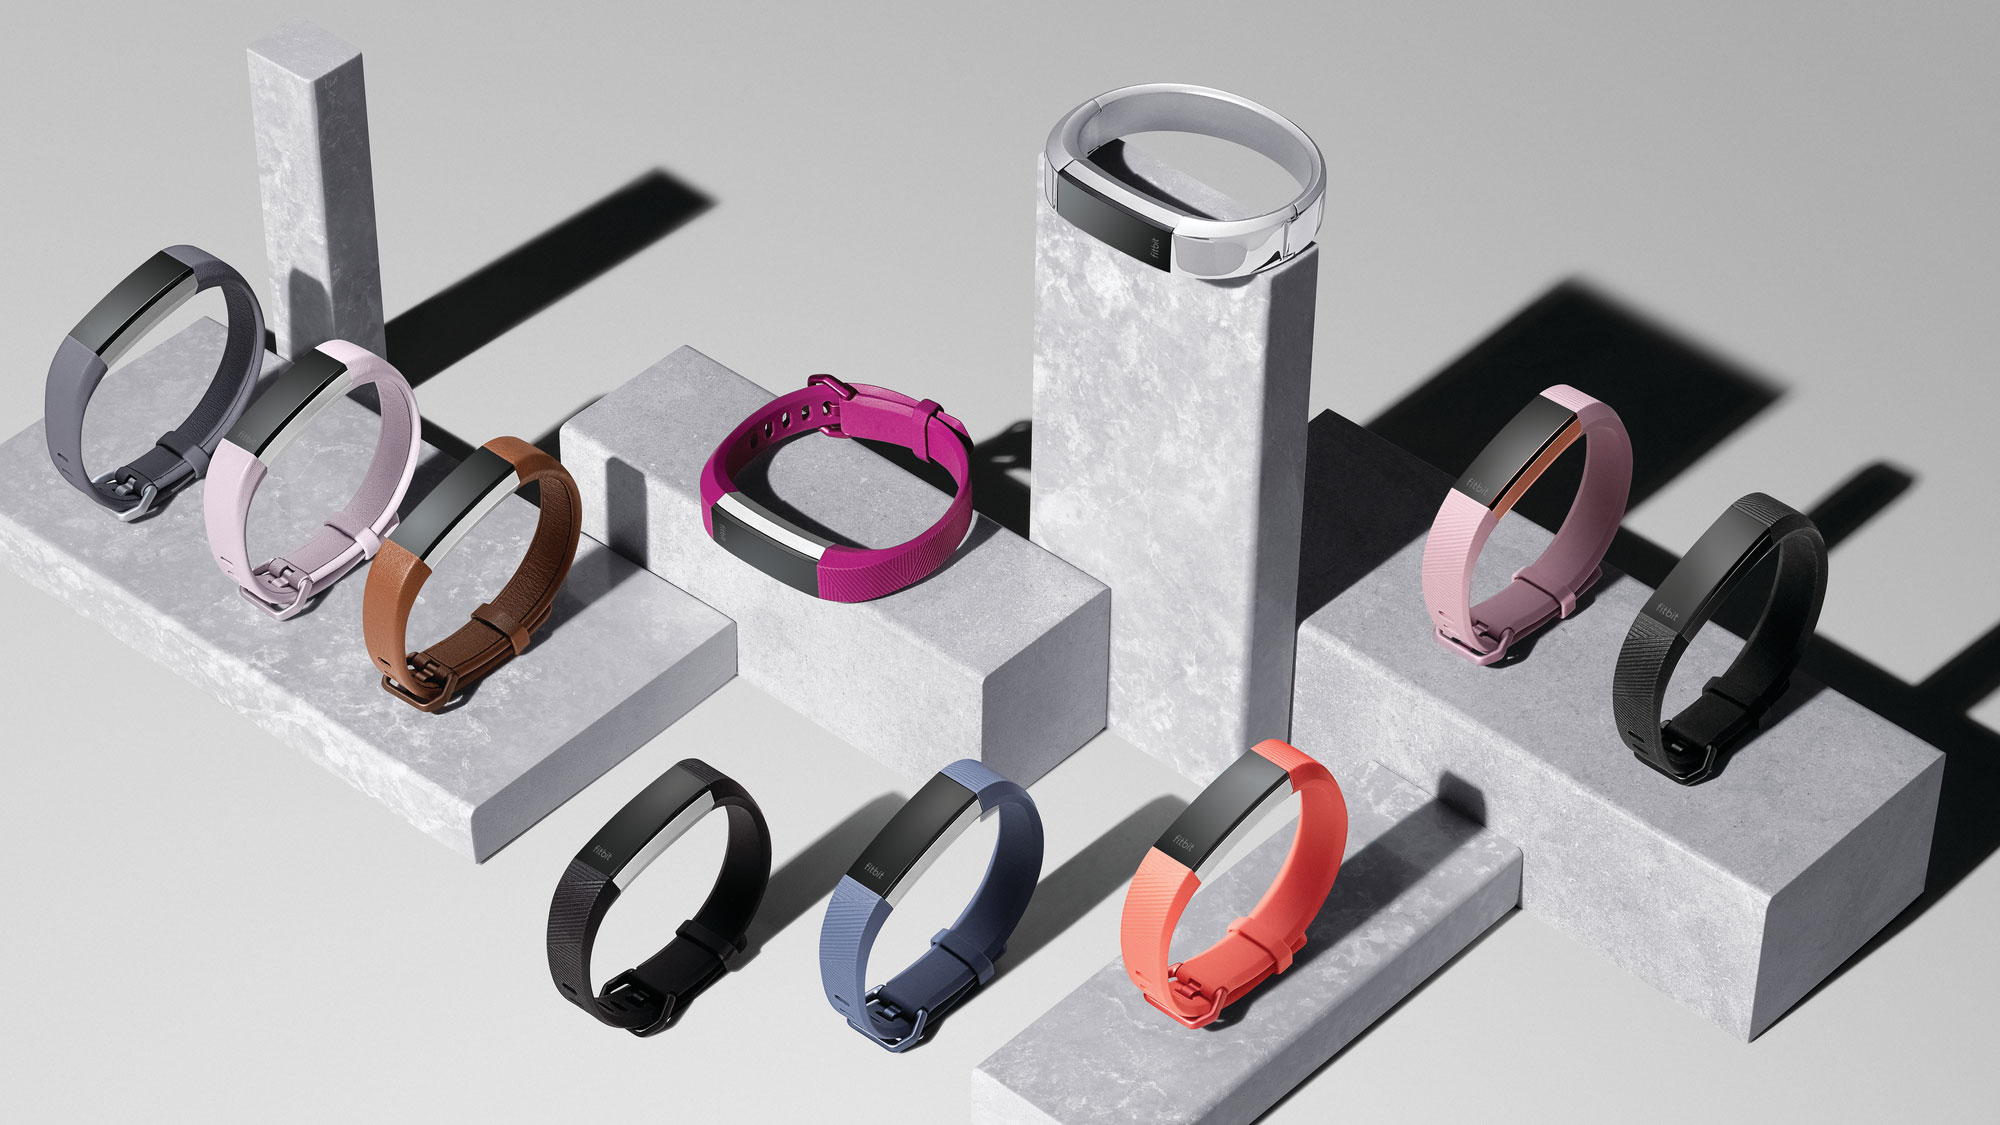
Fitbit Ace and Fitbit Alta series
For those owners of either a Fitbit Ace or Fitbit Alta series device, yet another proprietary charging option awaits. Instead of a clumsy charging cradle or simple cable however, these go for something a little more...cuisine-inspired - that is to say they have charging tongs.
To charge your device, pinch the tongs hard enough to allow it to be inserted. Proceed then to insert it, then close the tongs over the sides and make sure that the charging pins on the bottom of the watch line up with the connectors in the tongs.
The devices will confirm that they are charging, though in this case it will be with a buzz from the vibration motor rather than a percentage sign.
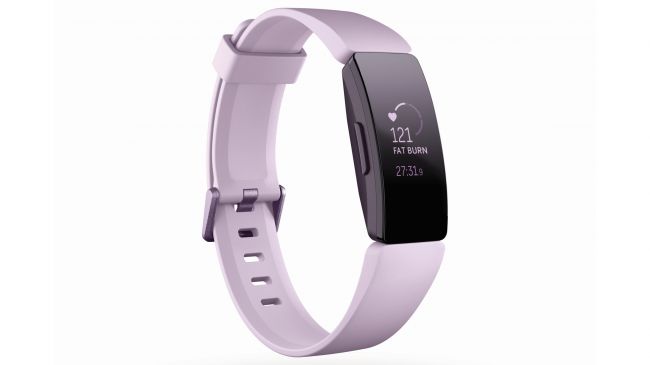
Fitbit Ace 2 and Fitbit Inspire series
To charge either your Fitbit Ace 2 or Fitbit Inspire series device is luckily a simple process. To start, take the magnetic charging cable, then guide it to the rear of the device where the magnets will help you to align the connectors with the charging pins, hopefully snapping into place.
You will be able to tell that the connection is successful when the device buzzes its vibration motor to confirm.
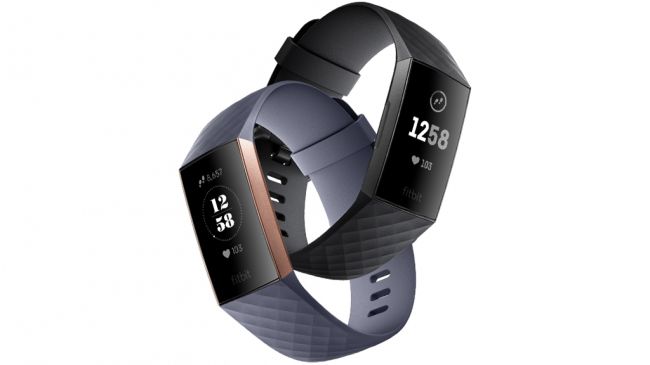
Fitbit Charge series (2 and 3)
The Fitbit Charge 2 and the Fitbit Charge 3 are a little unfortunate in that they fall once again into the category of those devices requiring obtuse charging tongs.
As such, to charge either, insert them into their respective charging tongs, making sure that the charging connectors on the bottom of the bands align with those on the tongs themselves.
The tongs have an opening for the button on the side of these devices, and should be fastened in such a way that the button is inside the opening. You will be able to tell that the connection has been successful when the device vibrates and the charging icon appears on the screen.
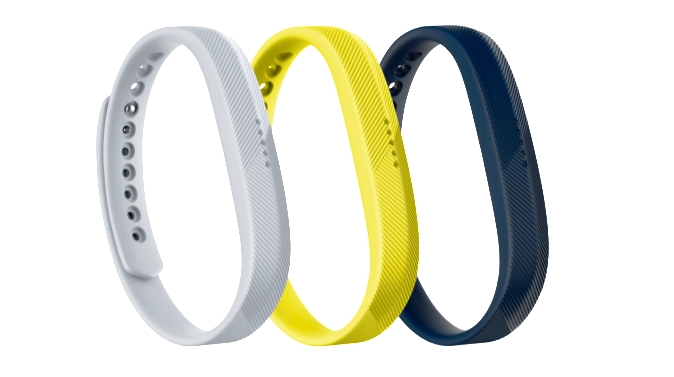
Fitbit Flex 2
In order to charge your Fitbit Flex 2, your first step will be to remove the device from its wrist strap, taking care not to drop or lose either part (something which is easier said than done).
Once you have done this, press the tracker with its connecting pins down into the charging cradle, making sure it is securely in place. Following this, to confirm that it is charging, the Fitbit Flex 2 will buzz its vibration motor and flash its indicator light.
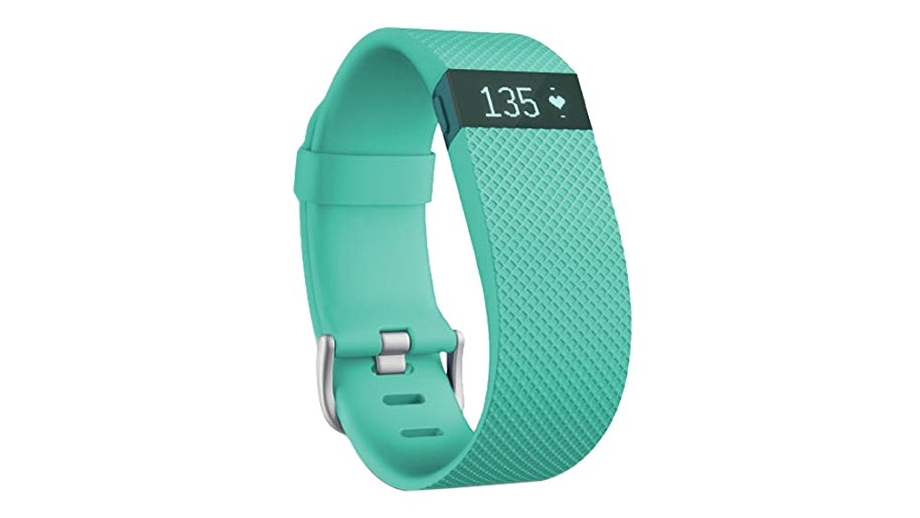
Fitbit Charge (original and HR)
Though the original Fitbit Charge and the Fitbit Charge HR have since been replaced and are a little dated, luckily charging them is a relatively simple proposition. In order to do so, simply attach the charging cable to the rear of the device, ensuring that the golden charging connectors match up on both sides.
Following this, to confirm that the connection has been successful and that the device is now charging, the battery indicator light will flash.
Sean is a Scottish technology journalist who's written for the likes of T3, Trusted Reviews, TechAdvisor and Expert Reviews.