How to replace your iPod touch battery
Sign up for breaking news, reviews, opinion, top tech deals, and more.
You are now subscribed
Your newsletter sign-up was successful
Despite the iPod touch being one of the finest devices ever conceived by mankind, the sad truth is one day your beloved iPod will die. It could be a simple blunt trauma to the face or old-age gnawing at its lithium-ion polymer power cell, but either way the Grim Reaper is going to get it.
If you own a first generation (1G) iPod touch - released back at the end of 2007 – then it's likely its battery is on the way out. Generally after 500 charge cycles a Li-pol battery's actual capacity is less than 80 percent of its original, or worse depending on how it has been treated. On top of this its life beyond three years isn't good.
Apple charges £66 to replace these batteries, while you can pick up a shiny new battery on Ebay for less than £6. The question is should you try to replace one yourself? If you can solder, then perhaps. If you also don't mind wrestling open tightly sealed cases and are good with tools, then yes.
The hardest part is initially opening the iPod itself - it's well built and tricky to open. We've done it and we're human, so with our guide you should be able to as well.
Be aware this will void any warranty. The advice is given in good faith and it's up to you as an individual to judge the appropriateness of the information and whether you follow it or not.
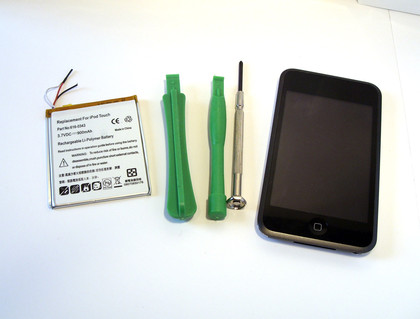
Step 1: You will need:
- iPod touch 1G
- Replacement battery kit with safe-open pry tools
- Soldering iron
- Small flathead screwdriver
- Small crosshead screwdriver
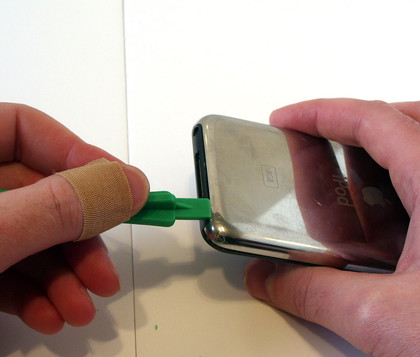
Step 2: The easiest place to start is at the dock-end of the iPod. Take the pry tool and insert it between the metal back and the chassis above the dock connector. Once in slide it towards the side away from the headphone socket.
Sign up for breaking news, reviews, opinion, top tech deals, and more.
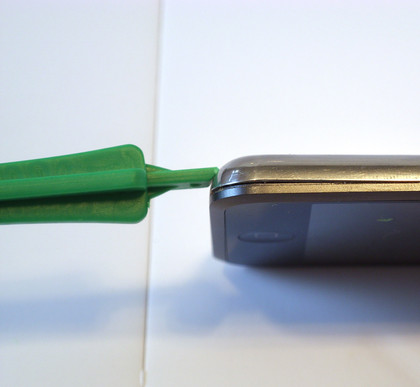
Step 3: This creates a small gap in the side between the chassis and metal back. Insert the small flathead screwdriver into this gap and gently pry along until there's an audible click. This is the case clip coming undone.
Step 4: At this point insert the second pry tool and work your way along this edge 'unclipping' the case. You may need to use the flathead screwdriver, but ideally stick with the pry tool to minimise any cosmetic damage.
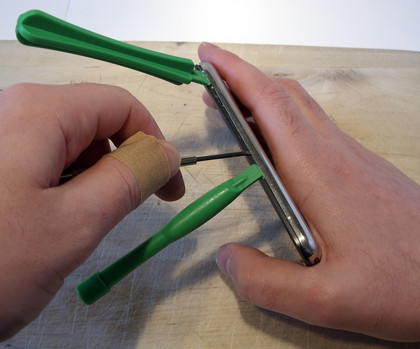
Step 5: With one side free the top and final side are easy to release with the pry tools and the back can be totally removed.
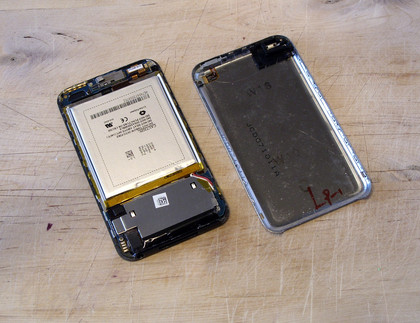
Step 6: The battery is glued to the iPod using three black pads. Use the pry tool to carefully remove it, by working it along the sides. Be careful, there are two ribbon cables underneath it, we've displayed these on the image, so avoid these areas. Secondly don't bend the battery, this could internally short it can cause it to explode.
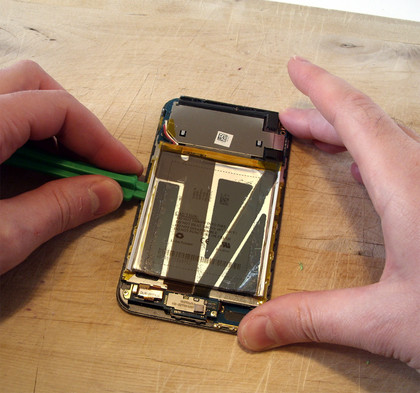
Step 7: With this the battery swings free, at this point it can be replaced. Skip to step 14 for soldering advice. However we're going to continue taking the iPod touch apart, in case you want to replace the screen or have problems removing the battery. So remove the screw underneath the battery leads and the one next to the headphone socket.
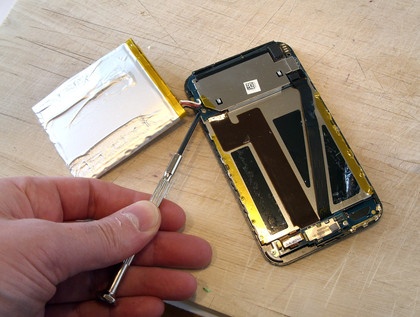
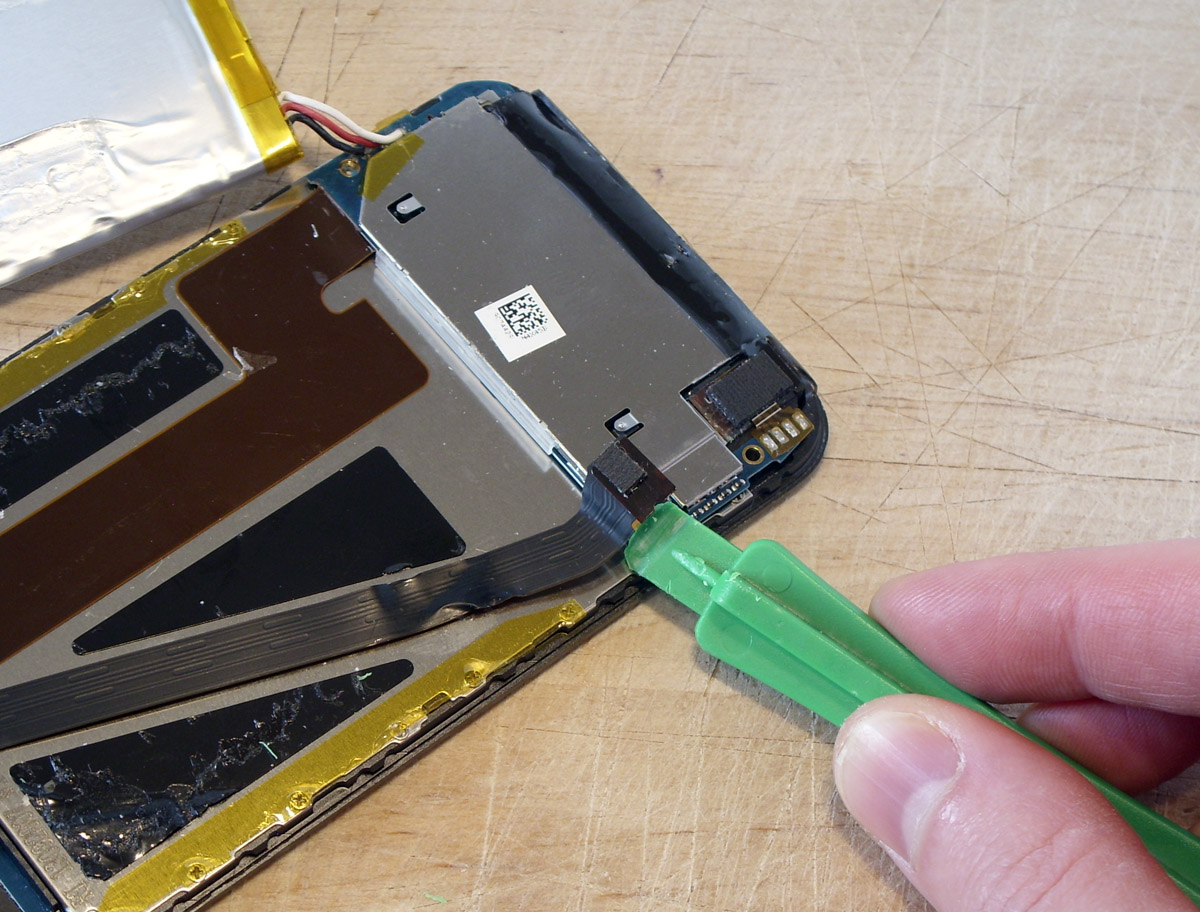
Step 8: Use a pry tool to remove the screen connector ribbon cable from the iPod touch's main circuit board.
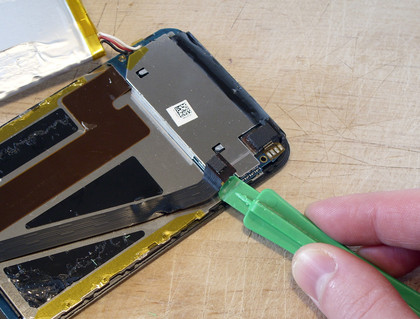
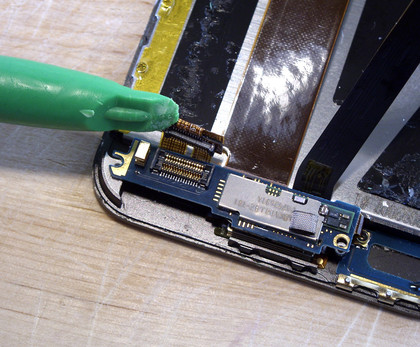
Step 9: Use a pry tool to remove the digitiser connector from the circuit board and remove the two screws from this as well.
- 1
- 2
Current page: Replace your iPod battery steps 1-9
Next Page Replace your iPod battery steps 10-17