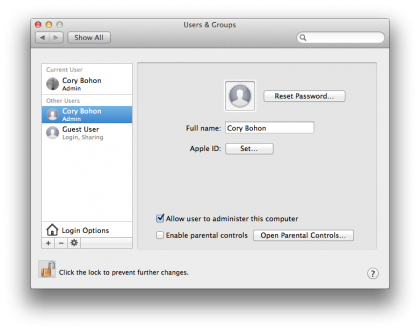
Terminal 101: Creating New Users
dscl . create /Users/corybohon
Next, we’ll create and set the shell property to bash:
dscl . create /Users/corybohon UserShell /bin/bash
Next, we’ll add some user credentials, and set the user’s full name:
dscl . create /Users/corybohon RealName "Cory Bohon"
Now, we’ll create and set a unique ID for the user. Pick whatever works for you here, ensuring that it hasn’t been used by previous users:
dscl . create /Users/corybohon UniqueID 503
Sign up for breaking news, reviews, opinion, top tech deals, and more.
Next, we’ll create and set the user’s group ID property:
dscl . create /Users/corybohon PrimaryGroupID 1000
Now, we’ll set the user’s home directory by running the following command. Ensure that you replace both instances of the shortname in the command below:
dscl . create /Users/corybohon NFSHomeDirectory /Local/Users/corybohon
Now we’ll add some security to the user account and set their password. Here, you’ll replace “PASSWORD” with the actual password that will be used initially for their account. The user can always change the password later:
dscl . passwd /Users/corybohon PASSWORD
If the user will have administrator privileges, then we’ll run the following account to assign that title to the newly minted user:
dscl . append /Groups/admin GroupMembership corybohon
And, that’s it. The most simple way to create a user through the command line, and assign all of the OS X account privileges to the new account.

Cory Bohon is a freelance technology writer, indie Mac and iOS developer, and amateur photographer. Follow this article's author on Twitter.