
 Become a TechRadar Insider


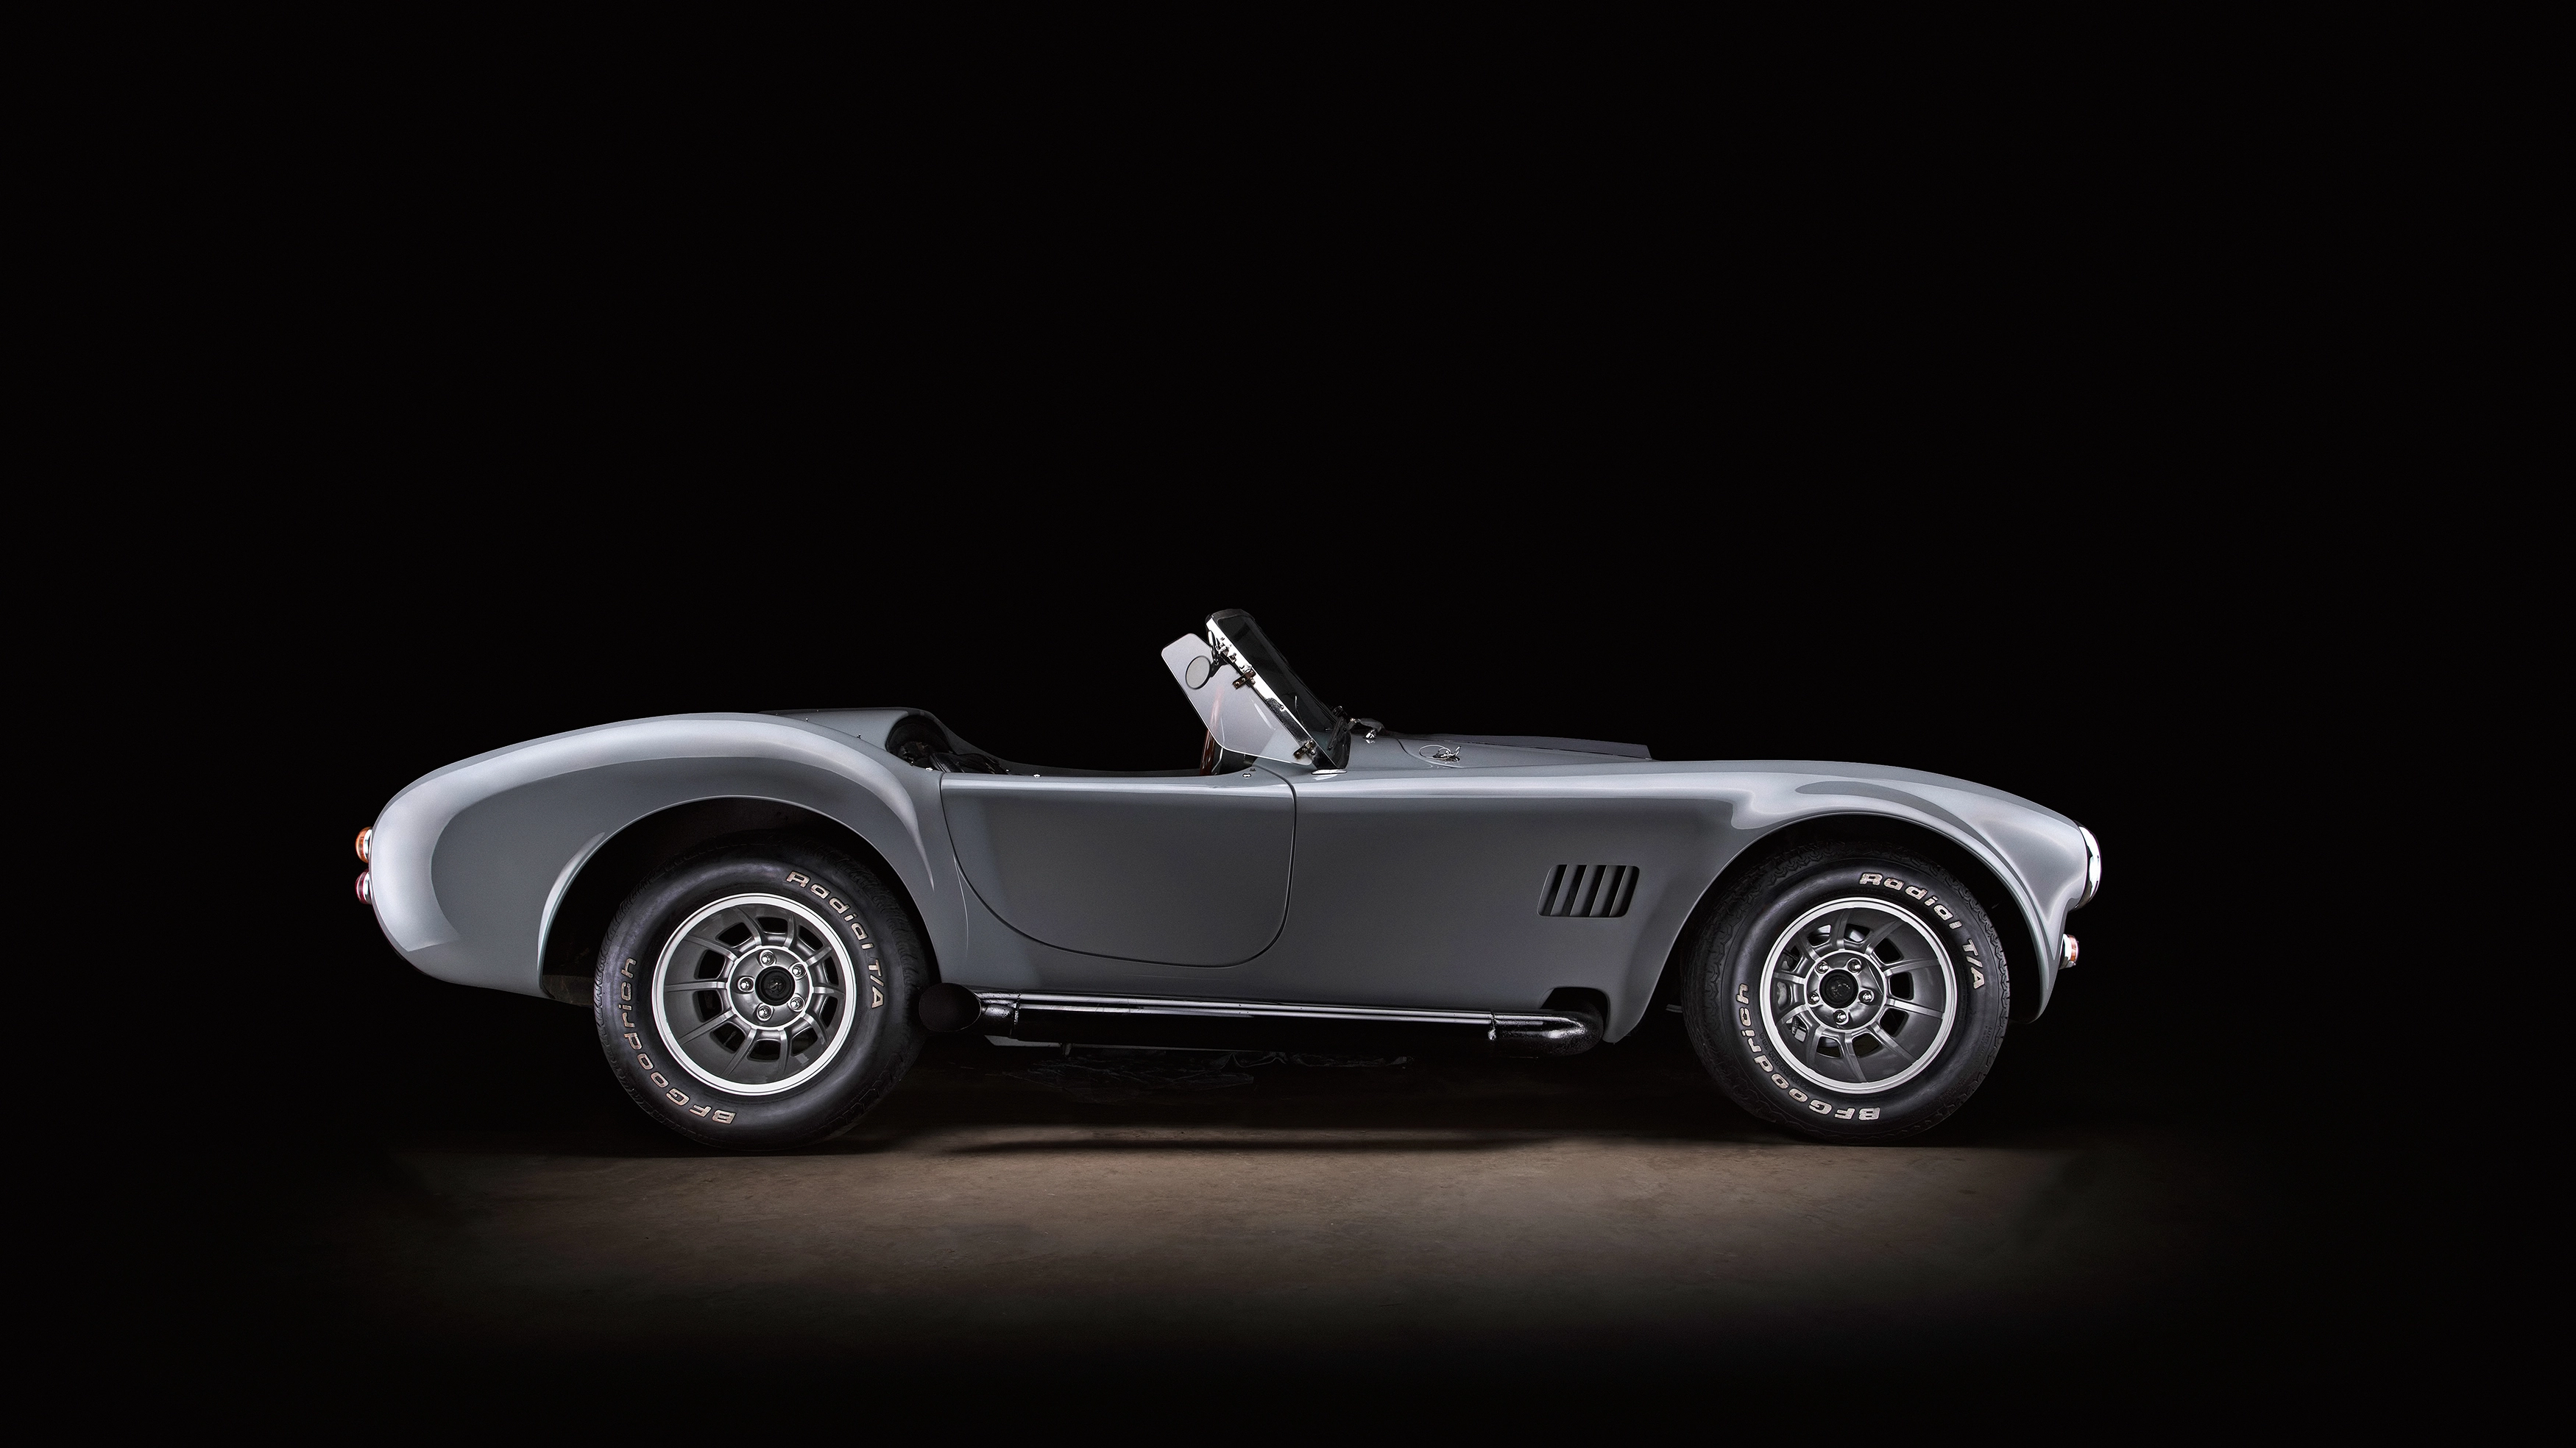
You don't need lots of specialist kit to shoot cars like the pros. By combining shooting techniques and a bit of Photoshopping, you can highlight the shoulder line of a classic sports car to create a photo with some real class.
Your lone flashgun and softbox won't give the coverage of a pro lighting set-up, so to get your finished image, you'll need to take several shots of the car, lighting it from above, and, with each frame, moving the flash a bit further along the car. Then you'll need to take the flash closer in and highlight the wheels and other details. After that, it's just a matter of combining the images in Photoshop.
Getting the light right

1. Wireless triggers
We used Yongnuo YN622N wireless triggers – they trigger the flash remotely when the shutter button is pressed. We kept the flash in manual mode.
2. Softbox
The softer the light, the better – ideally the car would be in a giant light-tent-like set-up, but for our budget version, you just need to diffuse the light.
3. Monopod
By putting the flash and softbox on a monopod, you can reach over the car and light the front of the chassis while staying out of sight in the shadows.
4. Dark garage
A dark location is essential. It means fewer distractions within the frame and, more importantly, fewer reflections in the car's shiny surfaces.
Setting up
1. Tidy up

First, brush the floor and tidy away any objects around the car, then move the car side-on (if you can) so you'll have enough space between the camera and car to frame up. Shooting the side of the car enables you to create a beautifully highlighted shoulder line.
2. Find the centre-point

Next, pace out the length of the car and find its centre, then move backwards from the centre point to find the right place to set up your camera. This way you'll keep both sides the same distance away from the camera, and so both ends of the car will be in proportion.