TechRadar Verdict
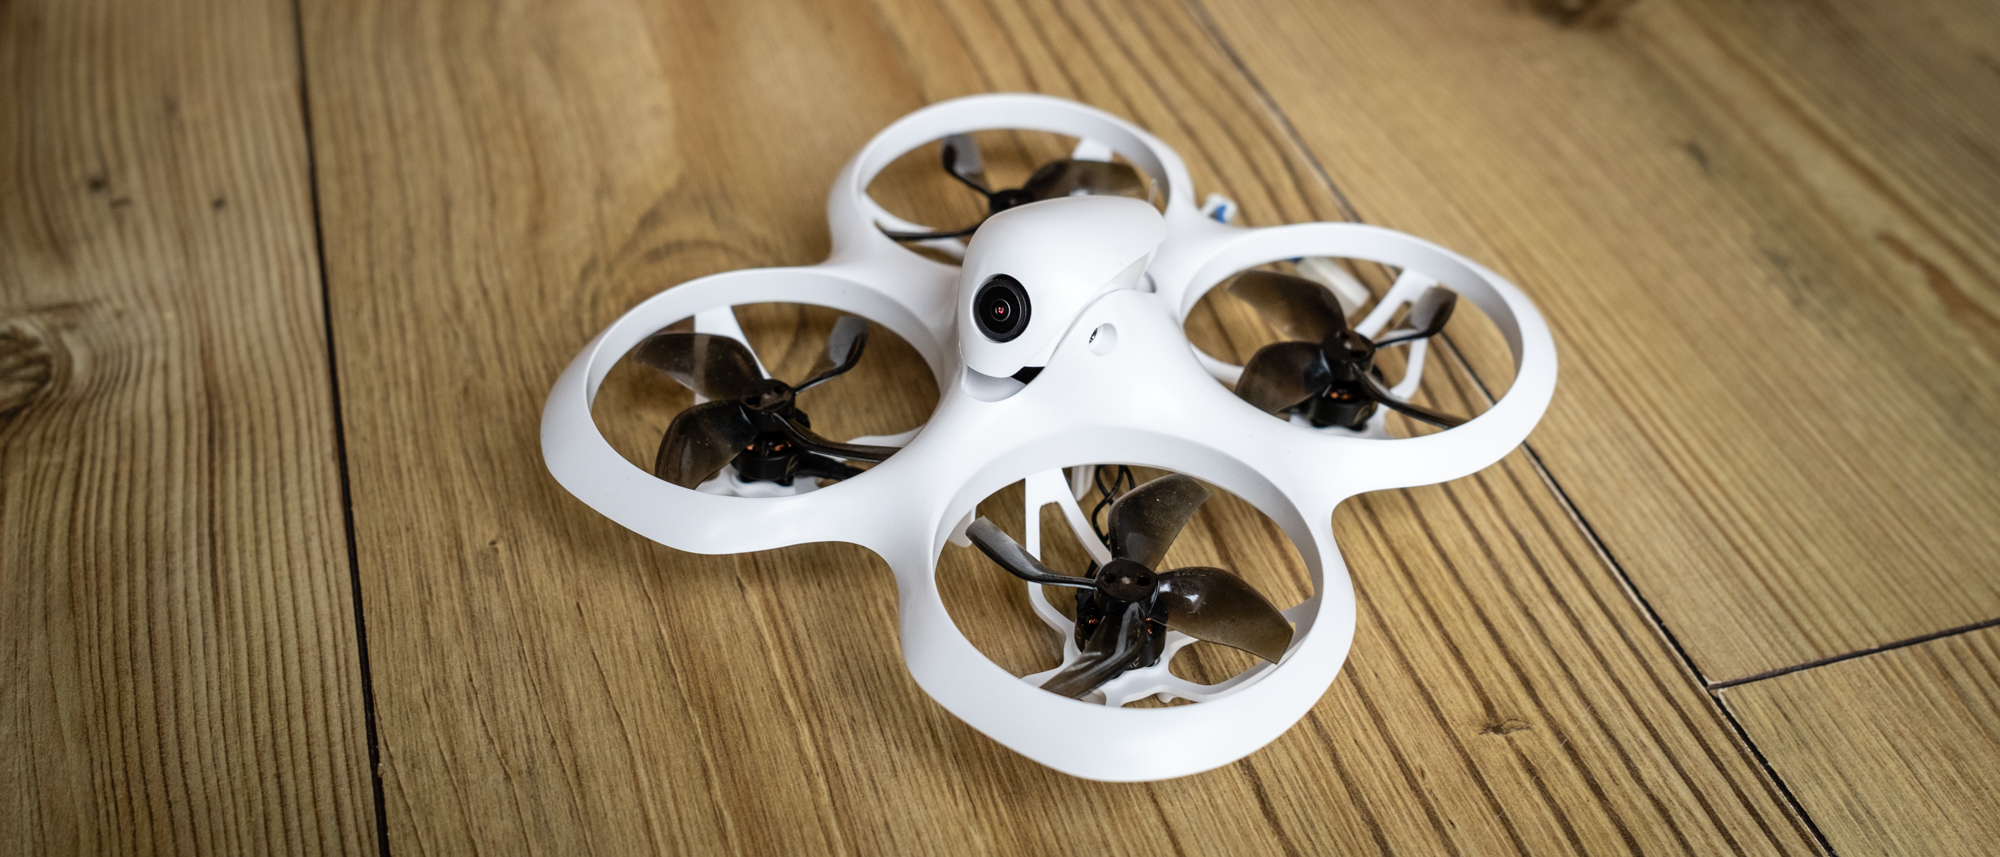
The BetaFPV Cetus X FPV Kit is the top-of-the-range model in the Cetus lineup, and it’s one of the best ready-to-fly FPV kits you can buy. It’s much more powerful – and more fun – than other Cetus models, and is equally suitable for both complete novices learning to fly FPV, and more experienced pilots looking for something small, easy and fun for casual flying.
Pros
- +
Complete kit with everything you need
- +
Multiple flight modes and speed settings
- +
Goggle DVR can record the FPV video feed
Cons
- -
Requires lots of flight practice
- -
Short battery life
- -
Goggles are basic
Why you can trust TechRadar
Two-minute review
FPV drones continue to grow in popularity, and BetaFPV is one of several brands producing ready-to-fly FPV kits that make getting into FPV easier than ever. These come with everything you need to get started, and the Chinese company makes three such kits, with the BetaFPV Cetus X FPV kit being its top-of-the-range offering.
The Cetus X kit includes the Cetus X Brushless Quadcopter (Cetus FC version), a LiteRadio 3 Transmitter, VR03 FPV Goggles, four batteries, a USB battery charger/battery voltage tester, a USB-C to USB-A cable, four spare propellers, a propeller removal tool, a USB-C adaptor for firmware updates and tuning, a carry case, and easy to follow instructions. Additional batteries can also be purchased separately. There’s also a Betaflight FC version of the Cetus X which is slightly cheaper, doesn’t have the same basic safety features we’ll cover later but uses a more versatile ELRS radio protocol.
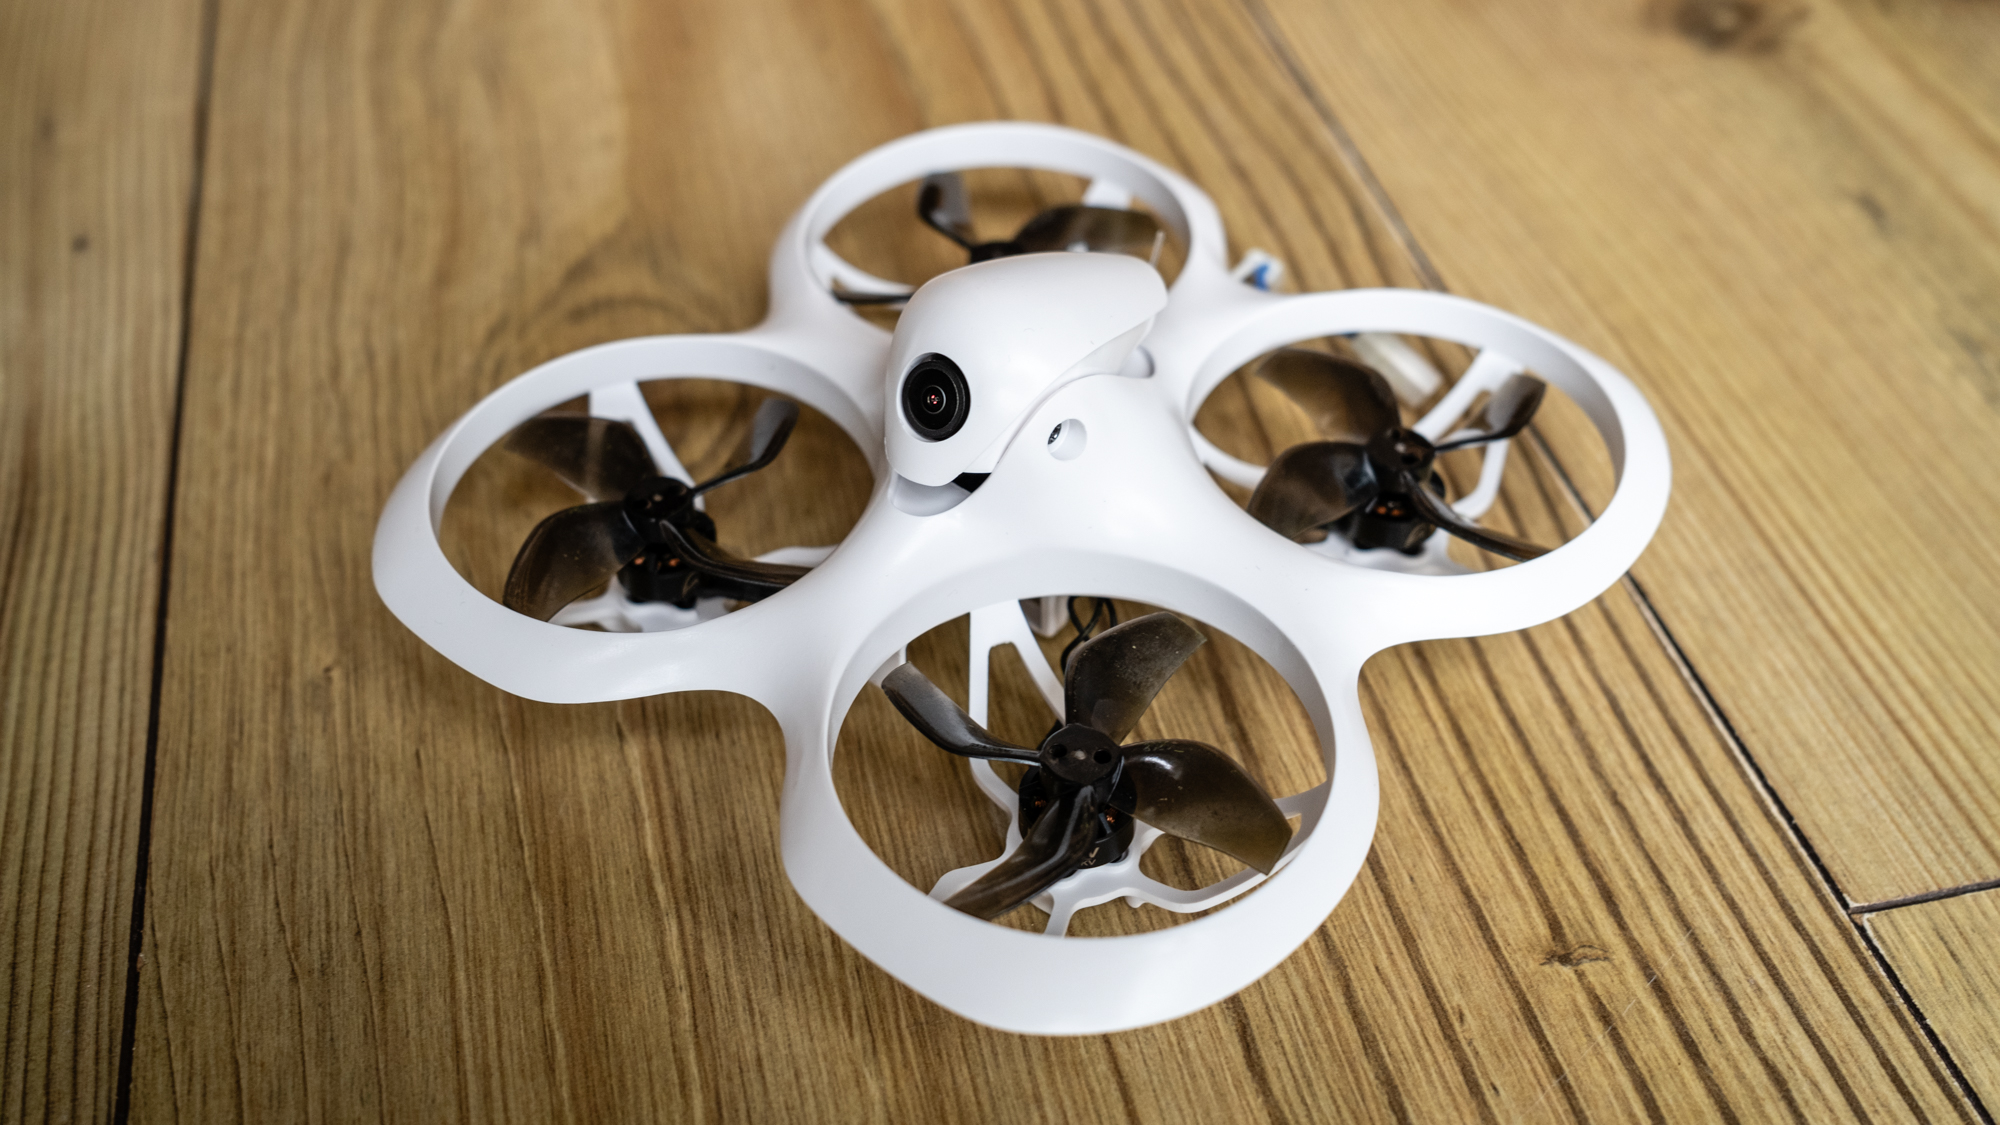
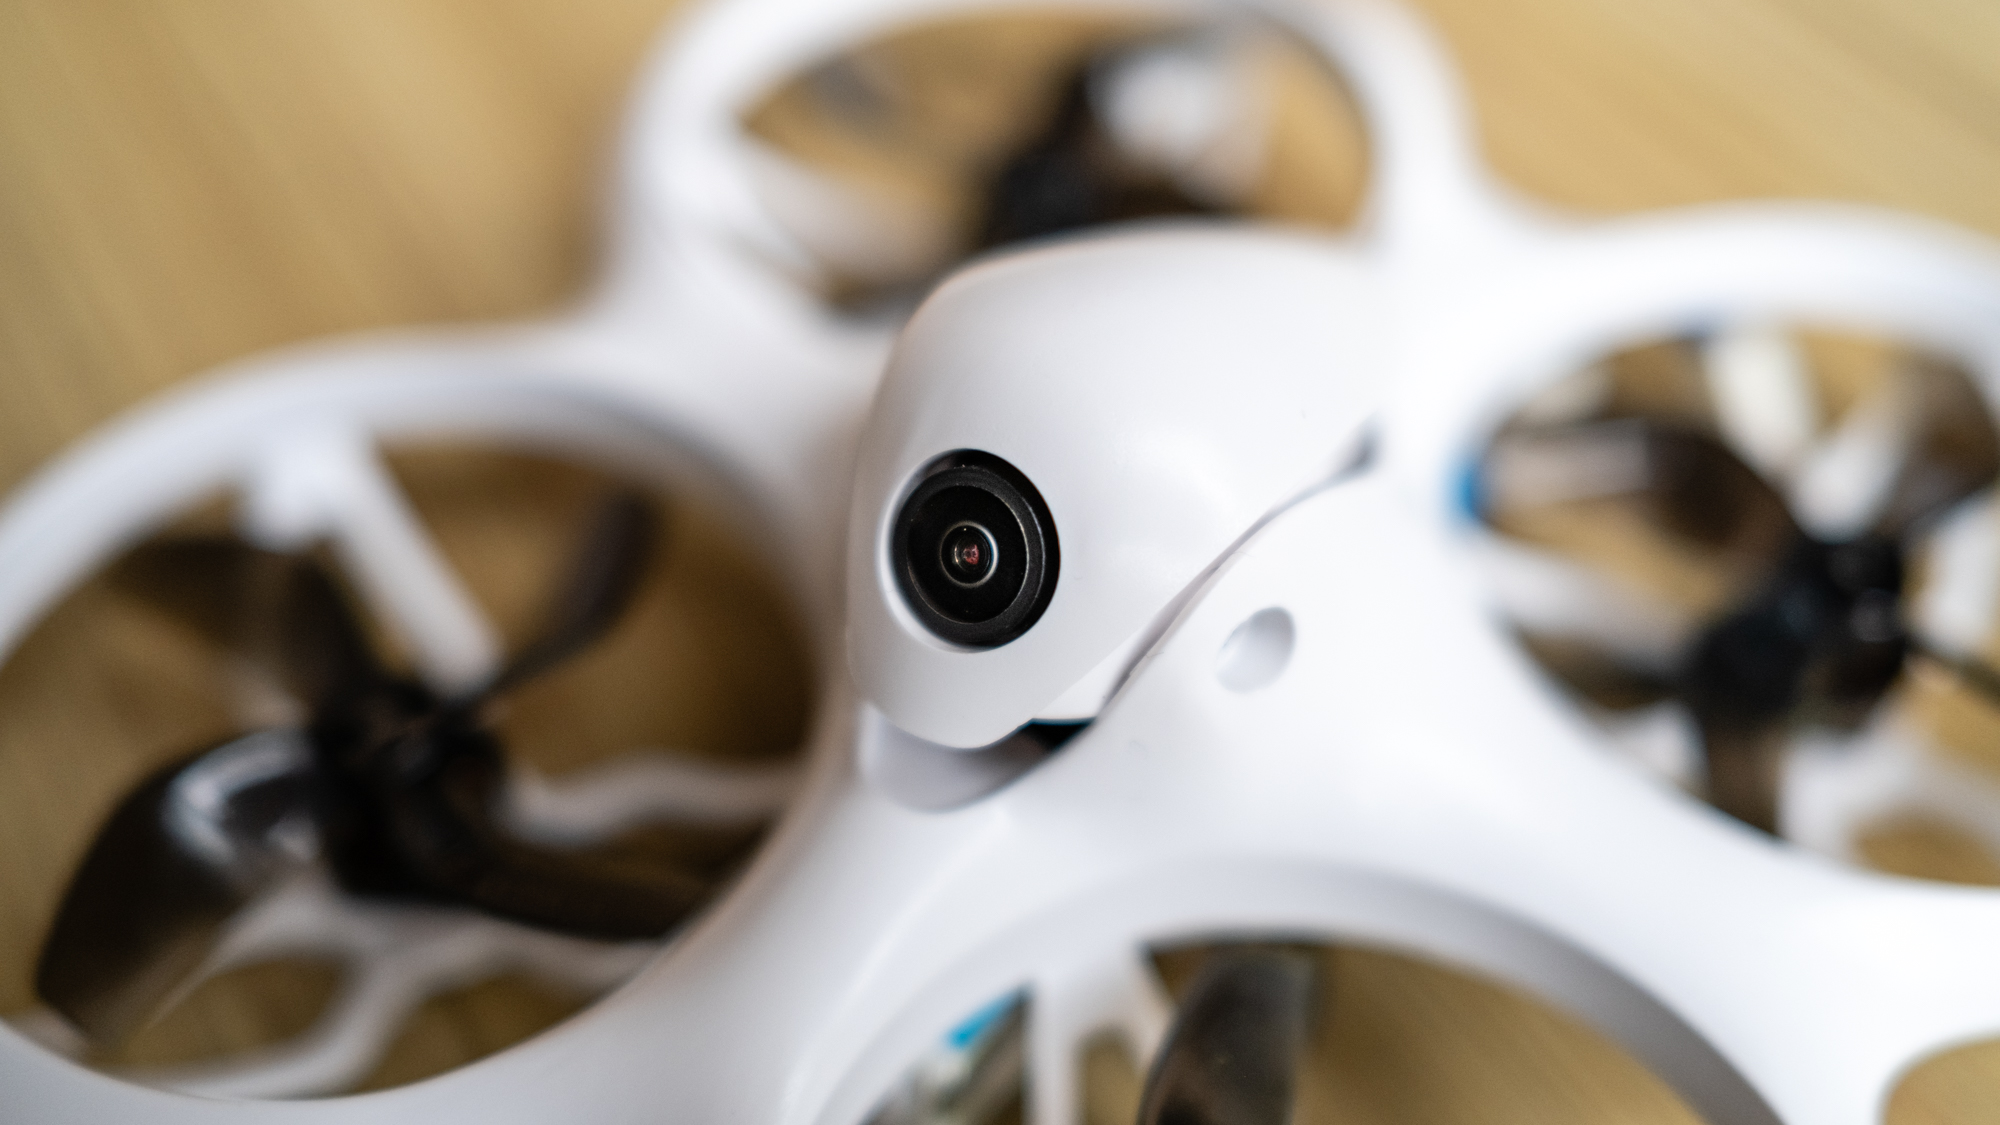
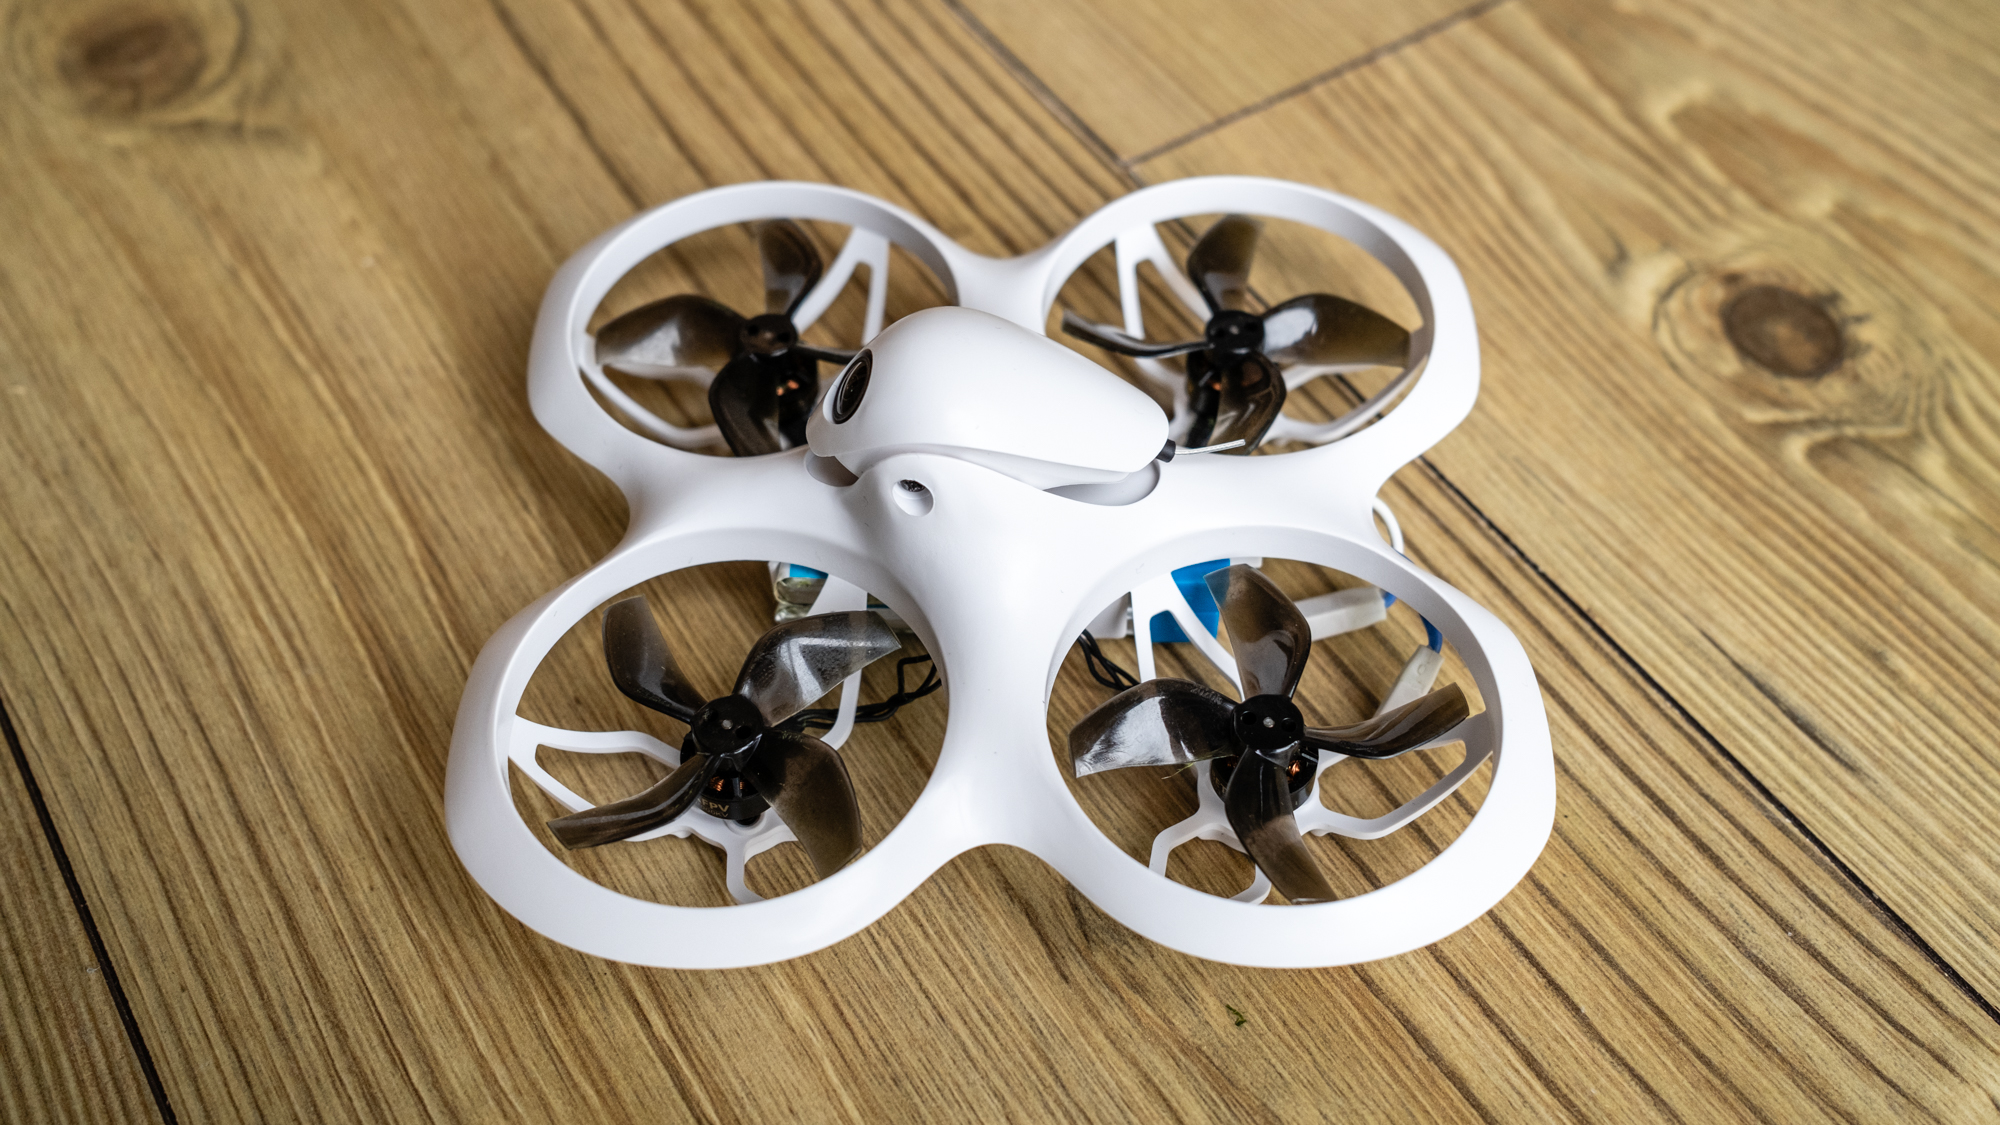
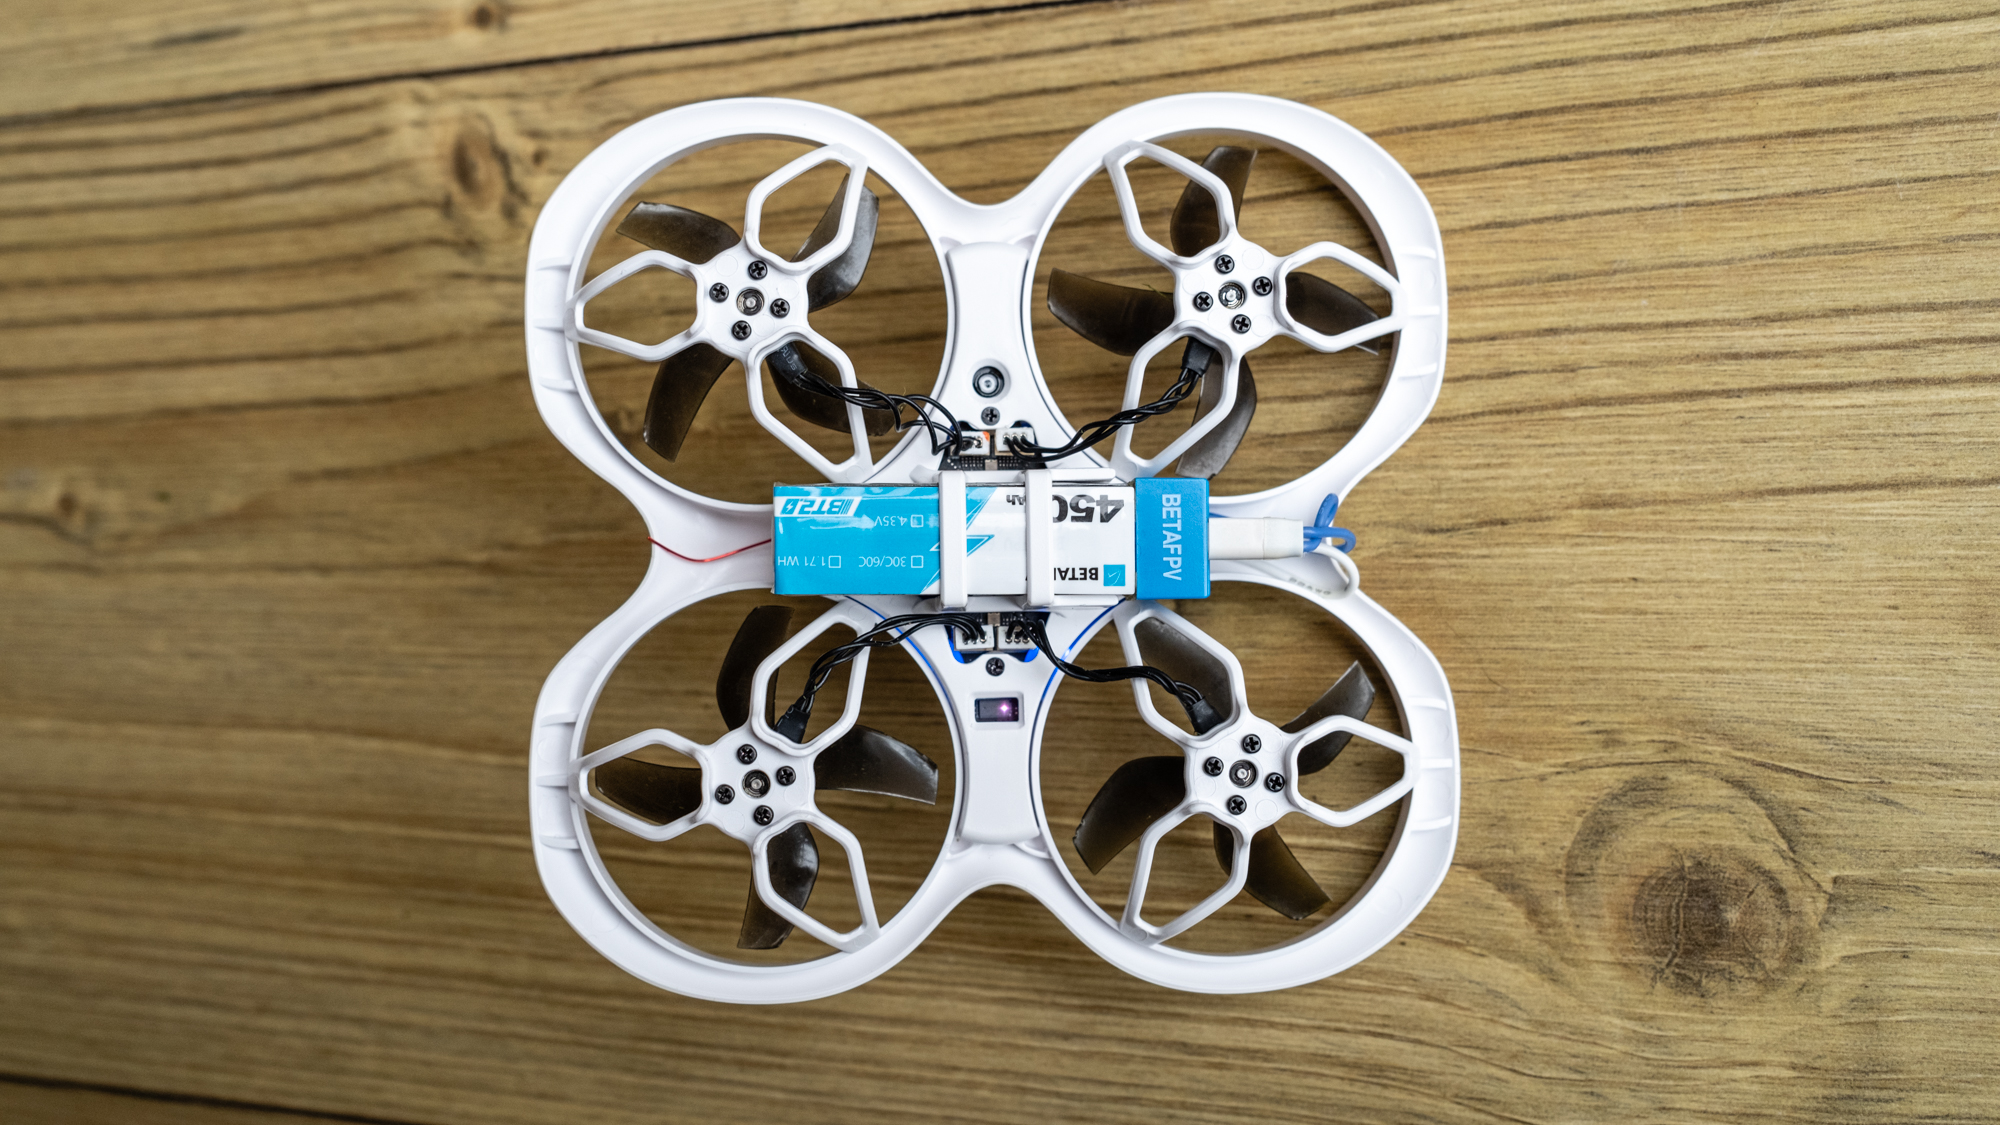
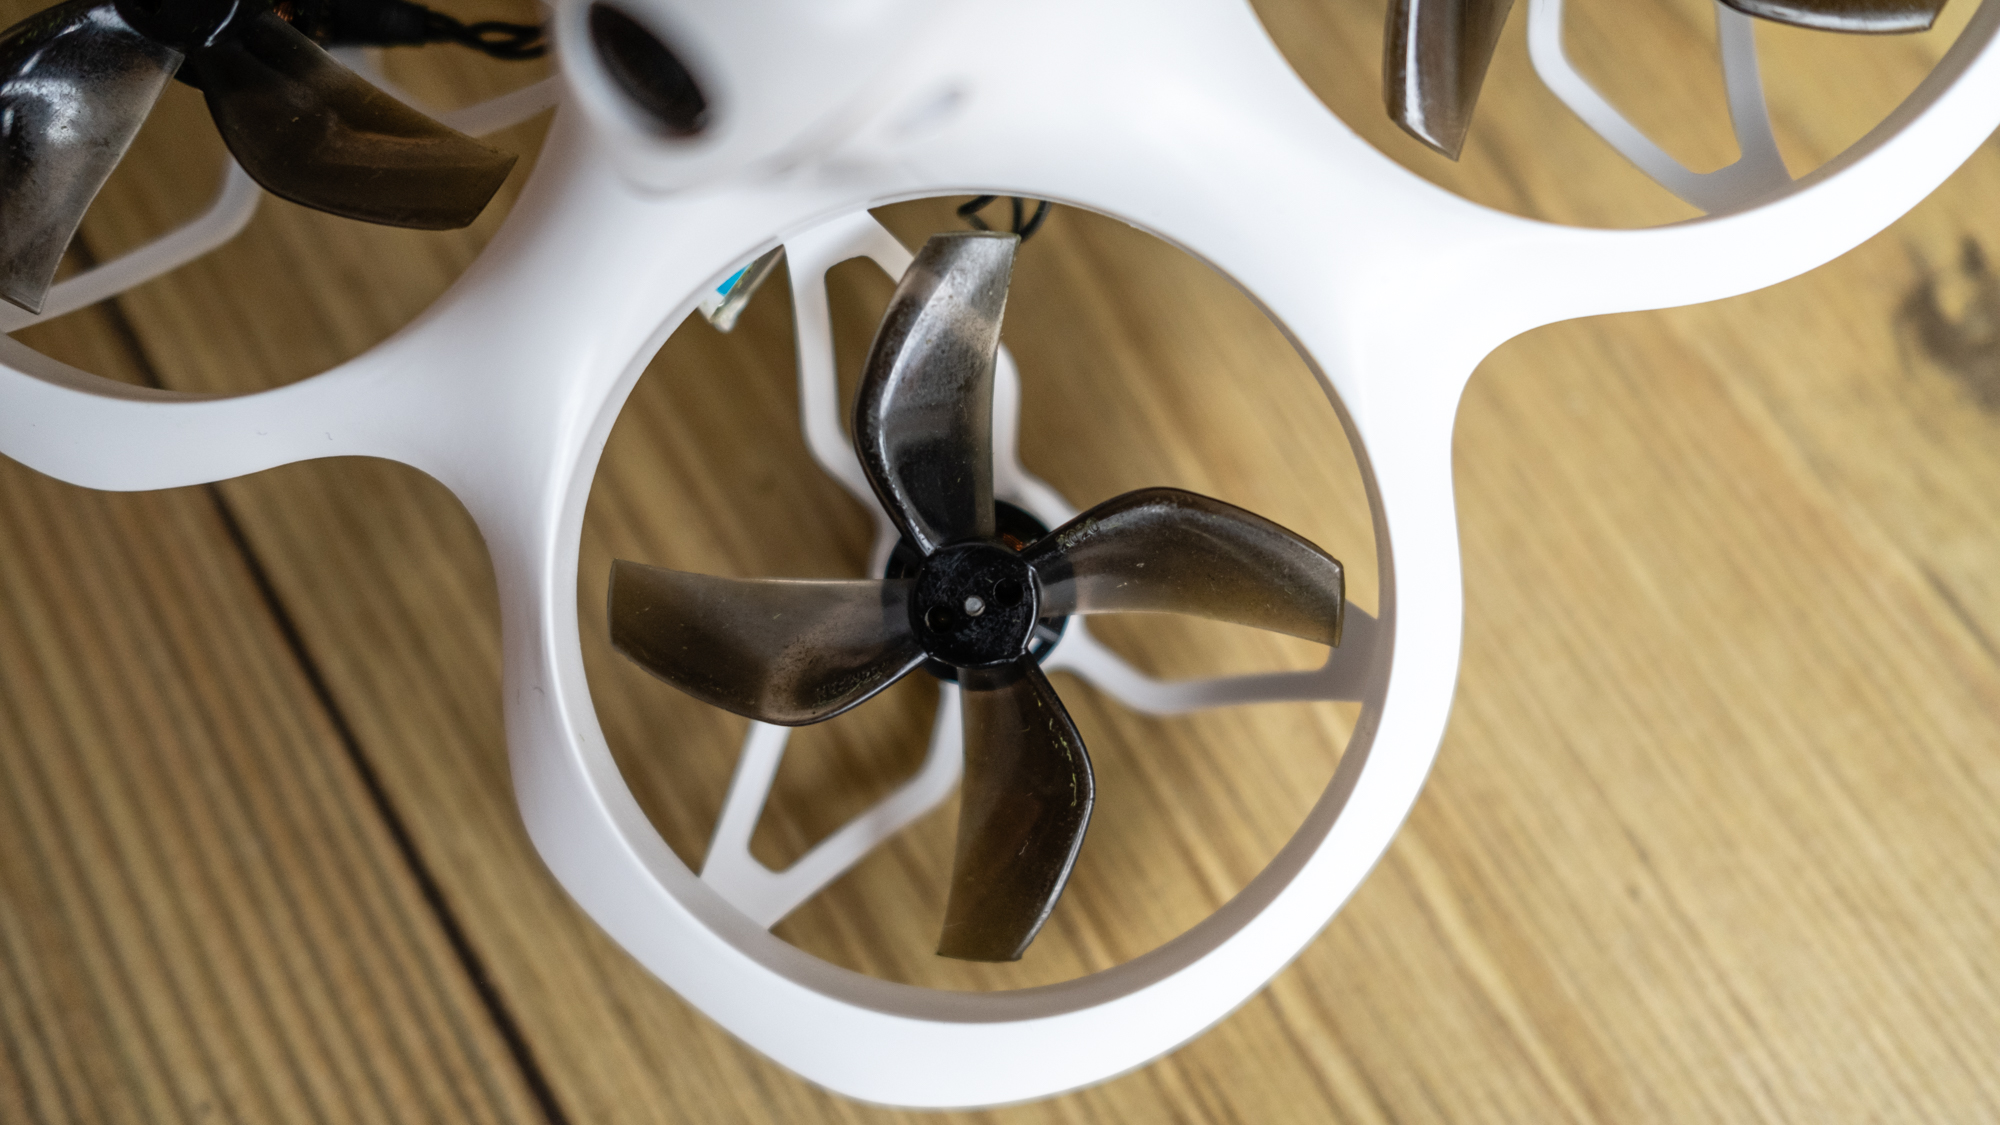
The drone itself is a micro whoop with propeller guards around and below the propellers. It’s small at just 135 x 135 x 60mm, weighs 2.85oz / 81g including the two batteries required to power it, and features an adjustable FPV camera that can be set to an angle between 0 and 40 degrees to suit the speed of flight. For slower indoor flight you would typically set the camera to 0 degrees, while for fast outdoor flight you’d tilt it upwards to maintain a clear camera view as the drone pitched forwards more.
The Cetus X kit costs $310 / £249 / AU$462 when purchased directly from BetaFPV and is available now. It can also be purchased from independent FPV retailers for slightly more; Amazon also has in stock from time to time, and while the price there is a bit higher it’s still affordable, and you’re getting fast delivery.
The frame is tough and built to withstand impacts, and generally withstands most collisions, although I did manage to crack the frame in a crash, and this led to further cracks with subsequent crashes. The initial crash was caused when the goggles beeped with a low-power warning, and consequently I experienced a loss of FPV feed while flying through and around the thick walls of a derelict church, and the drone crashed into the ruin at speed.
I have to confess that this was mostly my fault, because I didn’t heed the goggles’ low-power warning, but a replacement frame was cheap to buy at £12, and it was very easy to transfer the electronics to the new frame. And this is the beauty of Cetus drones: spare parts are inexpensive, and repairs are incredibly easy, with no soldering or electronics knowledge required. Unfortunately, the FPV goggle recording of the crash was corrupted.
The VR03 FPV Goggles that come in the kit are pretty basic box-type goggles, but they’re ideal for beginners, with an 800 x 480 pixel resolution that’s delivered via an analogue signal and a built-in DVR for recording flight feeds when a microSD card is installed. The goggles have a battery life of around one hour when recording, which increases to around two hours when not recording with charging of the goggles via USB-C. The video transmission can be set to between 25mW and 350mW, with higher amounts being more powerful, but you should check local radio laws before increasing it from the default 25mW.
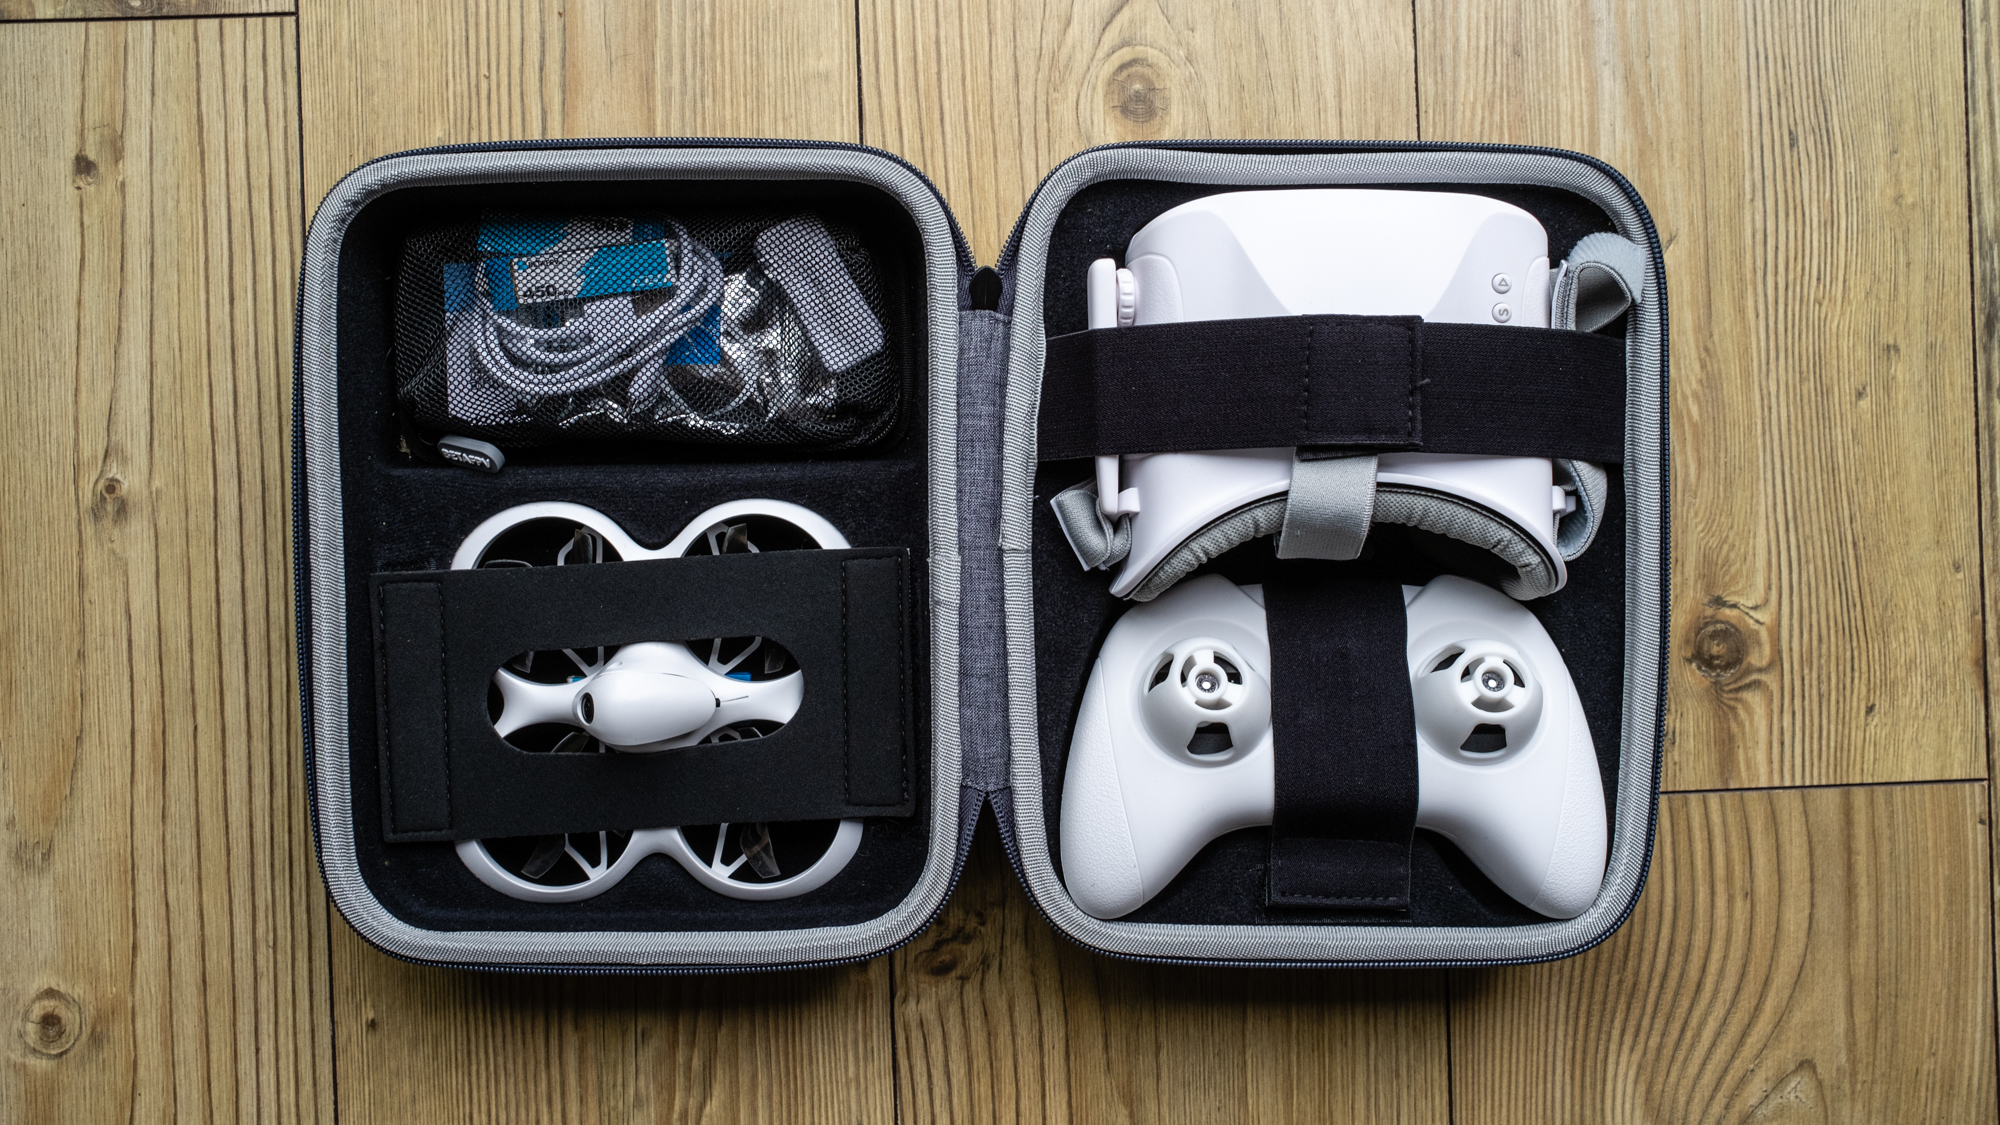
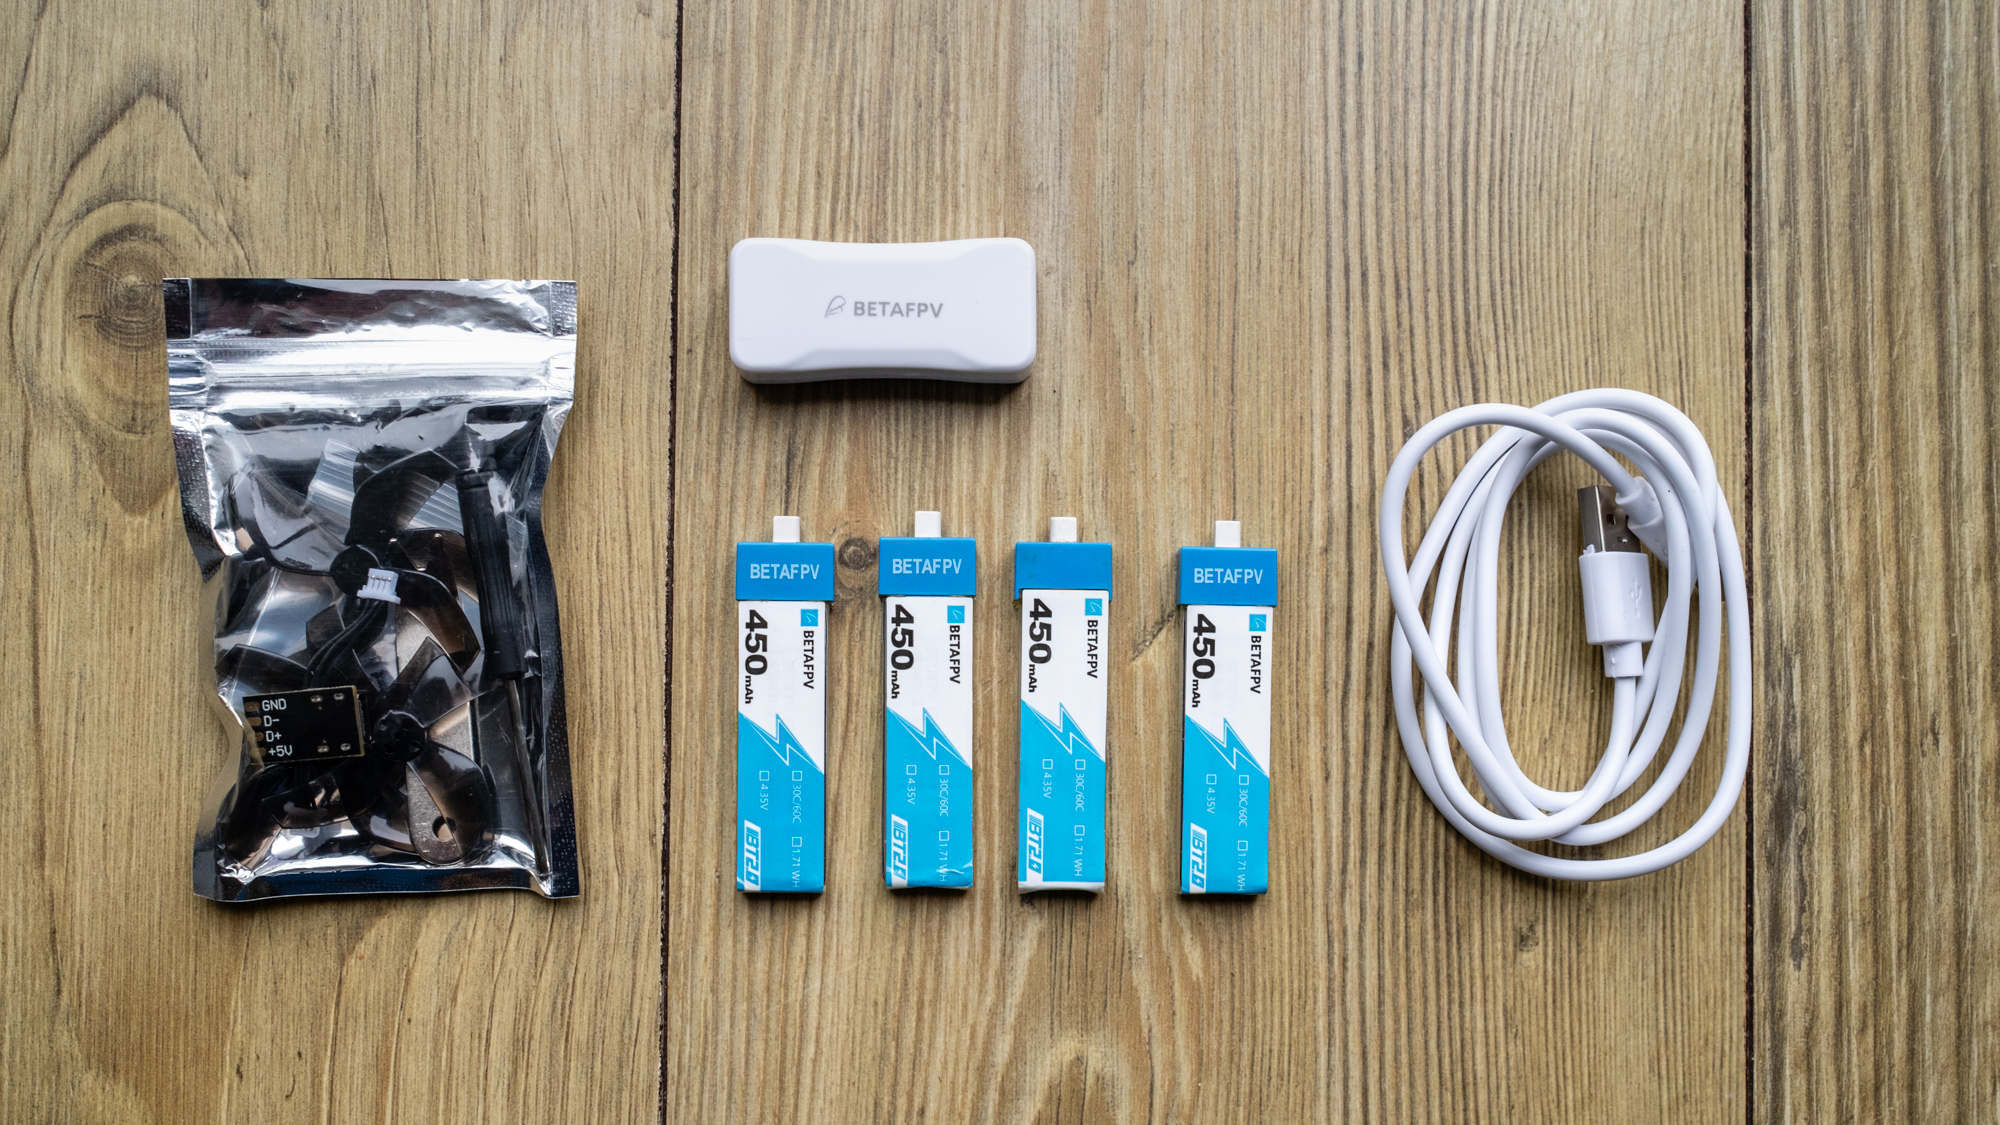
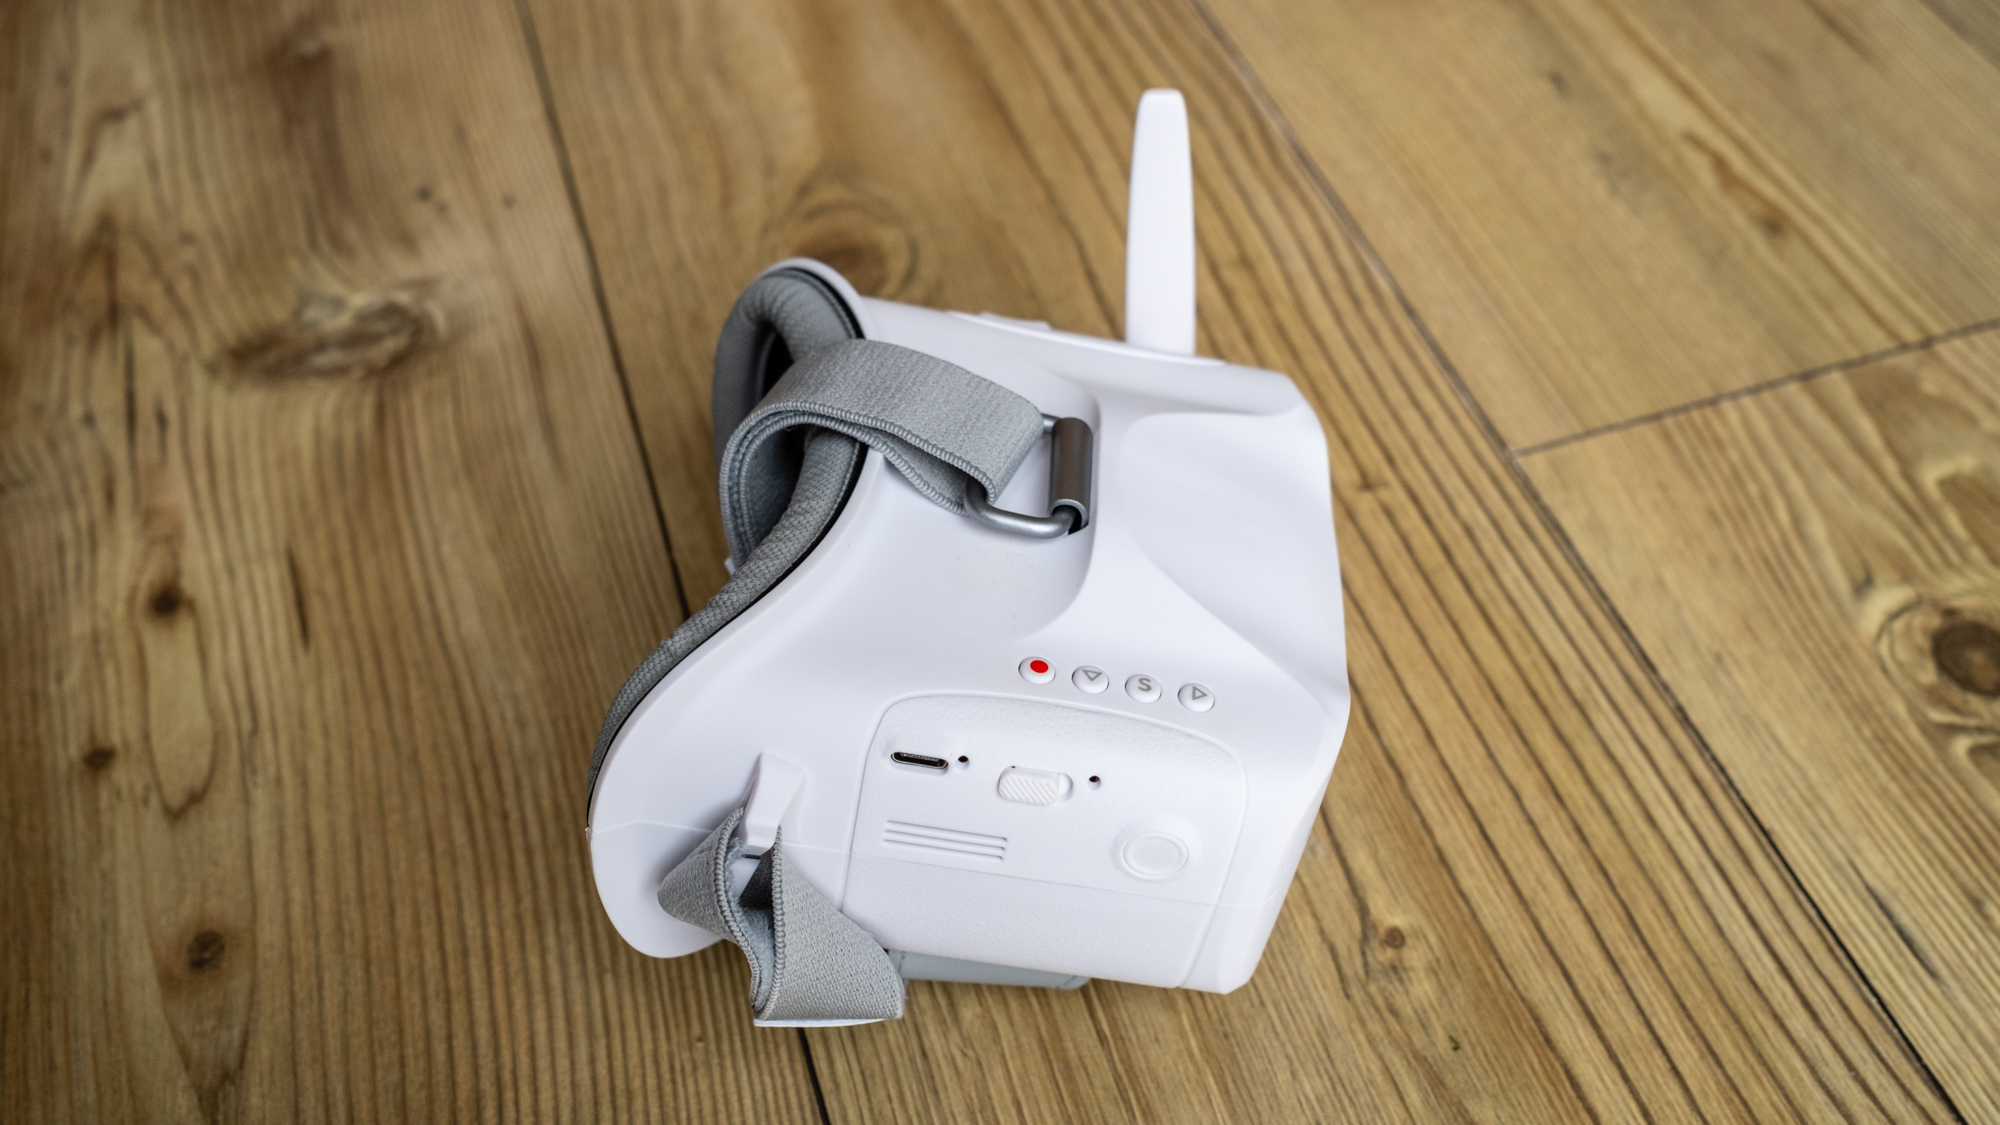
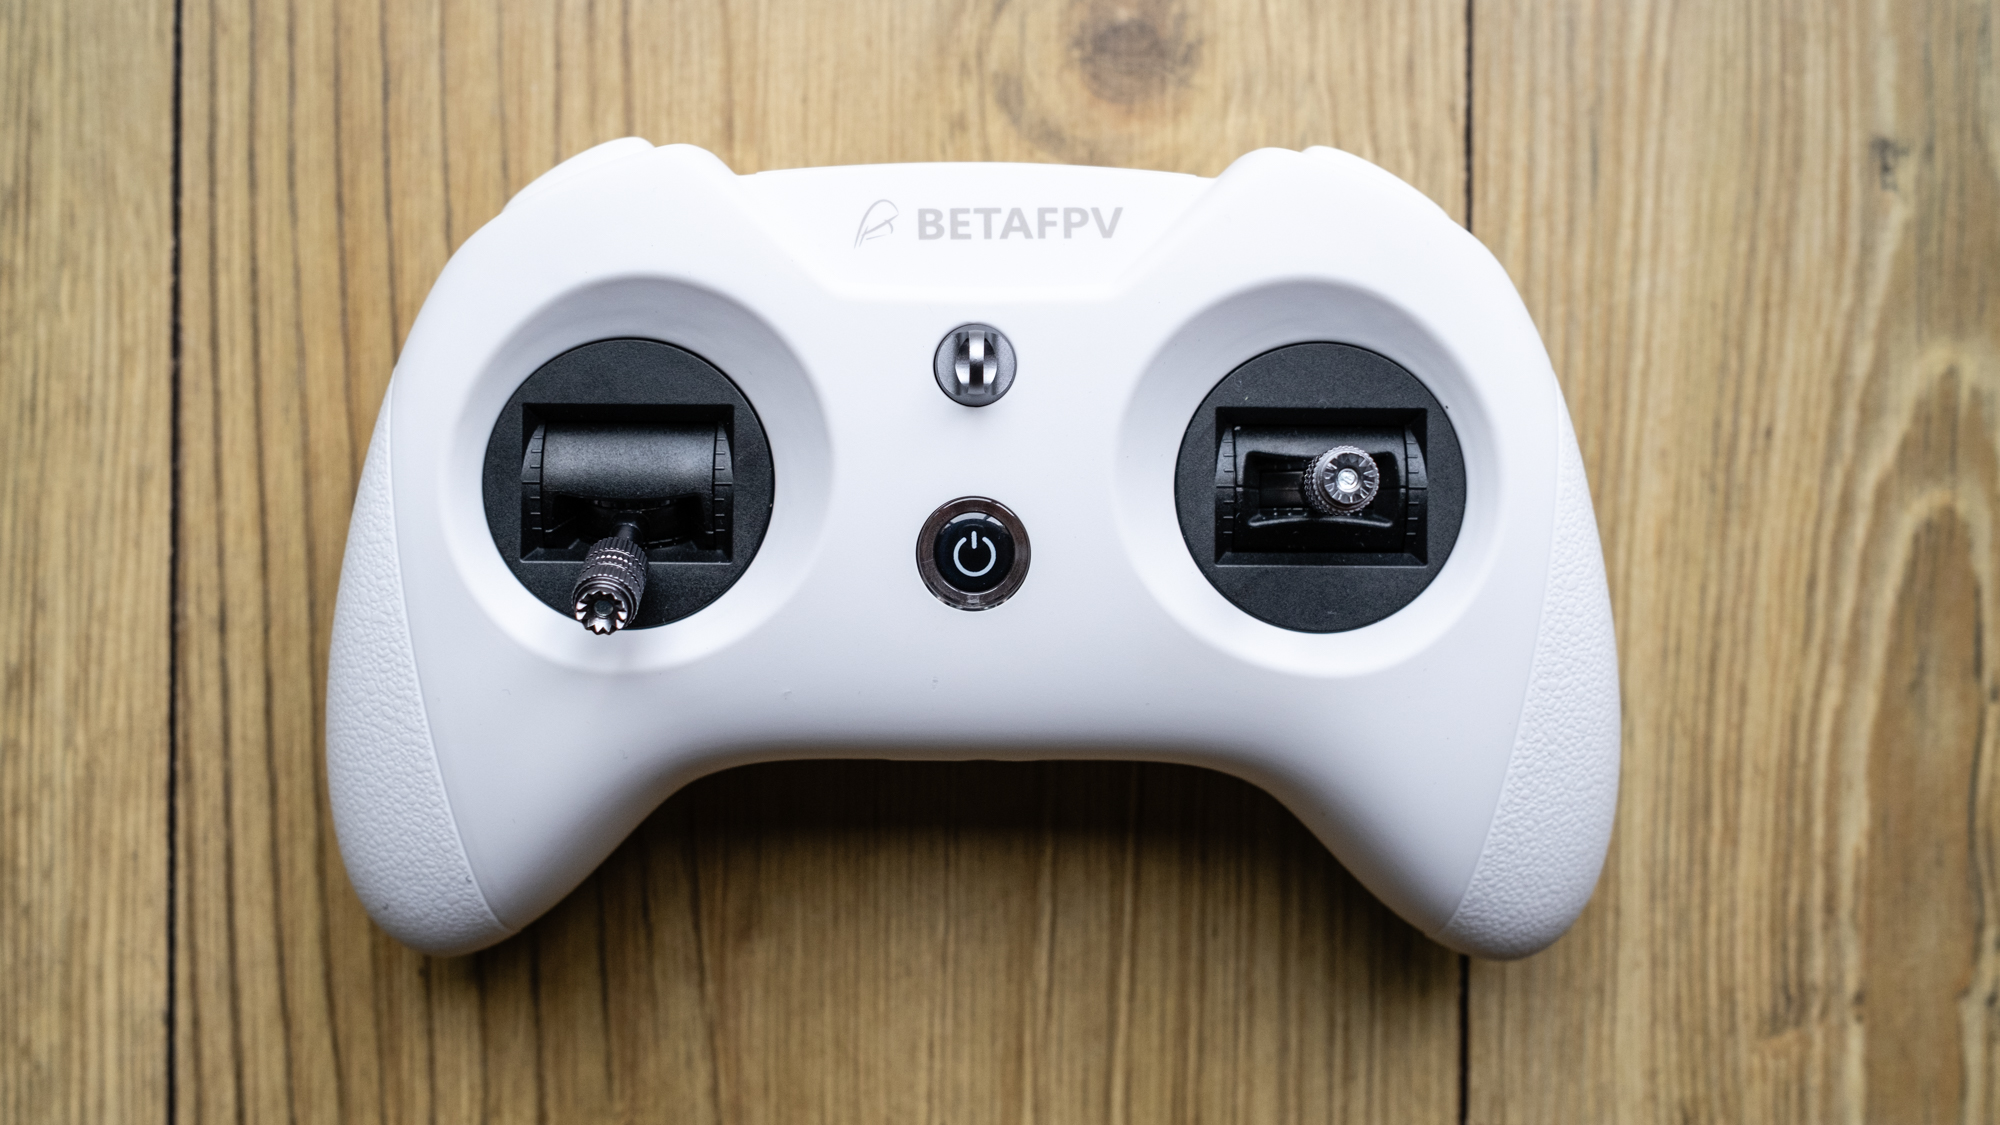
The FPV video feed is analogue, so it’s prone to image break-up and interference, which is something you have to get used to. BetaFPV claims the transmission range is up to 600m, which may be accurate, although I wasn’t able to test this because of drone laws and the risk of losing the drone after a crash. For a micro whoop drone like this it’s best to keep it within around 100m.
Sign up for breaking news, reviews, opinion, top tech deals, and more.
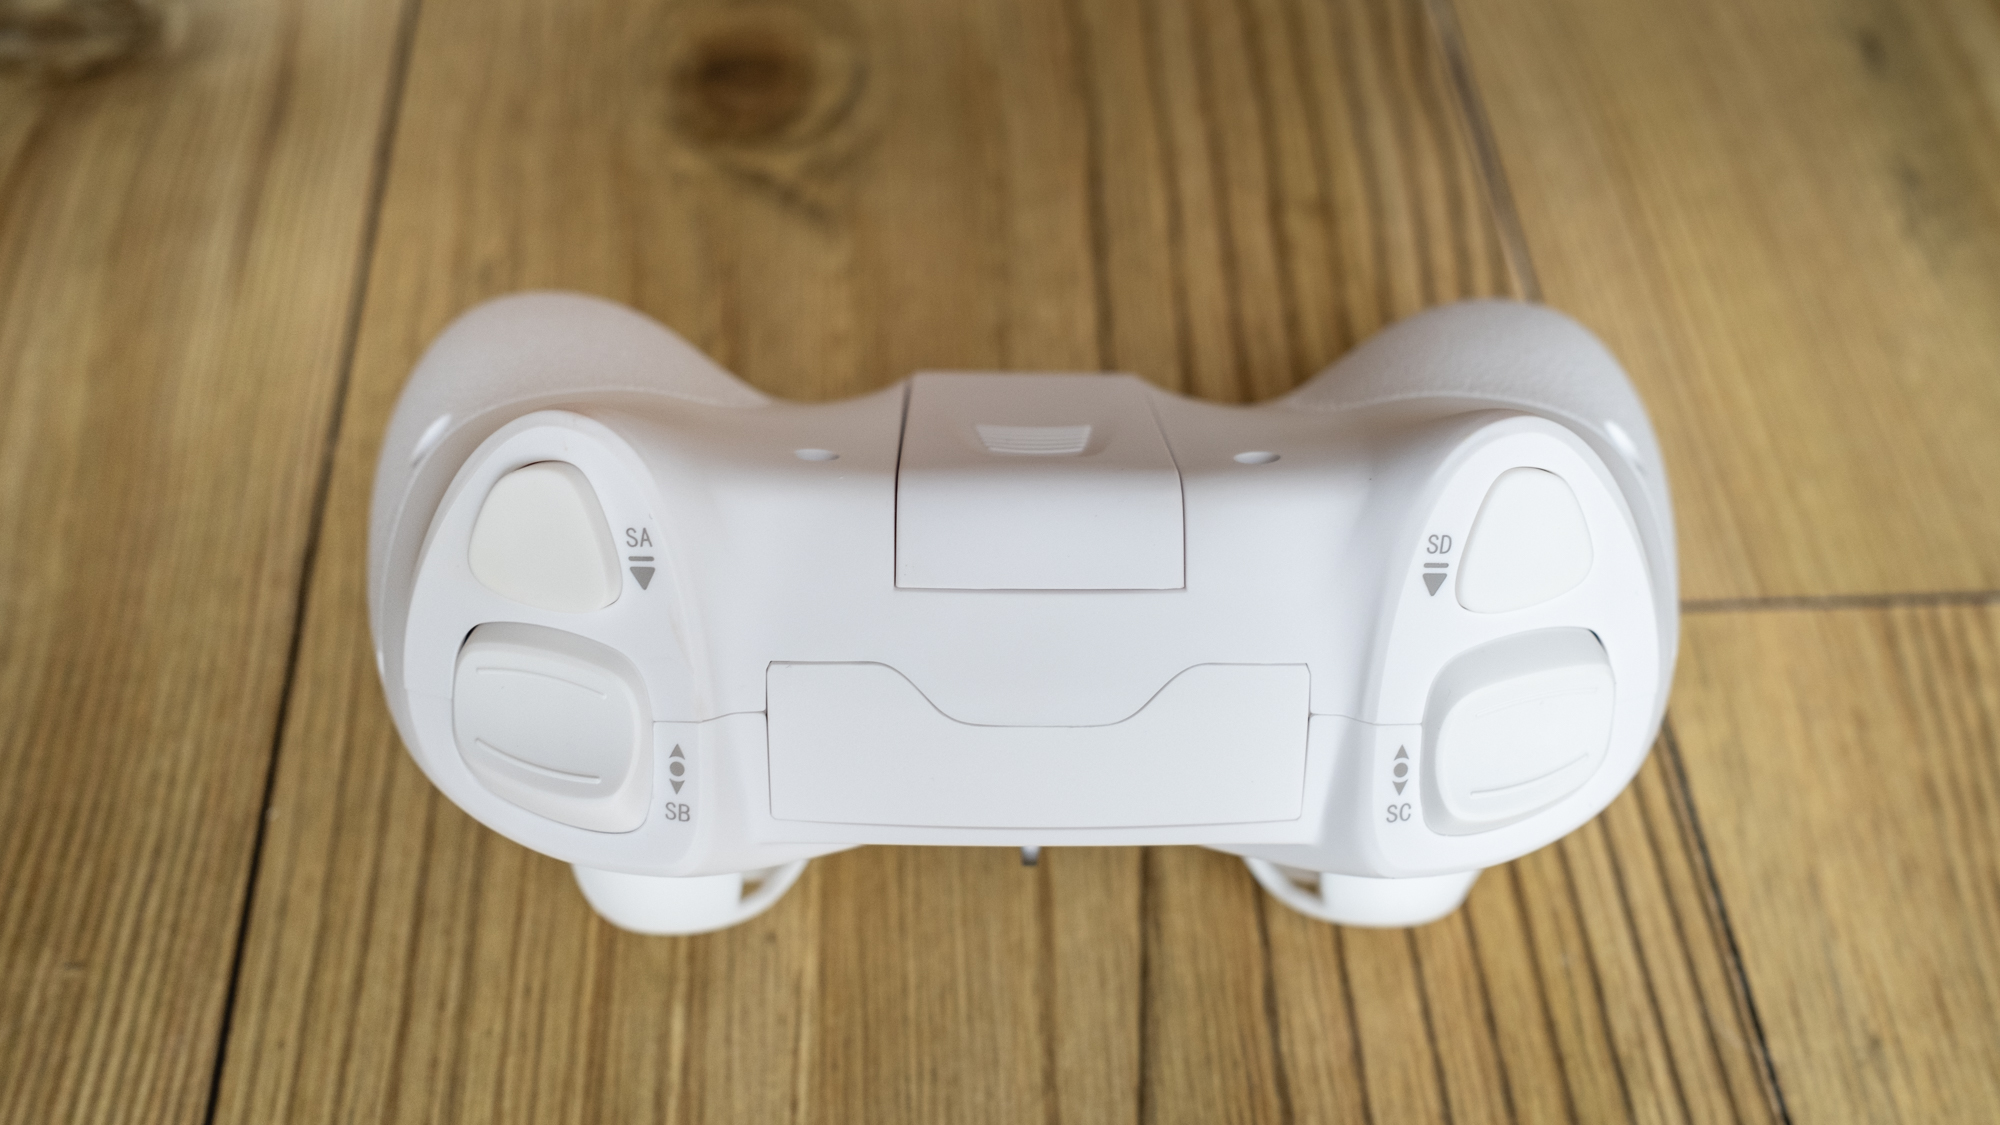
One handy feature if you crash is Turtle Mode, which allows you to flip the drone and take off again without having to retrieve it, although this often doesn’t work in long grass. Turtle Mode is activated using a button on the LiteRadio 3 Transmitter by flicking the pitch and roll control stick. The transmitter provides 100mW of transmitting power, and can also be used with FPV computer simulators.
There are two Cetus X variants available that use different flight controllers and radio protocols. I tested the Cetus FC version, which can hover, hold position and land automatically when the batteries are low when flown in Normal mode. The Betaflight FC version is slightly less expensive and doesn’t offer these basic safety features.
BetaFPV Cetus X video feed
There are three flight modes and three speeds in total; Normal keeps the drone level with some basic safety features, Sport offers more control, but with pitch and roll locked at an angle, while Manual is the most difficult flight mode to use, and the one that allows you to dive, flip and roll the drone. In this mode, you have to regulate all controls to avoid crashing, which is incredibly easy to do, and frequently.
Normal mode is ideal for getting used to wearing FPV goggles while flying, but for a true FPV experience that’s the most fun, you have to learn how to fly in Manual/Acro mode. Sport mode is pretty much redundant except for learning throttle control, but you may as well jump into Manual and learn throttle control and pitch and roll control at the same time. It will feel like a baptism of fire at first but it will ultimately speed up learning how to fly in Manual.
Should I buy the BetaFPV Cetus X?

Buy it if...
You want to learn how to fly FPV
If you want to learn how to fly FPV drones, a ready-to-fly kit like the BetaFPV Cetus X FPV Kit is perfect, because it comes with everything you need. Plus, the controller can be used with FPV simulators.
You’re an experienced FPV pilot
Even if you’re an experienced FPV pilot, the Cetus X is a lot of fun, and has enough power to perform basic freestyle tricks. The drone is available separately, so if you already have goggles and a compatible transmitter, you could just purchase the drone and batteries.
You simply want to have fun flying
FPV drones are a huge amount of fun, especially once you’ve learned how to fly in Manual/Acro mode. Mastery of flying in this mode takes time and plenty of practice, and you’ll crash often, but it will teach you an exciting way to fly drones.
Don't buy it if...
You want to take photos
If you’d like a drone for taking photos, you’ll be much better off with a camera drone from a manufacturer such as DJI, Autel, Potensic or Holy Stone, depending on your budget. FPV drones aren’t suitable for photography.
You suffer from motion sickness
Some people simply can’t get on with wearing FPV goggles to fly a drone, particularly those who suffer from motion sickness. If you suffer from motion sickness, try using an FPV simulator first, using just a standard gamepad to see how you get on.
You’re afraid of crashing
Whether you’re a beginner learning how to fly, or an experienced pilot pushing the boundaries of your skills, you will crash, and frequently. If you don’t have the stomach for the risk of damage, and for the repairs that could be necessary, FPV drones aren’t for you.
How I tested the BetaFPV Cetus X
I tested the BetaFPV Cetus X Kit over many flight sessions in a range of locations, both indoors and outdoors, to test flight performance, features and overall handling. Testing FPV drones is a slightly different process to testing camera drones, such as DJI’s Mavic models – they’re much more difficult to fly, and typically lack features such as GPS positioning and the ability to hover, but they can be dived, rolled and flipped.
They’re not used for photography, although more advanced models are used for freestyle flying and capturing immersive cinematic FPV video footage, which is often shot with small action cameras attached to the drone. This means that testing focuses more on flight performance than image quality, because larger models can carry a variety of cameras that are typically controlled independently of the drone.
I have nearly 30 years of photographic experience, and 15 years working as a photography journalist, and I’ve been covering drones and writing drone reviews for many years. As well as flying many consumer and professional models, I’ve previously held a PfCO (Permission for Commercial Operations) issued by the Civil Aviation Authority in the UK, and now fly under an A2 CofC (A2 Certificate of Competency).
First reviewed June 2023

James Abbott is a professional photographer and freelance photography journalist. He contributes articles about photography, cameras and drones to a wide range of magazines and websites where he applies a wealth of experience to testing the latest photographic tech. James is also the author of ‘The Digital Darkroom: The Definitive Guide to Photo Editing’.
