How to properly take care of your robot vacuum cleaner
Learn how to maintain and extend your robot vacuum's life
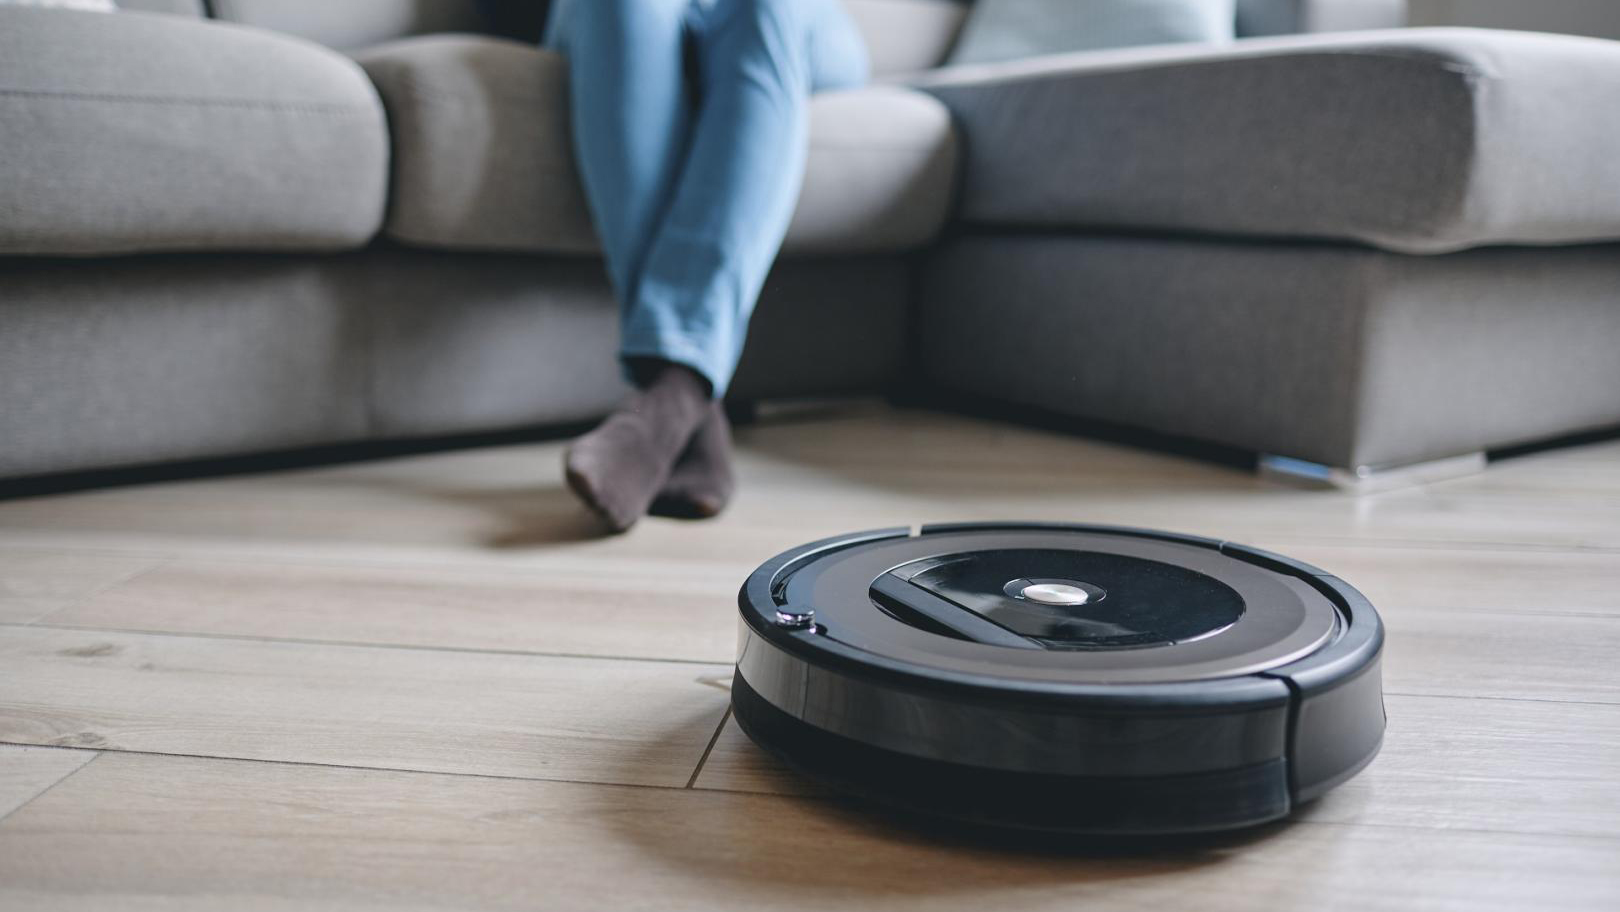
Whether you have a budget model or one of the best robot vacuums on the market, you still need to put in a little work to keep them in tip-top shape. Sure, they save a lot of time and energy by doing the cleaning for you. But, they also need to be cleaned to function properly.
Luckily, maintaining them is a relatively simple process and needs to be done weekly at most. While we will discuss how to properly take care of your robot vacuum cleaner, it’s important to remember that not every robot vacuum is the same and there will be some variation from model to model, like having different numbers of side brushes. Most notably, some models these days also mop and you have to take an extra step to clean out the mop pad(s).
With all that in mind, let’s get down to business. There’s not a lot of prep work that needs to be done and not a lot in the way of tools. It might seem unnecessary for a how-to guide. But, better safe than sorry, especially if you’re like me and have a habit of forgetting or skipping steps.
Steps for how to take care of your robot vacuum
- Check the app if applicable
- Flip over the robot vacuum
- Untangle and clean side brushes
- Untangle and clean brushroll
- Check the wheels
- Empty dustbin
- Check and clean or replace filter
- Clean charging contacts
- Wipe down the robot vacuum
Tools and requirements
- Scissors
- Screwdriver depending on model
- Towel (optional)
- Running water
- Paper towel or cloth
Step by step for how to take care of your robot vacuum
1. Check the app if applicable
Most newer robot vacuums come with an app. And, most apps communicate with the accompanying unit in more ways than just telling it to clean and tracking its movements.
Often, you can see the lifespan of a component and order a replacement directly from the app. This can also give you some insight into where the biggest issue might be. Do this first to know exactly what to expect and if there’s an issue you’re not seeing.
2. Flip over the robot vacuum
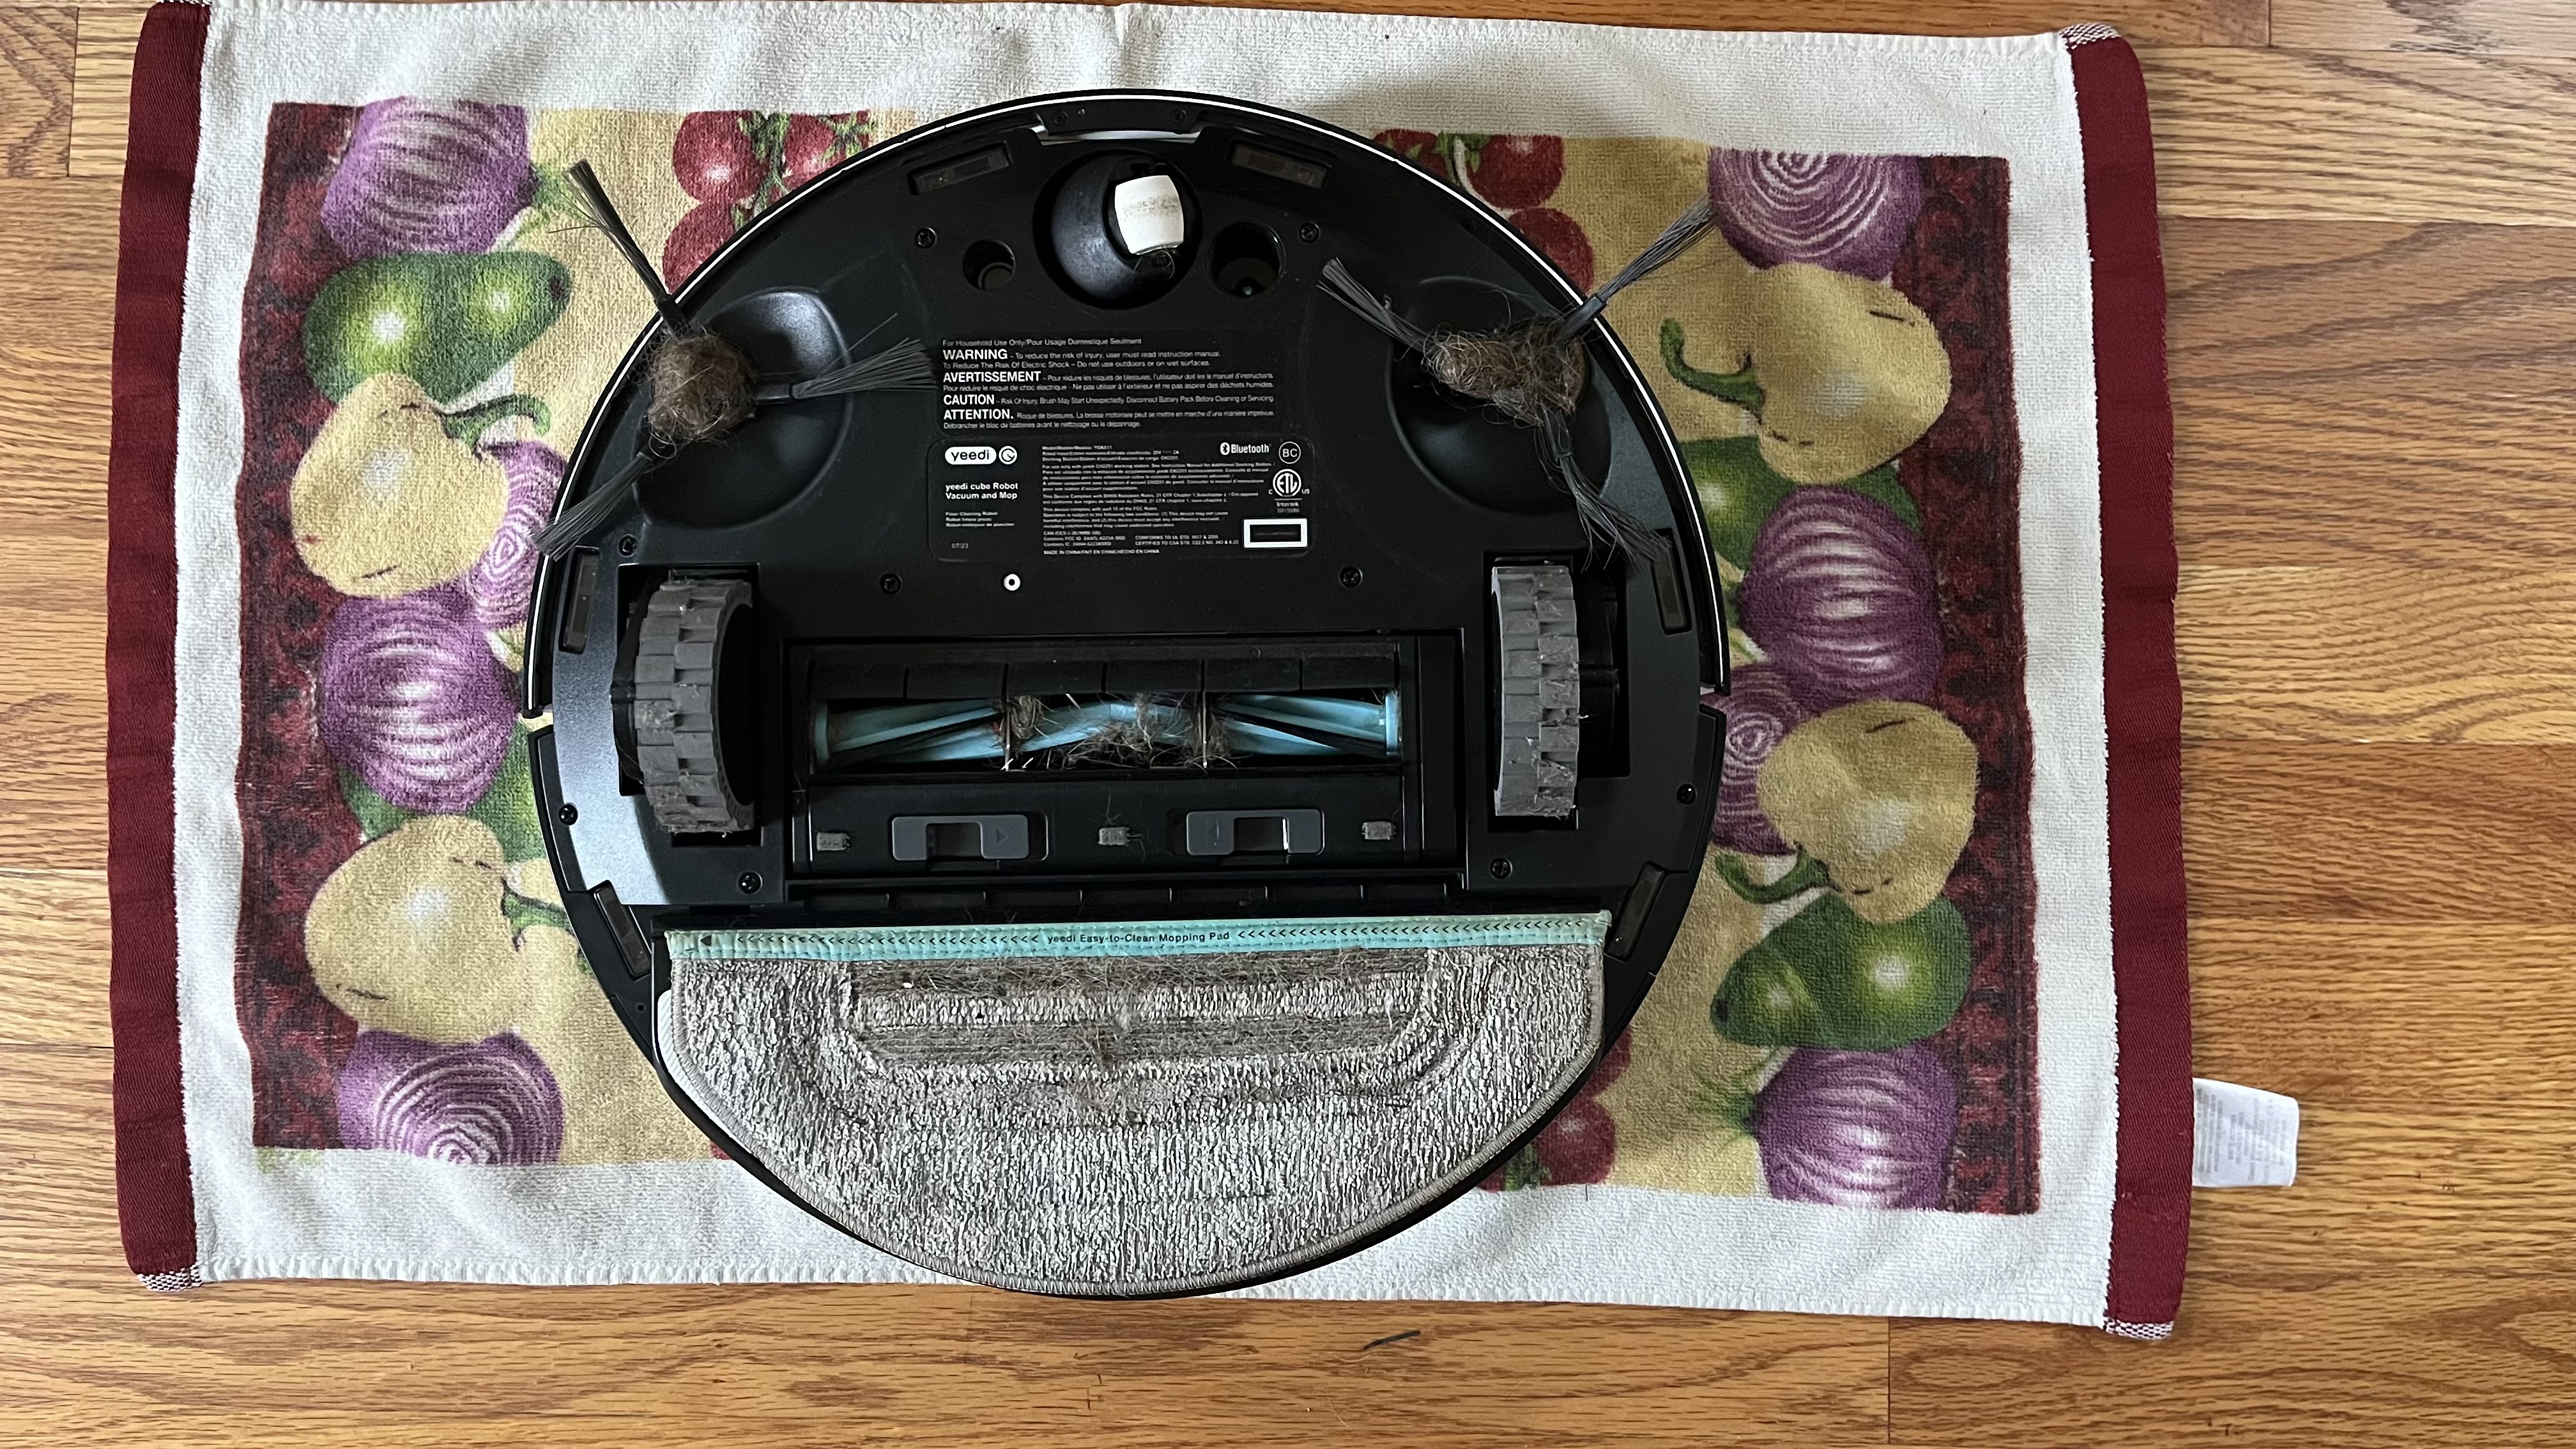
Since most of the components that can get mucked up are underneath, you’ll have to flip over the robot vacuum onto its back.
While it is optional, we suggest placing it on top of a towel so there’s no possibility of scratching it or having the unit slip off whatever surface you’re working on. Plus, you can easily keep any debris on the towel to dispose of later before throwing the towel in the laundry.
3. Untangle and clean side brushes
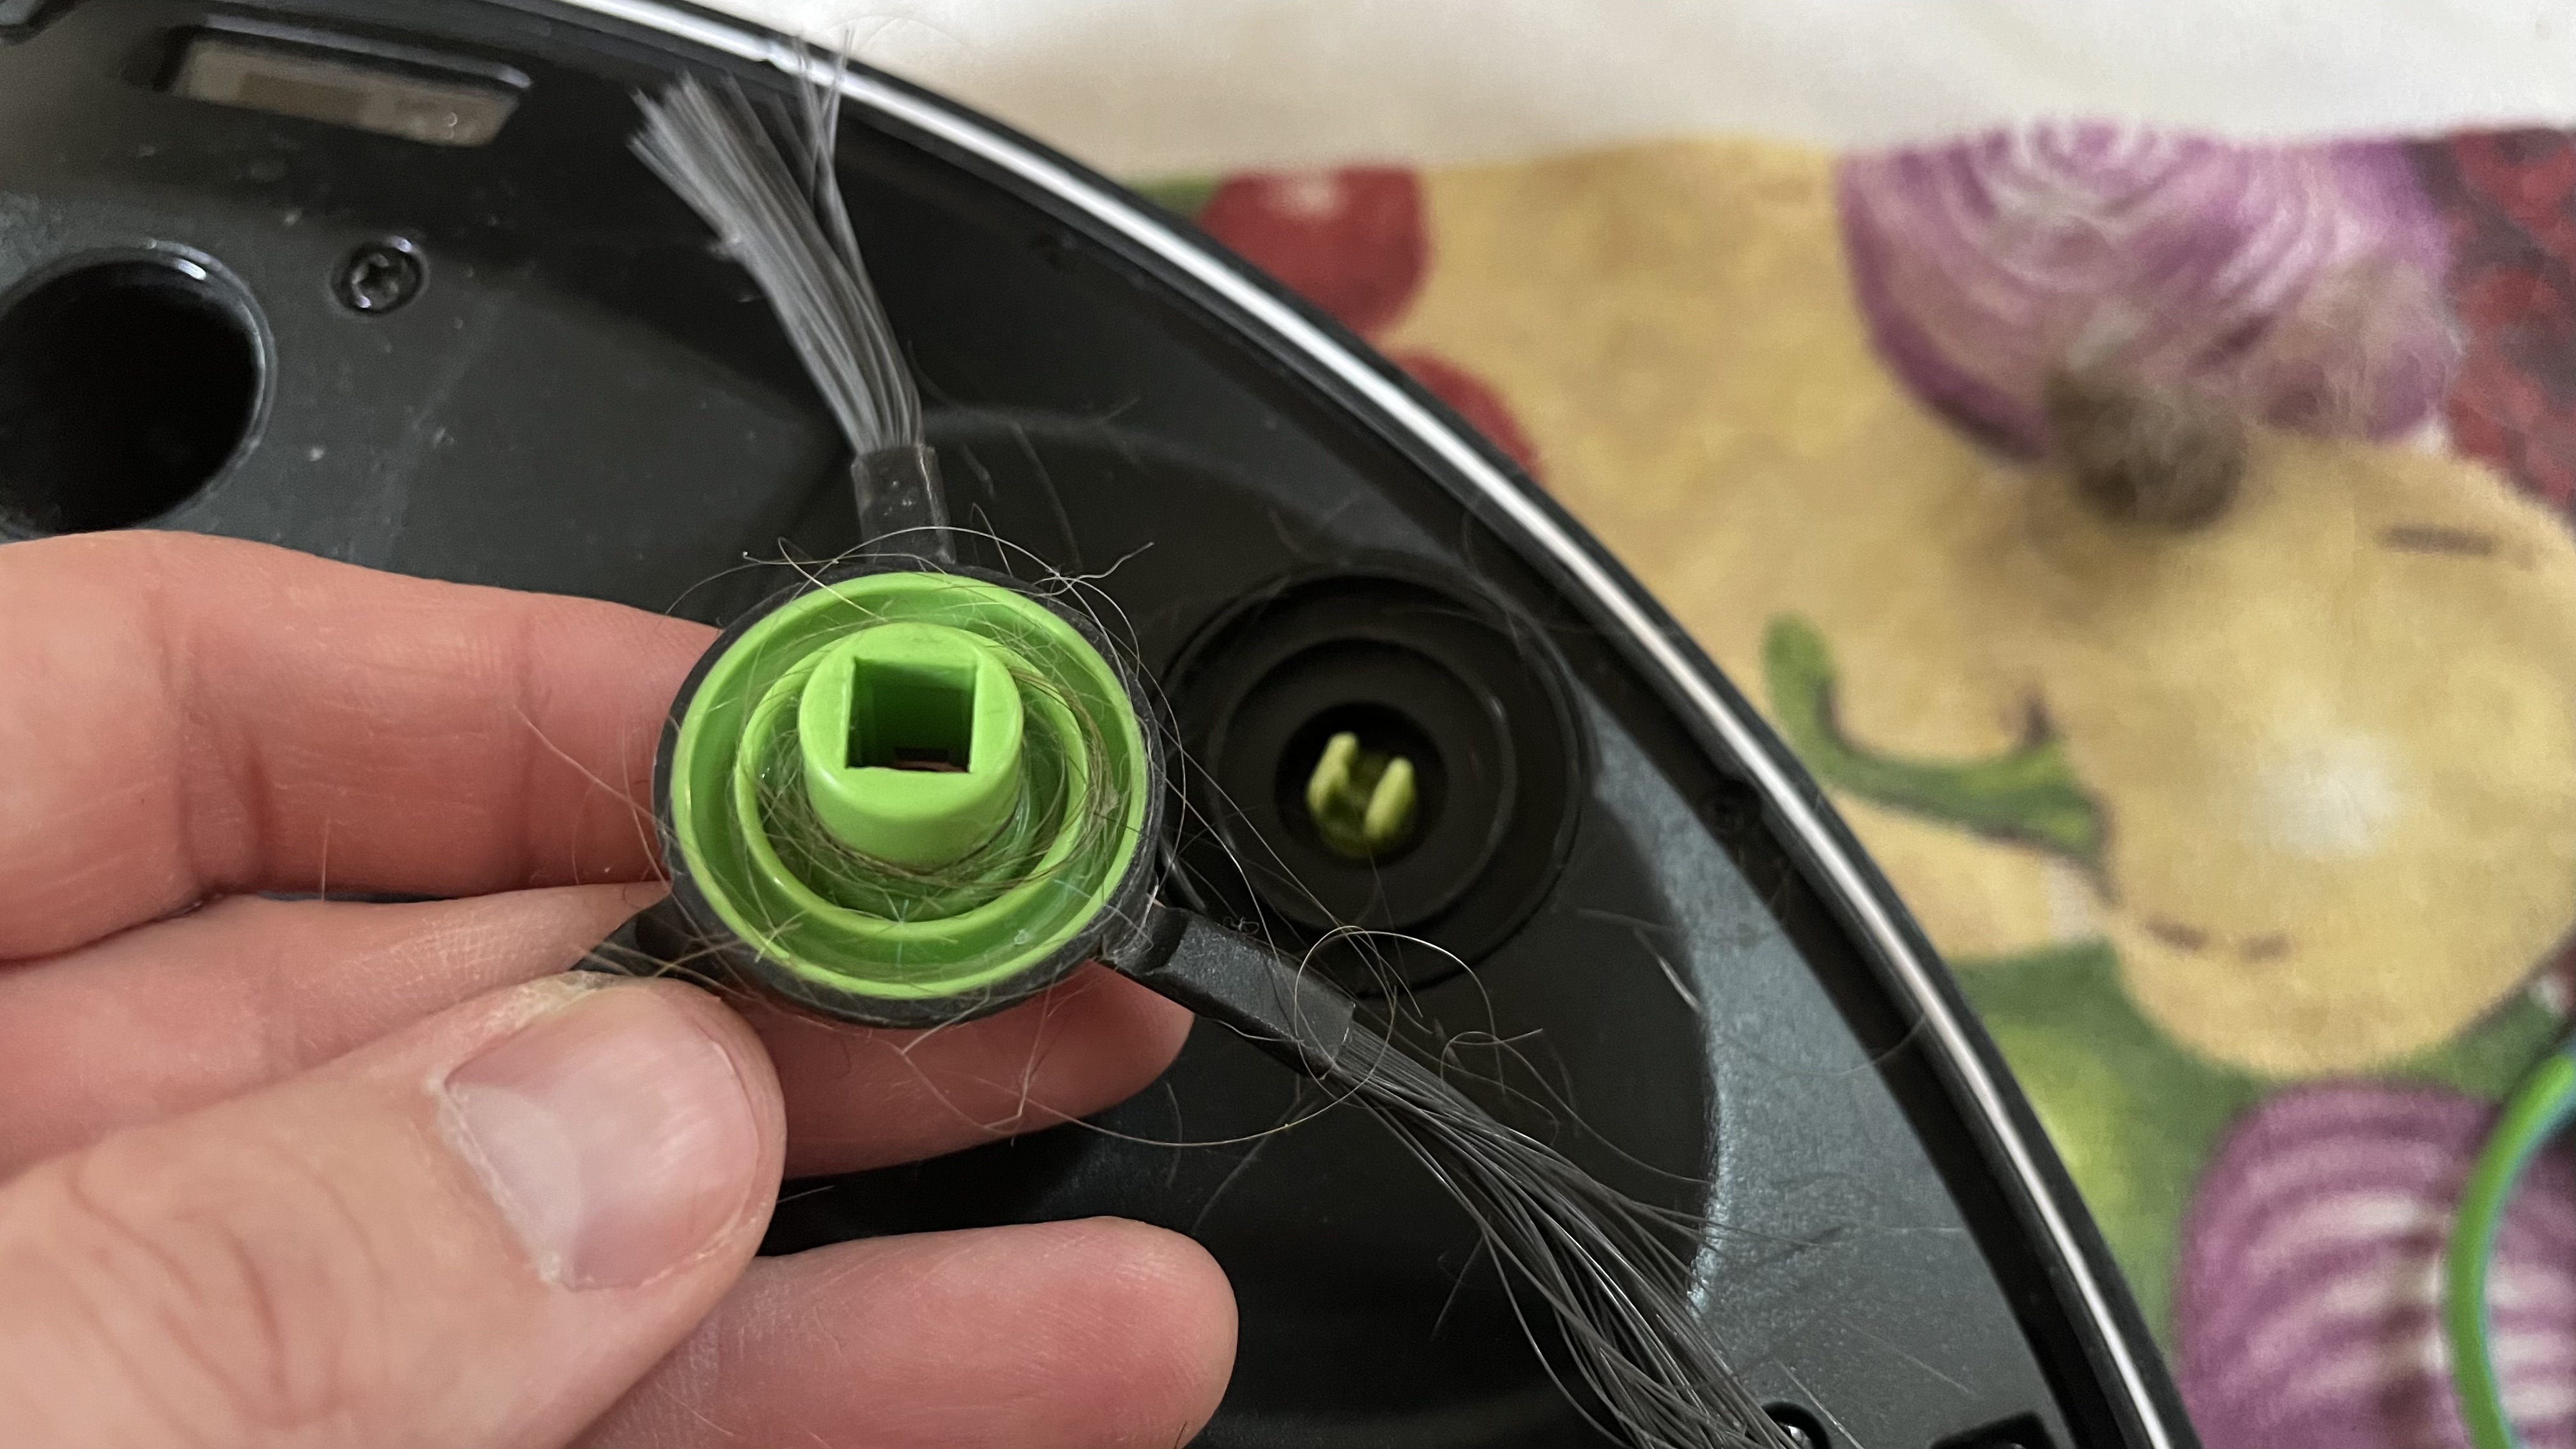
Whether you have one or two side brushes, cleaning them is the same. First, grab the scissors and cut anything tangled around the brushes, making sure not to catch any of the bristles. You should be able to completely clear any hair or debris tangled in the brushes.
You’ll have to remove the side brushes next so check whether you have to unscrew them. If you do, then grab the appropriate one, unscrew the side brushes and place the screws off to the side.
Remove the side brushes. Hair and debris often get caught where the side brush plugs into the unit so remove any buildup on the underside of the side brushes.
Reinstall the side brushes.
4. Untangle and clean brushroll
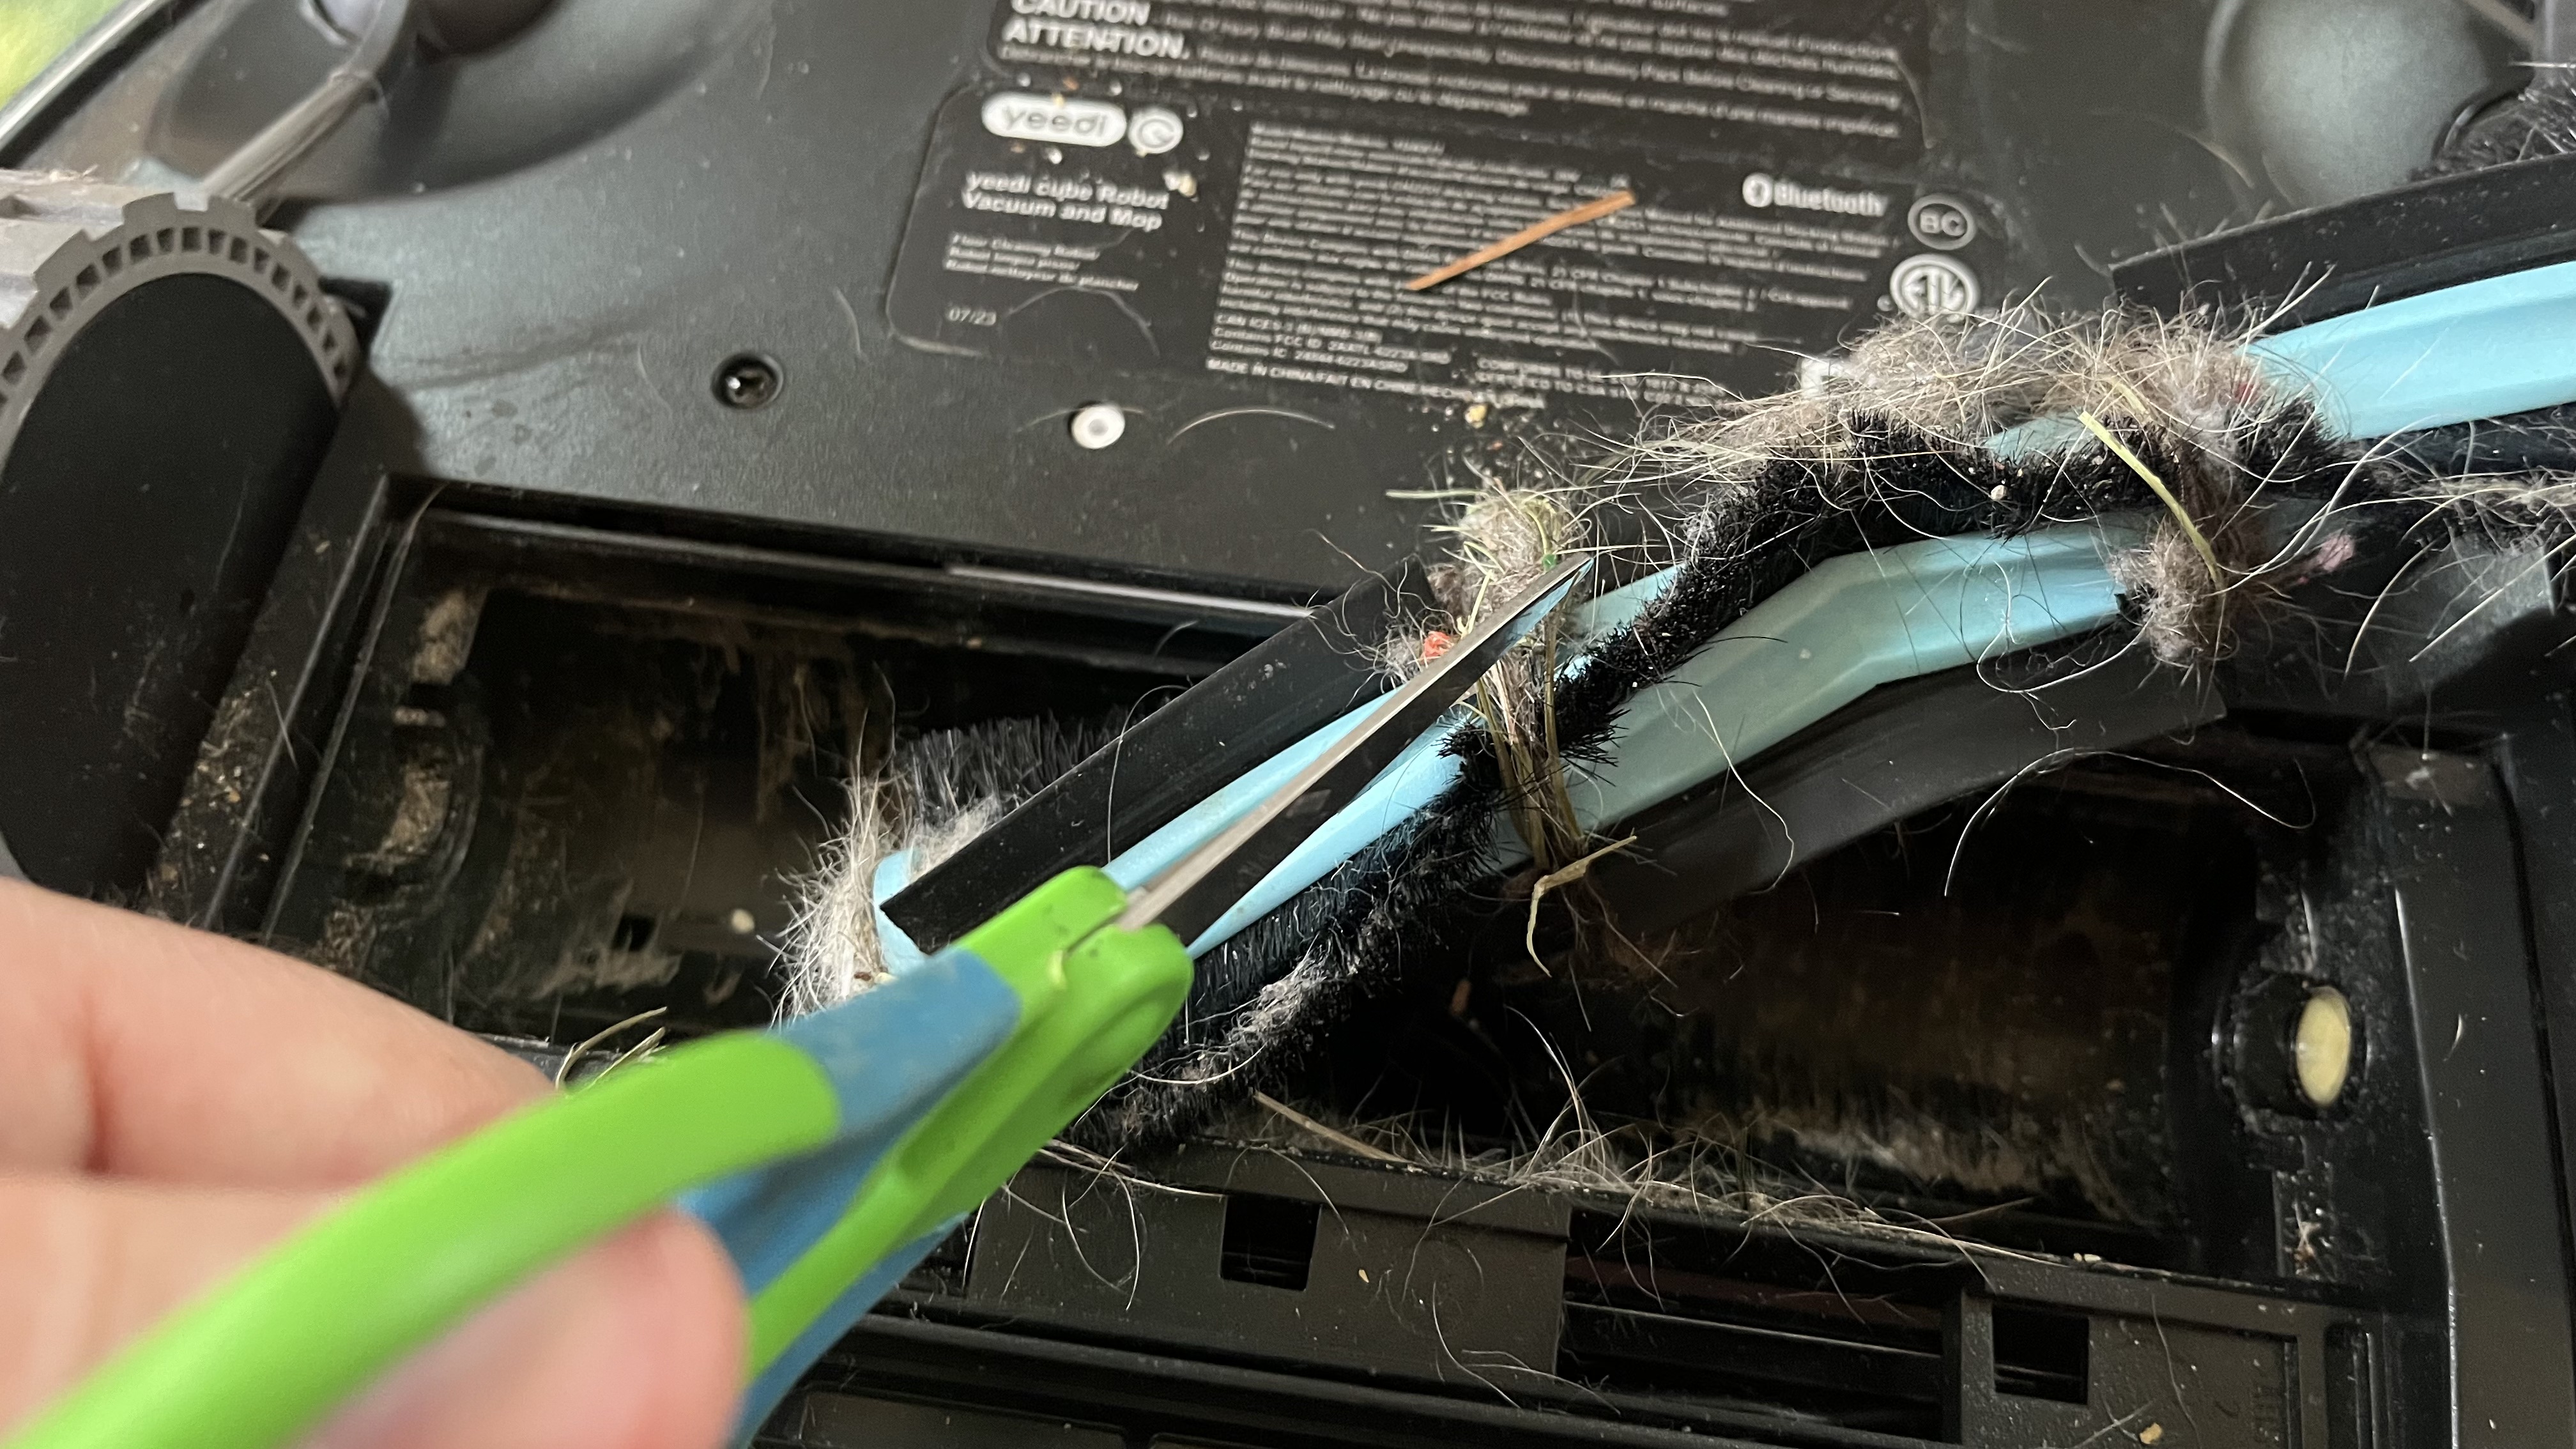
The brushroll is usually held into place by a brushroll cover. So, first, you need to open or remove the cover. Though every robot vacuum is different, this will be secured by a lever so no screwdriver is required.
Once the cover is out of the way, pull out the brushroll completely. You’ll most likely see hair spooled around it. Use the scissors and cut through any tangle, carefully avoiding any part of the brushroll, whether it be bristles or a fin. Check either end of the brushroll as well. Just like the side brushes, there may be buildup where it connects to the robot vacuum.
Remove any buildup on both ends of the brushroll, then put back the brushroll and cover.
5. Check the wheels
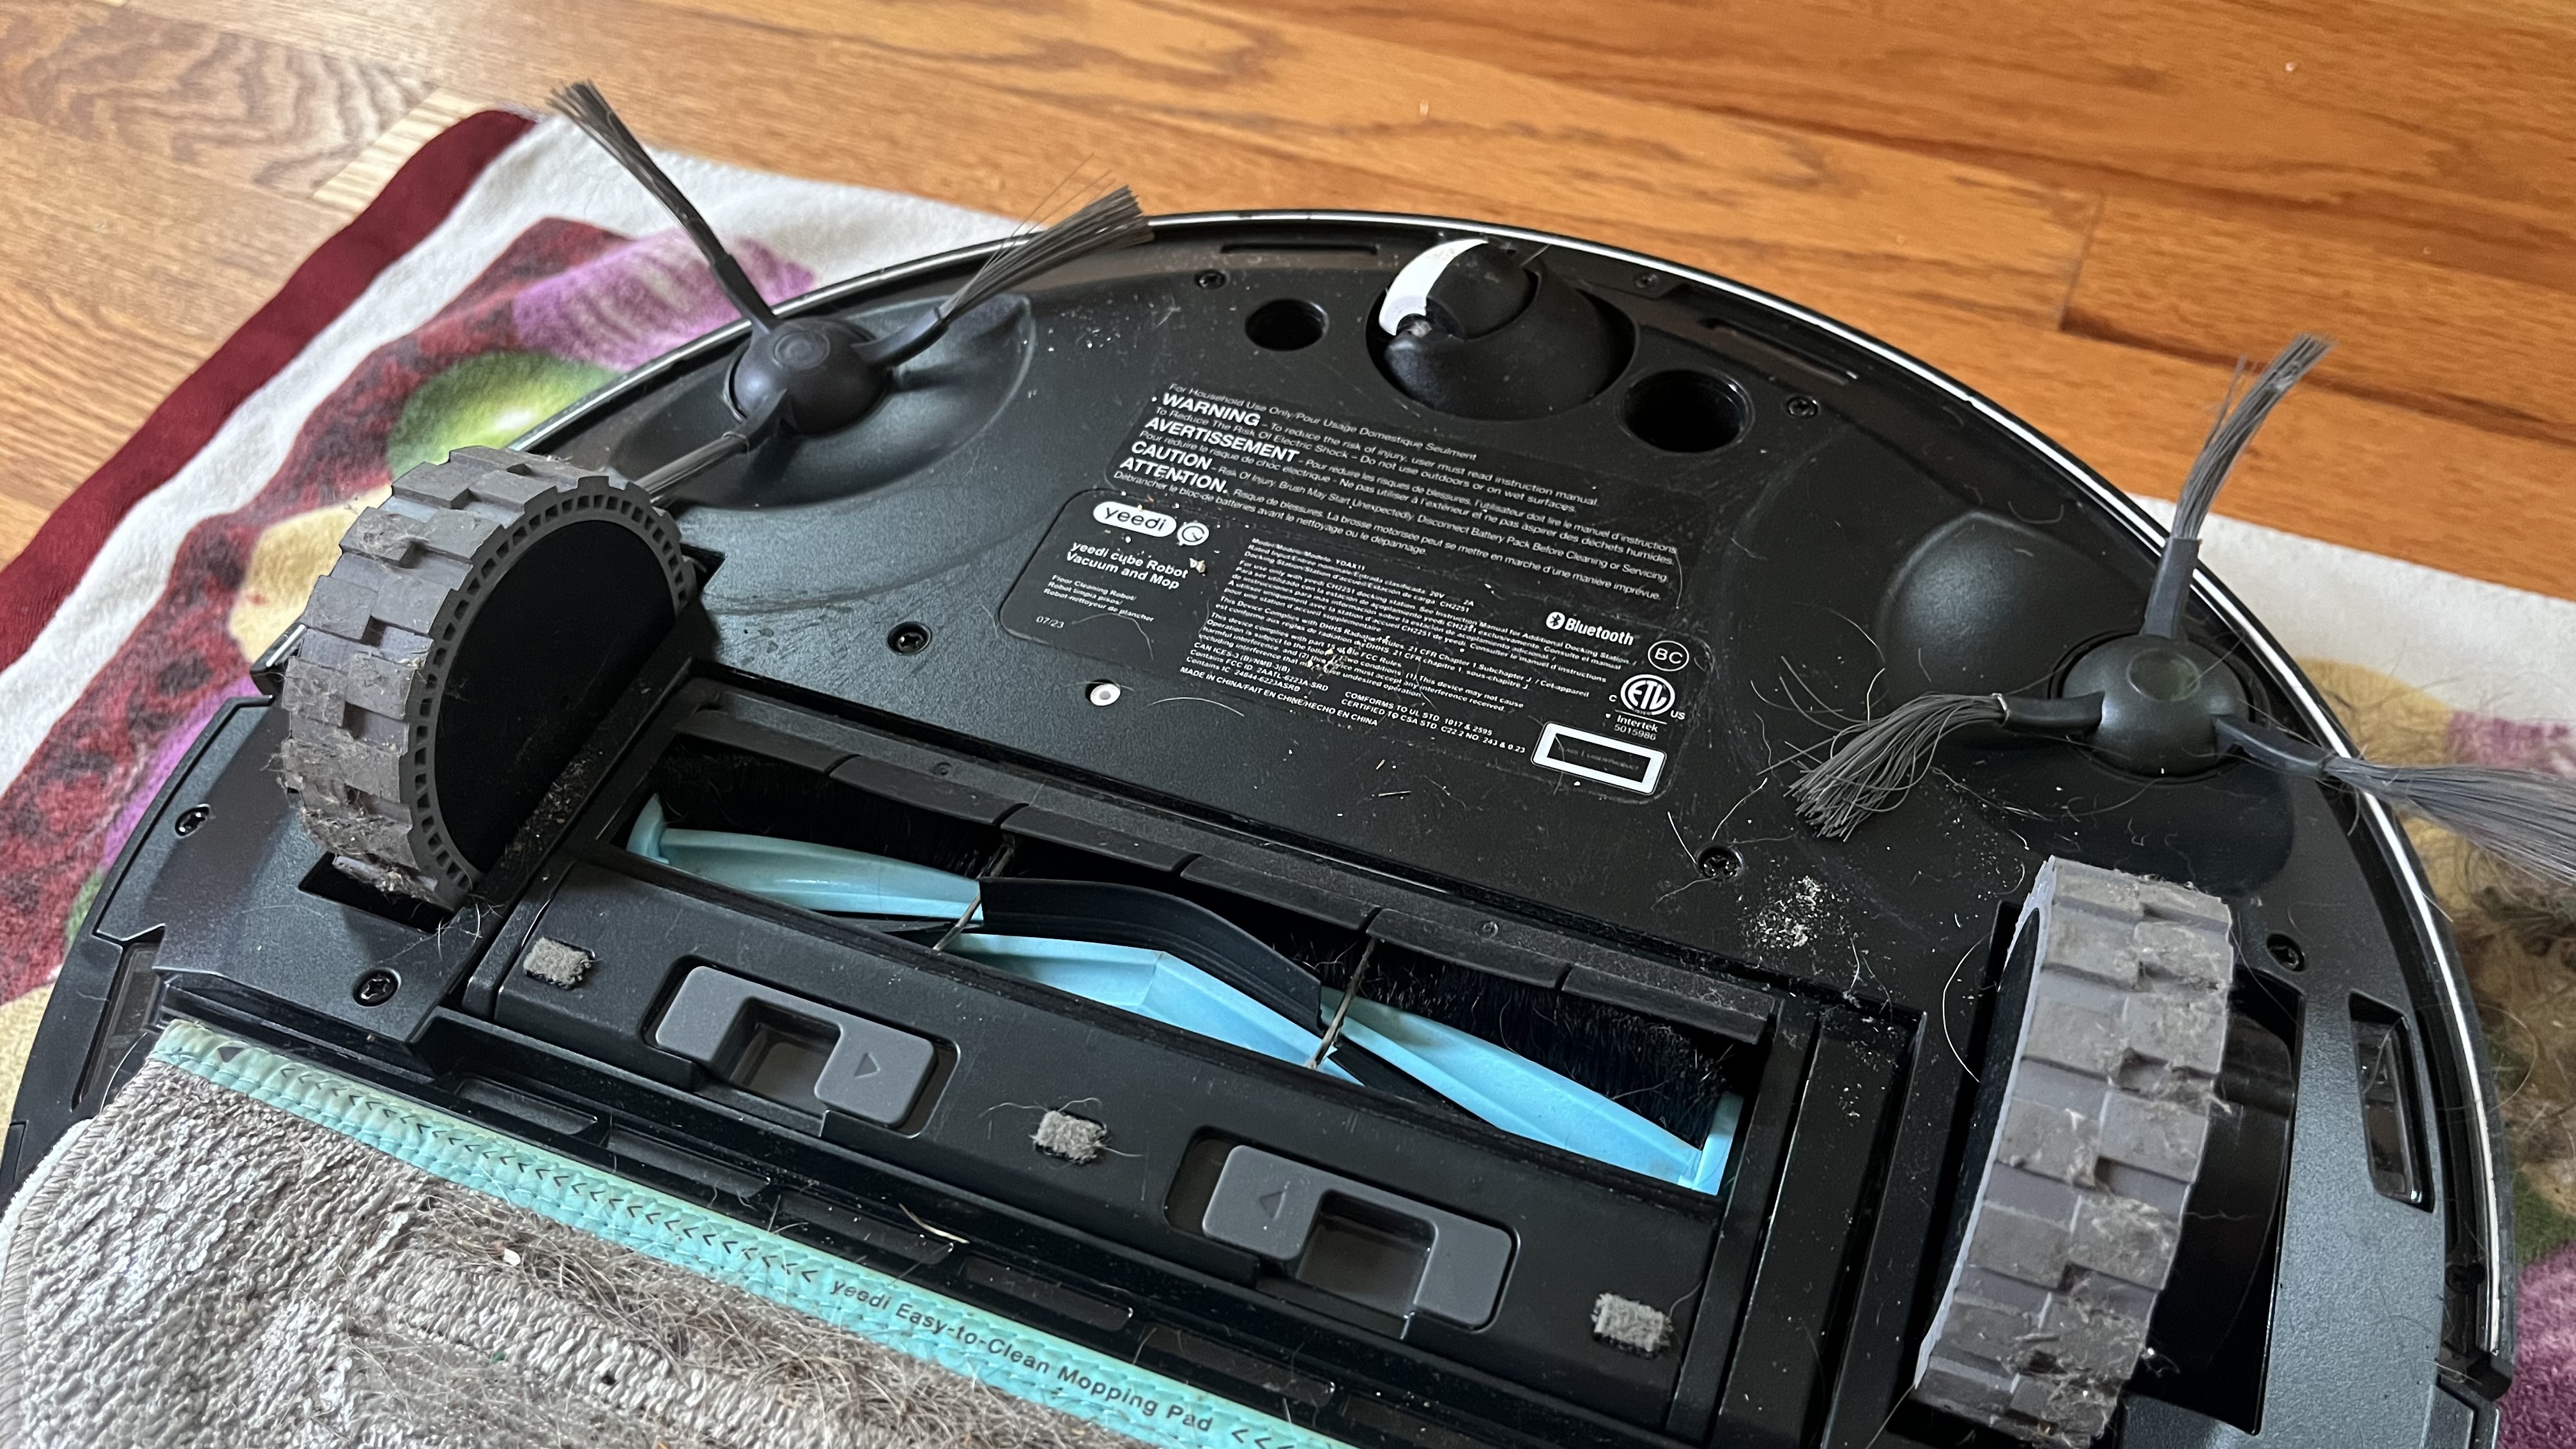
Just like with the brushes, debris can build up around the wheel axles. Since the wheels are typically not easily removable, you’ll have to carefully cut away debris using scissors.
6. Empty dustbin
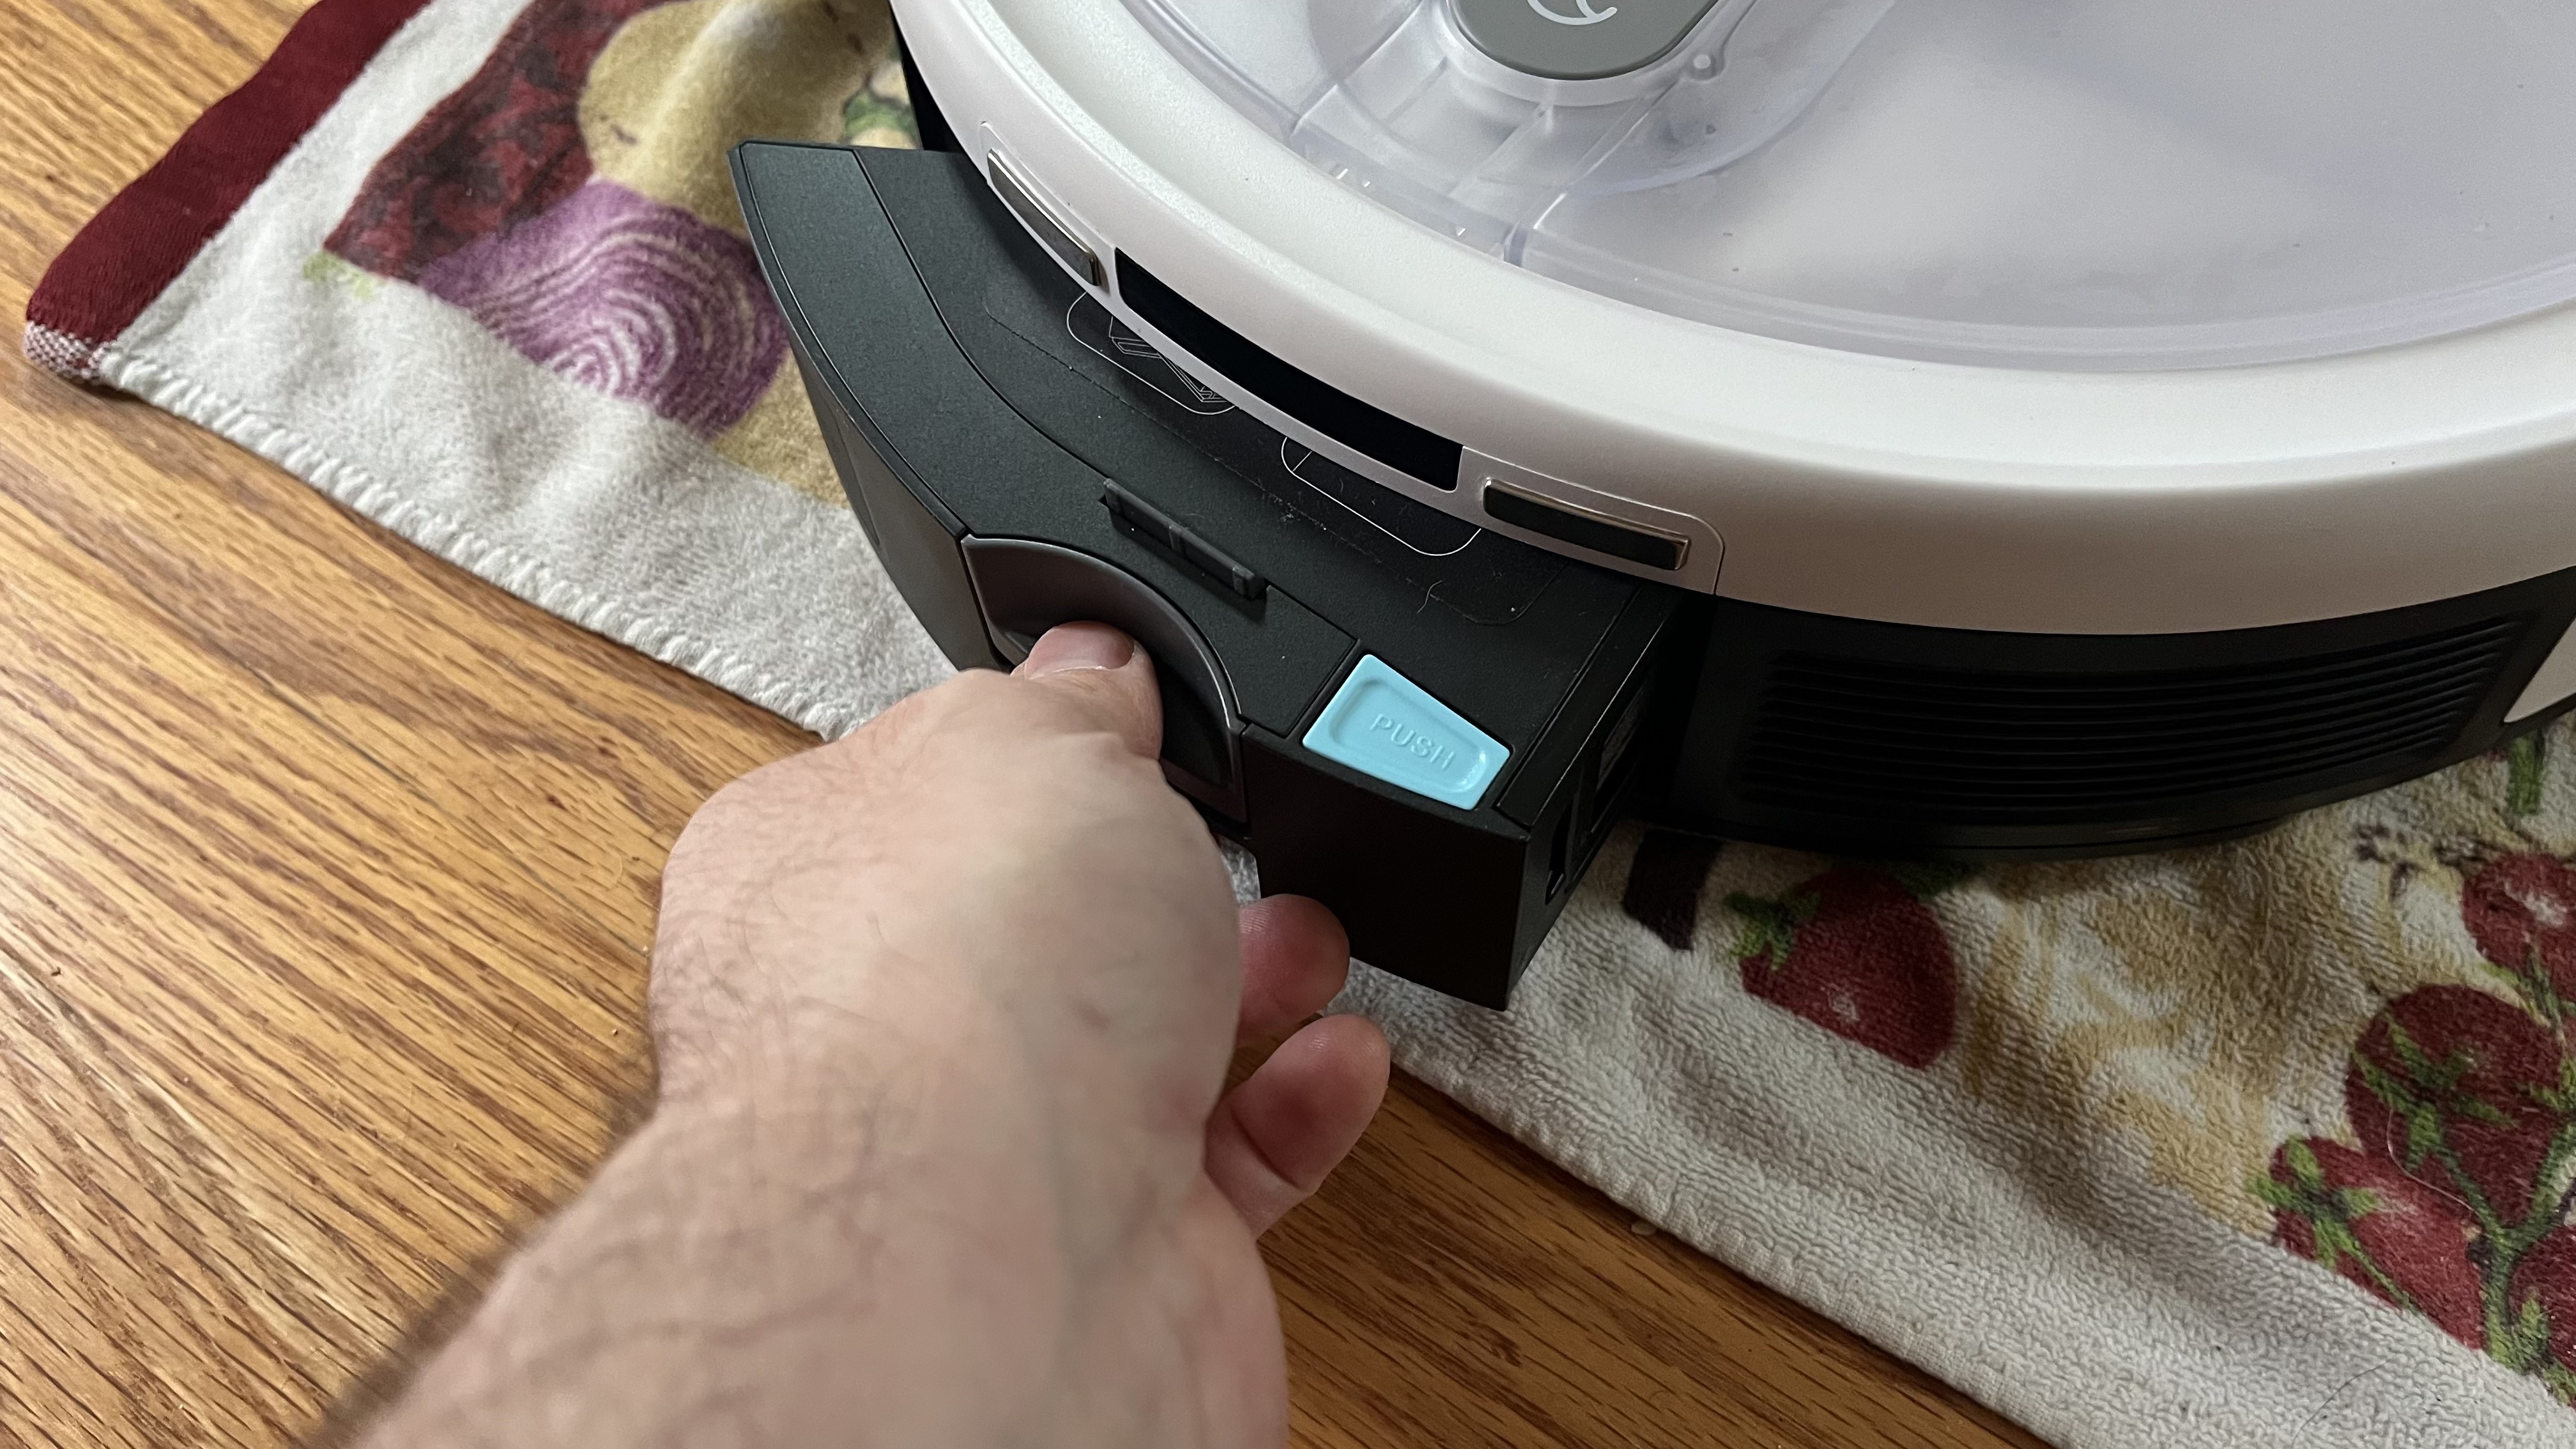
Ideally, the dustbin is getting emptied after every time you use your robot vacuum. During regular maintenance is as good a time as any to remove it from the robot vacuum and empty it.
Though not all robot vacuums are the same, the dustbin is generally on the back side of the unit. So, you need to flip the robot vacuum back upright first. Then remove the dustbin. Open it and empty the contents into the trash. Go onto the next step before putting it back into place.
7. Check and clean or replace filter
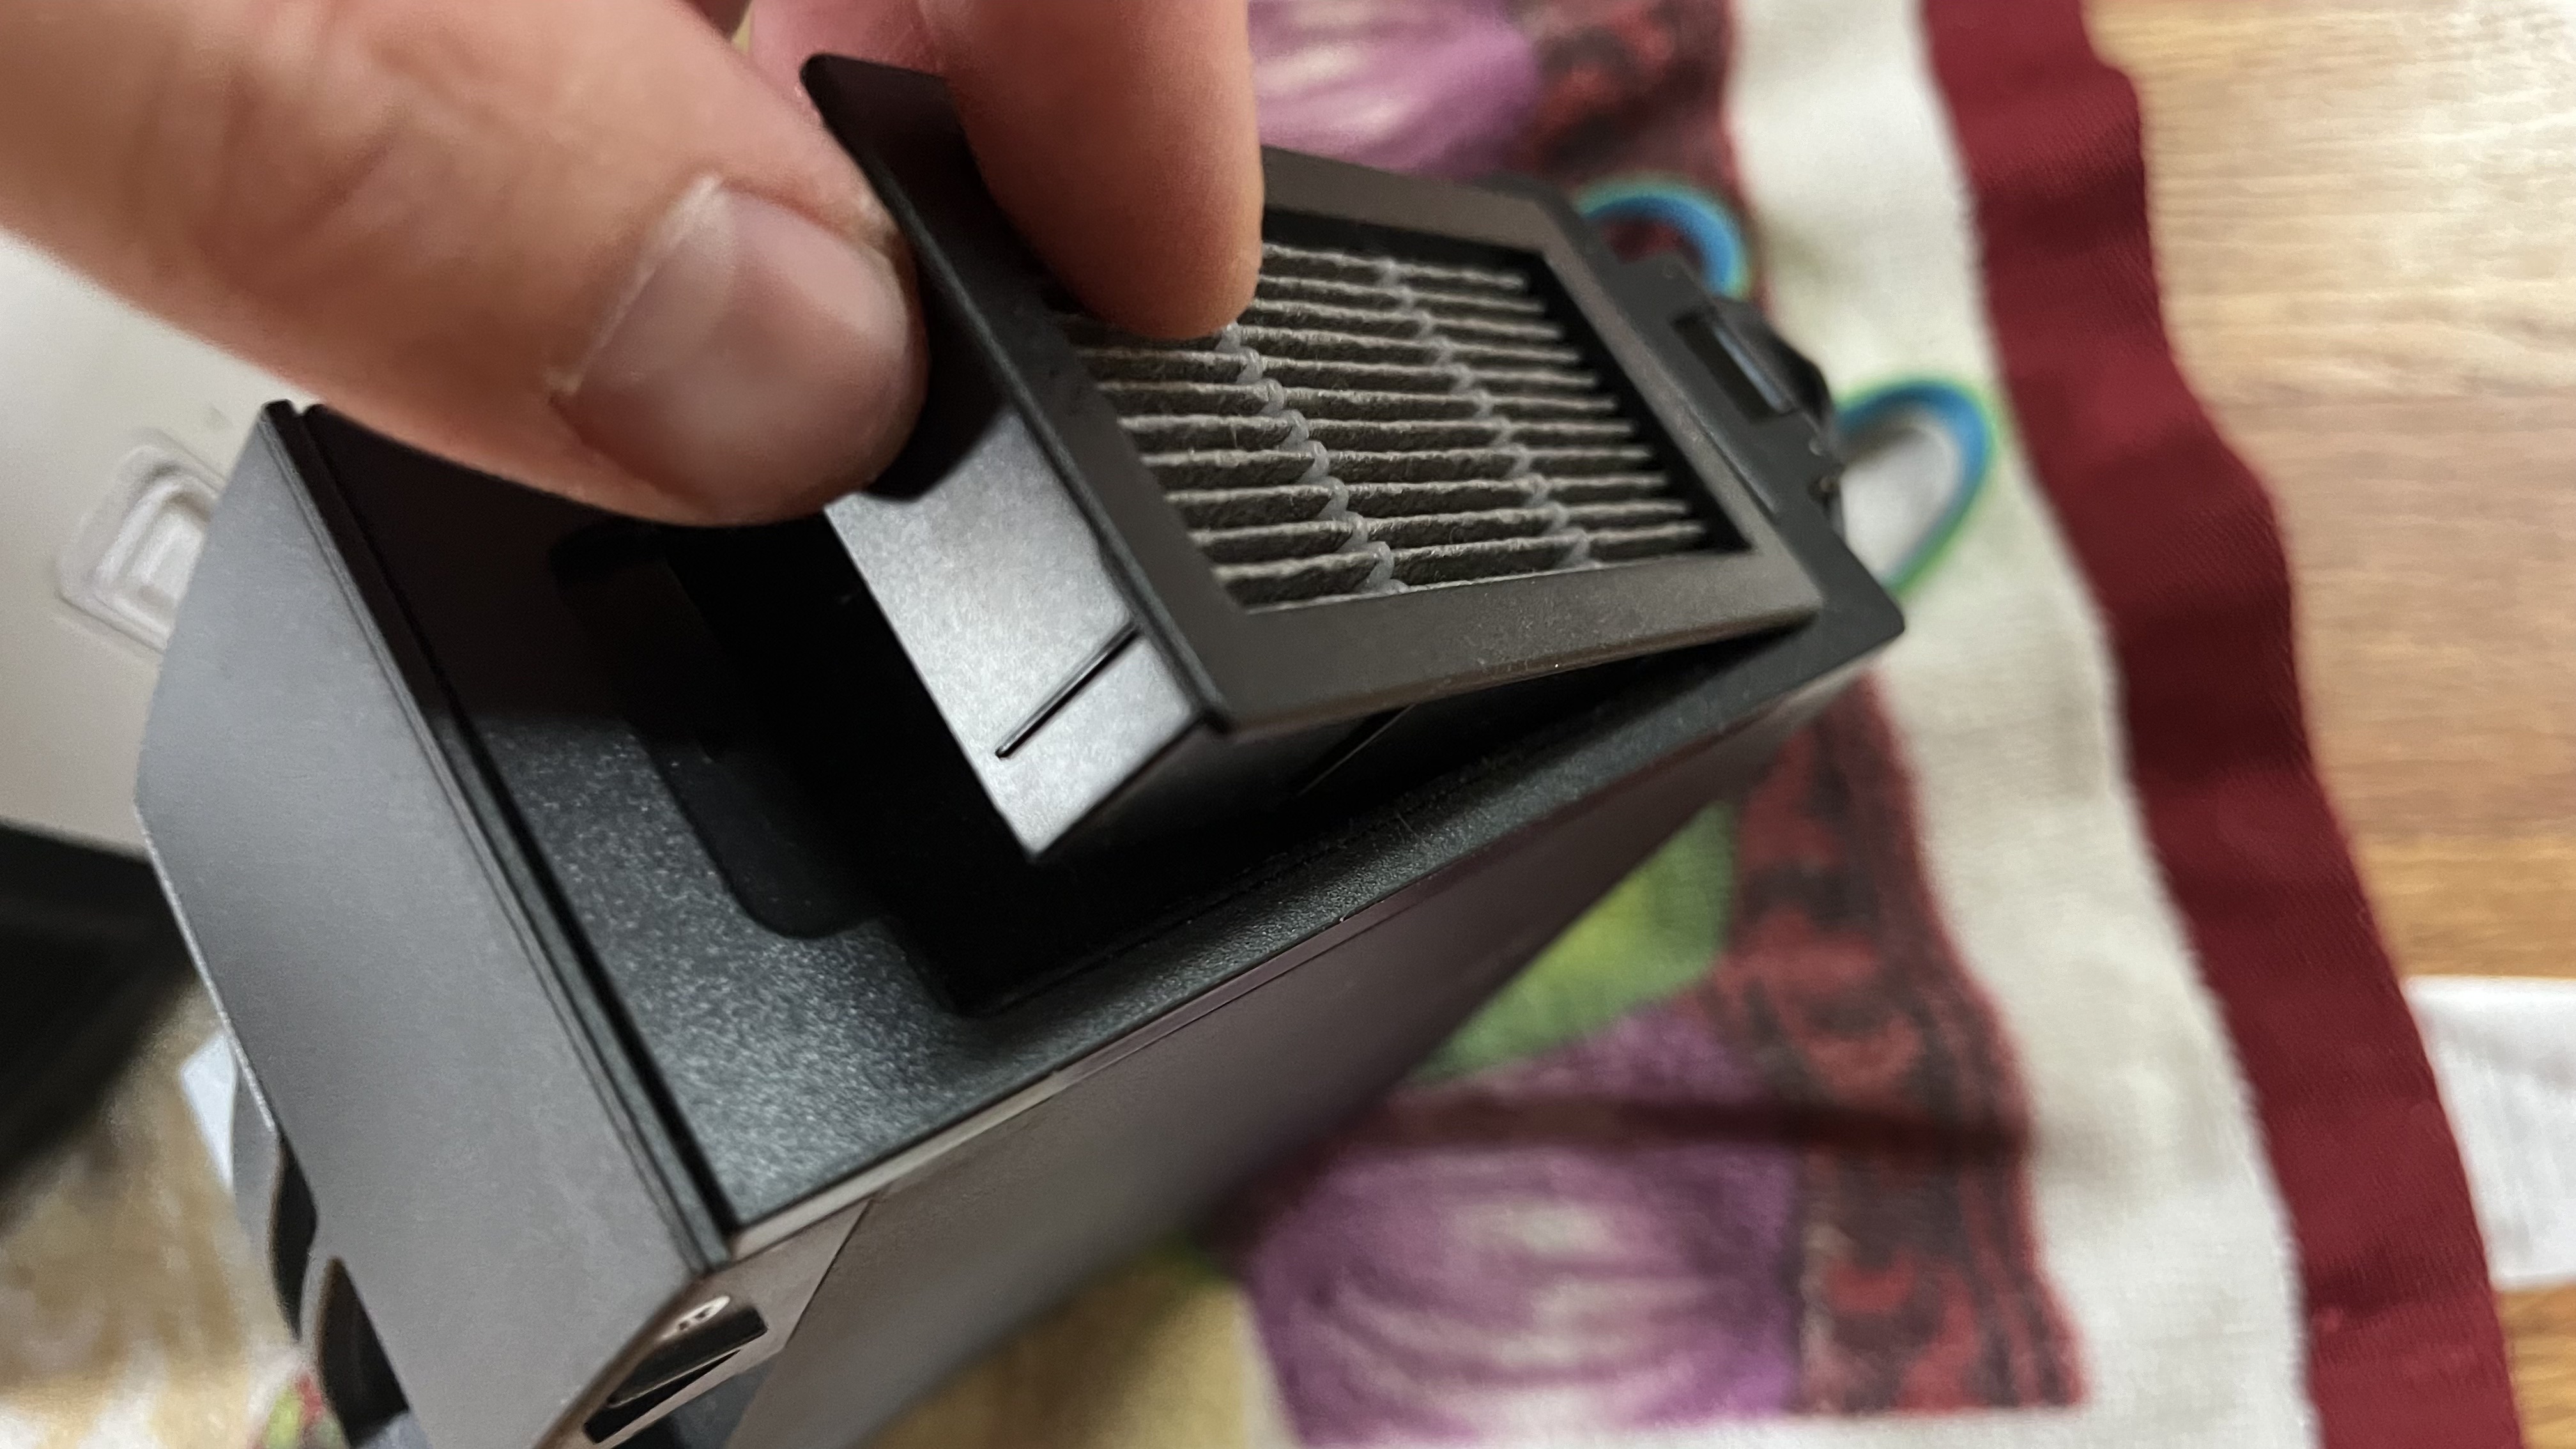
The filter is often attached to the dustbin. Unless your manual tells you otherwise, remove the filter and run it under water to wash away any build-up. You’ll also want to replace these from time to time, so make sure to get an extra for eventual replacement. Every company has its own guidelines – iRobot suggests that you replace the filter every two months.
Put the filter back (or put a new one) into the dustbin. Put the dustbin back into the robot vacuum.
8. Clean charging contacts
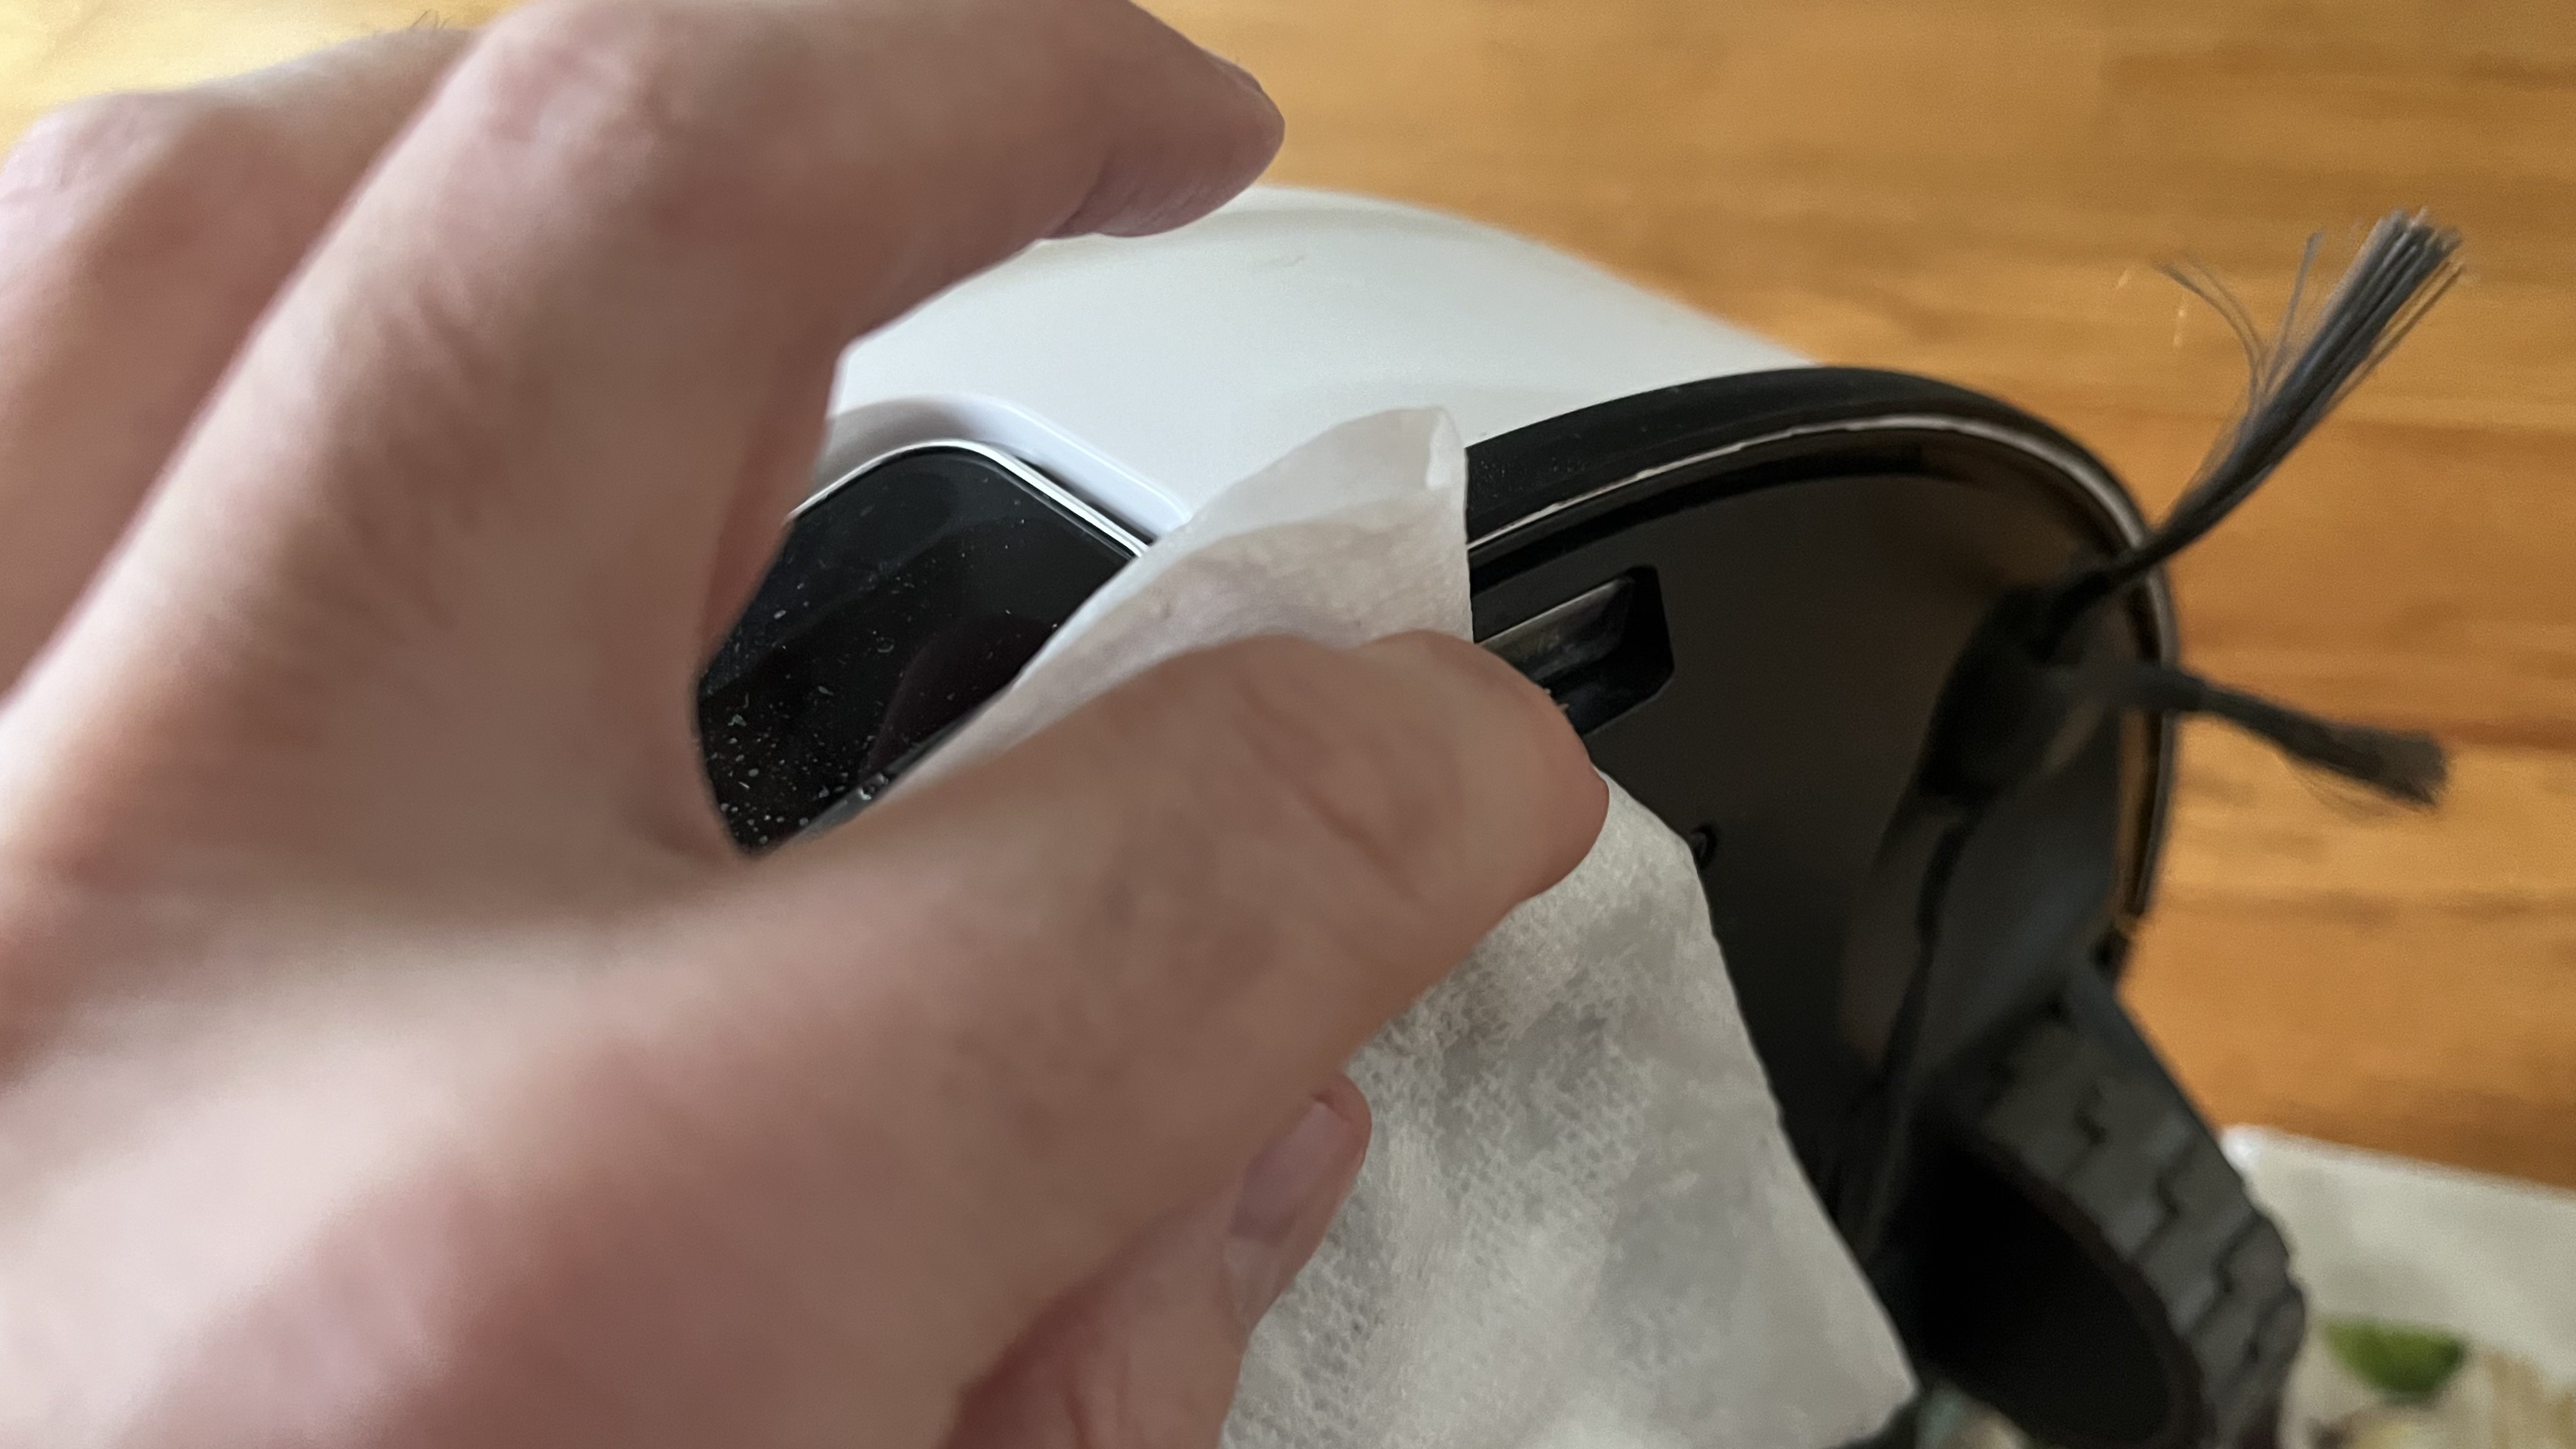
If the charging contacts on the robot vacuum as well as on the charging base get dirty, they won’t be able to transfer power and, therefore, won’t be able to charge the robot vacuum. Use a wet paper towel or cloth to wipe them clean, followed by a dry one to make sure all the moisture has been removed.
9. Wipe down the robot vacuum
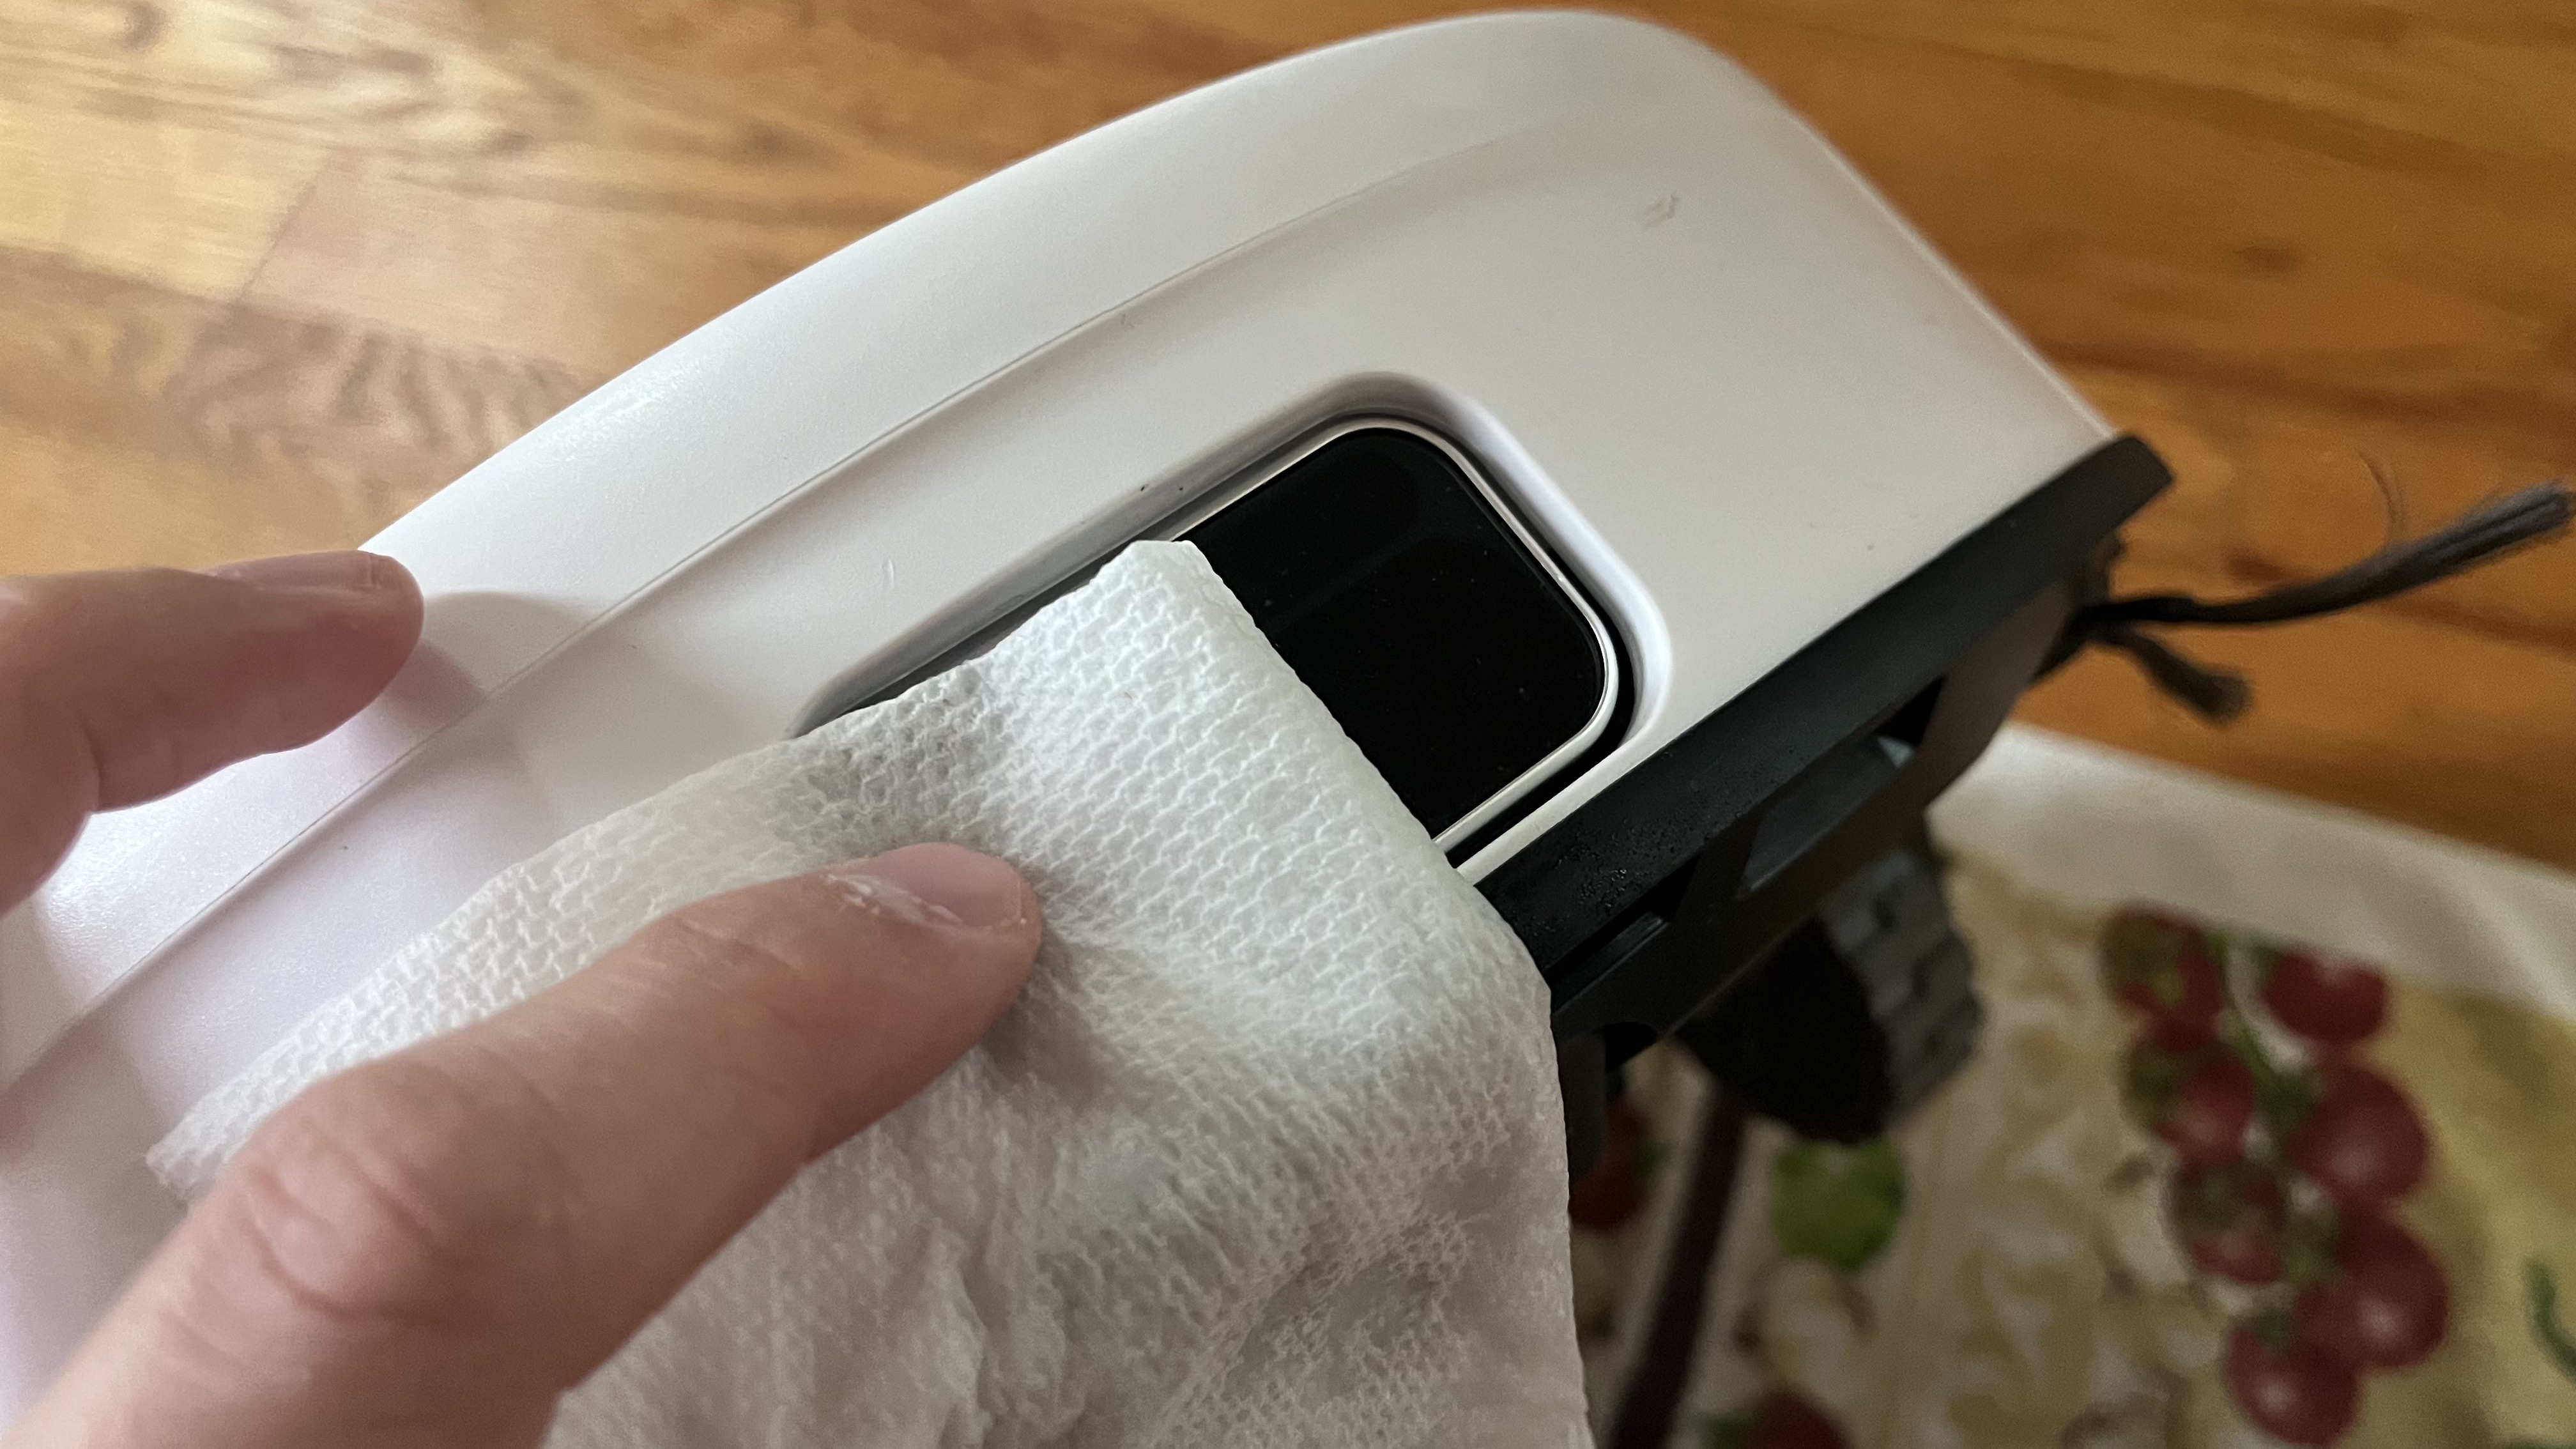
Use a wet paper towel or cloth and wipe down the robot, particularly any sensor windows so that it doesn’t have issues with navigation. You’re now ready to return the robot vacuum to its charging station and resume regular use.
FAQs
How often should you empty a robot vacuum?
The dustbin of your robot vacuum should be emptied after every cleaning session, especially if you have pets or messy kids that regularly leave messes. If you have one with a self-emptying base station, then the calculus changes. The base station sucks out the contents of the dustbin and deposits them into a bag inside that usually only needs replacing every 30 to 60 days (check your manual for specifics).
How can I make my robot vacuum last longer?
The best way to get the most life out of your robot vacuum is by following the steps here so that no debris accidentally breaks any parts. Also, make sure to order replacement parts as soon as possible and maybe grab an extra if your robot vacuum is a little older as you never know how long a company will support their product.
Final thoughts
Taking care of your robot vacuum is very easy, typically, but is a necessity. Just like any piece of equipment, it can make life much easier for us, but only if it’s in top working condition. If you check your robot vacuum once every week or two, you’ll know that it will deliver the way it’s supposed to.
If you know one of your pets has been shedding a lot or the robot vacuum isn’t quite cleaning as well as usual, then don’t wait for your regularly scheduled cleaning. A tangled side brush is enough to keep it from picking up what it’s supposed to. And, a dirty filter or full dustbin can backup.
Anyway, cleaning out a robot vacuum takes less time than vacuuming everything yourself.
Sign up for breaking news, reviews, opinion, top tech deals, and more.

James Holland loves checking out gadgets of all sorts, whether it's audio equipment, laptops, or vacuums (especially of the robot variety), and does so for a number of Future Publications including TechRadar, Top Ten Reviews, Homes & Gardens, and T3. He's built up an expertise for in-depth reviewing over the last four years. When he's not putting in the work on the latest tech, he loves to travel, play music, and eat questionable food.