How to Use Real Musical Instruments with GarageBand on Your iPad
It’s time to plug a real instrument into GarageBand to see what it can do
GarageBand isn’t just good for recording, you can also use it as a space-saving practice amp for listening to your guitar or keyboard through headphones.
It’s also perfectly possible to use GarageBand’s microphone option to record an acoustic instrument, such as a violin or a tuba, but the quality will never be great, because you’re relying on the iPad’s external microphone to pick up the sound. To get the best results, you need to connect an electric instrument such as a guitar or a keyboard directly to your iPad.
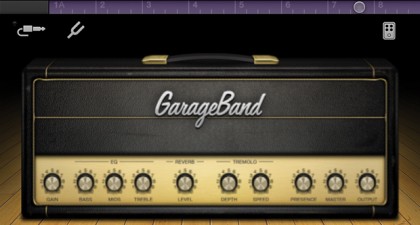
For guitar and bass you’ll need a special guitar cable – we’ve long been fans of the AmpliTube iRig (ikmultimedia.com), and also the Griffin GuitarConnect cable (griffintechnology.com), which is cheaper. To connect most MIDI keyboards to your iPad, you can use the Apple iPad Camera Connection Kit. This plugs into your dock connector and gives you a USB port, into which you can connect a USB keyboard. There are also MIDI connectors such as the iRig MIDI, which hook up MIDI keyboards, drum machines, drum pads, pedal boards and more to an iOS device.
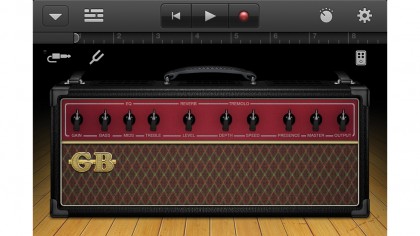
Get Your Guitar Connected
Connect your guitar to your iOS device (we’re using an iRig), get your headphones on and turn up the volume on your headphones and guitar. Open GarageBand. It’ll detect your guitar and automatically open the Guitar Amp.
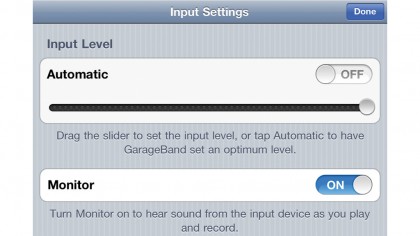
Turn on the Monitor
Don’t be alarmed that you can’t hear your guitar at this point. For some reason the monitor is off by default – to fix this, tap on the guitar plug icon at the top left of the screen and flip the Monitor setting to On.
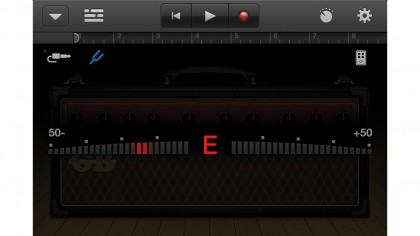
Tune Up Your Instrument
Sign up for breaking news, reviews, opinion, top tech deals, and more.
Now is a good time to make sure your guitar is in tune – tap on the tuning fork icon. The letter will turn from red to blue if it’s in tune.Use it for any strange guitar tuning you like, since it’s chromatic rather than fixed.
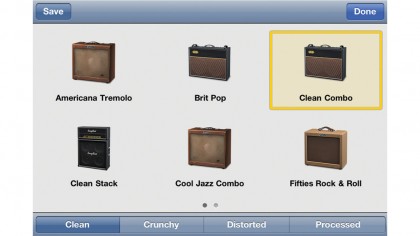
Choose from Seven Amps
By default, you get the Classic Combo amp, but there are seven others to try. Tap the downward arrow at the top-left of the screen, then on Clean Combo. You can twiddle with all the knobs on the amp by double-tapping it.
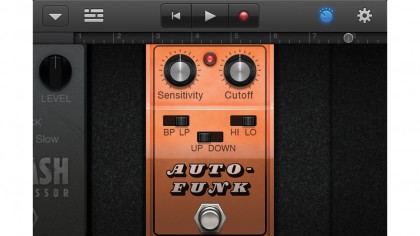
Play with the Effects Pedal
Tap the effects pedal icon and you’ll seea couple of effects pedals. You can tap onone to change it to another of the 10 pedals. To fiddle with the settings on any of the effects pedals, or turn them off, double-tap on them.
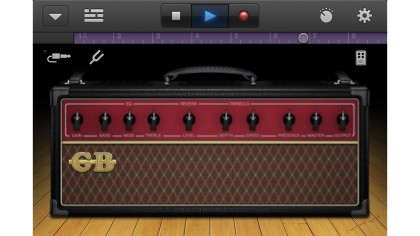
Record Some Sounds
Let’s assume you’ve created backing music using our previous two tutorials. To record some guitar over the top, get your amp and pedals set up the way you like and hit p to havea practice, or record to lay down a track.
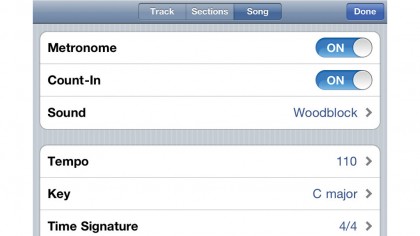
Customize Your Recording
The metronome might distract you. To turn it off, and access other recording options, tap the o at the top right, then tap on the Song tab. In here you’re able to switch Metronome to off, but leave Count-In on.
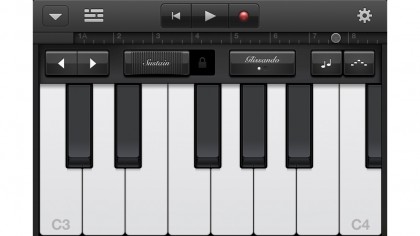
Set Up Keyboards
To record a MIDI keyboard, plug the iRig MIDI or Camera Connection Kit into your iOS device, then connect that to your keyboard. You many need a powered USB hub. Open GarageBand, select an instrument and play.
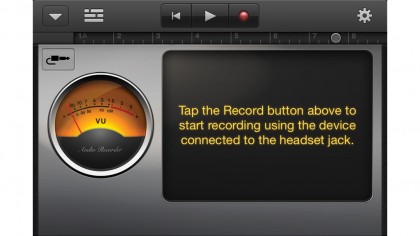
Record Vocals
Singers can sing along to tracks created in GarageBand using the iPad or iPhone’s built-in microphone. For better results, you’ll probably want to plug a microphone into the dock or headset jack of your iOS device.