


Learning how to use an Amazon Fire TV Stick is pretty useful if you don't have best smart TVs; or even if you just don't like the interface of your smart TV and want a reasonably priced alternative.
Additionally, these products can integrate with Alexa in ways that can make using them or your other Amazon smart products a bit easier.
No matter if you just invested in an Amazon Fire TV Stick 4K or have a different model, going through the steps will be the same. The steps will be slightly different if you get something like the Amazon Fire TV Cube, but not by much.
Steps for how to use an Amazon Fire TV Stick
- Unpack Amazon Fire Stick
- Plug the Fire TV Stick into the TV
- Plug the Fire TV Stick into a power outlet
- Turn on TV
- Set up the remote
- Connect Fire TV Stick to network
- Log into your account
- Follow on-screen instructions
- Install your favorite apps
Tools and requirements
- TV with an HDMI port
- Amazon Fire TV Stick and accompanying accessories
- Smartphone with Fire app installed
- Laptop (optional)
Step by step guide
1. Unpack Amazon Fire TV Stick

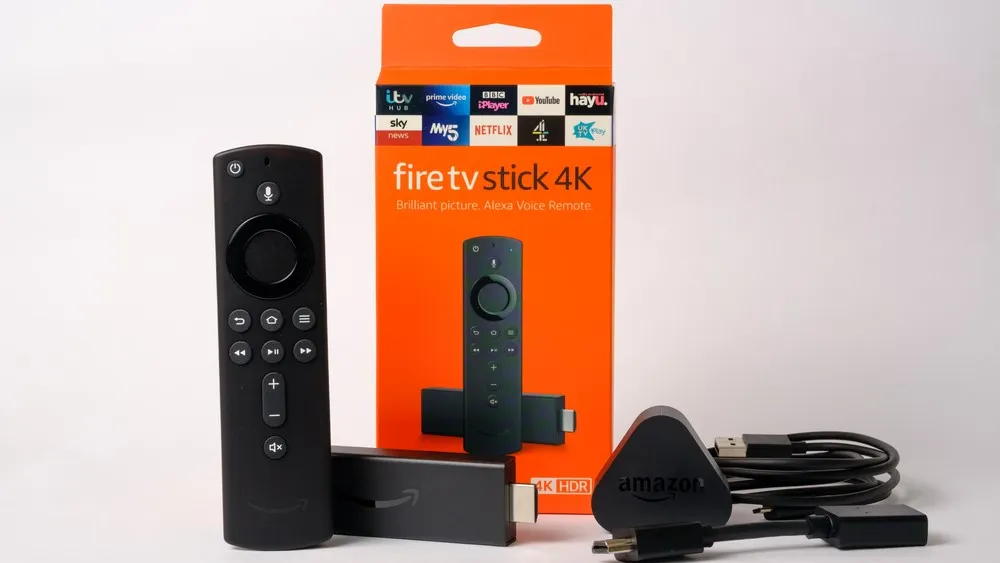
As with any new product, you want to unpack all the contents and make sure you have everything that’s supposed to be there. In the case of the Amazon Fire TV Stick, you need the stick itself, the power cable and adapter, the remote and included batteries, and the HDMI extender cable.
2. Plug in Fire TV Stick into the TV

On the back of your TV, find an empty HDMI slot (note which one – they’re usually numbered) and then plug the Fire TV Stick in. If there are other devices plugged in that won’t allow much clearance, plug the Fire TV Stick into the extender cable and then plug that in.
3. Plug in Fire TV Stick into a power outlet

The power cable has different connectors on each end. Plug the smaller micro-USB jack into the Fire TV Stick, then plug the USB jack into the power adapter. Plug the power adapter into an outlet or power strip.
4. Turn on TV

Turn on the TV and, using the TV’s remote, change the source input to the HDMI channel corresponding to the one you plugged the Fire TV Stick into. You should see a loading screen.
5. Set up the remote

While the Fire TV Stick is thinking, install the included batteries into the remote control. If you misplaced them, the remote takes two AAA-size batteries. Take a quick look at the remote. The circle near the top of the remote is a directional pad with the center acting as an Enter button.
This will be your means of navigation along with the return button indicated by a backward arrow that will take you to the previous screen when pressed. The Home button will return you to the Home Page if you’re stuck. Volume controls are here as well as a Blue button that will bring up Alexa where you can navigate using your voice.
6. Connect Fire TV Stick to network

Once the Fire TV Stick is finished thinking, it will run you through a series of questions for setup. First, it will want to pair with the remote. Press the Home button to do so (the one that looks like a house). Then press the Play/Pause button. It will ask you to select your language. Using the directional pad and center button, select your preferred language.
Here, you’ll want your phone ready if you have the Amazon or Alexa app installed. It will give you the option of scanning a QR code to set up the Fire TV app or doing it manually with the remote. Use the QR code with your phone if you can. Otherwise, press “Set up with Remote.”
It will search for Wi-Fi networks. Select your network and enter the password. There’s no workaround here so make sure you know or have your Wi-Fi network password.
7. Log into your account

Then, you’ll be given the option to sign in or create an account. Select the appropriate option. No matter which one you choose, you’ll be given instructions and a QR code to either create an account or sign in online. Regardless, go to your Amazon account either through the QR code or by typing in Amazon.com/code and enter in the code provided onscreen.
8. Follow on-screen instructions

The app will run you through a couple more questions including pressing the volume button to see if the remote can control the TV’s volume, whether you want to subscribe to kid-friendly content, and then ask what streaming services you want to use (it will be a limited amount here - more on how to add apps later). It will then ask you if you want to enable parental controls. Select whichever option sounds best each step of the way. Afterwards, the Fire TV app will be fully set up.
9. Install your favorite apps

Once the interface is all set up, you’ll see a Home Page with Amazon Prime Video content listed below and a menu of icons cutting across the screen. The cursor, will by default, rest on the Home icon. Scroll to the search function to the left of it using the remote. Then press down to go to the search bar. Enter the name of the app you want to install using the onscreen keyboard, then scroll down on the name and press Enter. Alternatively, you can press the Alexa button on the remote and say “Open [name of streaming service].”
Then press the center button on the remote, which functions as an enter button, to download the app. Once downloaded and installed, press Open. Enter your login information.
You can now access that app by either using the Alexa function on the remote, “Open [name of streaming service],” or scrolling to the right across the menu of icons to the three squares and plus sign icon. Press enter and then scroll down to the app you want to use and press enter again.
Final thoughts
For Smart TV owners, Amazon's Fire TV interface is just one reason to use it as your hub instead of the in-built option. The other is the high number of apps available.
Just make sure you know the passwords to the various streaming services you subscribe to!
You might also like
